


ESDDI LED lighting Portable Photo Studio Box
Portable Photo Studio Box with LED lighting
Review of ESDDI 20″ x 20″ lightbox

No more Google ads. Too many deceptive and irritating adverts.
Any ad links left are non tracking, to companies we know, trust and we've worked with for years [Park Cameras]
Ads helped pay for site running costs, so if you found something useful, please
...Make small KoFi donation?
...Subscribe to Keith's YouTube Channel
...Get Keith's book about how to use tilt/shift lenses
Our site contains affiliate links - these help support the site. See our Advertising policies for more
The ESDDI Portable Photo Studio Box is a fold-up lightbox for product photography.
With 120 mains powered dimmable white LEDs, Keith has been looking at how it works and the sorts of results you can get with it.
We provide product photography training to companies of all sizes and regularly look at different types of equipment that may fit particular photography requirements.
The portable photo studio box kit is available from

Setting up the Portable Photo Studio Box
2022: Keith has produced a short [8mins] video looking at the light box]
The box comes folded flat, which is great for storage, but not so great when you find there are no instructions for assembly.
Fortunately it’s pretty easy to work out.
It’s designed for tabletop use – so here’s what you get, on our dining room table…

The parts all stick together with velcro. So I start by opening the first flap.

folding it out shows two apertures – the circular one for the top and the dual flap for the front.

The side walls fold out – diffuse silver bits go on the inside.

Opening fully
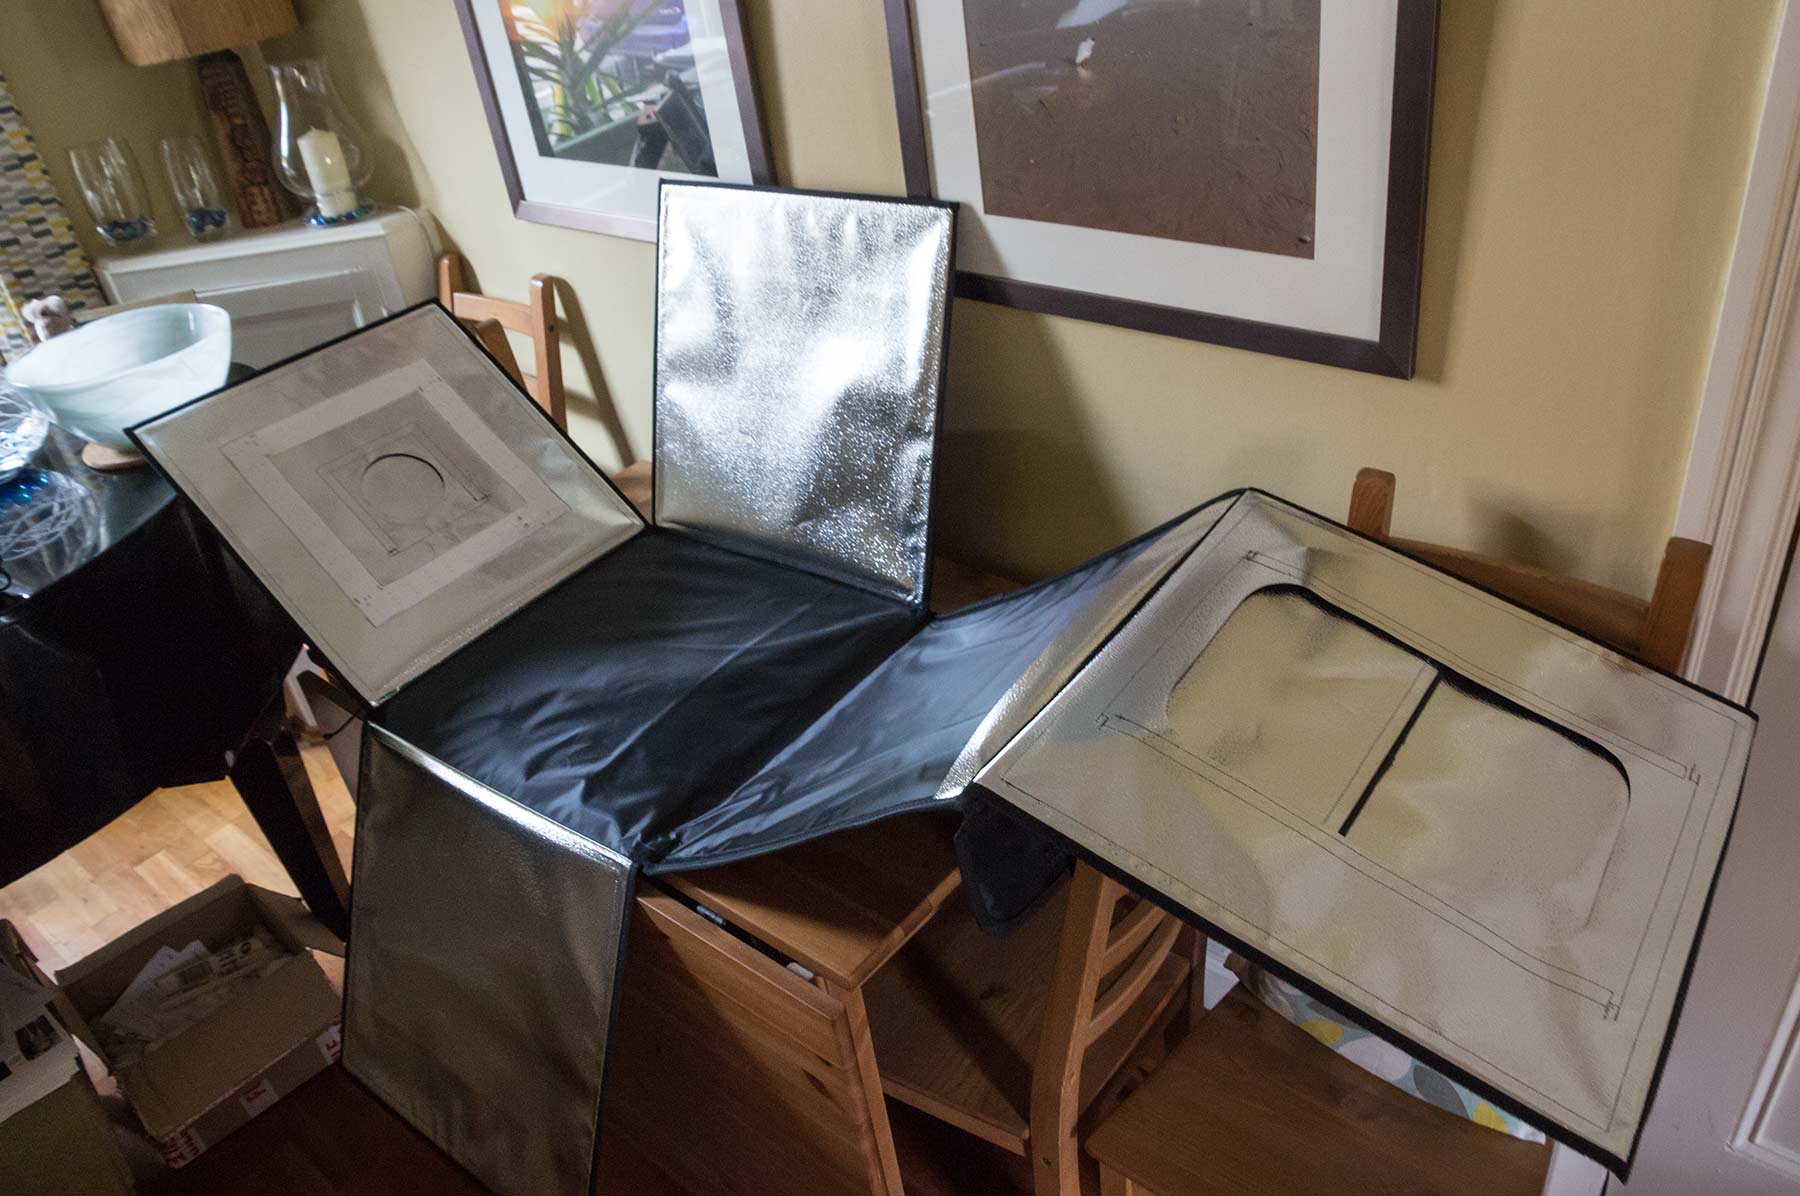
Time to check the LEDs – these are powered from an adjustable power supply.

Plugging it all together, the light come on.
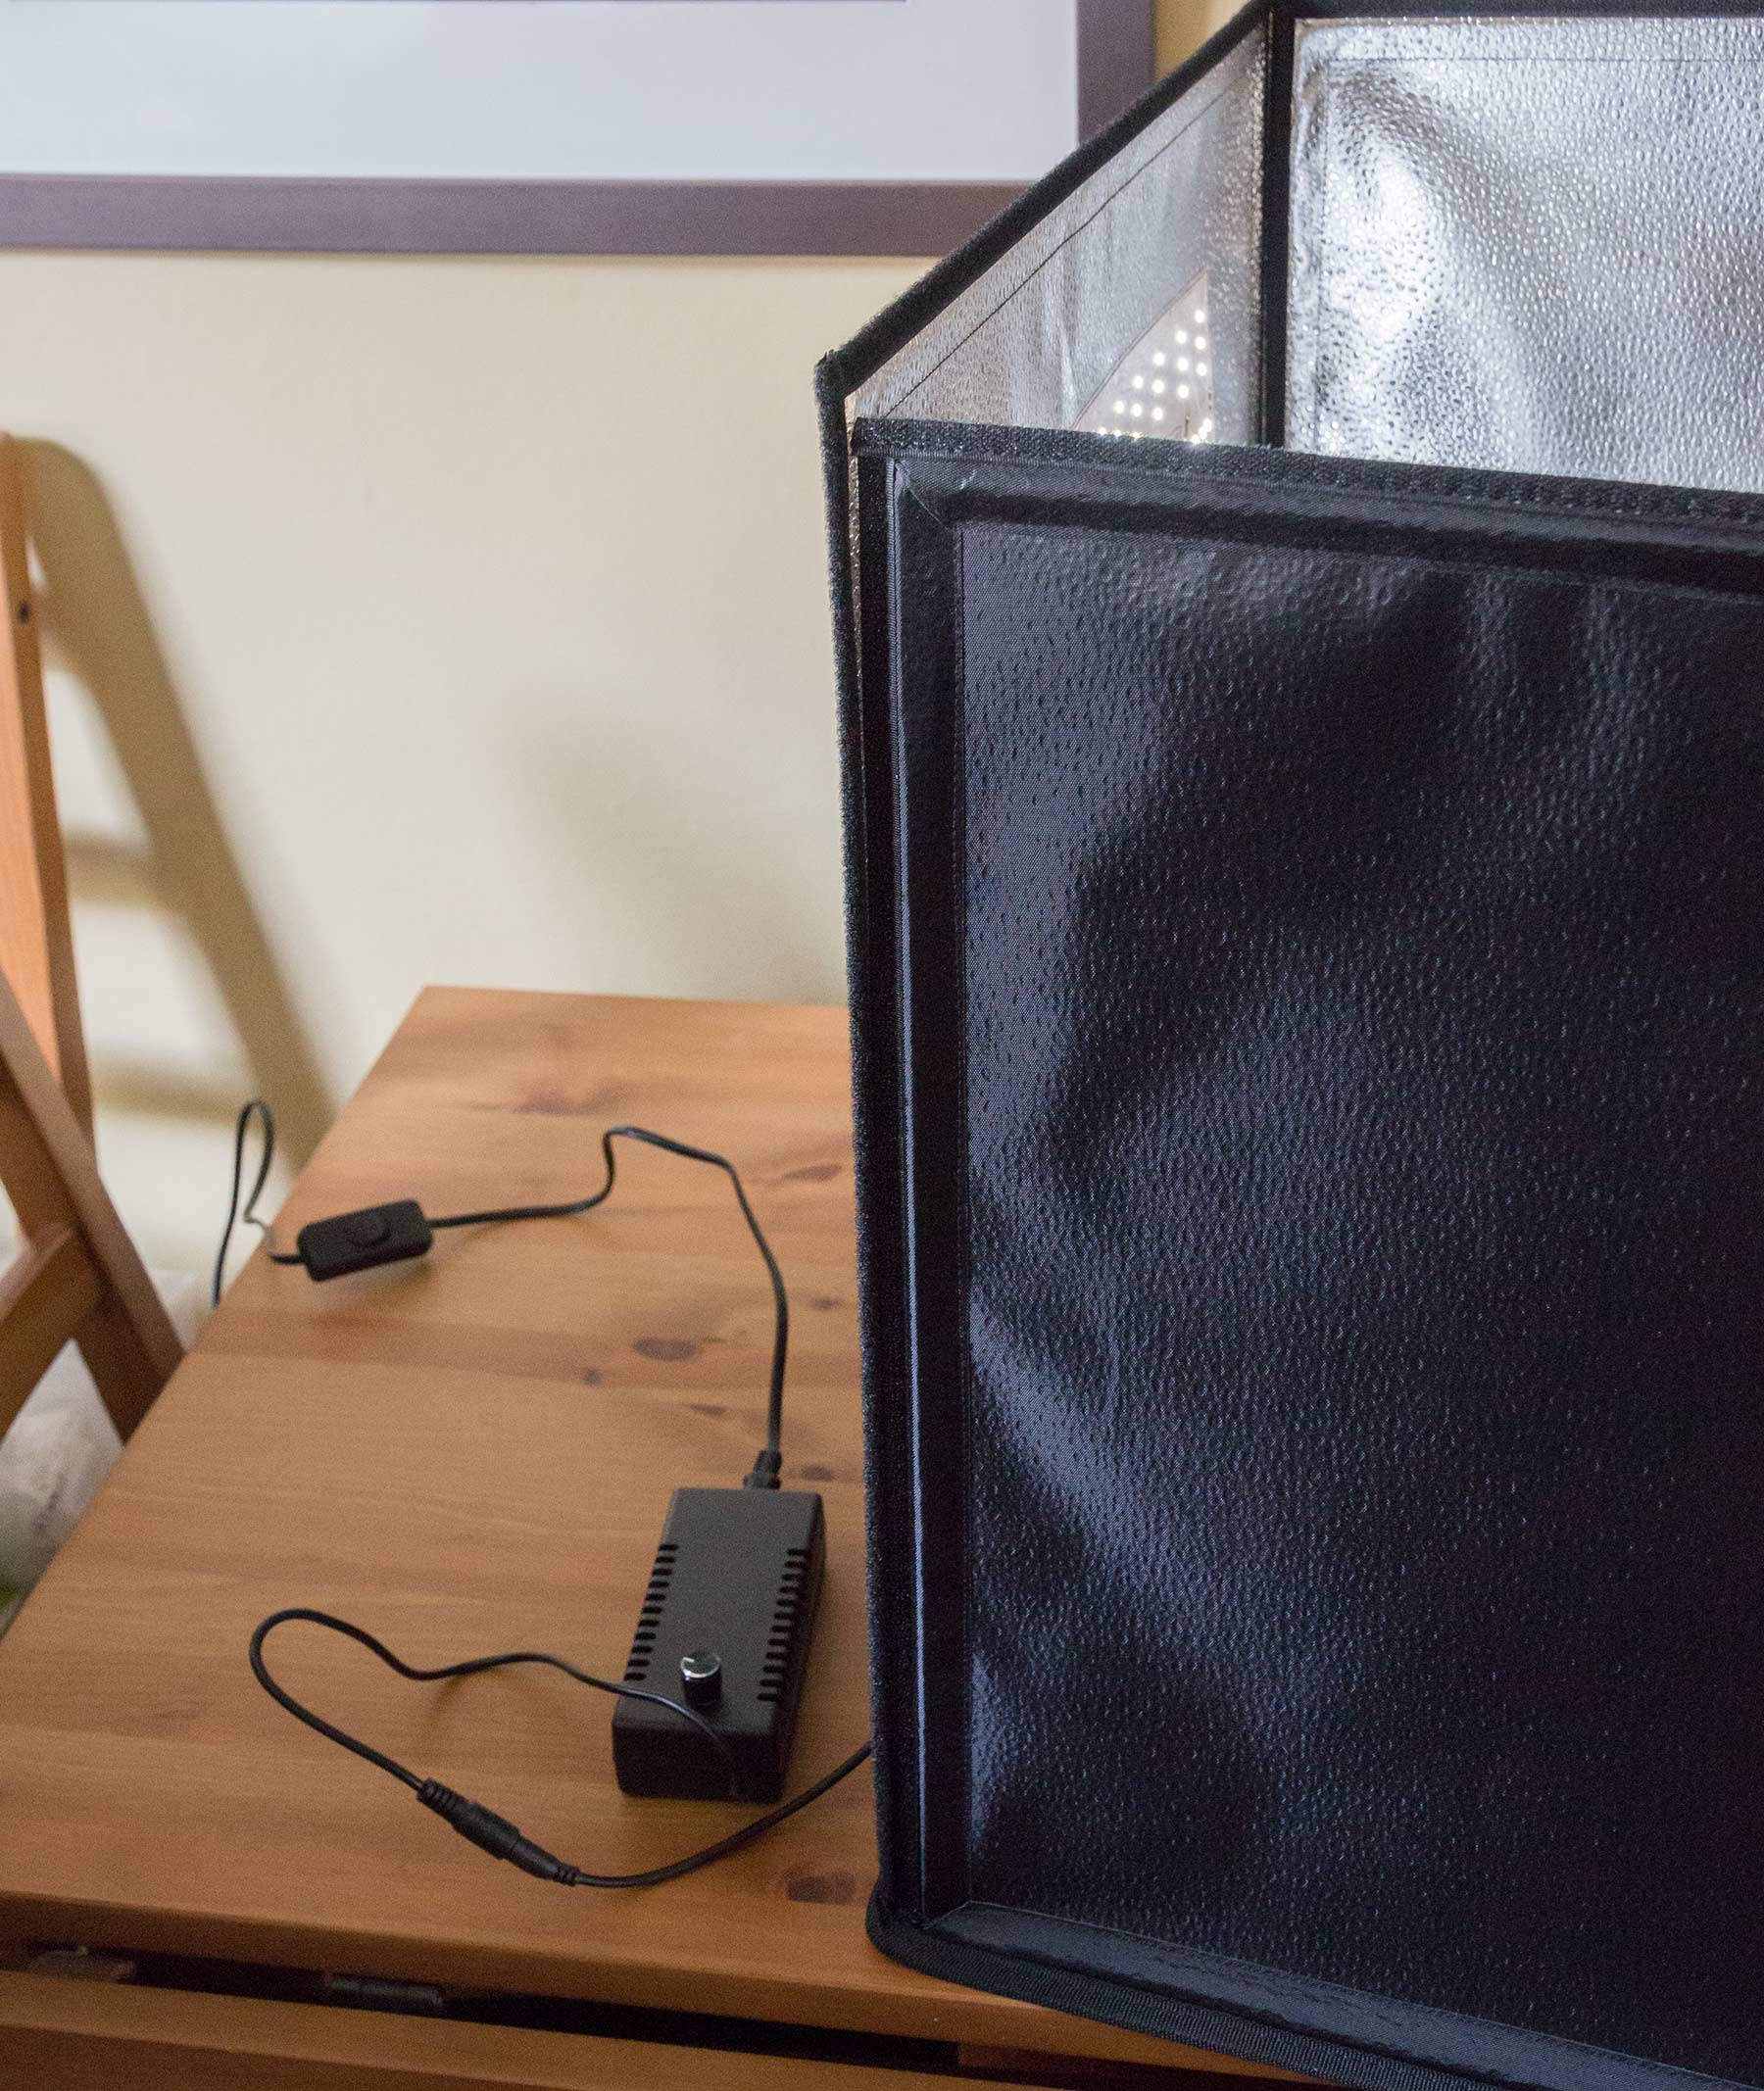
The LED panel is quite bright if you turn up the power.
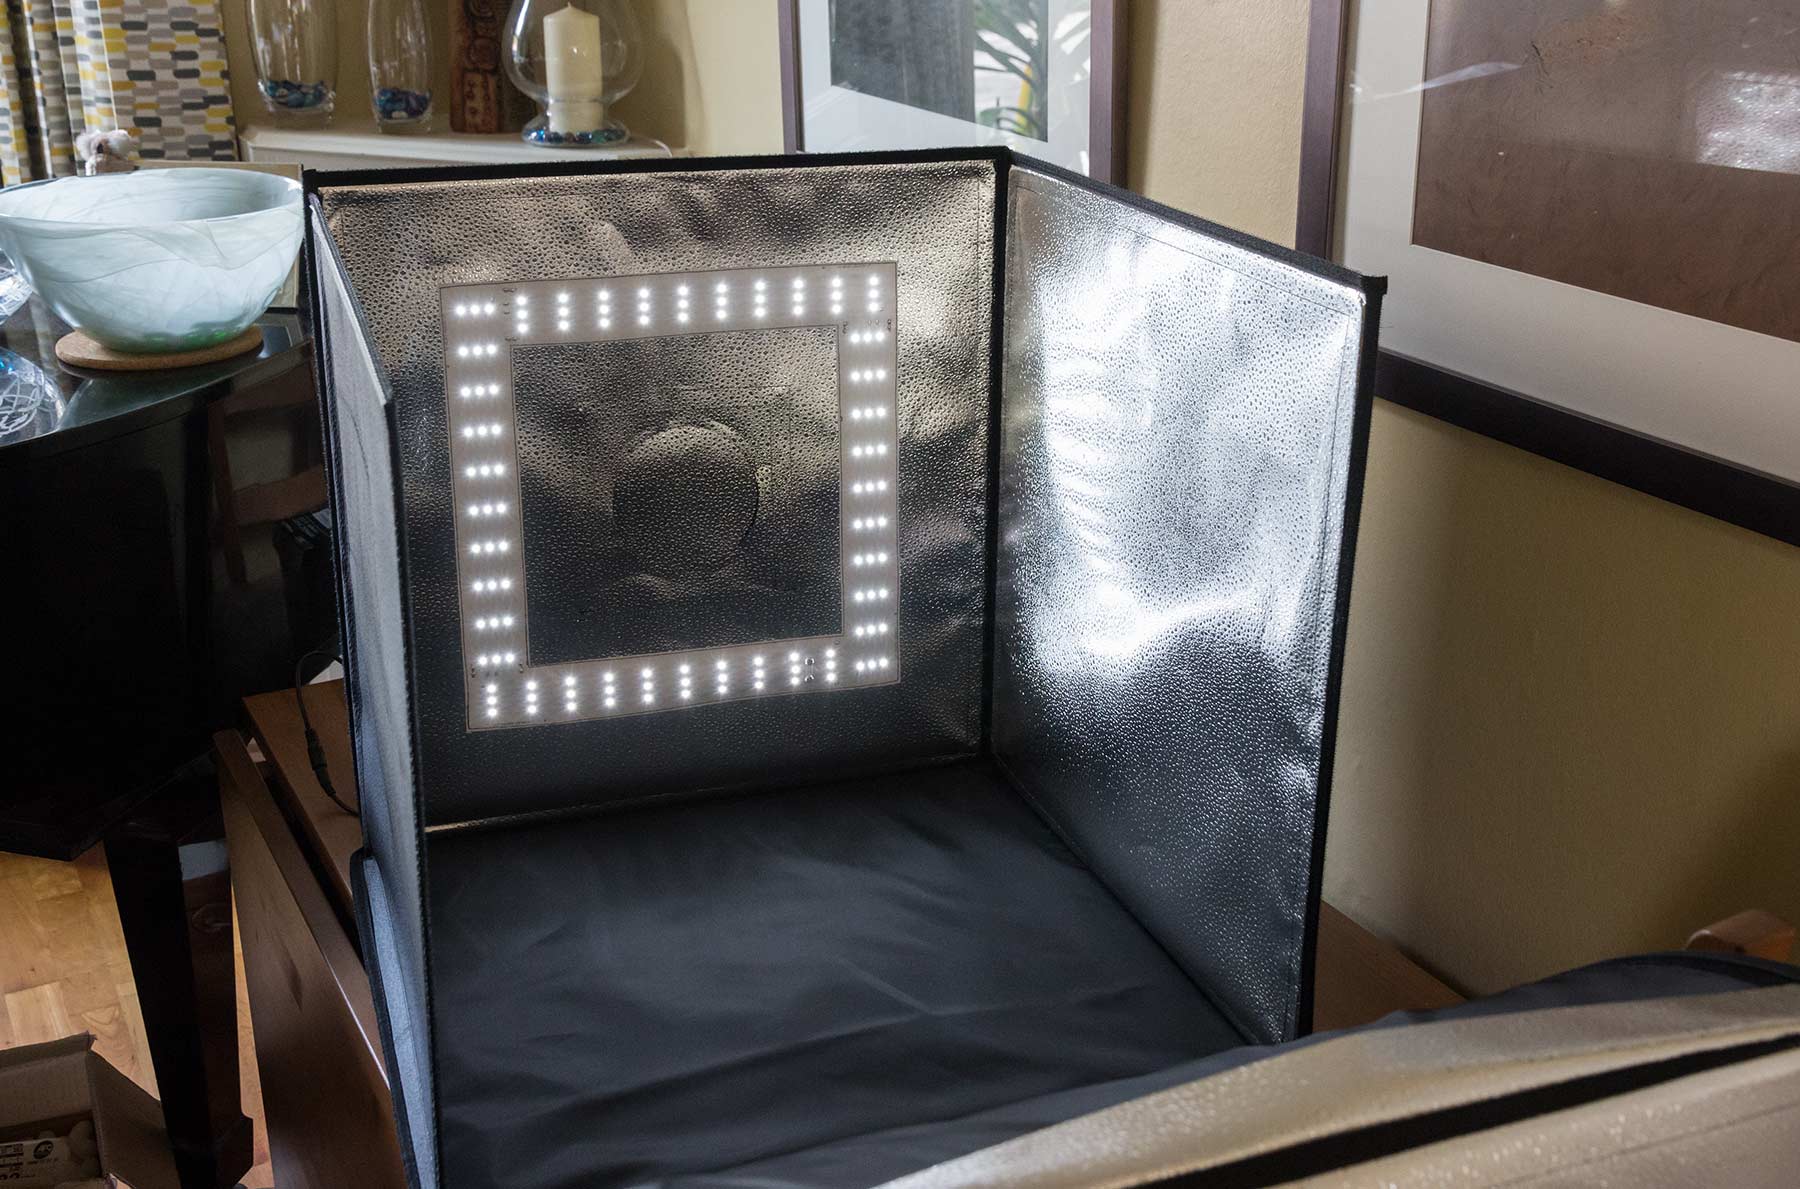
Note the black internal surface. This has velcro patches in the far corners that simply attach to one of the backdrop sheets.
There are four sheets, white, grey, black and brown/orange. Your choice depends on the object and how you’re going to edit/use the photos you are taking.
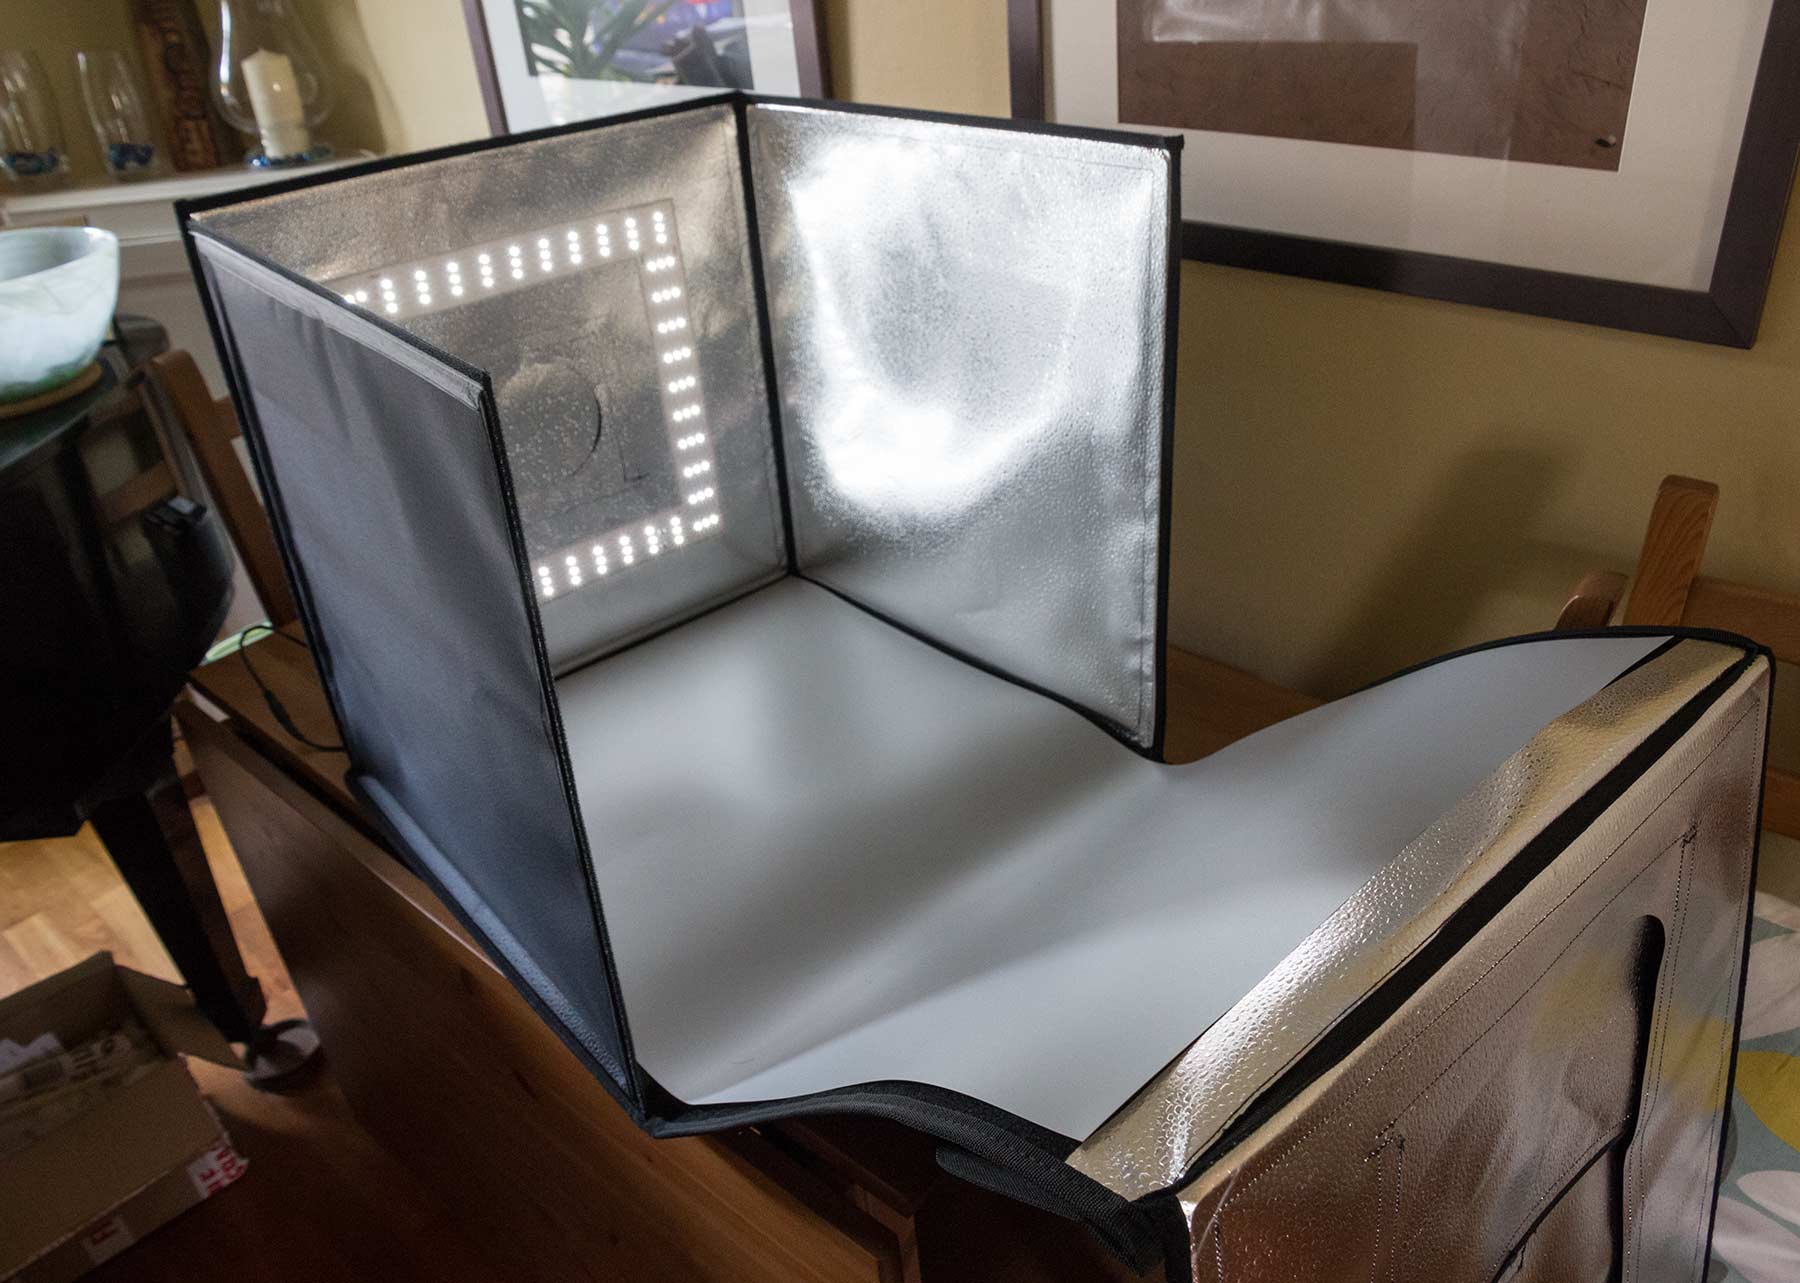
The box is moved round to place the hole (and lights) at the top. You can see just how bright it is.
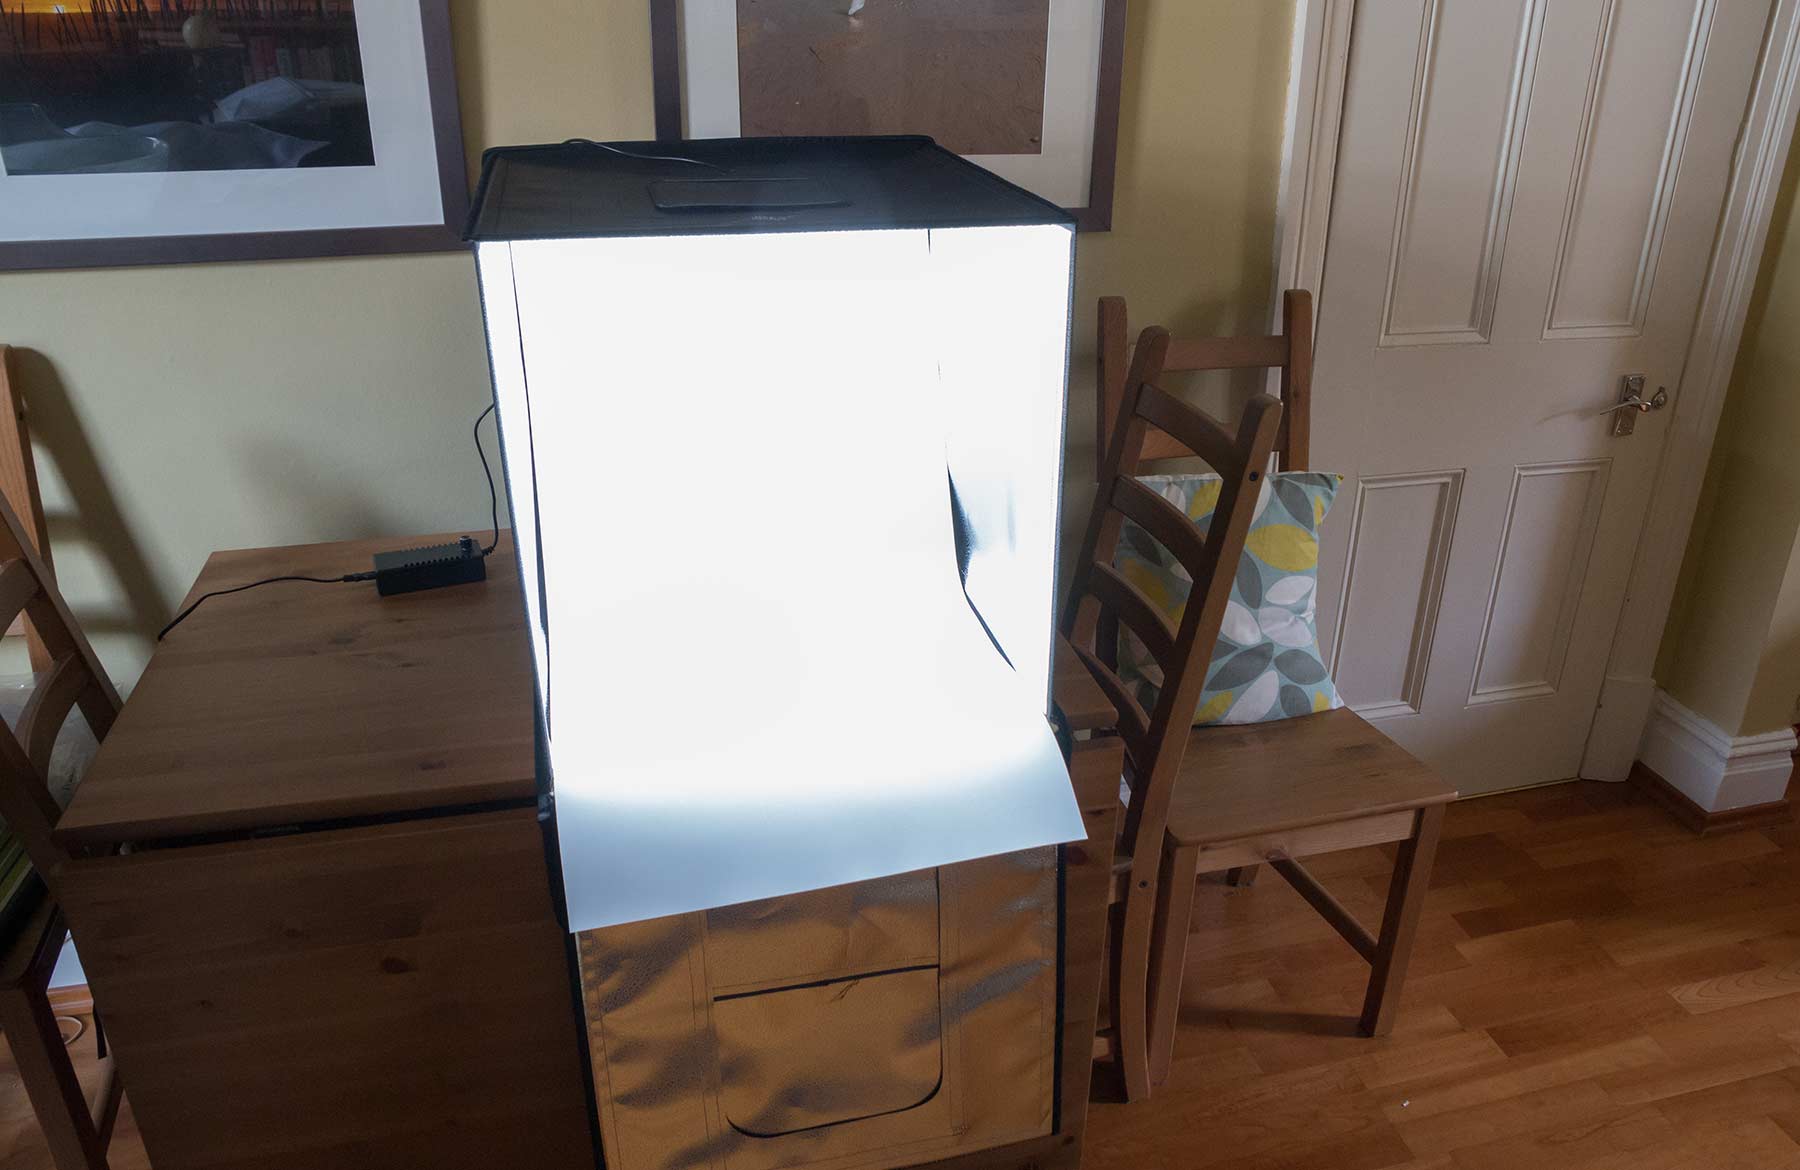
The front side folds up and the velcro holds it together (quite well – it was sturdier than I first thought it might be).

The flaps allow access to the interior. My only issue would be that they can be tricky to hold in place if partially open, but a bit of masking tape will work fine and not leave a mark (there is always a lot of improvisation in product photography).

So, here we have it, tabletop photography…
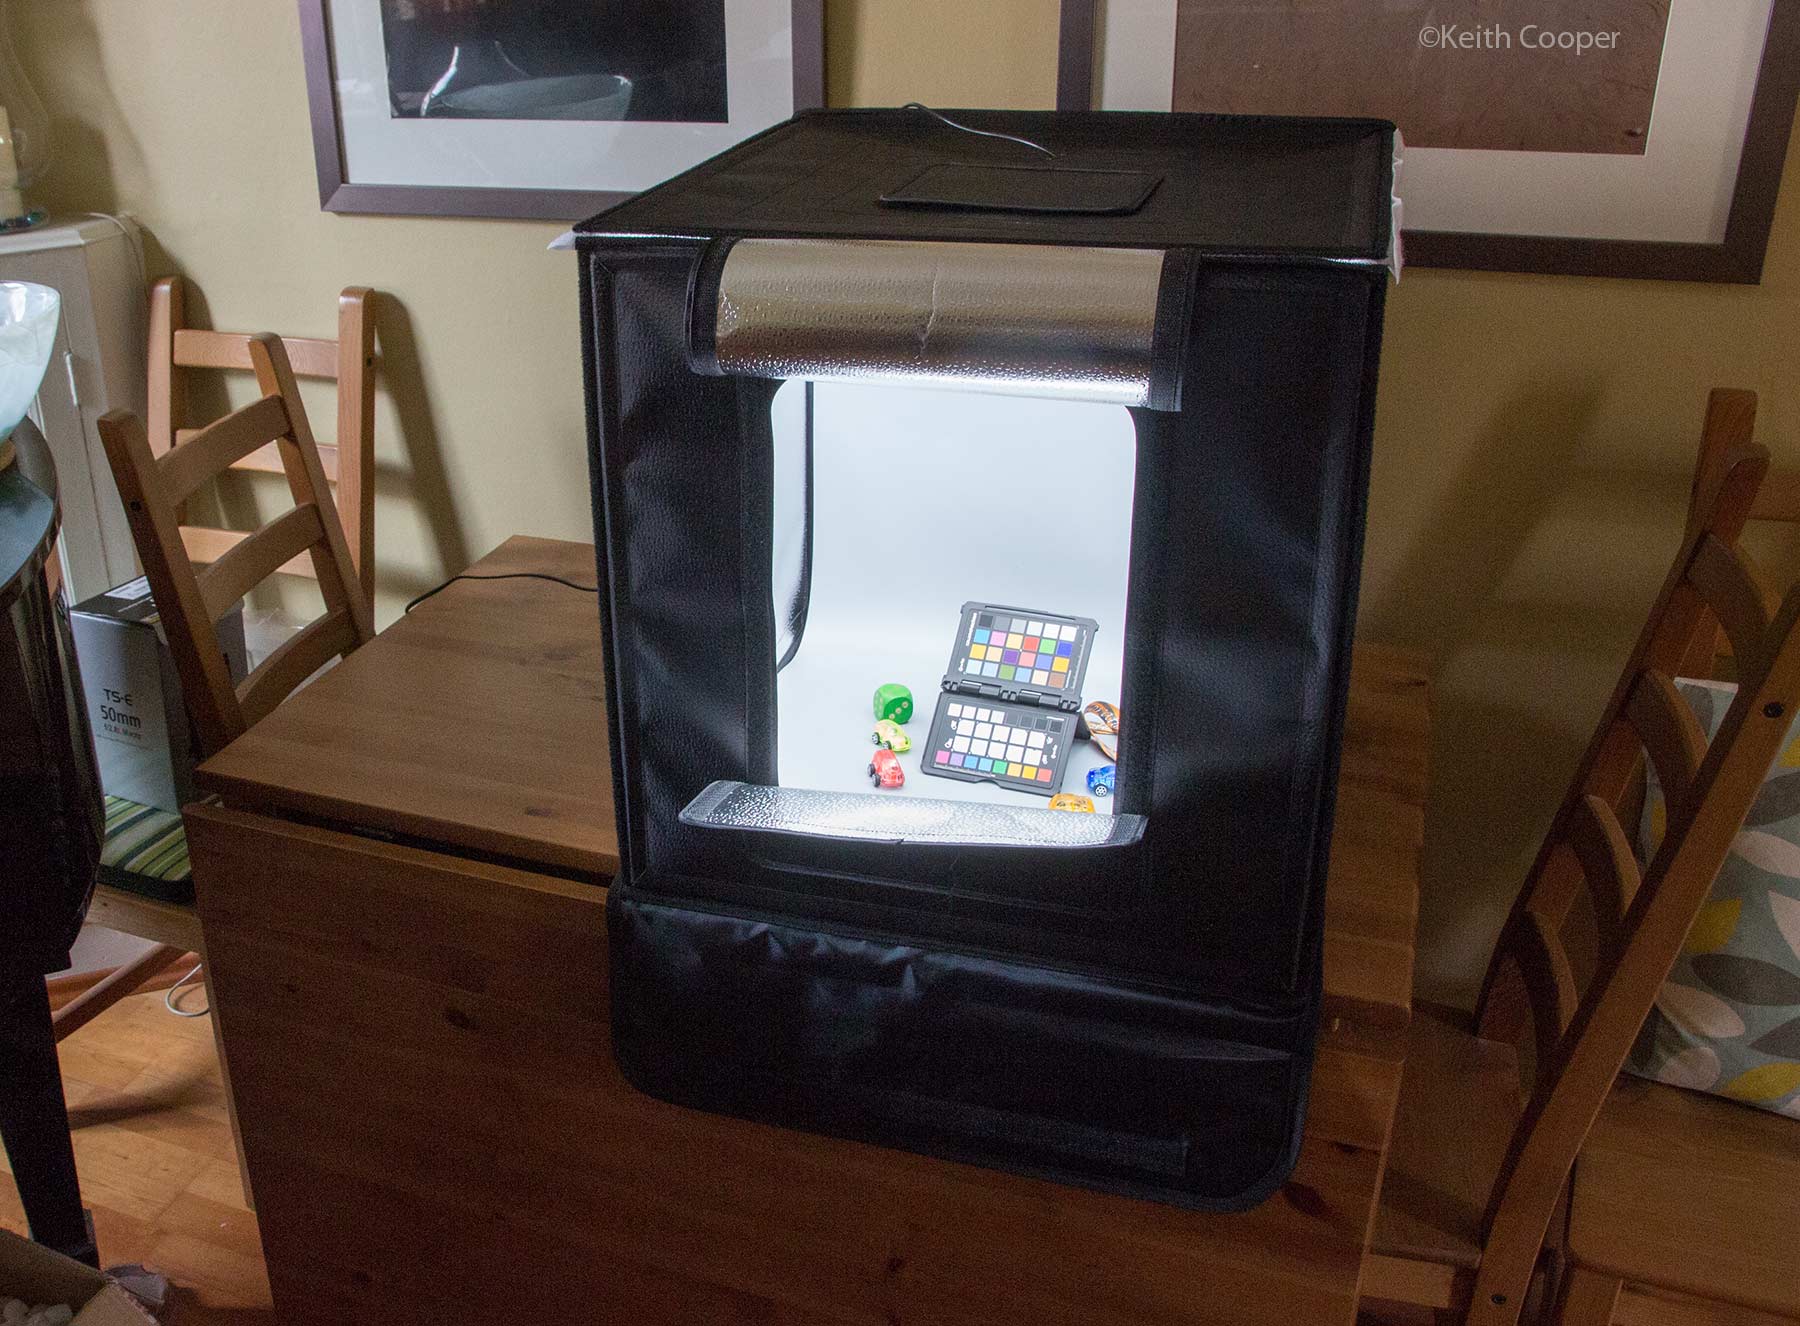
A simple shot of my ColorChecker card that I’ll use later to correct colour rendition for the LED lighting.

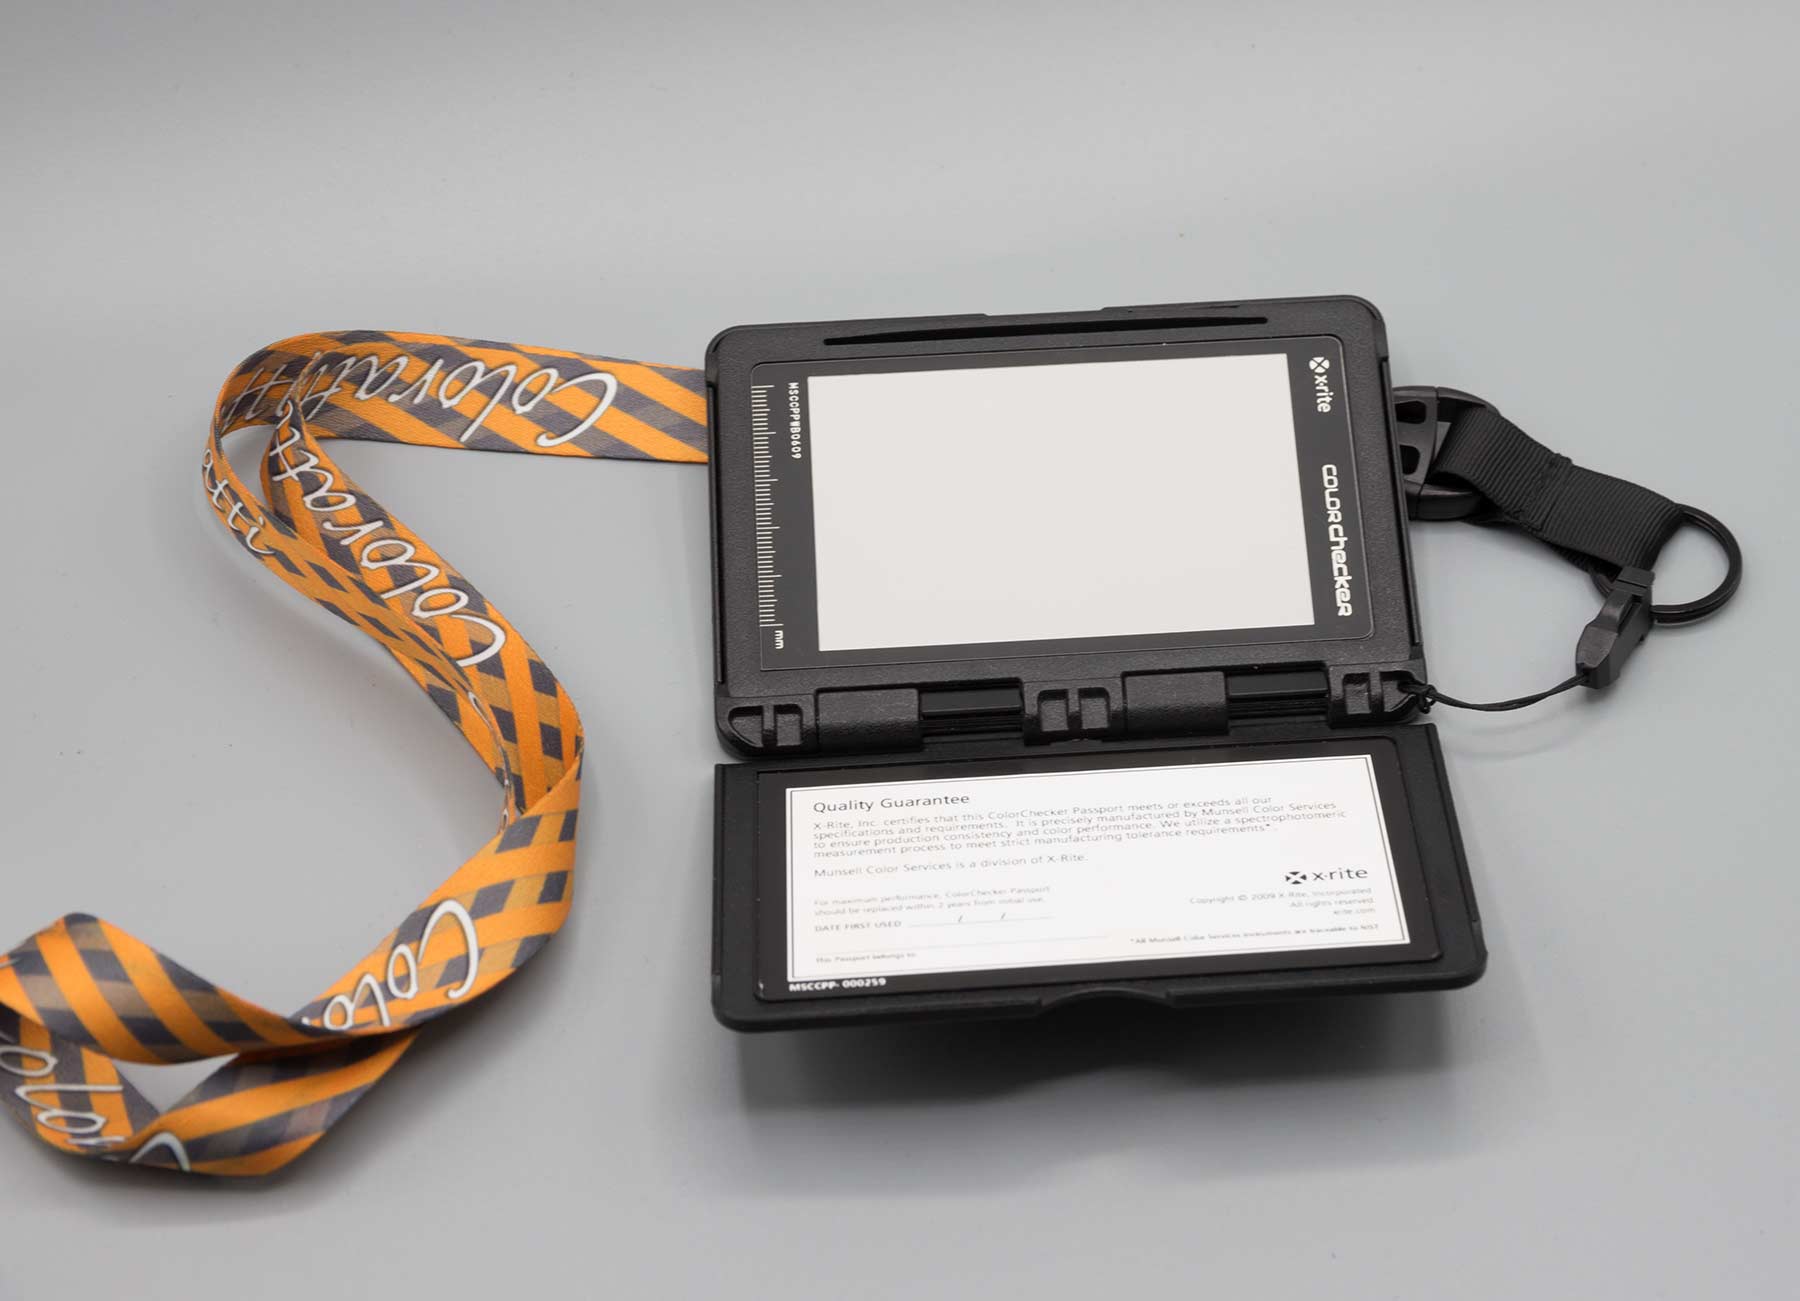
I also want a shot of a grey card to check white balance.
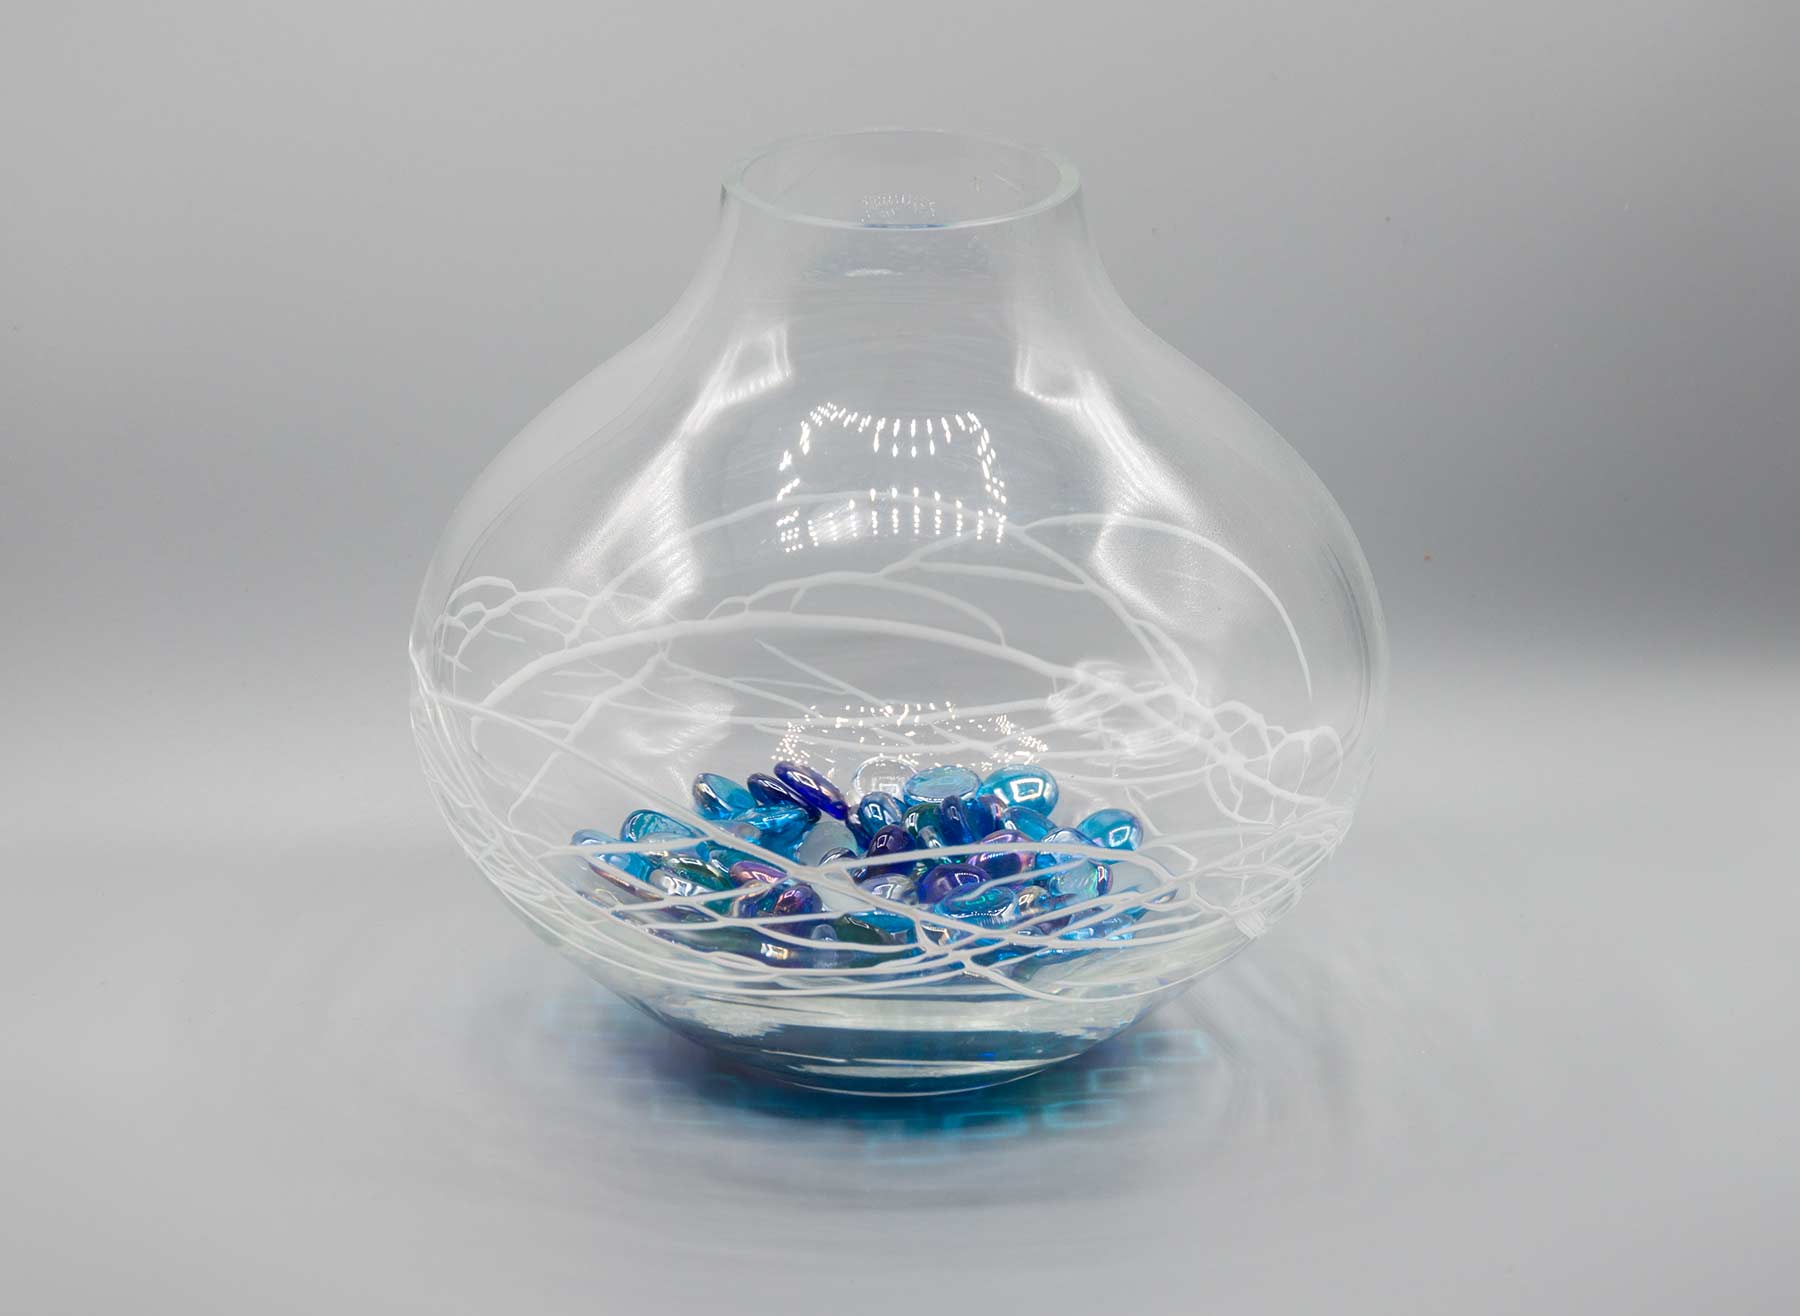
A shot of some glass shows a potential issue from the strong point source nature of the LEDs.
Similarly with the darker background sheet.
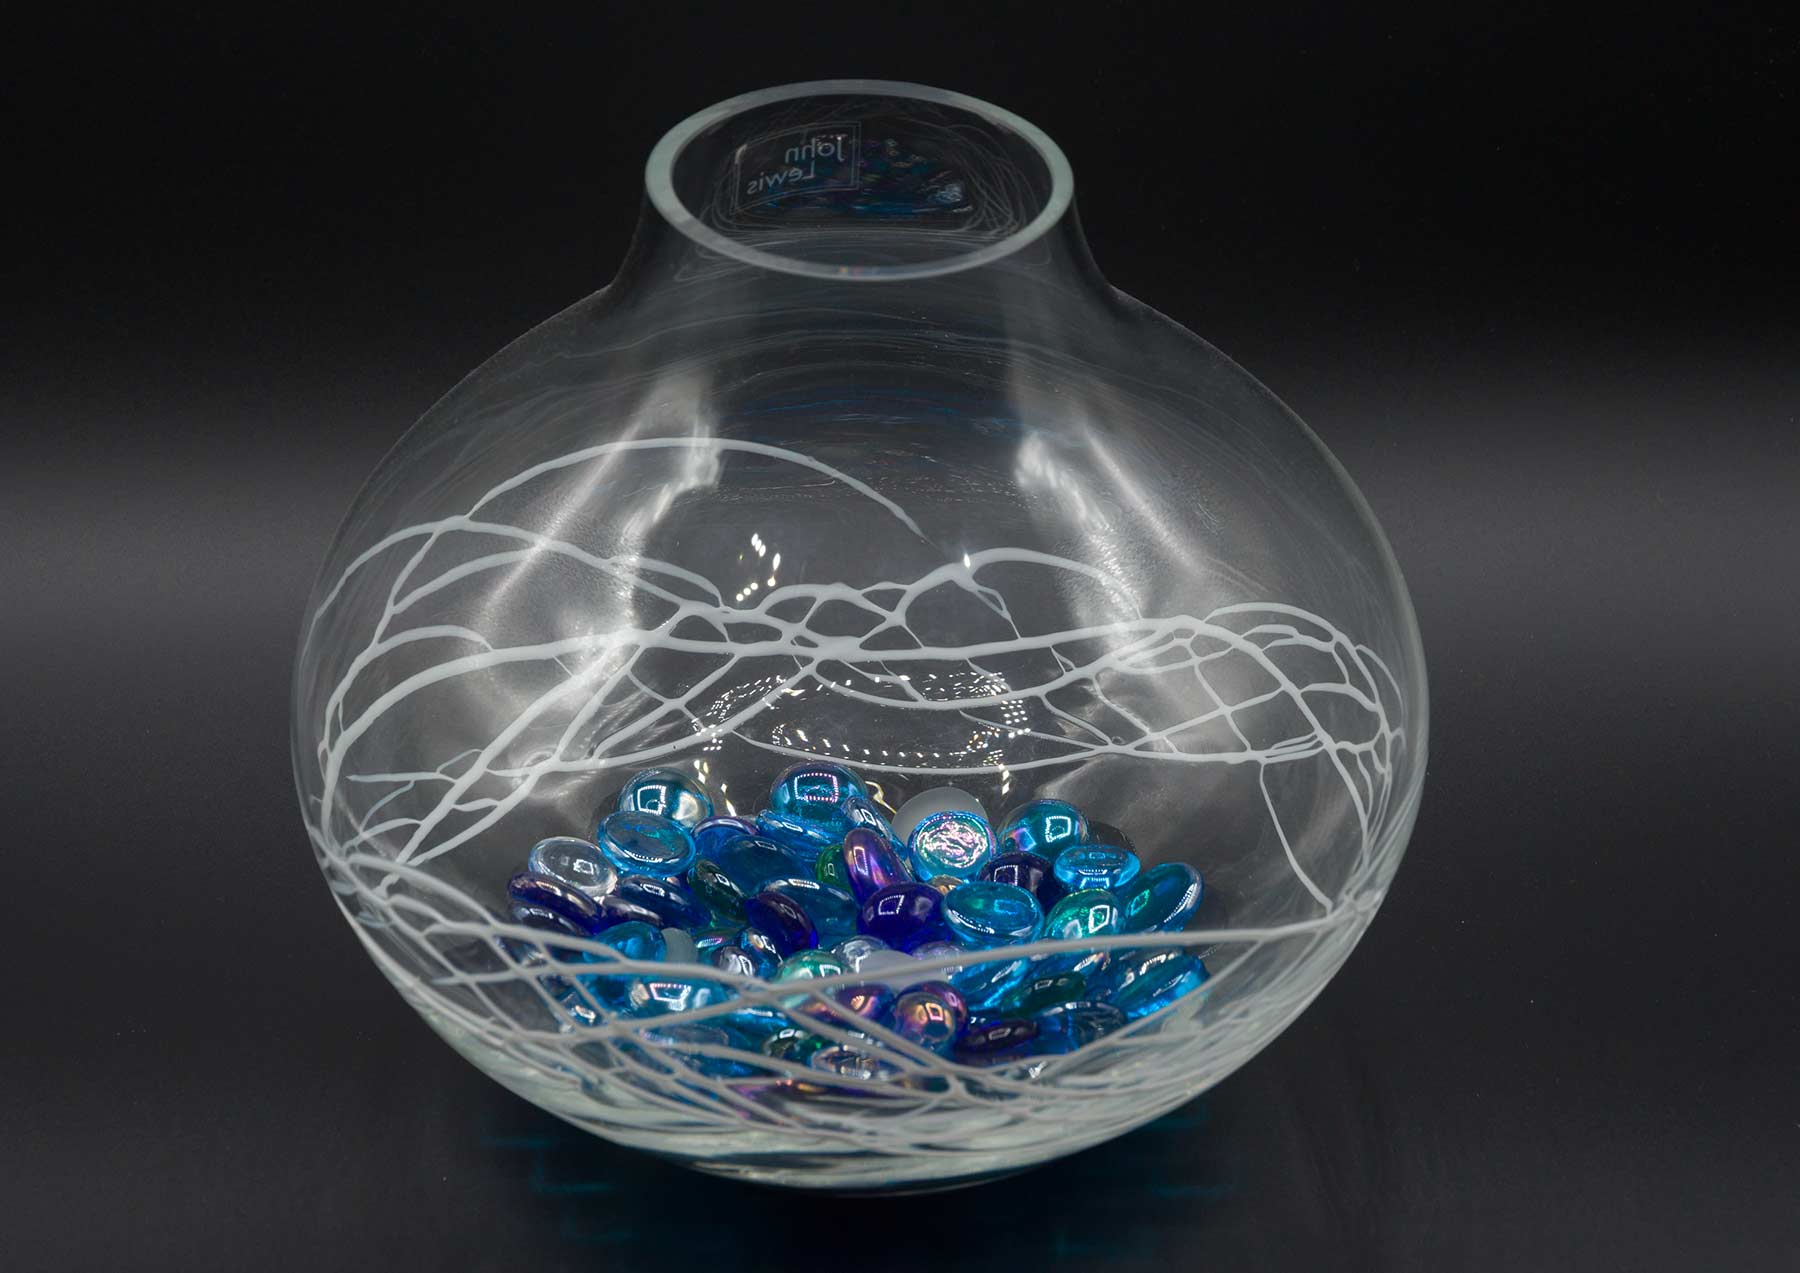
The view from the hole at the top is more akin to using a ring light, but could still show issues with the point light sources.

At this point I remember the thin white sheet that comes folded in a plastic bag.
It fits in the top of the box and acts as a diffuser for the LEDs.
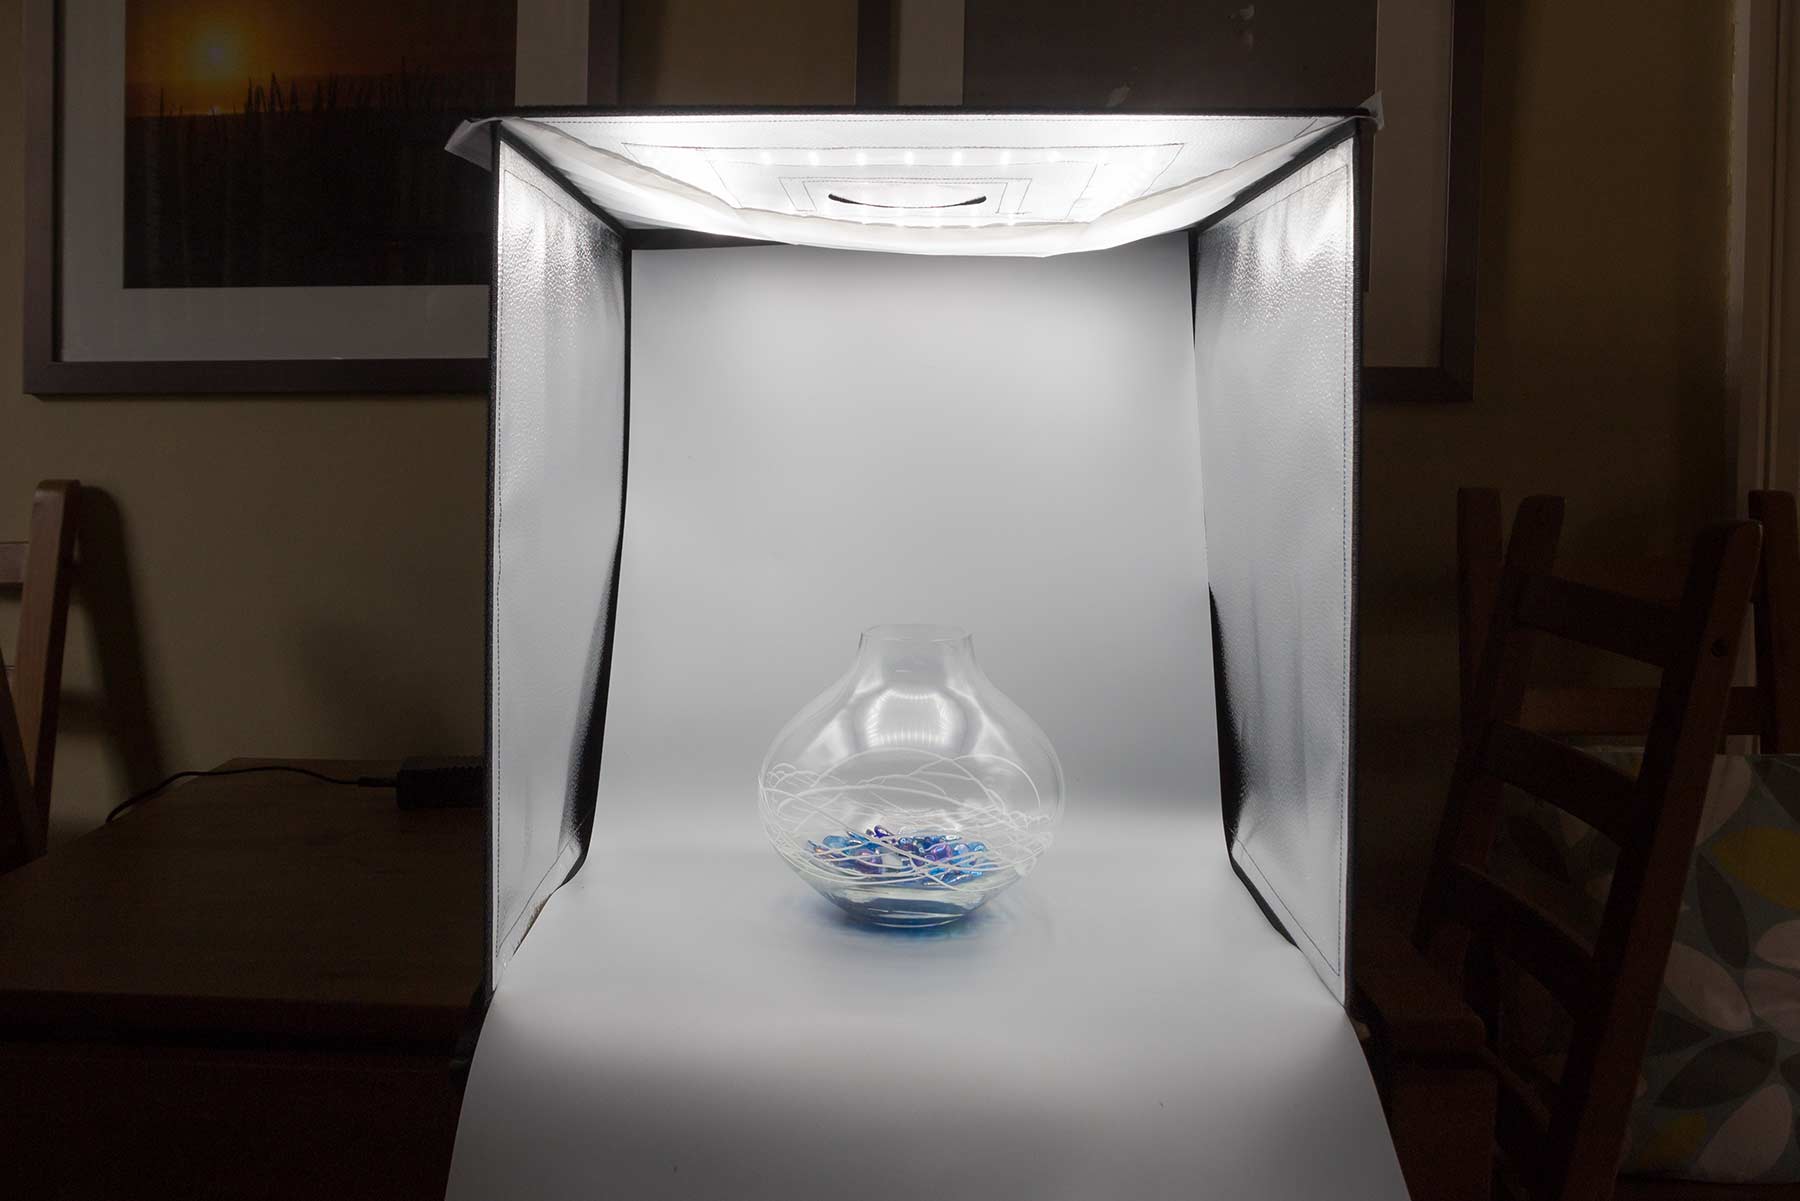
It fits quite well and hangs a short distance from the lights.
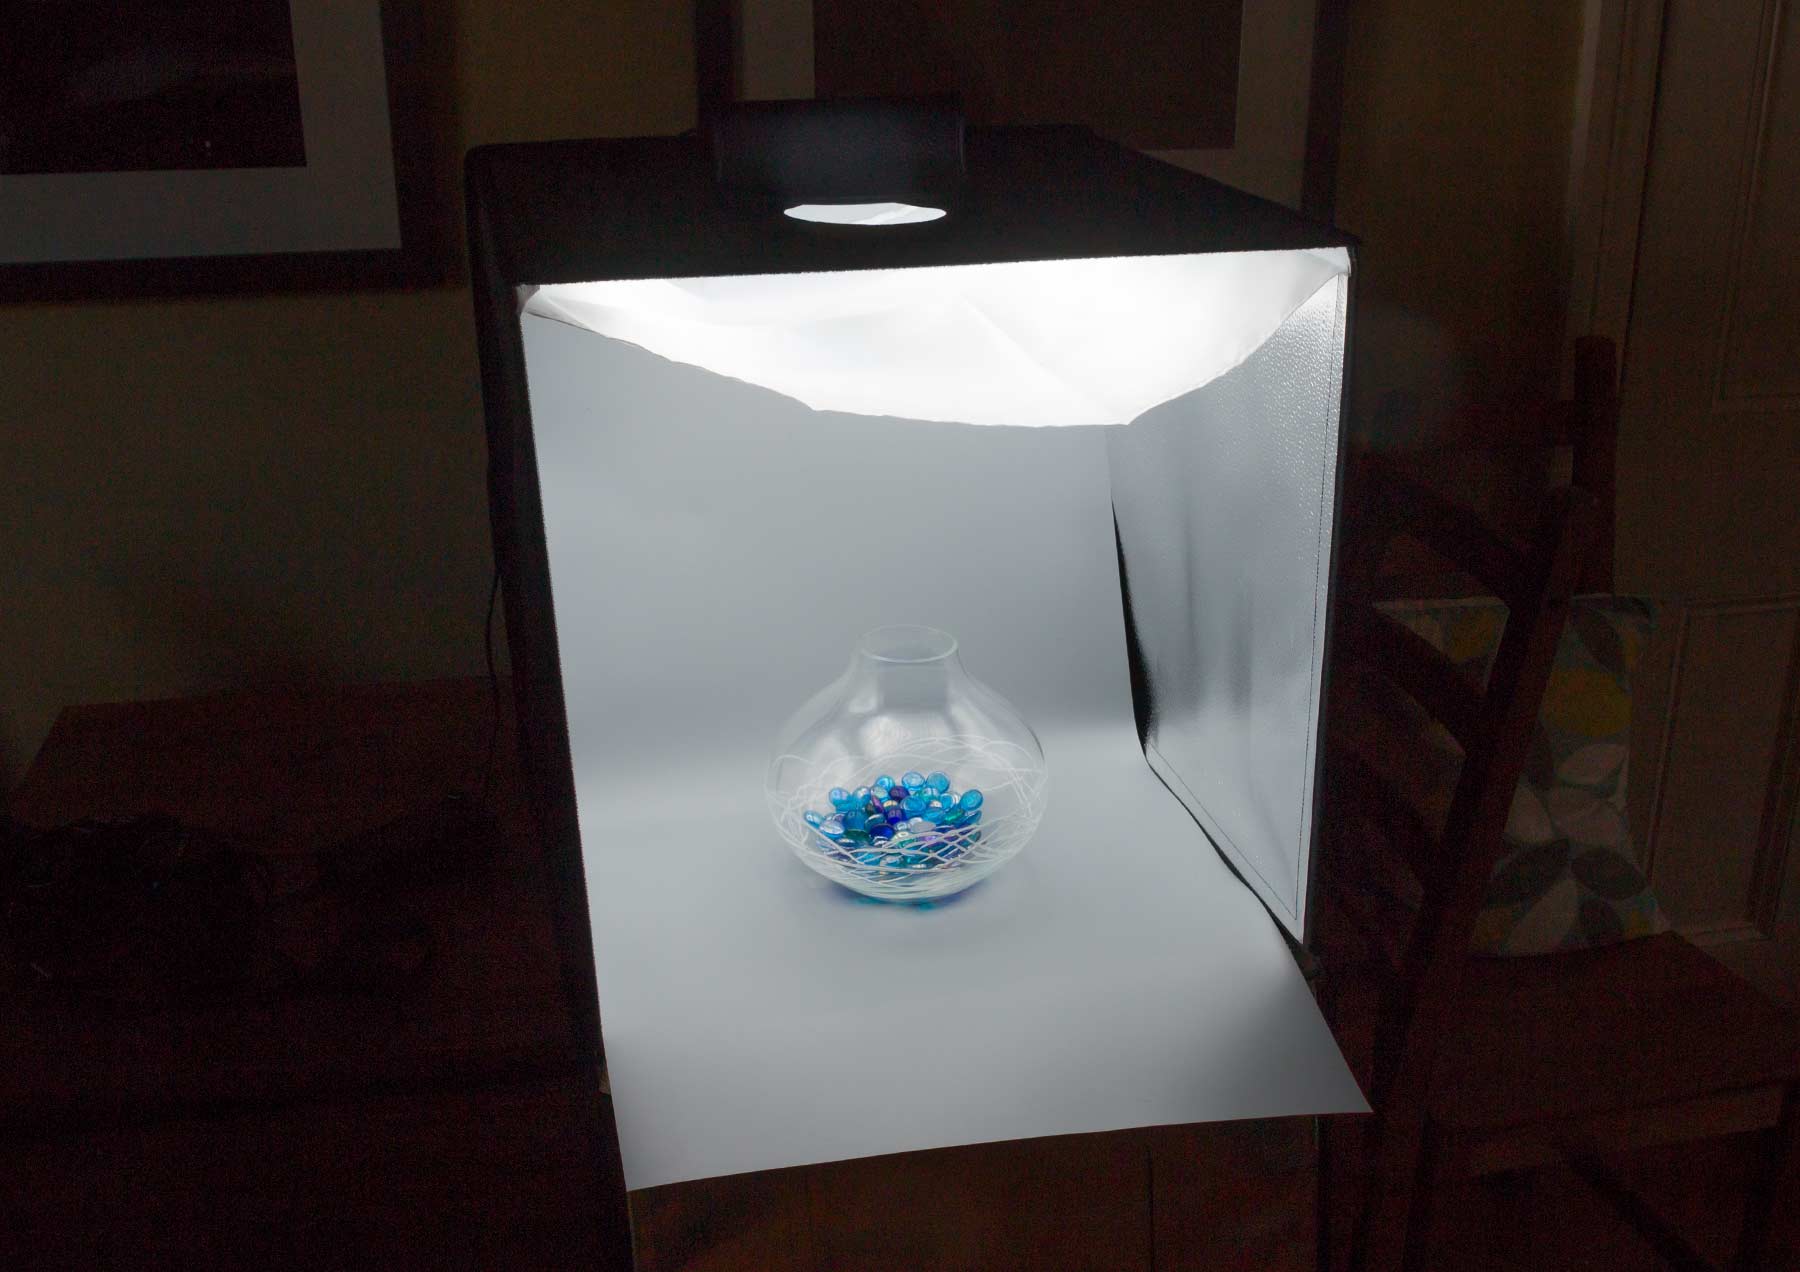
The light is indeed more diffuse.

You could add additional diffusion, but take care with heat buildup over extended periods of use – LEDs do get warm.
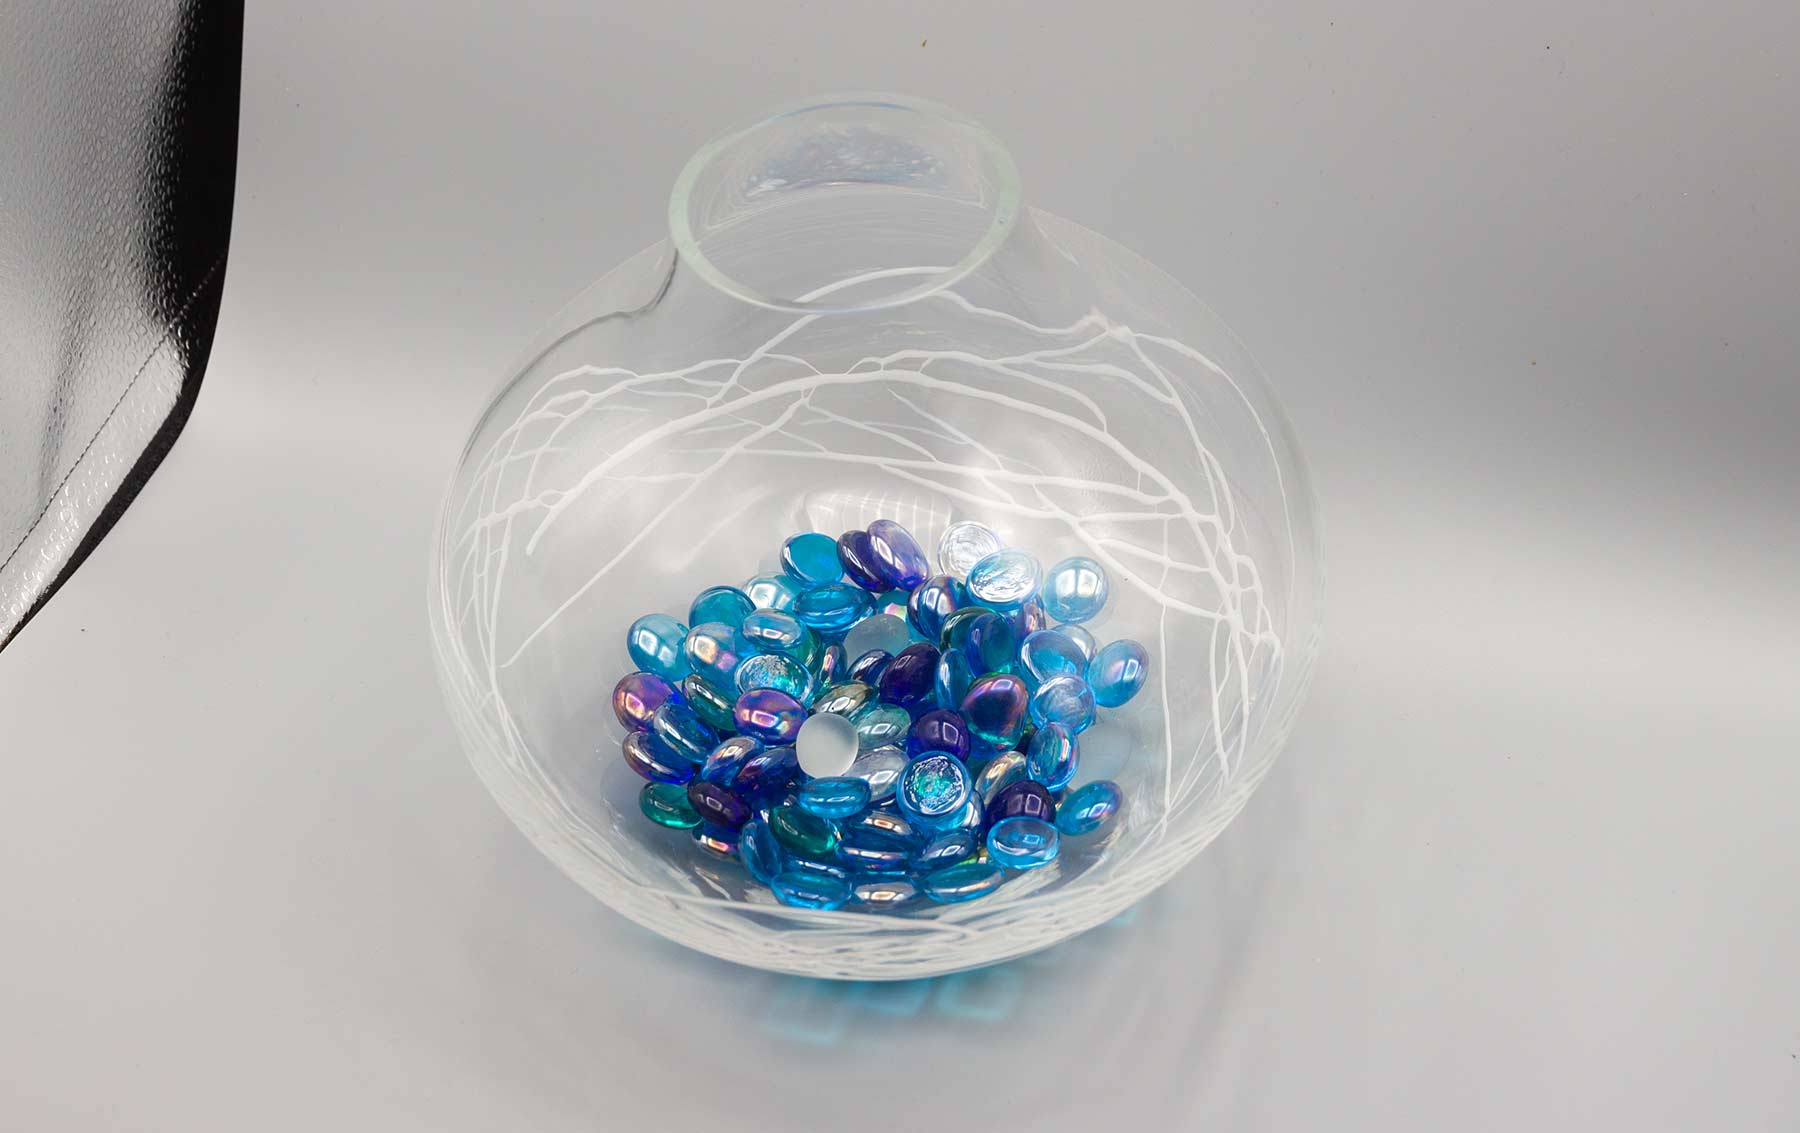
The pattern may or may not cause problems – these examples show different surfaces.
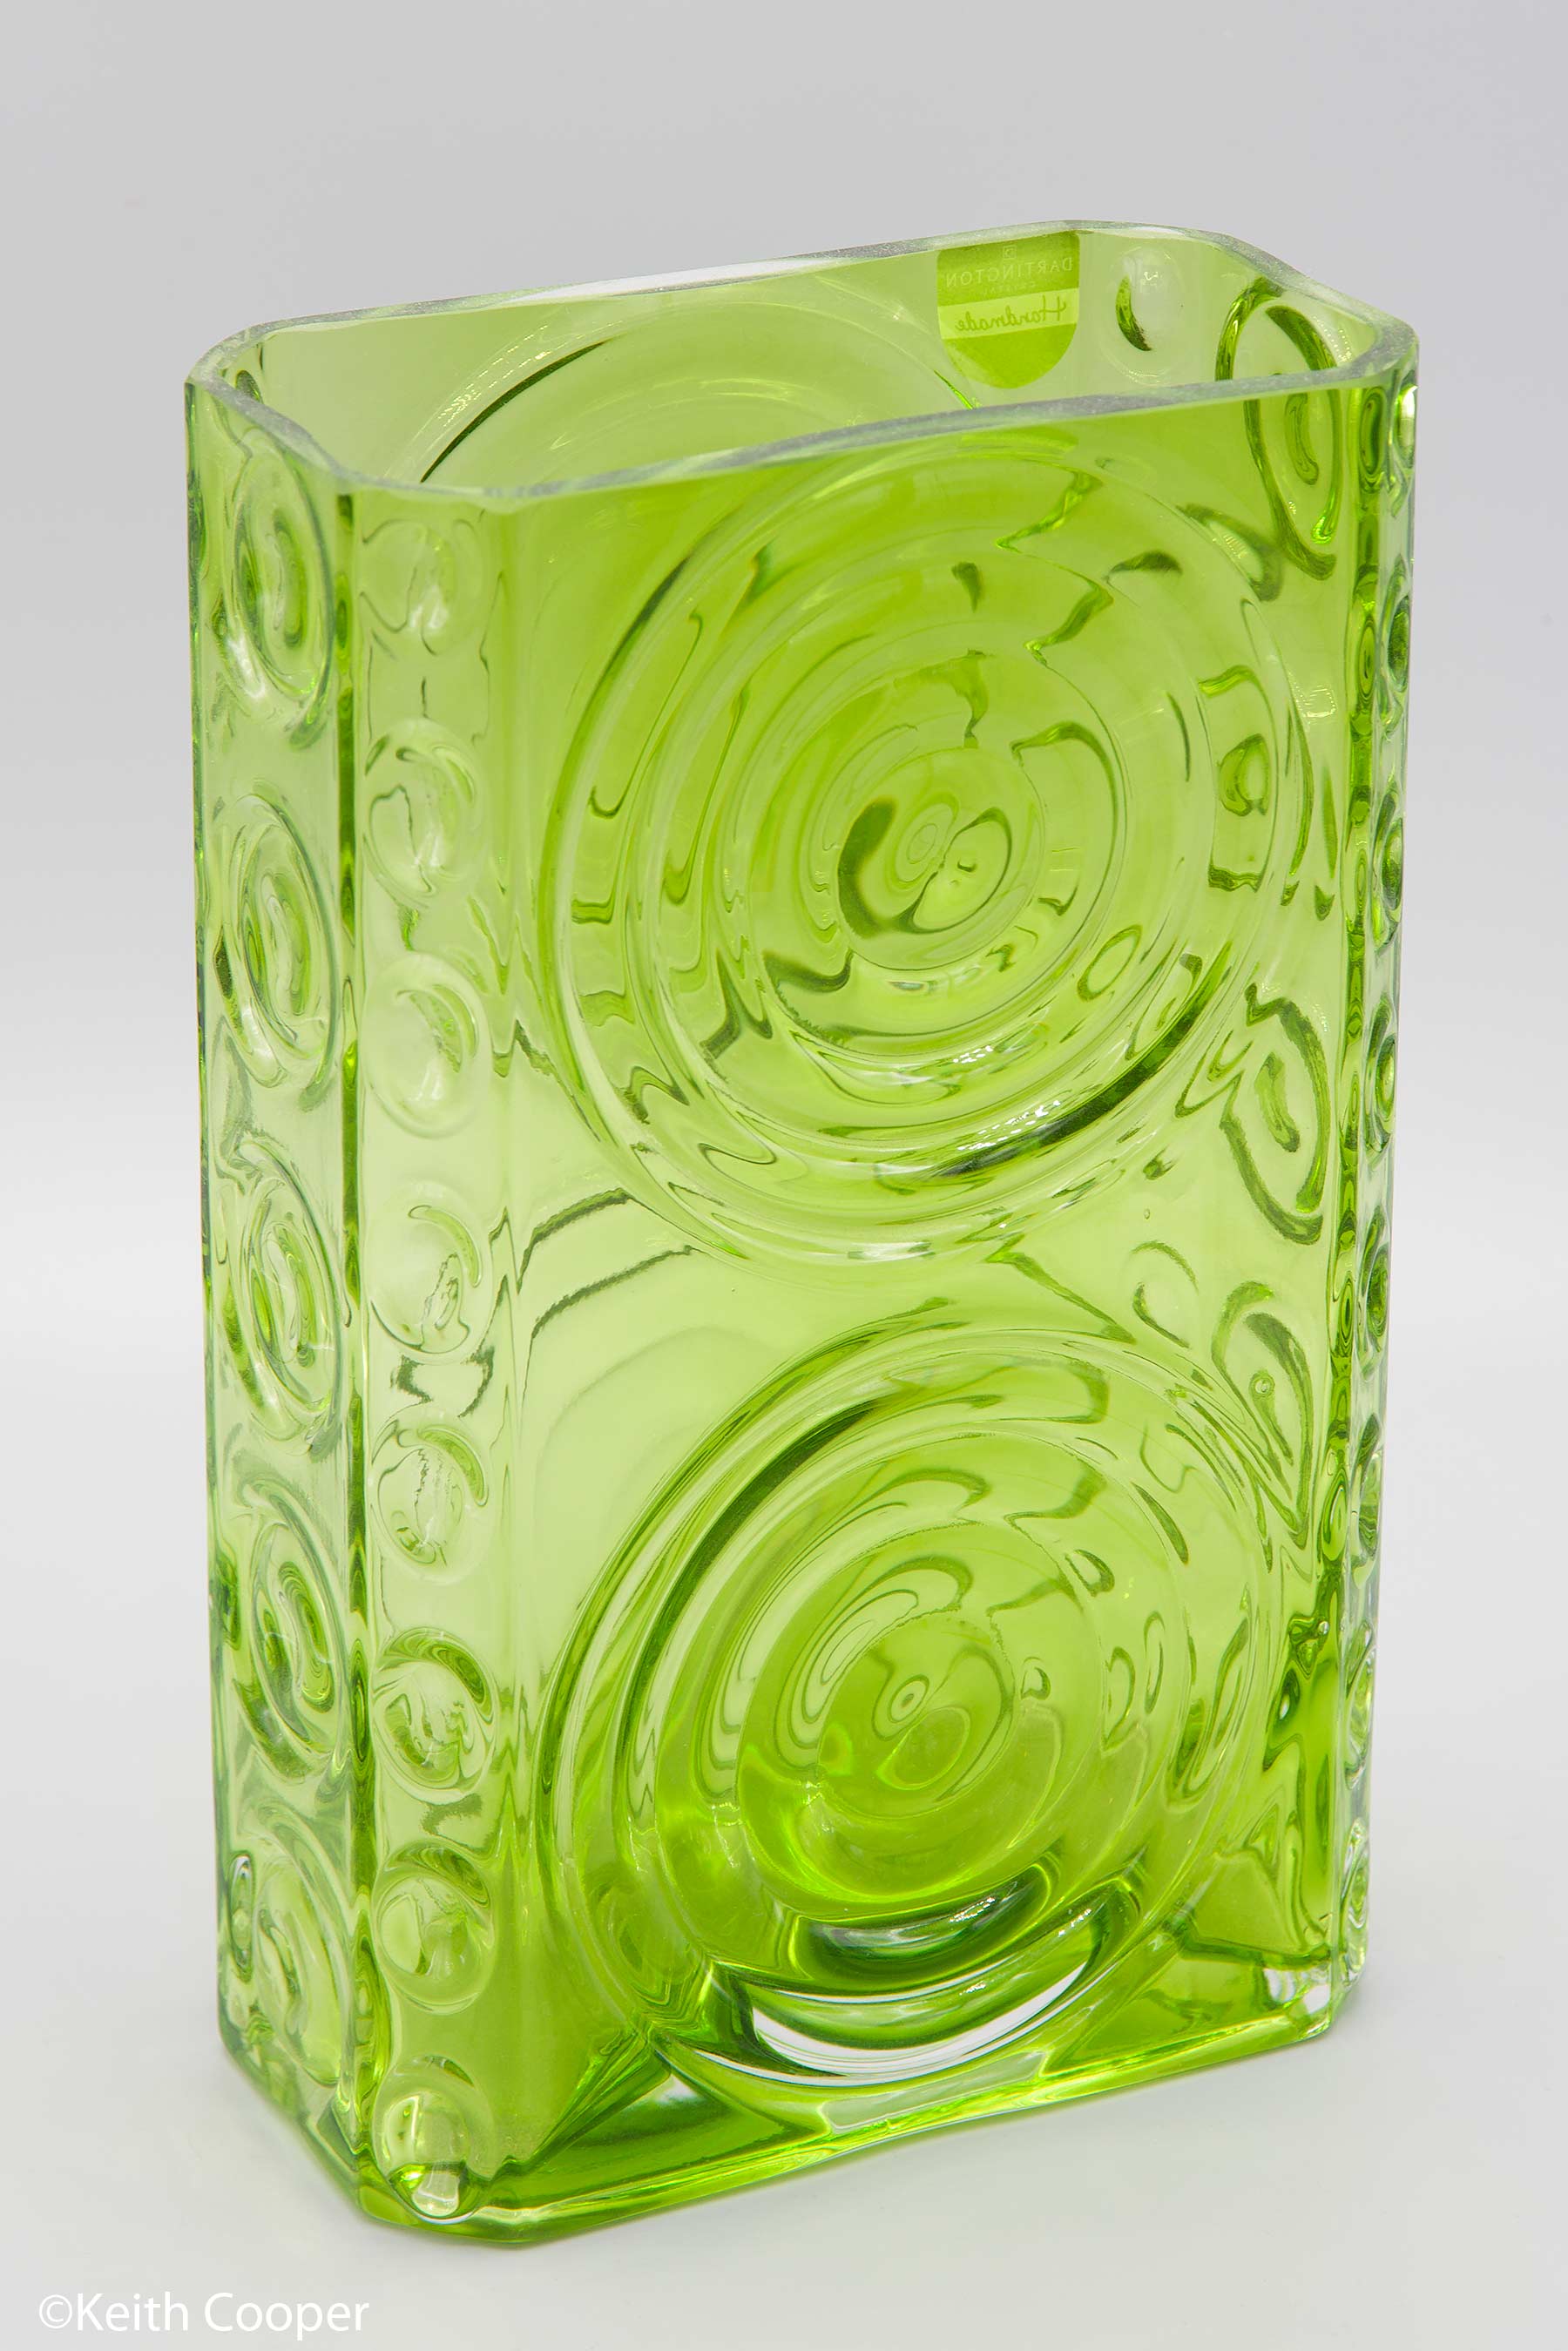
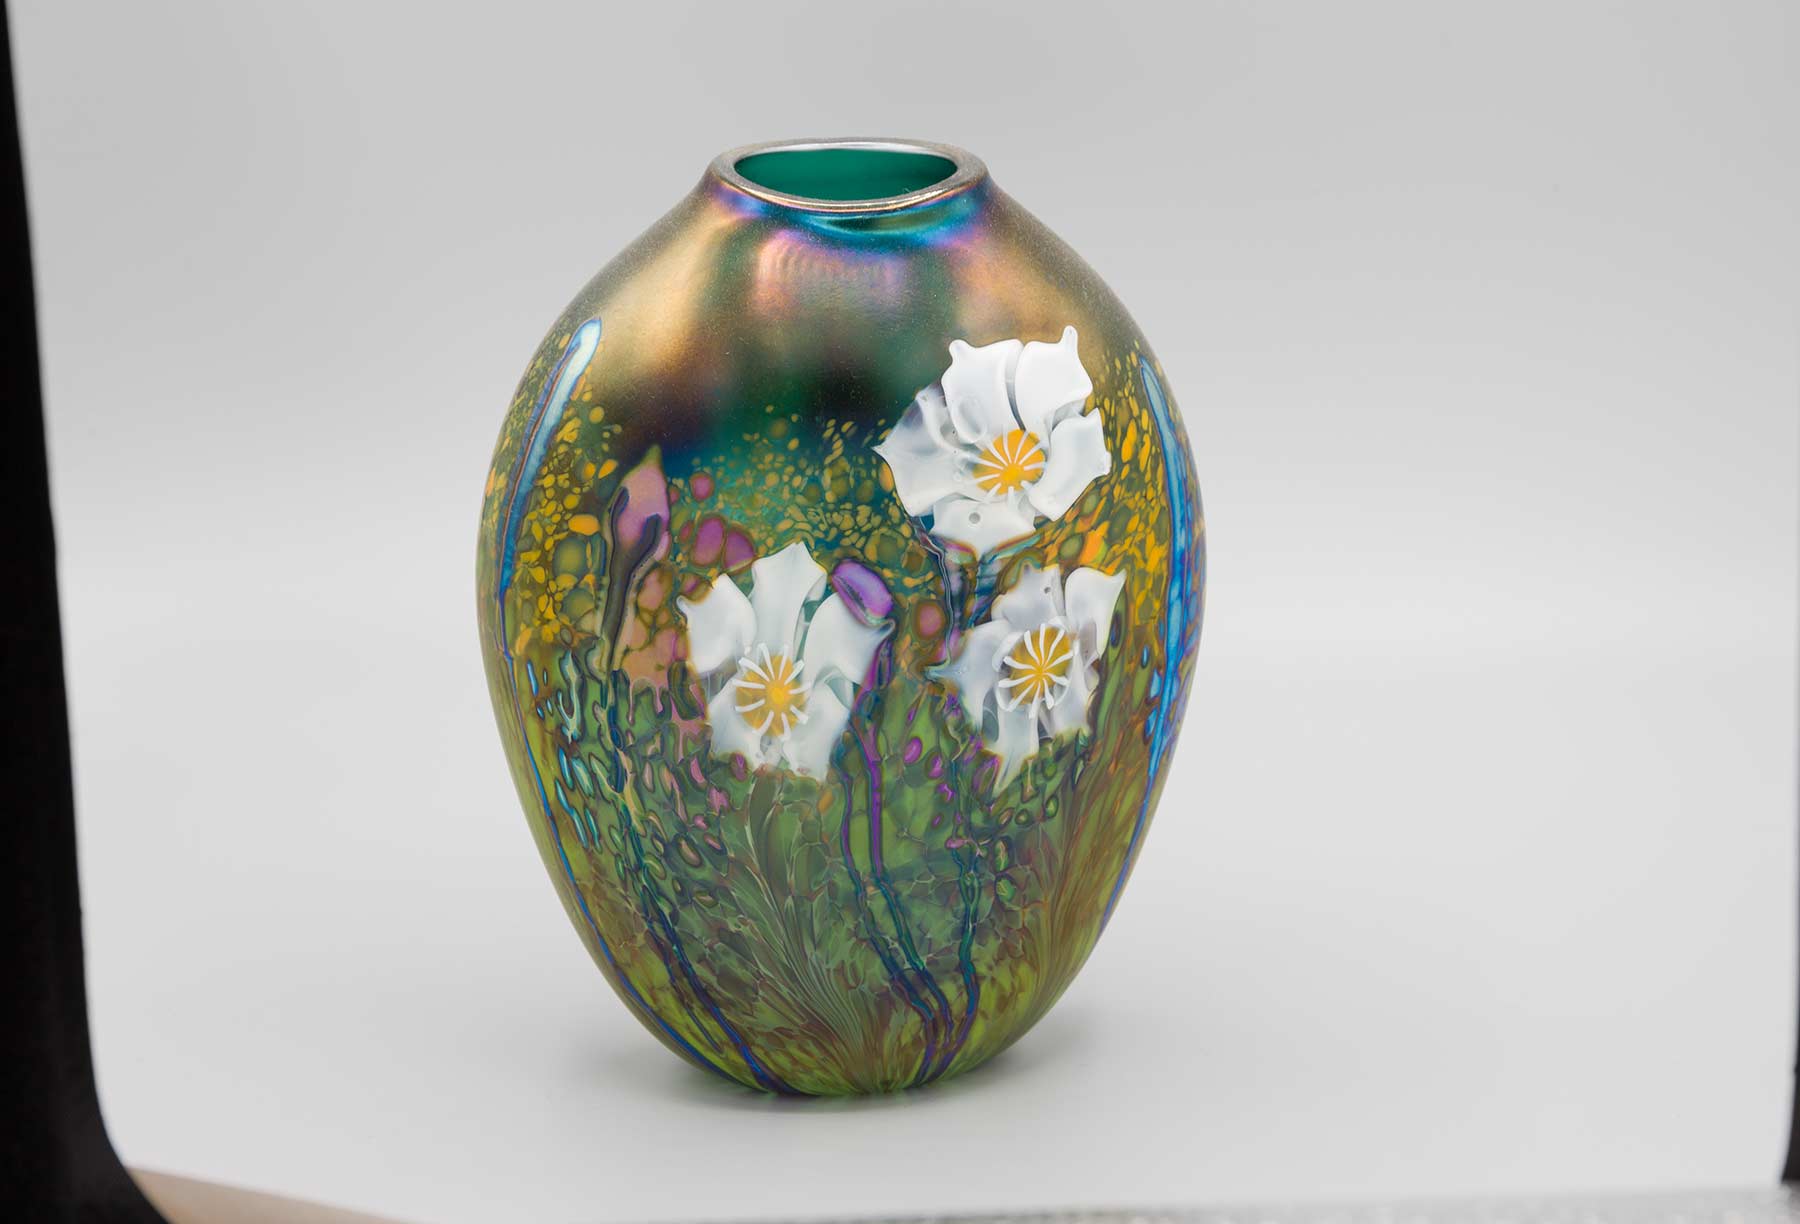
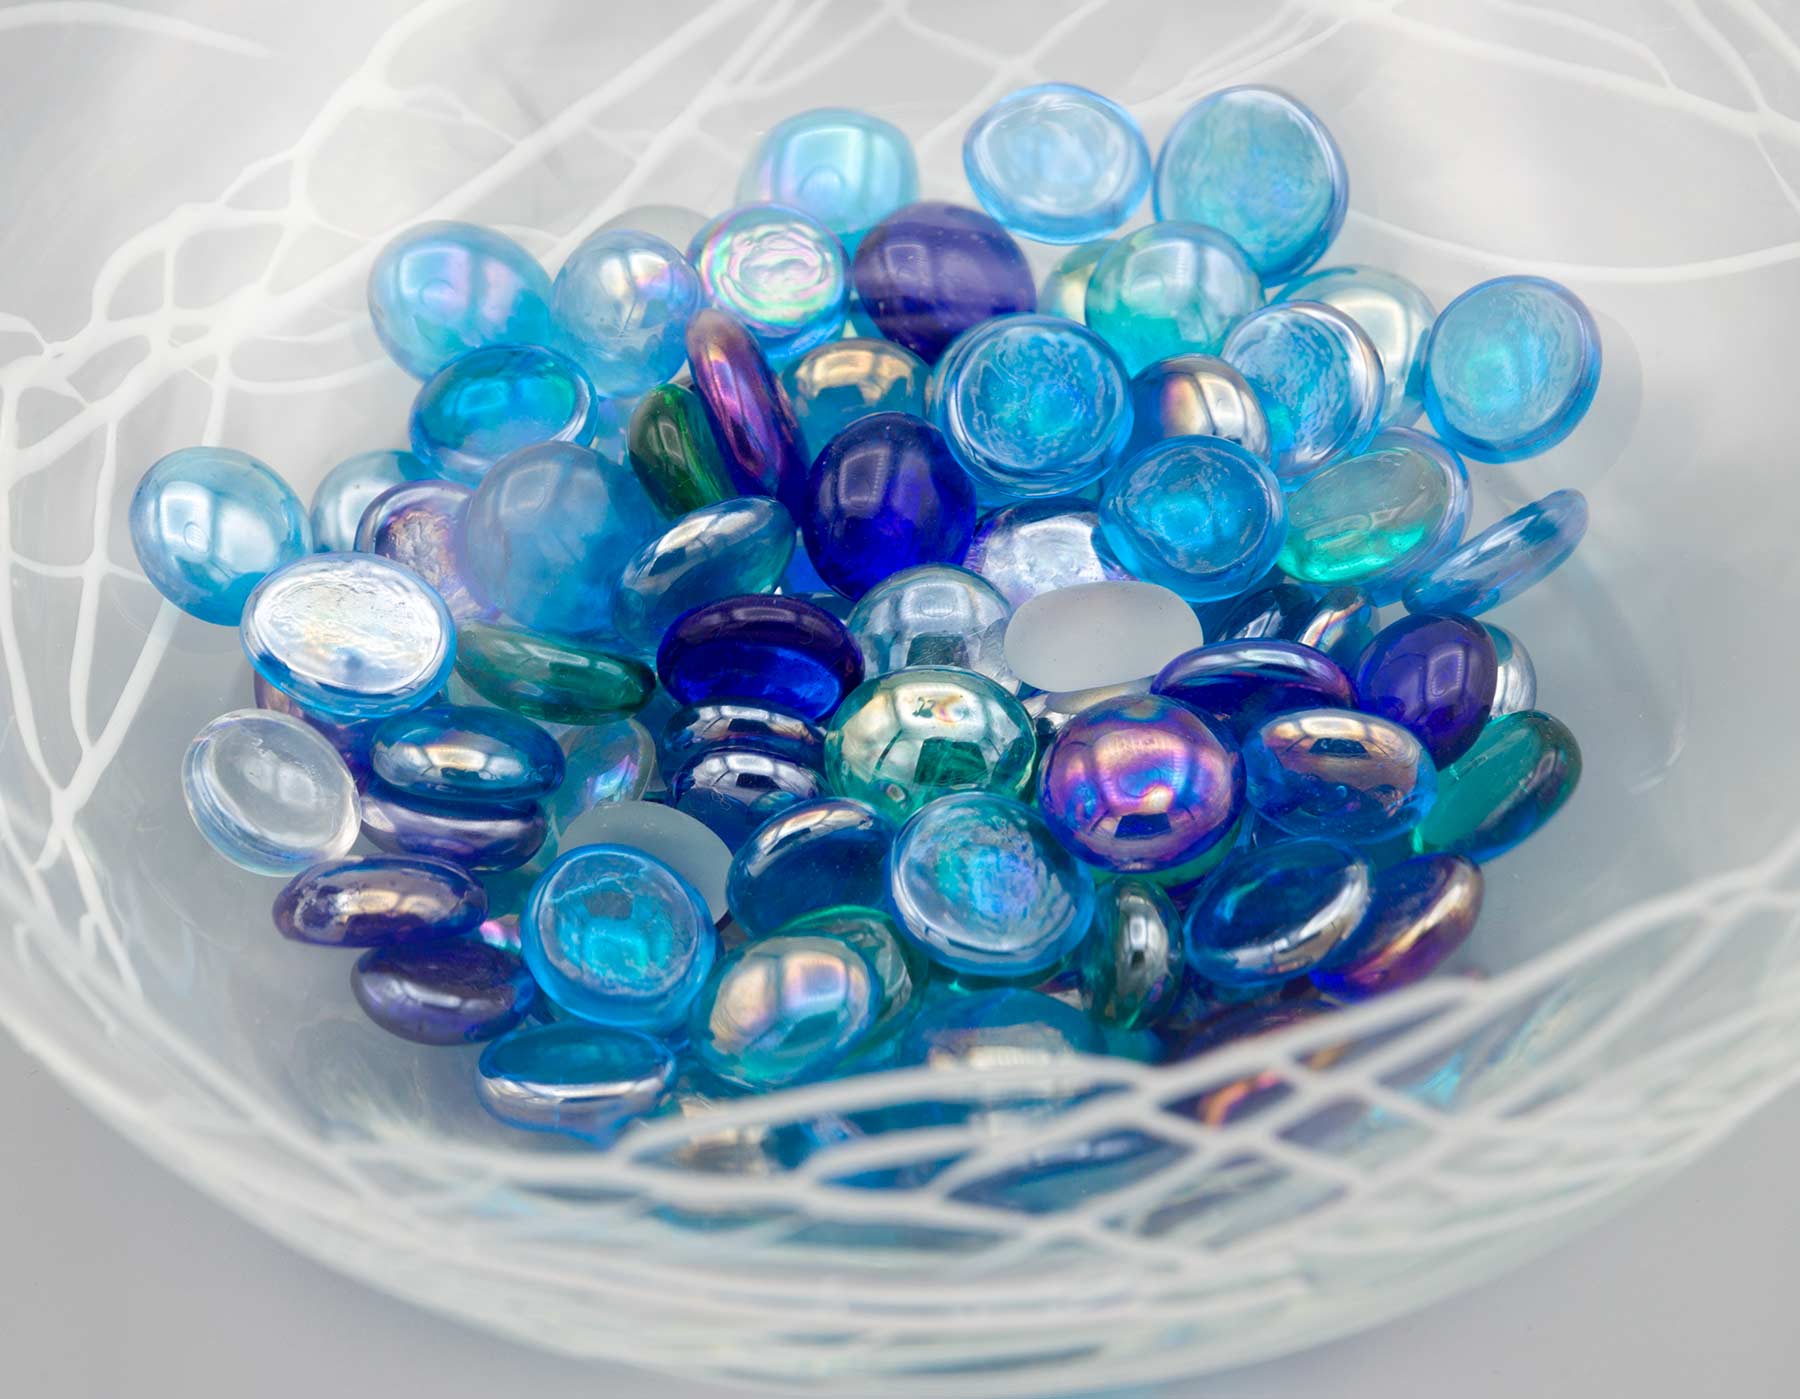
The diffusion softens shadows, as can be seen above and in these two photos of one of my old film cameras.
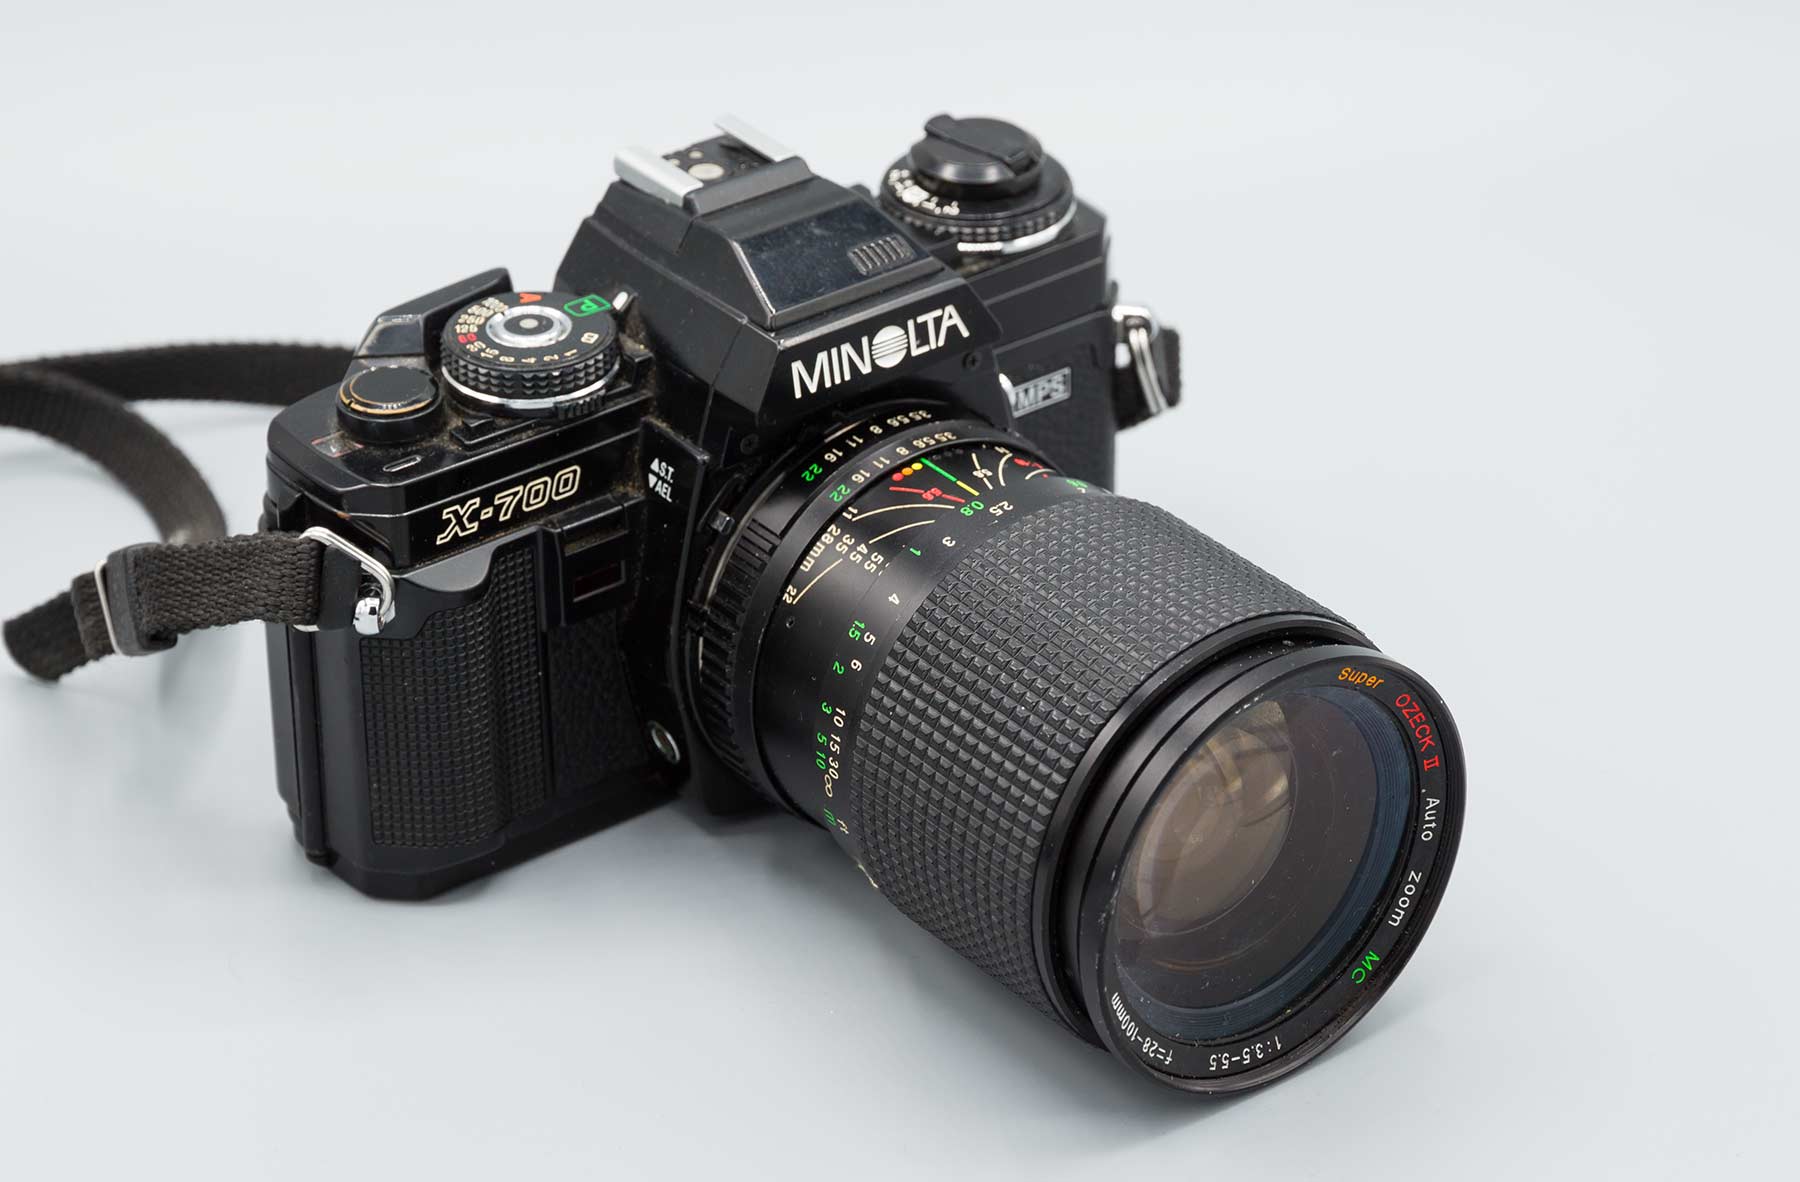
The Minolta X700 (light not diffused – harder shadow)
If you’re curious, see this article about why I still resist the temptation to go back to film
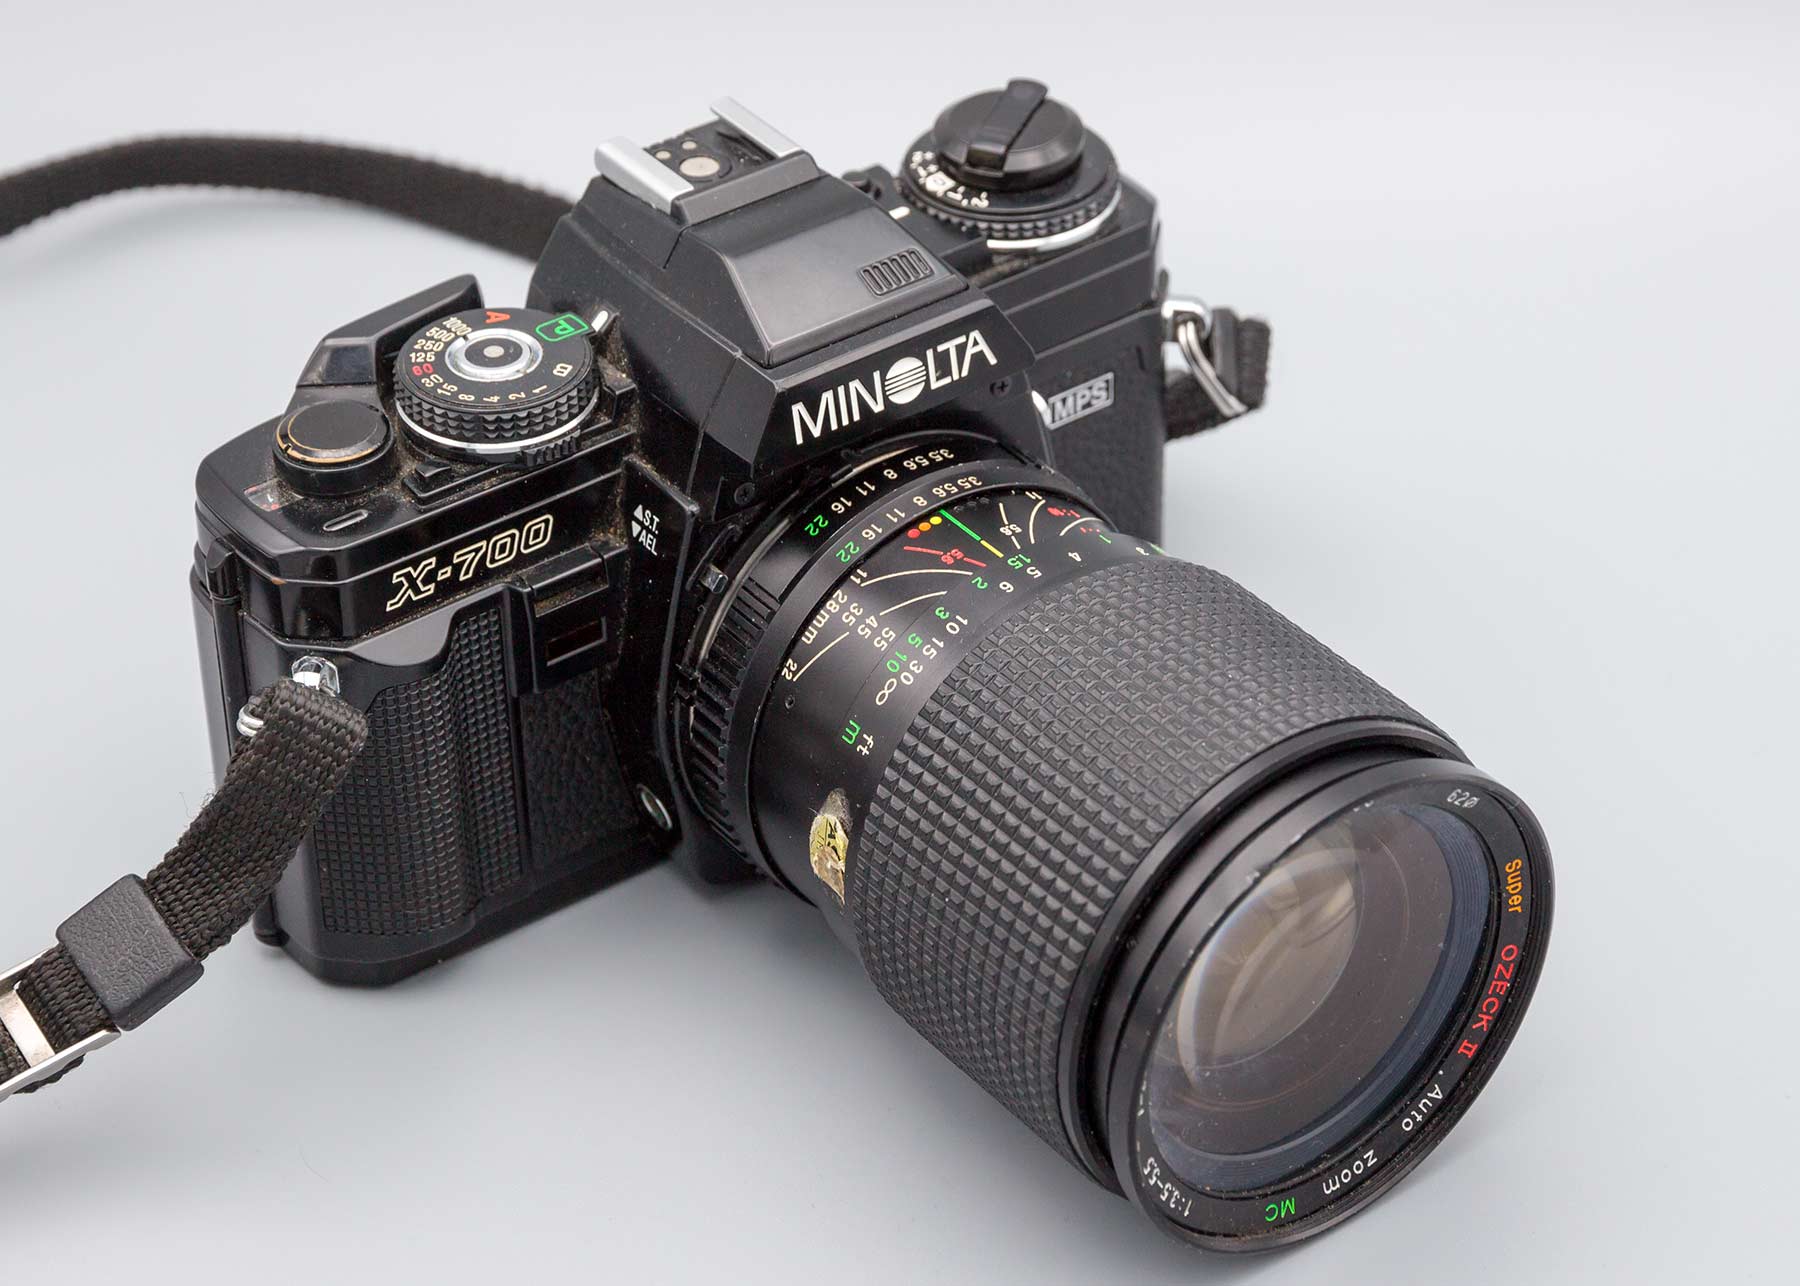
Note in several of the photos above, how the background isn’t quite the same colour?
Fixing that is why colour management is an important part of my photography workflow.
Colour reproduction in the Portable Photo Studio Box
The simplest way to improve colour is to use a photographic grey card to set the white balance for your camera. Just be aware that the colour of the backdrop may impinge on this (the grey is not quite a true grey for example). It’s easy to do, even if you’re only shooting JPEG files with your camera.
However I prefer to also allow for the uneven colour reproduction that always appears (to varying degrees) with LED lighting.
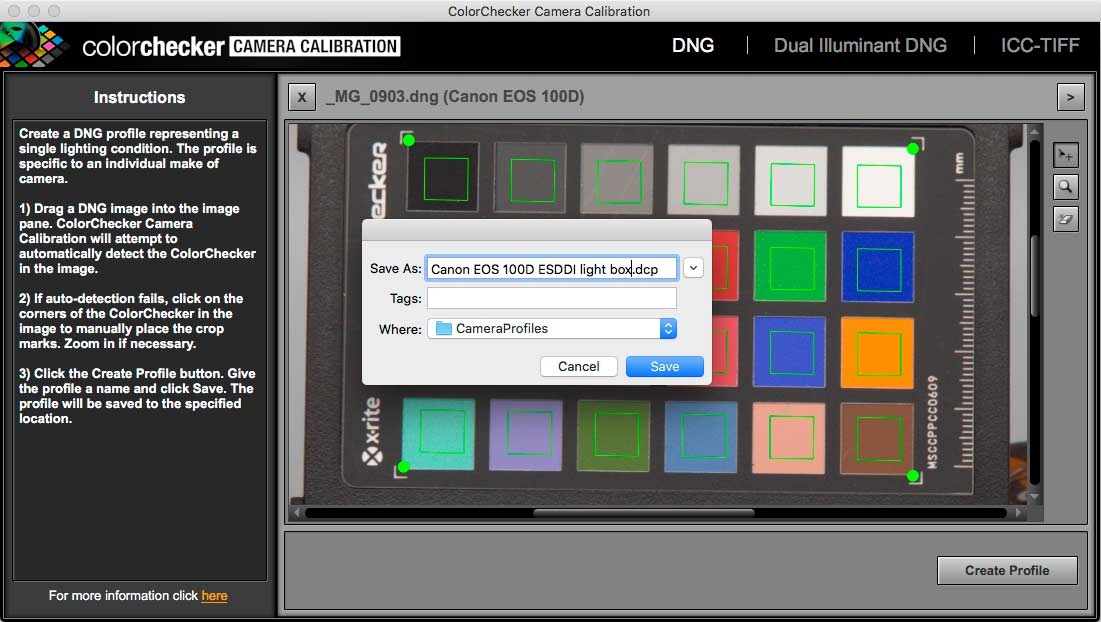
I’m going to use the photo of the colorchecker card that I took, to create a DNG custom profile for this lighting unit.
This is easy to do if you shoot RAW format files with your camera. The photo of the target is used to create a profile with the free X-Rite software. For details about this process see my recent review of the ESDDI ring light and my ColorChecker Passport review.
Here’s the RAW file opened up in Photoshop, with no correction.
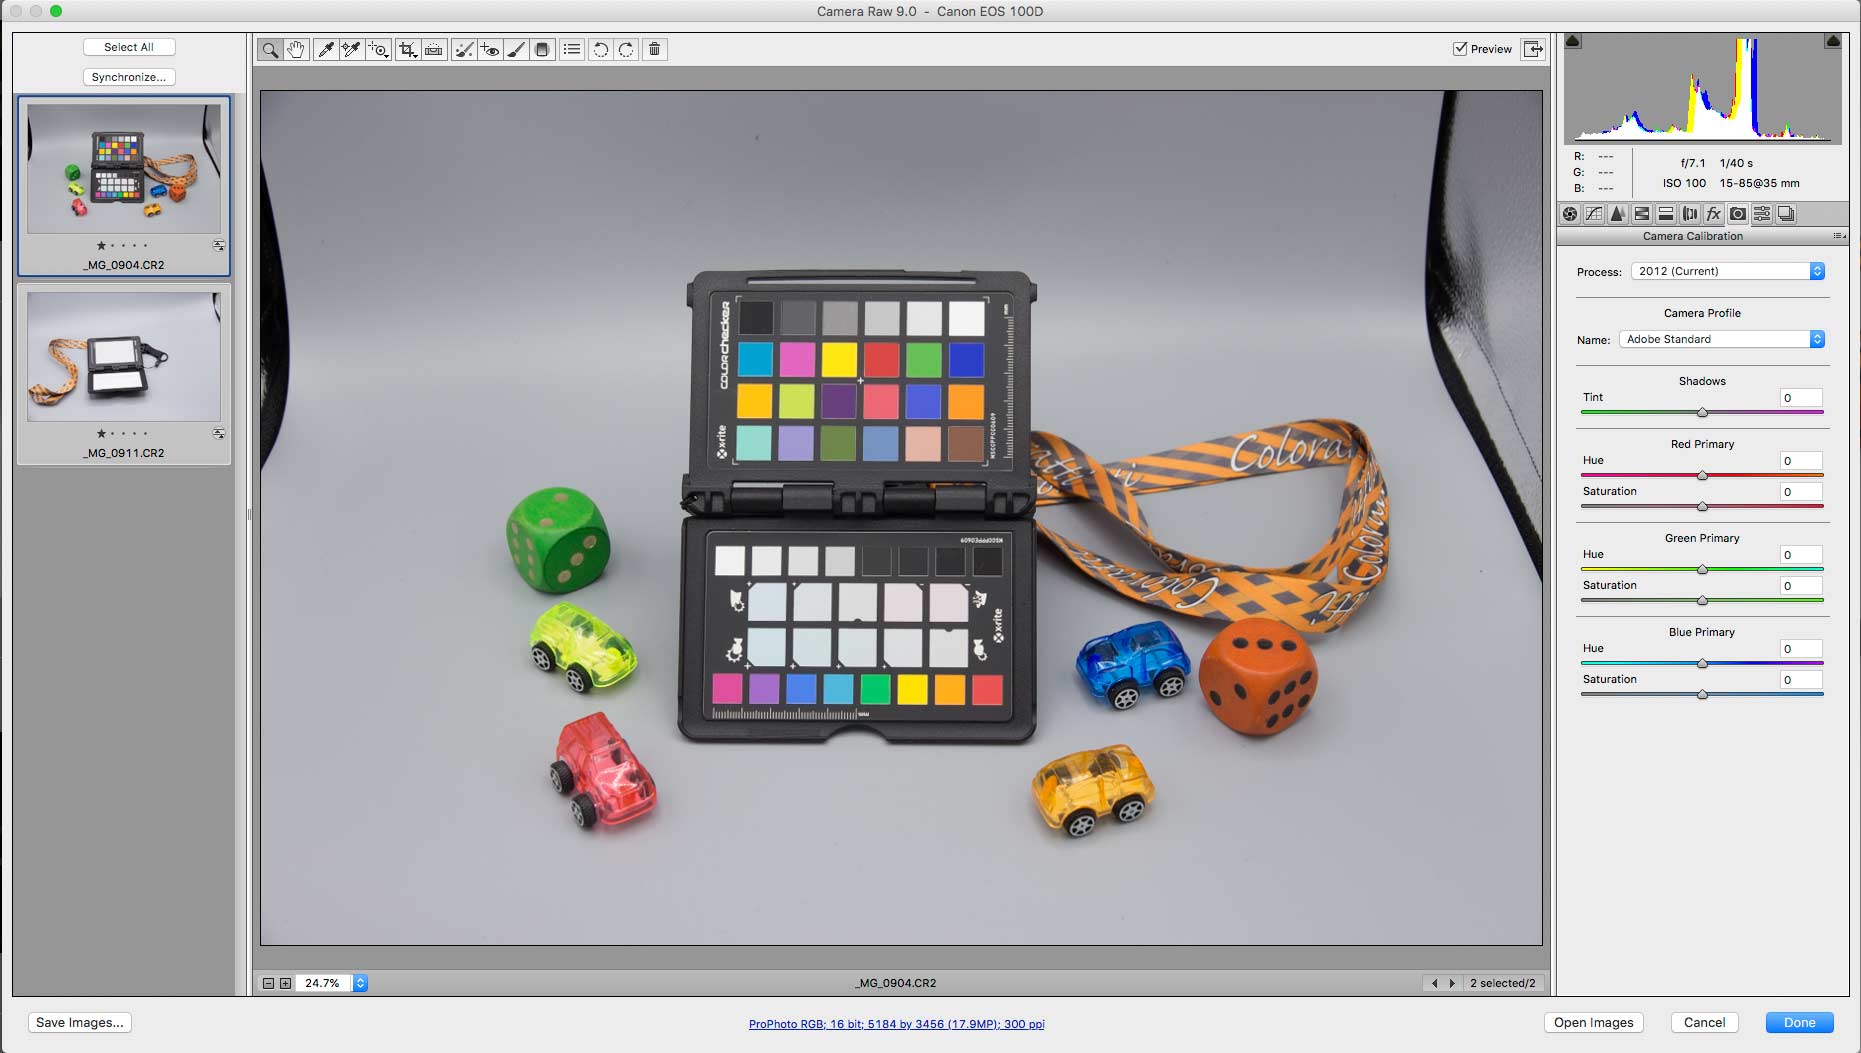
Here it is with the correction applied.
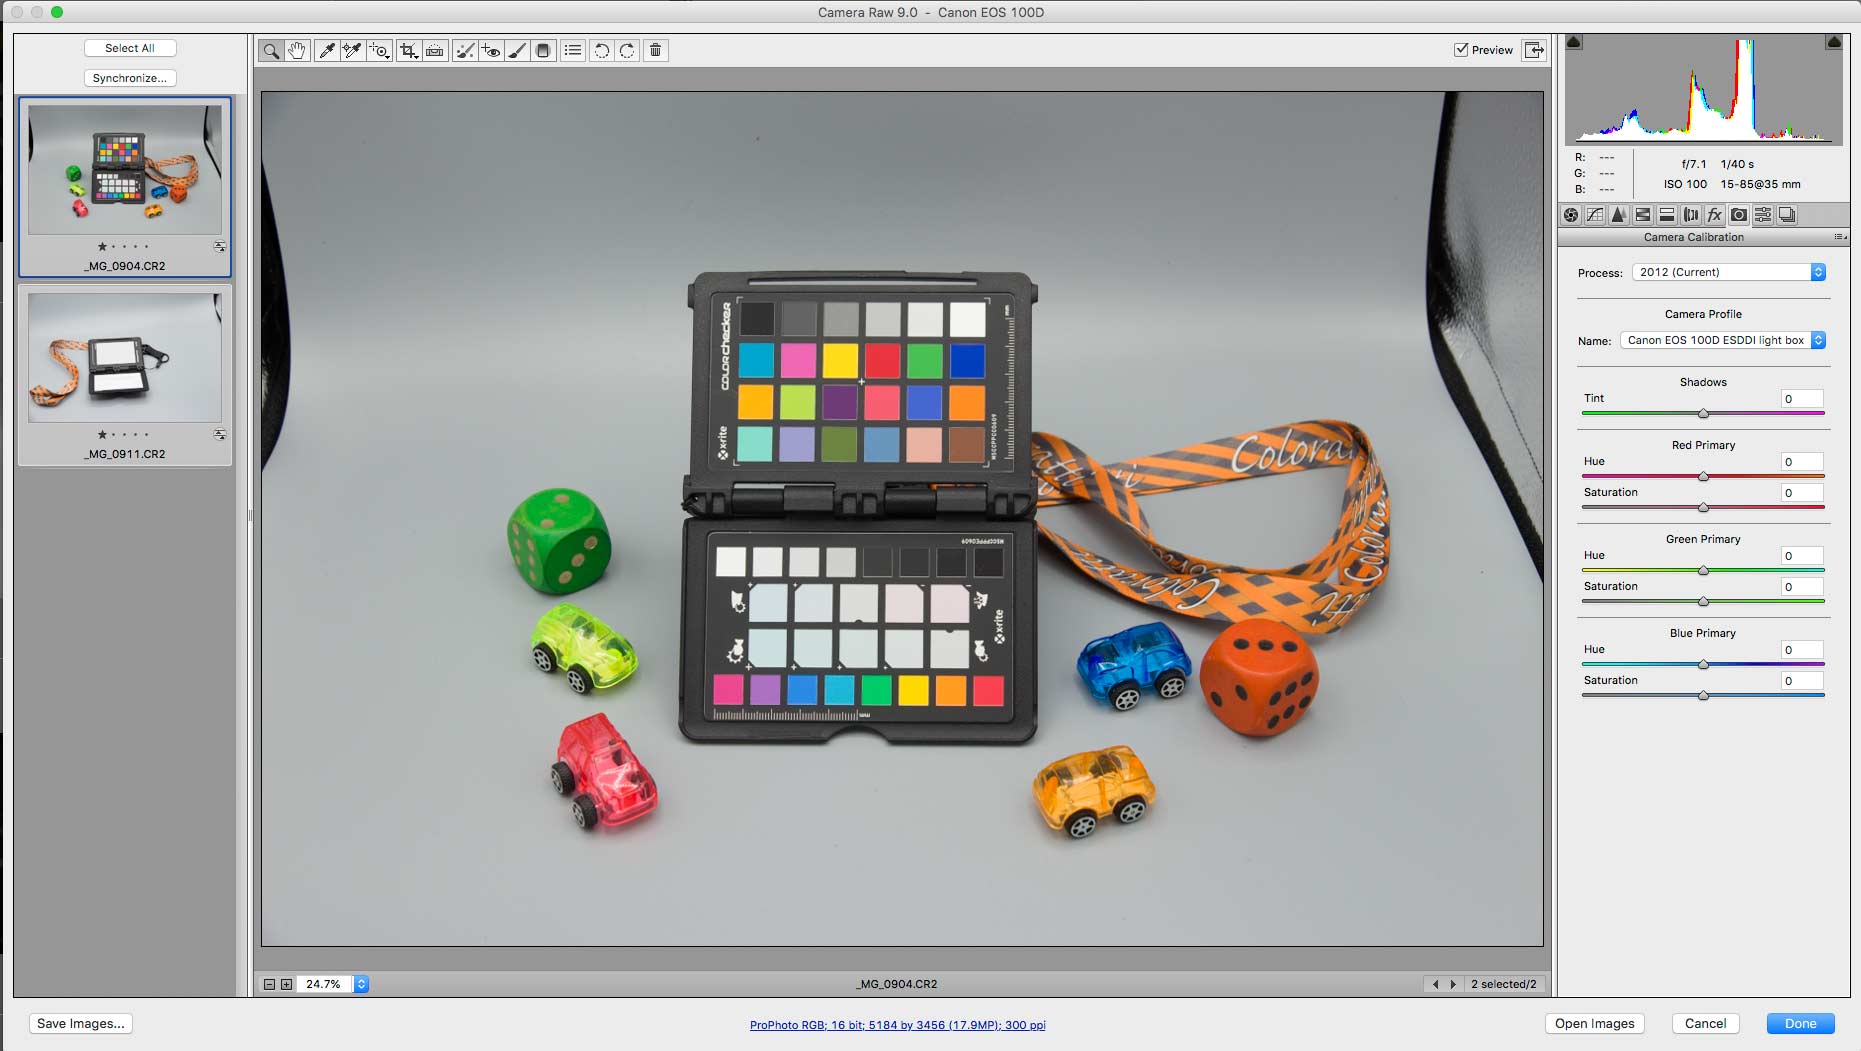
The differences may not be obvious, but look at this animated GIF which shows the before/after photos.
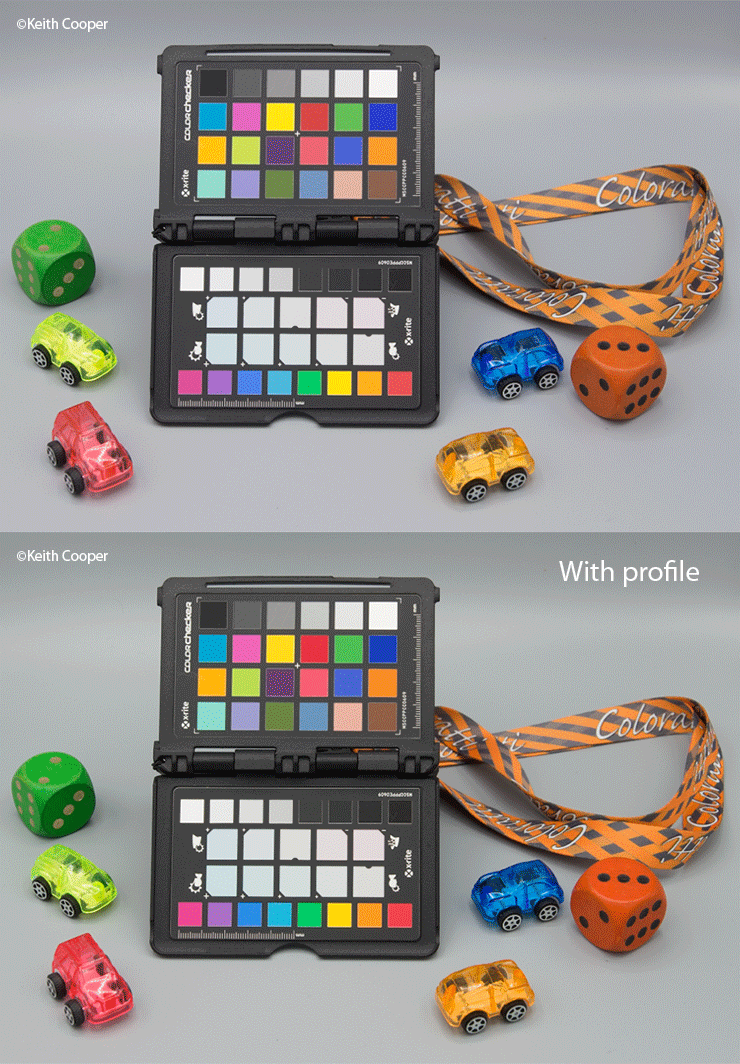
Look at some of the colour patches and you can see quite clear changes.
If you’re photographing products with distinct colours, then going to the trouble of making profiles can really lift your work. The nice thing is that you only need do this profiling once for your lighting setup.
For the technically curious, I also created a colour rendition report for the light. This uses the technique I described in my article about lighting CRI measurement with an i1 Pro spectrophotometer.
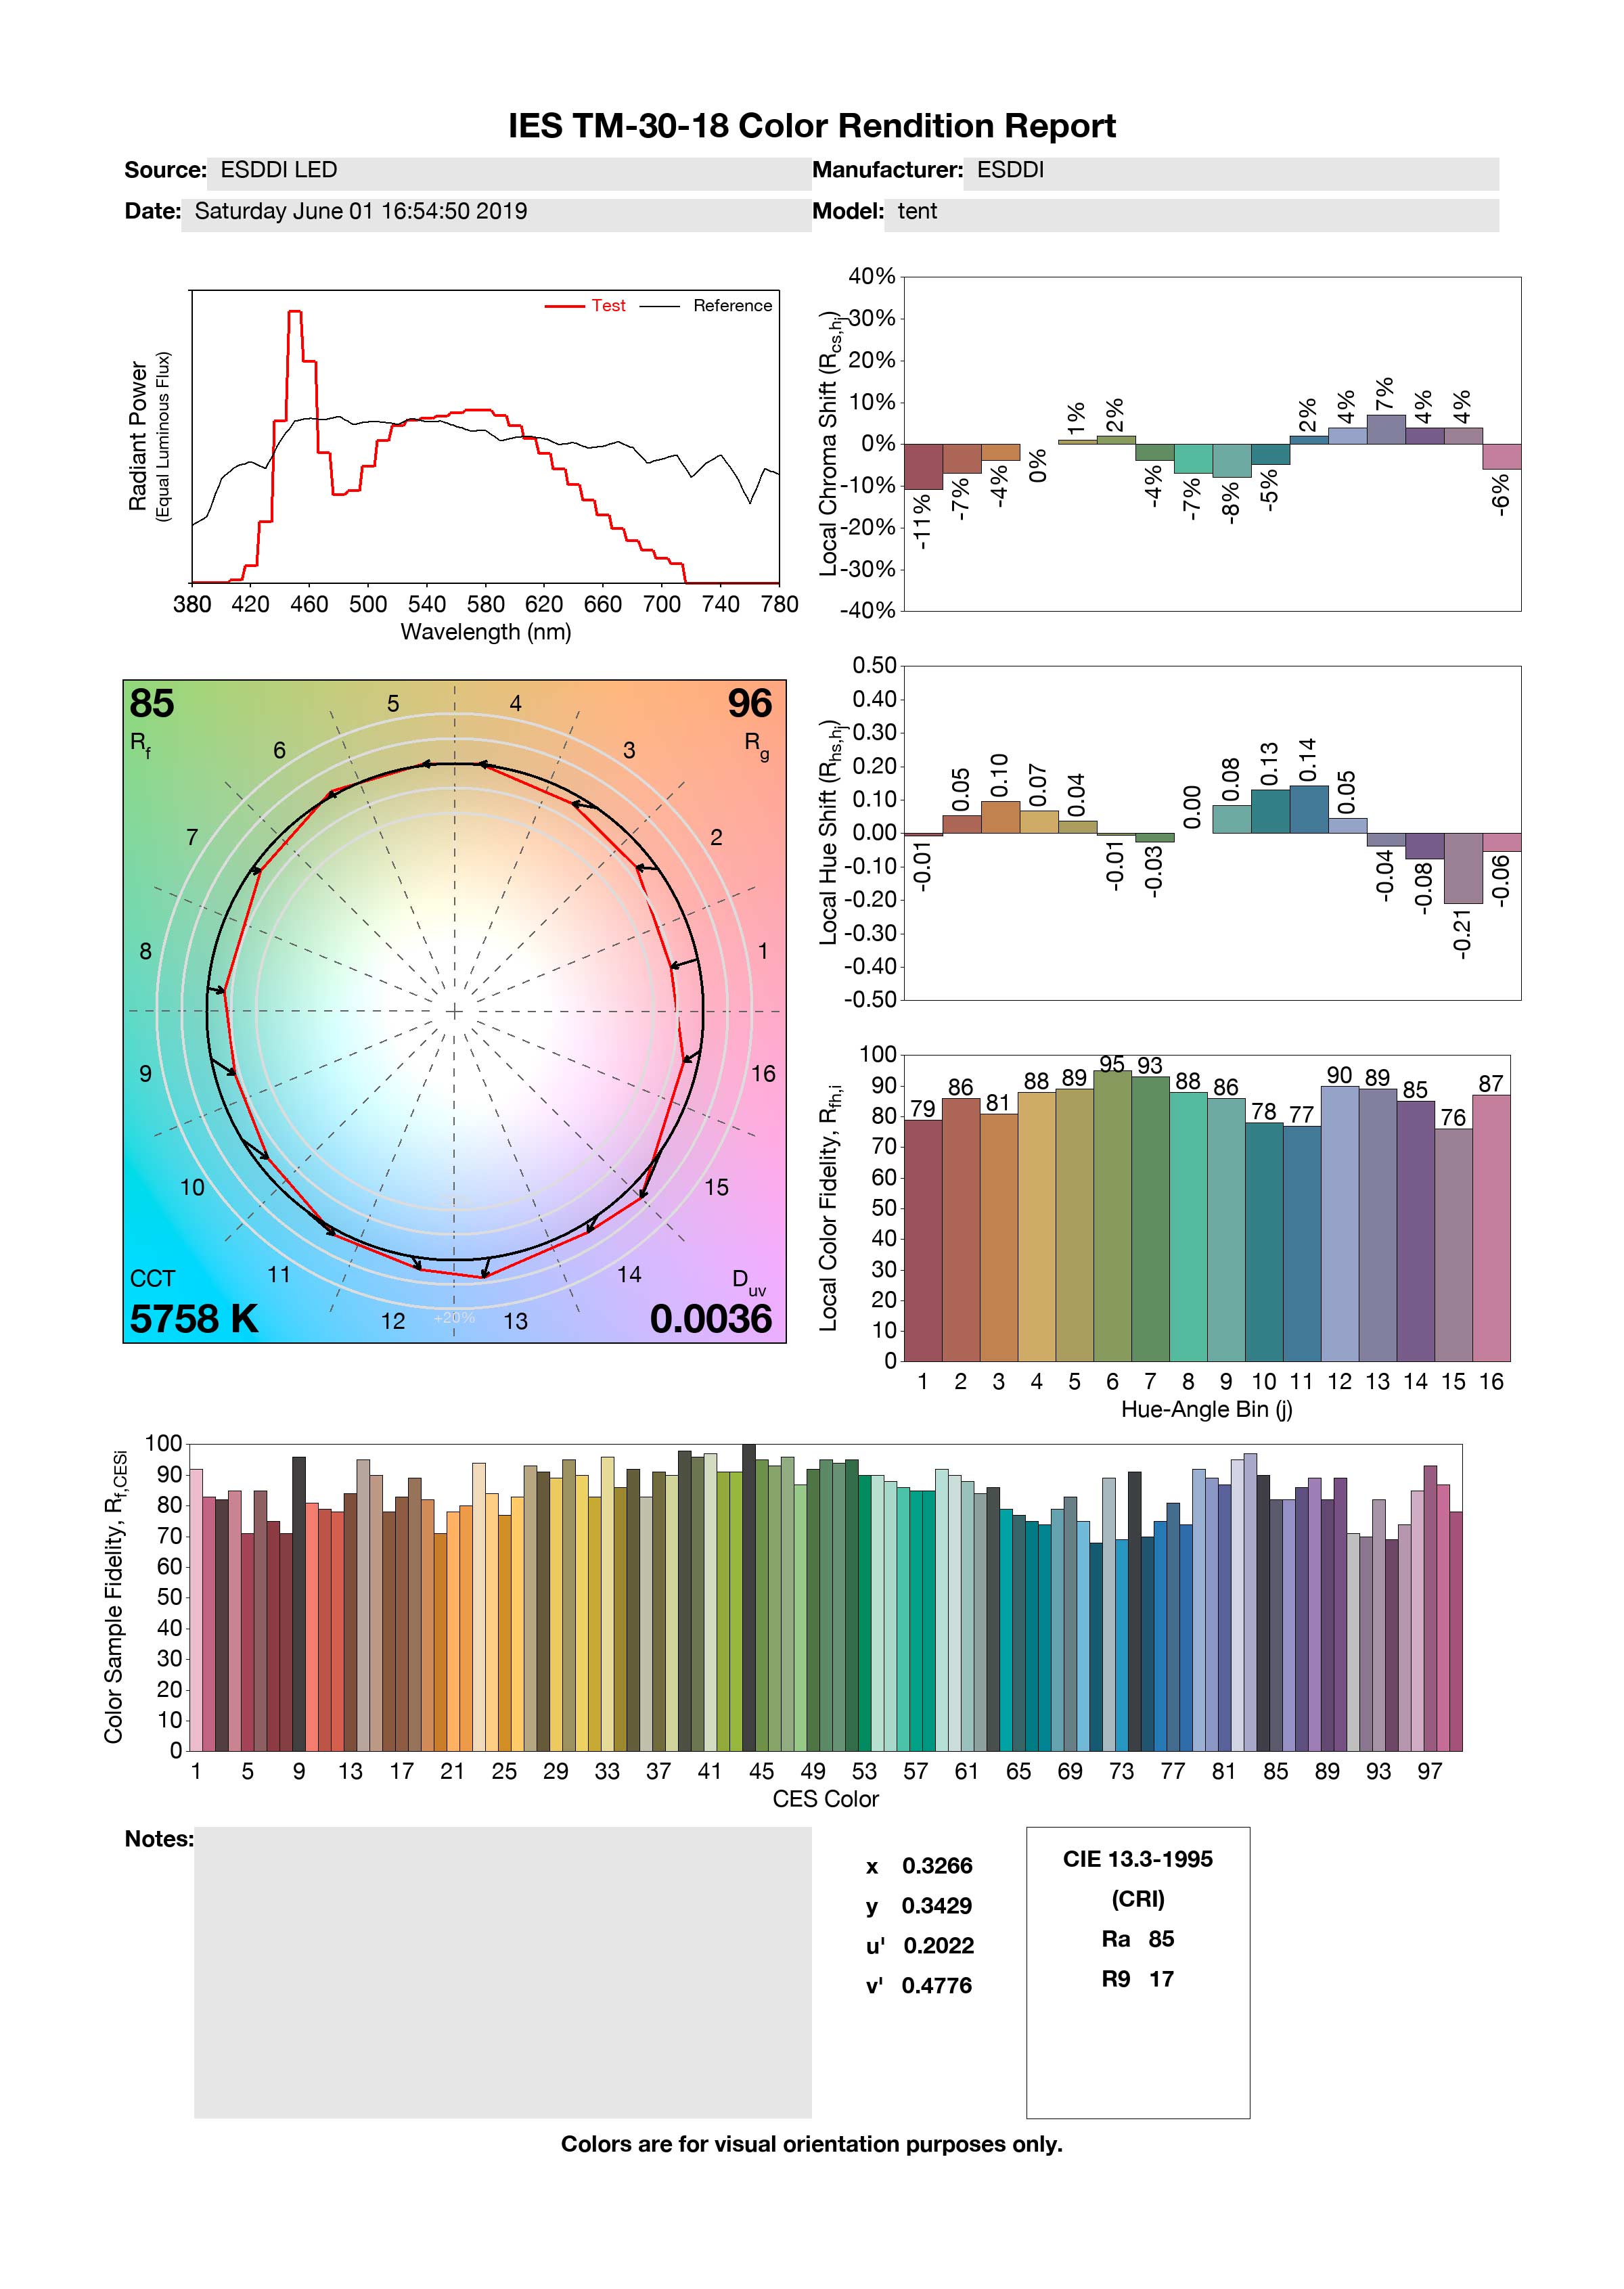
Conclusions: Portable Photo Studio Box
A simple to use light box with good quality internal lighting.
If you need to occasionally photograph smallish items in a consistent manner and don’t have the space to set up a dedicated studio area, then the ESDDI box might help. It’s possible to use the box on its side, so the circular aperture becomes a (square) ring light, but remember that the diffuser sheet needs to hang down away from the lighting, and that it stops you using the circular aperture.
Capable of good colour rendition when profiled, the light source gives a nice even coverage, especially when diffused.
The portable photo studio box kit is available from
Never miss a new article or review - Sign up for our occasional (ad-free) Newsletter
and please do subscribe to Keith's YouTube Channel

Other areas of our site that may be of interest...
All the latest articles/reviews and photo news items appear on Keith's Photo blog

Keith explains tilt and shift lenses
Keith has written a book that looks at the many ways that tilt/shift lenses can benefit your photography from a technical and creative point of view. If not in the UK check for import issues and maybe try an on-line bookshop. Keith has no connection with sales of the book.
ISBN 9781785007712
There is also a specific index page on the site with links to all Keith's articles, reviews and videos about using tilt and shift.
We've a whole section of the site devoted to Digital Black and White photography and printing. It covers all of Keith's specialist articles and reviews. Other sections include Colour management and Keith's camera hacks - there are over 1200 articles/reviews here...
Adverts removed
Keith | Jul 24, 2020 at 10:55 pm
Thanks that’s good to note – I did discover a few more features after the review was finished. It’s rather effective for its size.
Patricia Nixon | Jul 24, 2020 at 10:35 pm
Hi there! Just a heads up; if you pull the opening of the white sheet through the top hole, it has velcro on the back to hold it to the top. That pulls it up tighter so it’s not hanging down like that.