


Topaz Gigapixel AI V6 testing
Topaz Gigapixel AI V6
Image re-sizing software tested

No more Google ads. Too many deceptive and irritating adverts.
Any ad links left are non tracking, to companies we know, trust and we've worked with for years [Park Cameras]
Ads helped pay for site running costs, so if you found something useful, please
...Make small KoFi donation?
...Subscribe to Keith's YouTube Channel
...Get Keith's book about how to use tilt/shift lenses
Our site contains affiliate links - these help support the site. See our Advertising policies for more
Topaz have announced Gigapixel AI V6 – and update for their image enlargement software.
The new version offers performance updates and some additional features. It includes native M1 support on new Macs.
There’s a Fully functional demo available
Use our discount code ‘Northlight’ for an additional discount on some promotions (it also helps support the site)

I’ve reviewed a lot of Topaz’s image processing software in quite some detail and there are some interesting features – for more info see the Topaz Category in the dropdown menu to the right.
I’ve some usage notes below, but for examples of my own practical uses of the software see my articles about
- Resizing an old image for a large print
- Printing low megapixel images
- My original testing and review of the software
Gigapixel AI has been an important part of my ‘Large Print’ processing toolbox since it first came out in 2018. It also helps with the smaller images I use when putting together these articles.
Topaz Gigapixel AI V6
Major Changes
- Native Apple M1 support
- Drag and drop DMG installer for mac
- Updated visual theme
- Batch model downloading option
Improvements
- Reduced Very compressed model pixel shift
- Reduced GPU memory usage when face refinement enabled
- Reduced installer size
- Allowed expanding file list to show >3 files
- Cleaner edges on transparent images
The changes in ‘Models’ mean that you may want to experiment with optimum settings for images again.
Depending on hardware, this version can give appreciable improvements in speed. Here it is making pretty effective use of my oldish graphics card.
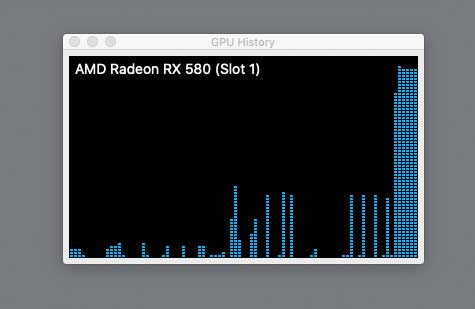
Other changes
This one won’t run on my old MacBook Pro any more (stuck at 10.13) but I only ever use an old version in some demos I run when teaching.
Notes
- This version of Gigapixel AI requires MacOS 10.14 or Windows 10 (or higher). It is not supported on MacOS 10.13 or Windows 7/8.
- If you use Gigapixel AI as a plugin to Photoshop or Lightroom Classic on Mac, once you install this update, please do the following:
1 Quit Photoshop and/or Lightroom Classic completely
2 Gigapixel AI should open by itself after installing the update. Your plugin configurations should now be reset. Follow any prompts displayed relating to installing plugins.
Using Gigapixel AI V6
Although some aspects of the look and feel of the software have changed over the years, the basic elements of using it are still the same as I explored in my original detailed review. Performance has increased and there are more processing models than before
If you have an original source image (a RAW file) then careful considerations to processing and sharpening it can have noticeable differences in eventual image quality.
For large prints a composite approach may be better, as I’ve looked at in these two specific articles.
Since I first tested the software, I’ve moved to the latest Photoshop and a faster Mac and Graphics card, but big files can still take a while to process.
Smaller images
Where the software has showed itself very useful is in its handling of smaller JPEG files. Although there was a complete re-write of this site in 2015, a lot of articles still have smaller images than I’d choose today. After a computer crash a while ago, some of the source materials for articles were lost. For my own images I can go back to the original RAW files (all very solidly backed up), but many screen shots and the like were lost.
Gigapixel AI V6 works really well is dealing with noise and JPEG artefacts.
This image (1200 px wide – click to expand) is from a review of the Canon 7D mk2 some time ago.
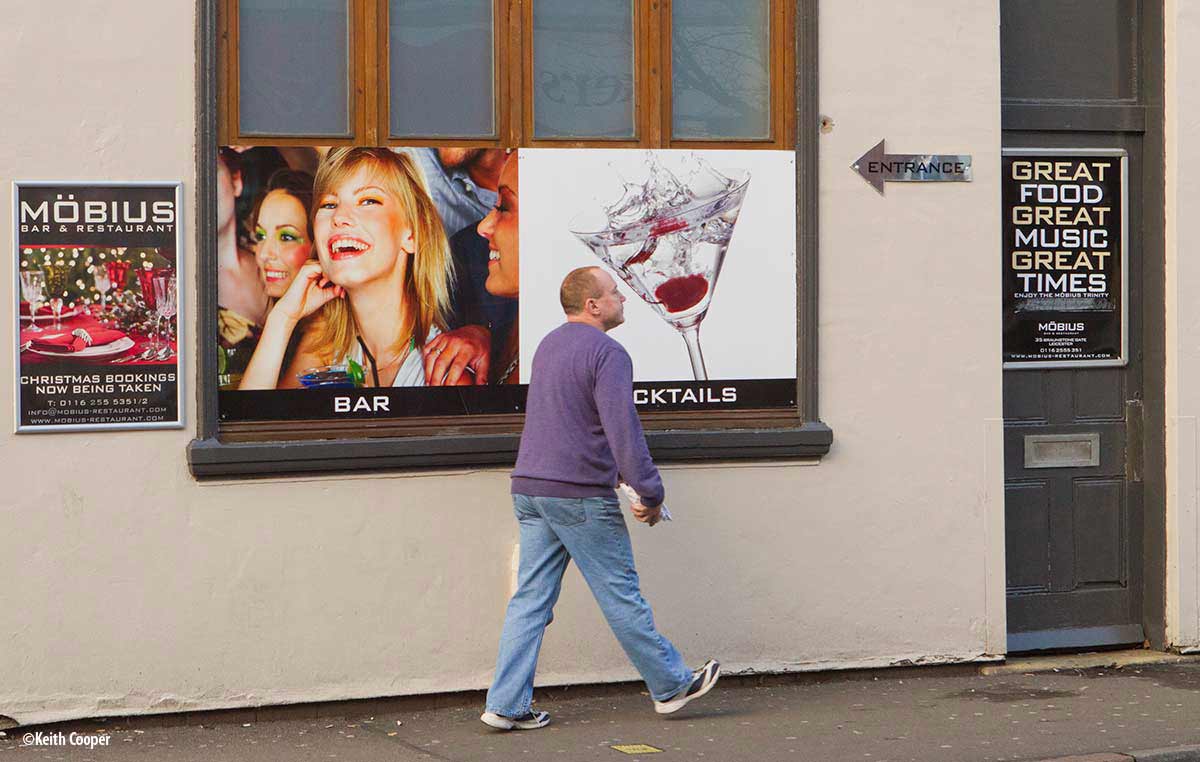
It’s OK for web use, but gives a good example of how the processing works.
Click to enlarge and see the JPEG artefacts which are removed.
At 6x enlargement the interpolation is impressive

Raw files
Gigapixel AI V4 handles some RAW camera files and exports them as expanded DNG files. Note that there are no image adjustment capabilities here, so you will need to process your RAW files. The enlargement process can change what settings you might consider best for the image.
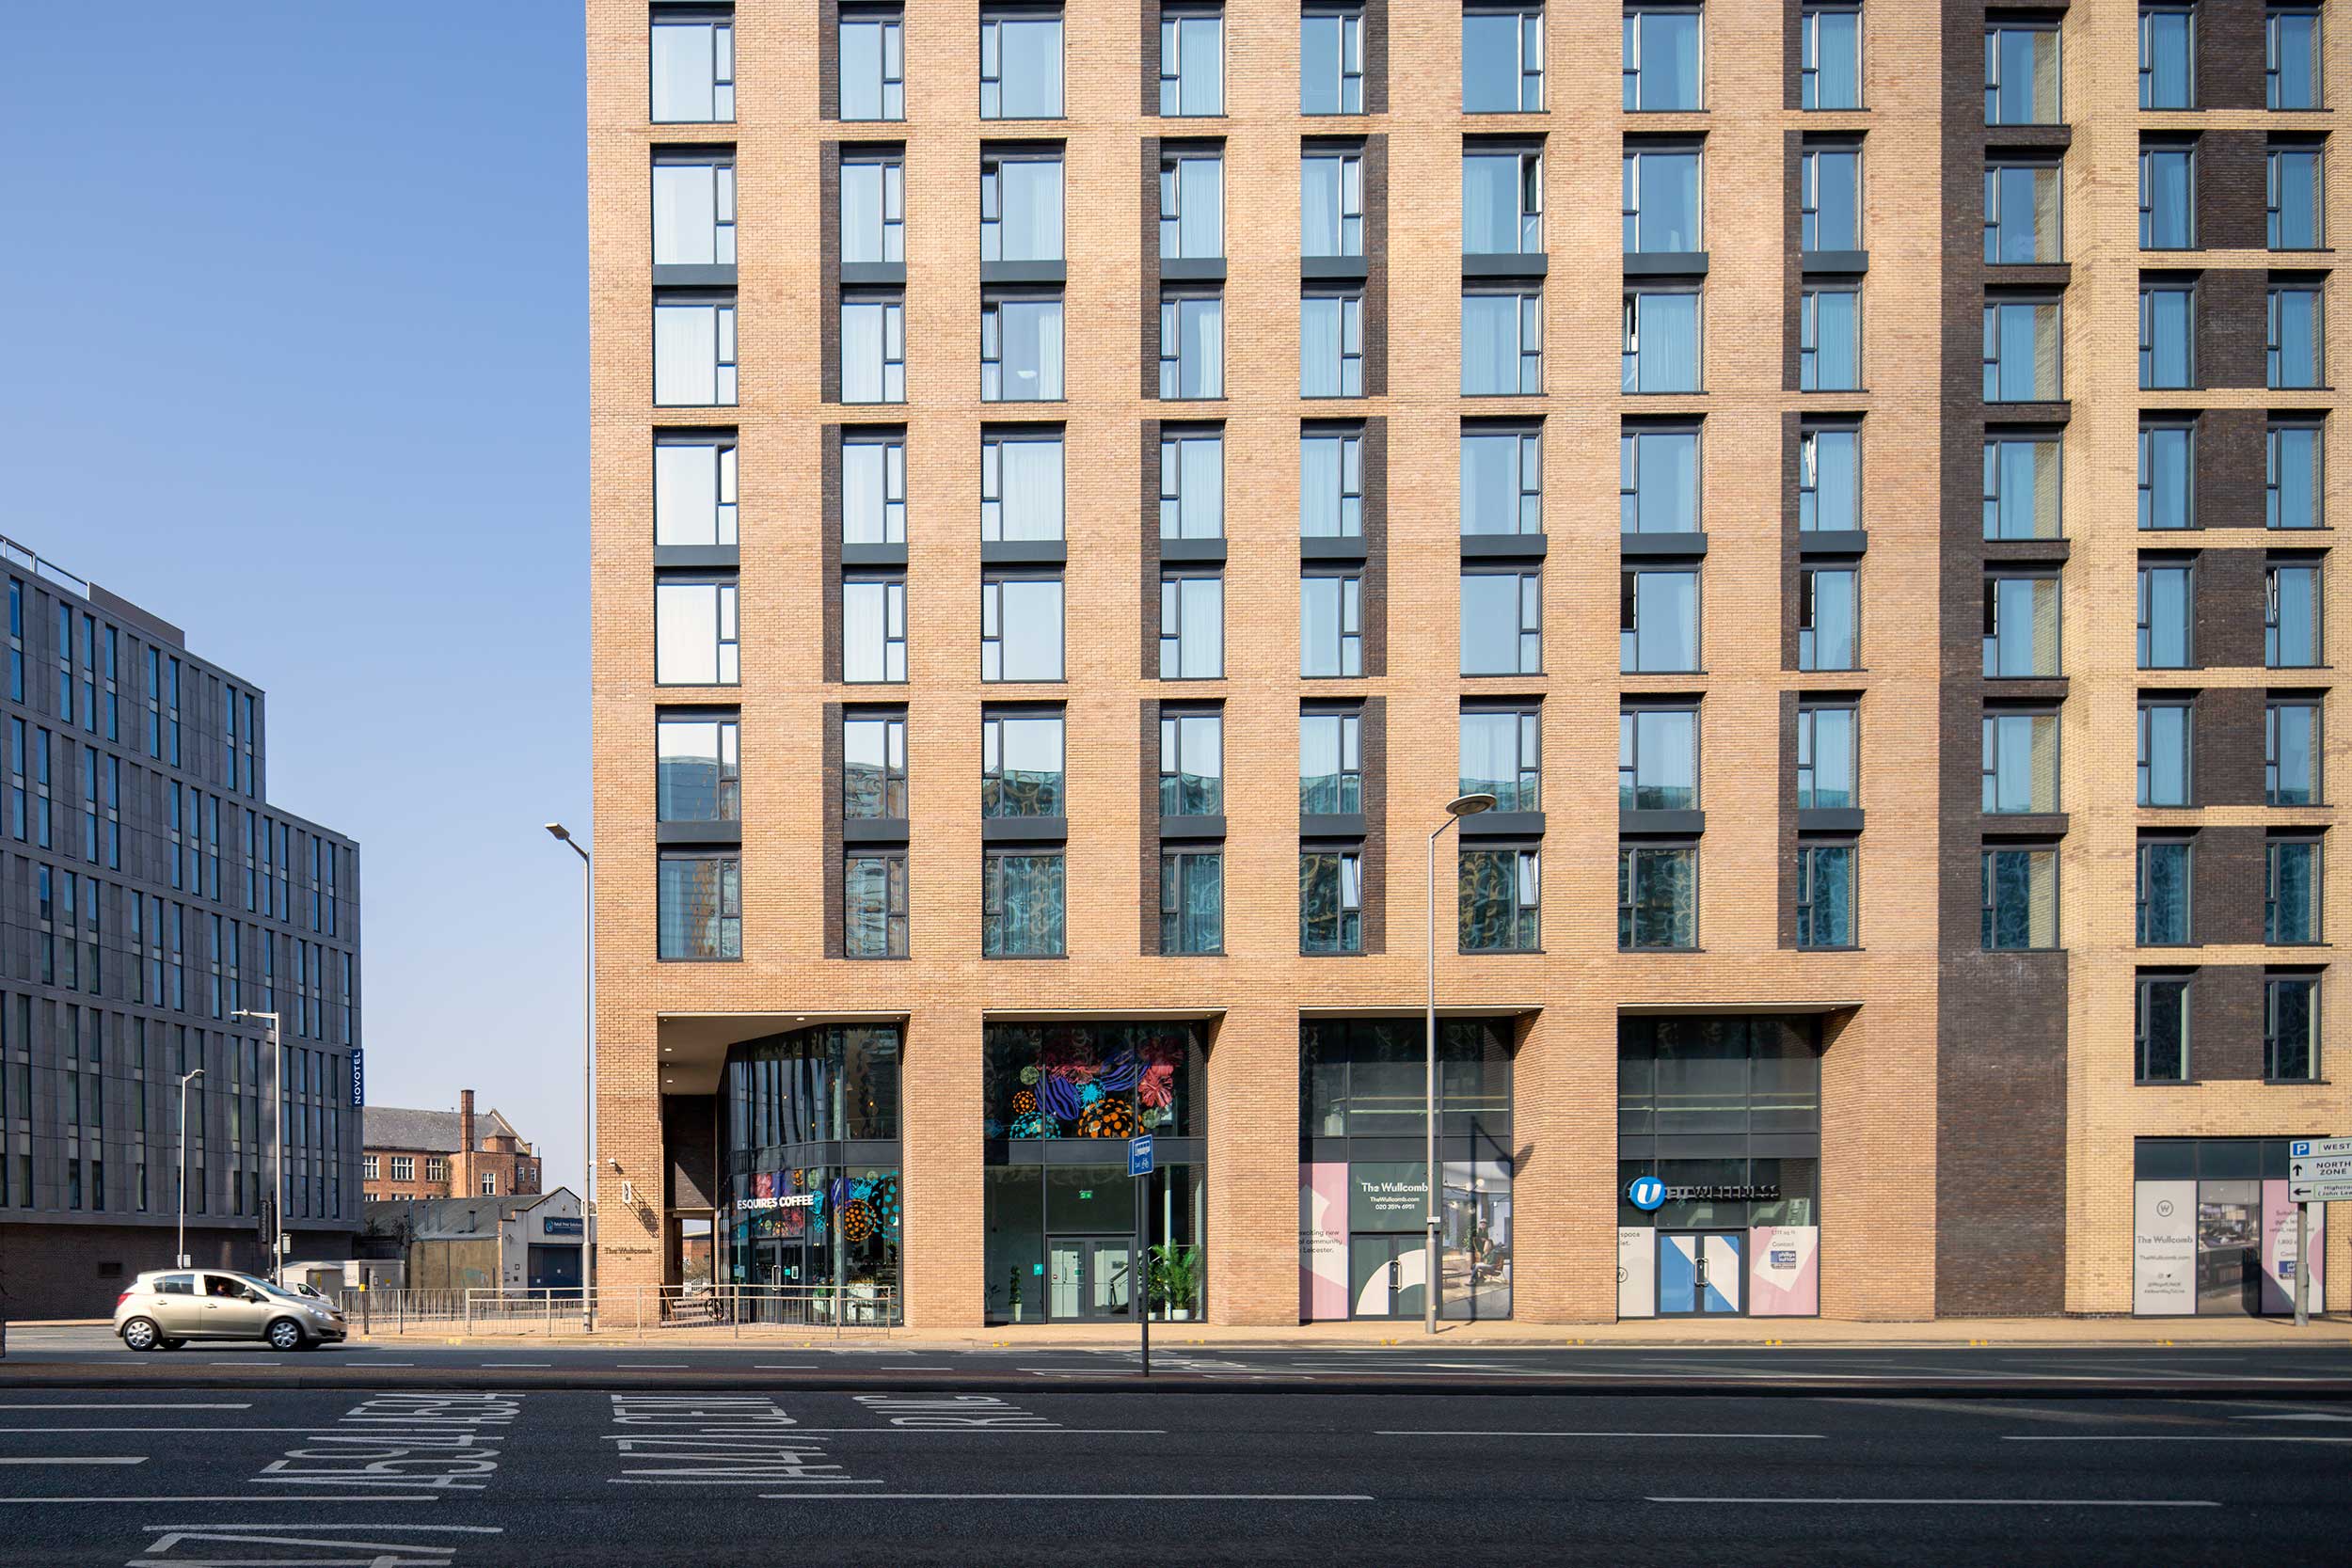
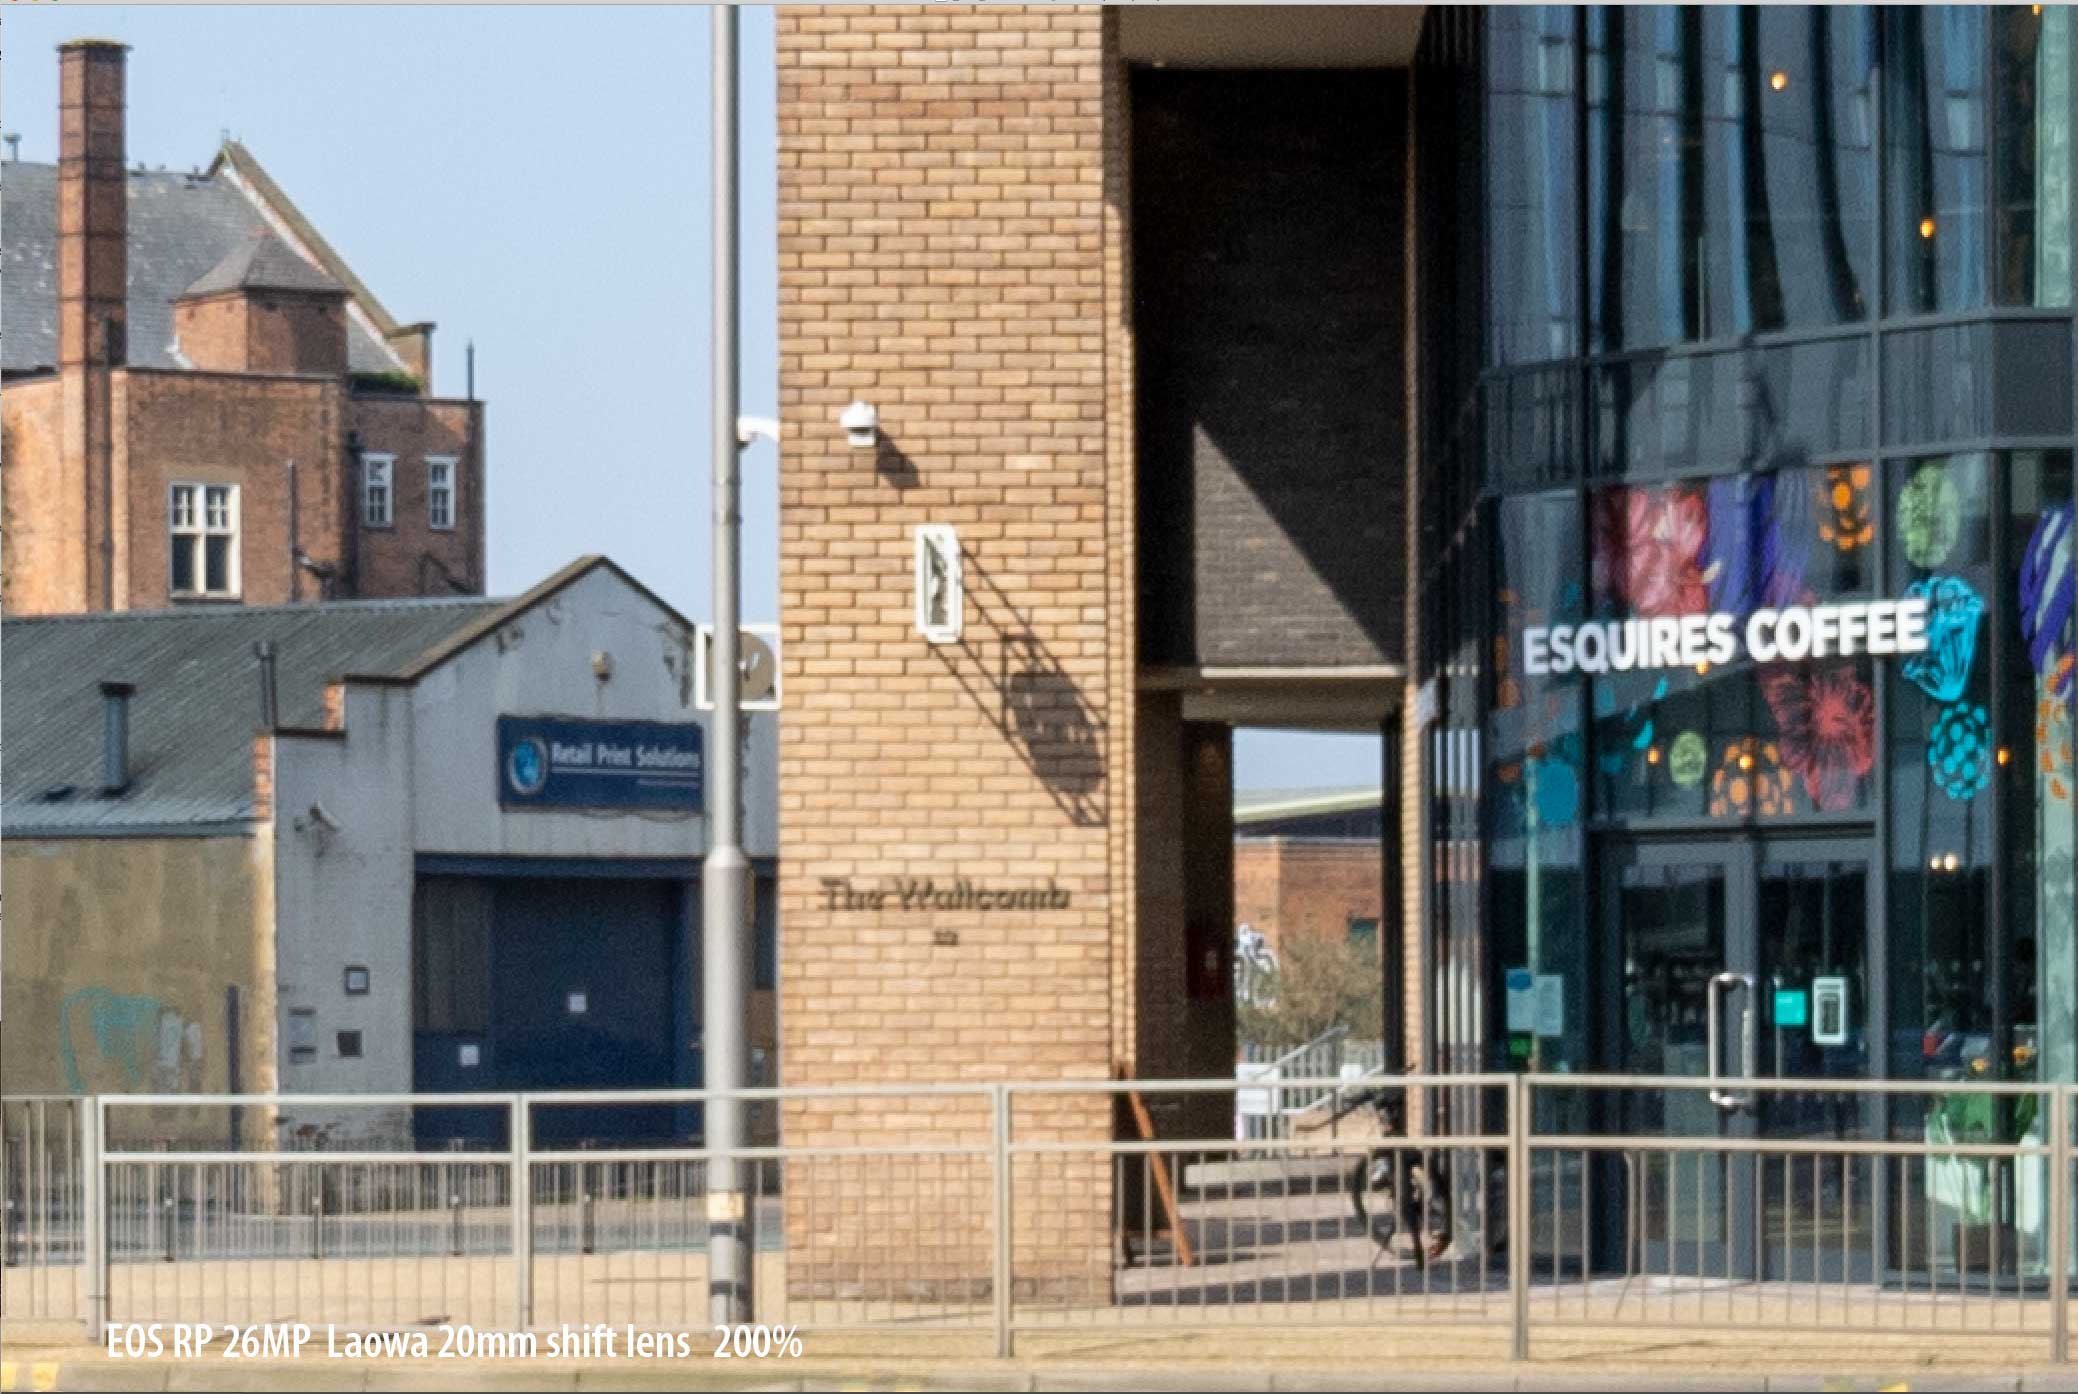
The Wullcombe, Leicester
The image above [click to enlarge] is from a hand held Canon EOS RP photo.
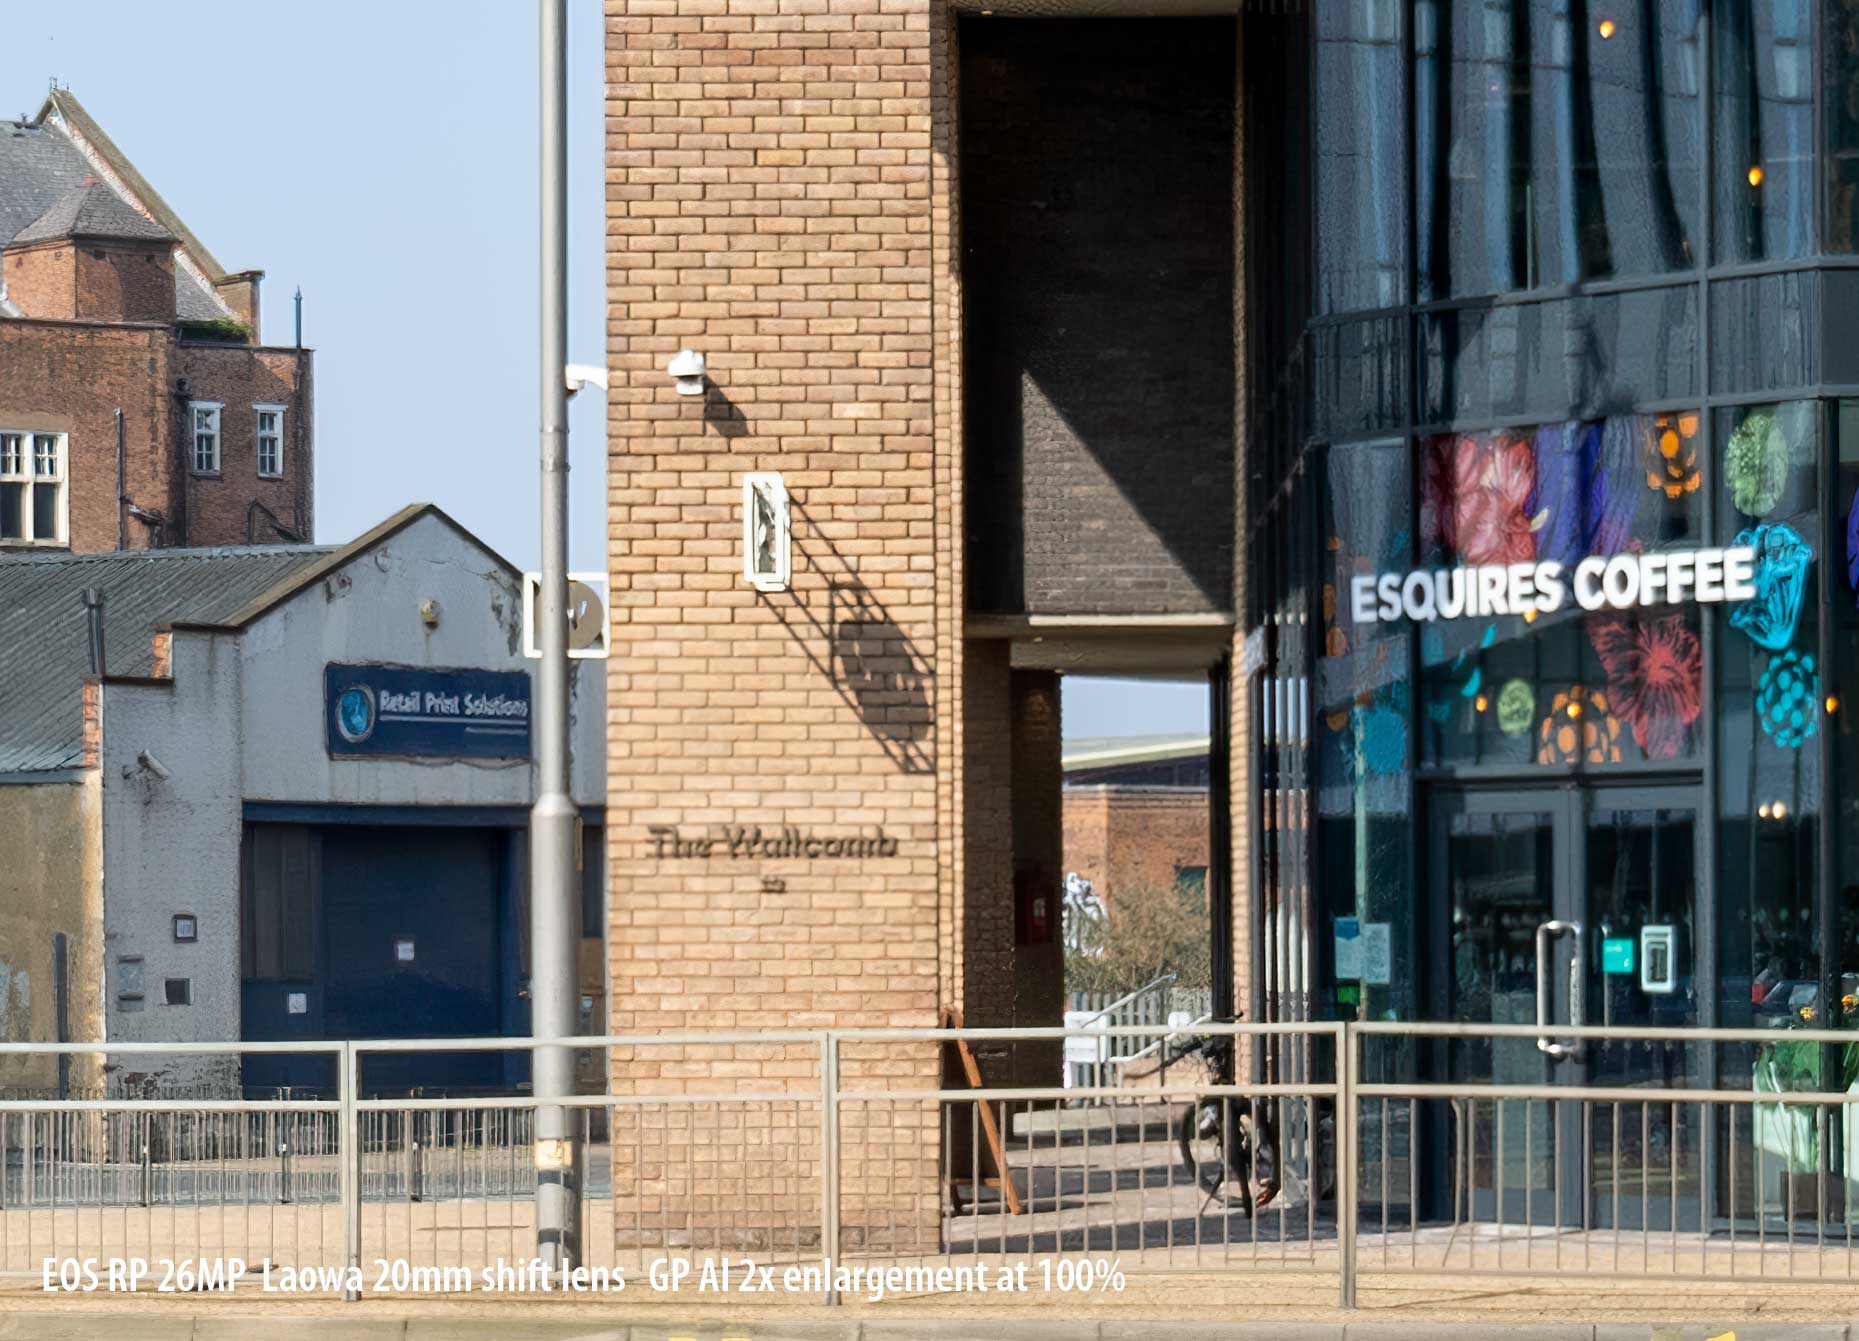
So, for this RAW image (underexposed) a 2x enlargement is looking good for detail.
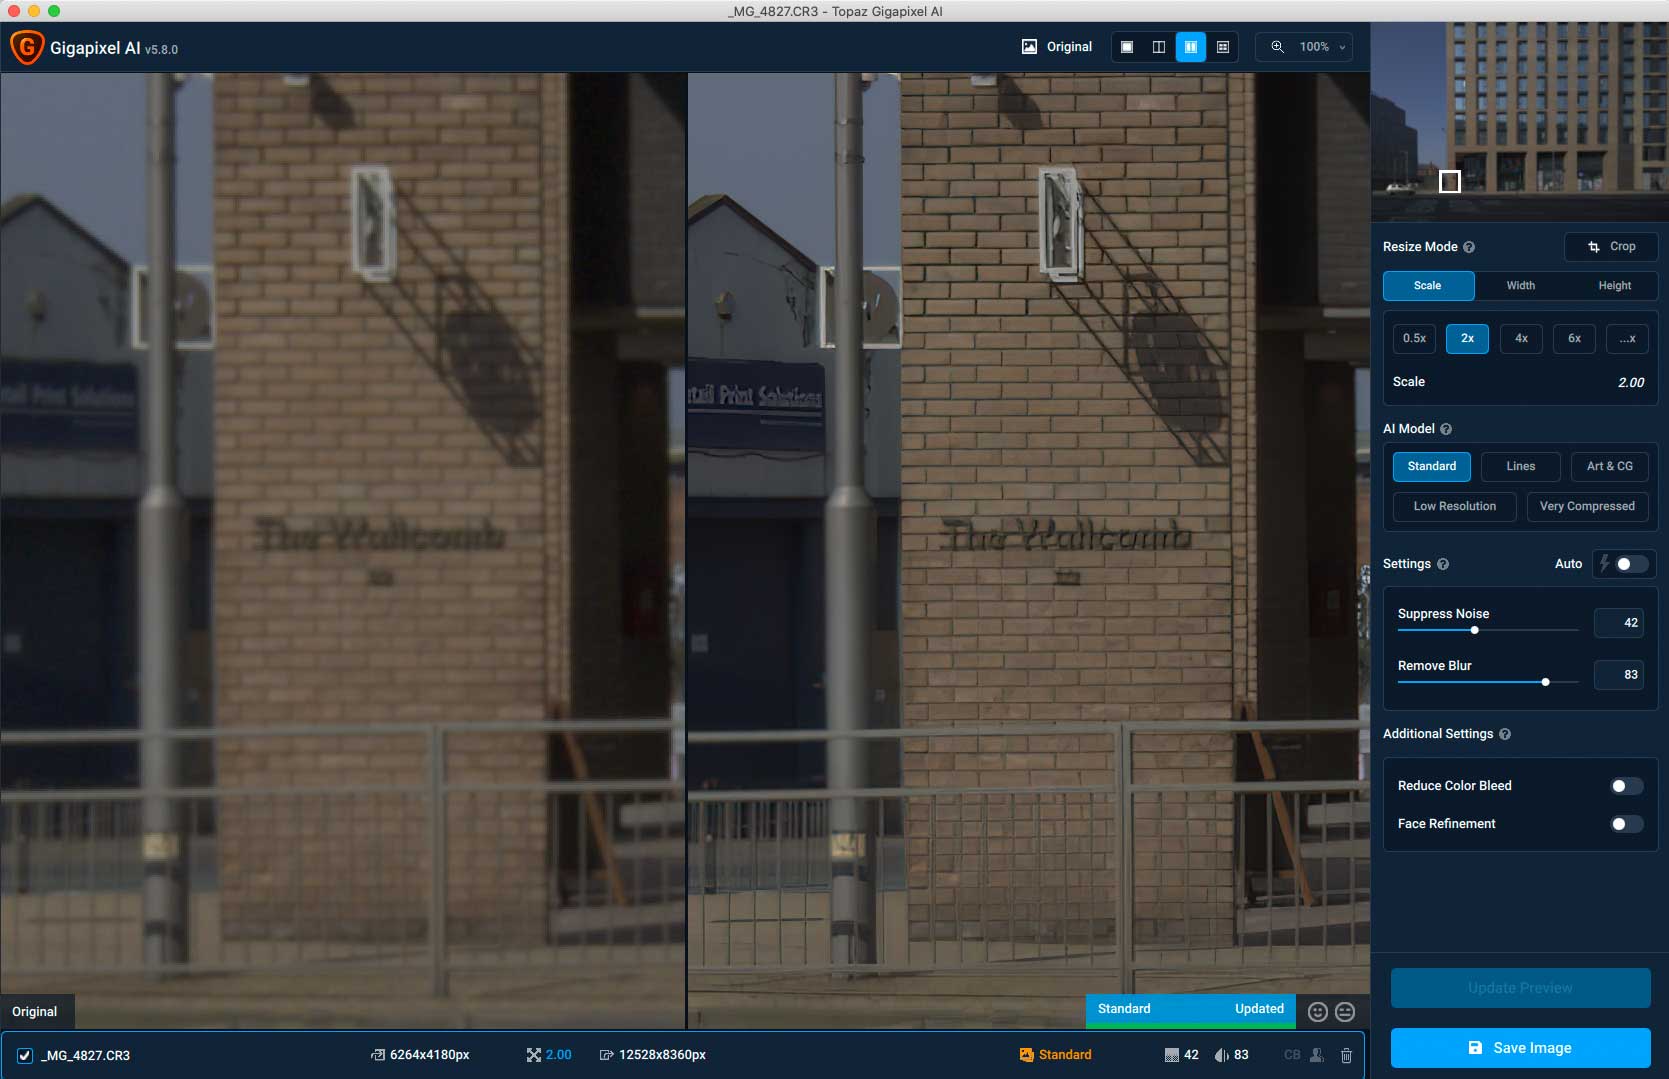
However, once processed, detail in shadow areas is mushy and awful. Not a patch on the results just processing the file in Camera Raw in Photoshop. The image is from a Canon EOS RP, taken during testing for my review of the Laowa 20mm F4 shift lens.
The processing of RAW files can be a useful step to try, but they need to be good quality ones. The example earlier was obtained by a more circuitous route.
Here’s a processed version of the RAW image. It’s simply enlarged to 200%
Here’s a version processed [2x] in Gigapixel AI V6, but shown at 100%
These two screenshots [click to enlarge] give a good feel for how fine detail is processed.
Making it more complicated – when to sharpen
From some previous experiments I know that for any significant enlargement, the sharpening of the source image can make a vast difference to how fine detail appears in the final image.
With the important caveat that this varies by image as well as camera, I’ve found that using a smart sharpening tool, like Sharpen AI to the source can work wonders on the final output from GigaPixel AI V6 (and previous versions too).
Turning down sharpening and noise reduction in the RAW conversion, and then applying some smart sharpening at a relatively low level can enhance the sort of detail Gigapixel AI picks up on.
Here’s part of the initially processed image showing an application of Sharpen AI, aimed at correcting camera shake. The photo was taken with a diagonally shifted lens, so aberrations vary asymmetrically over the frame.
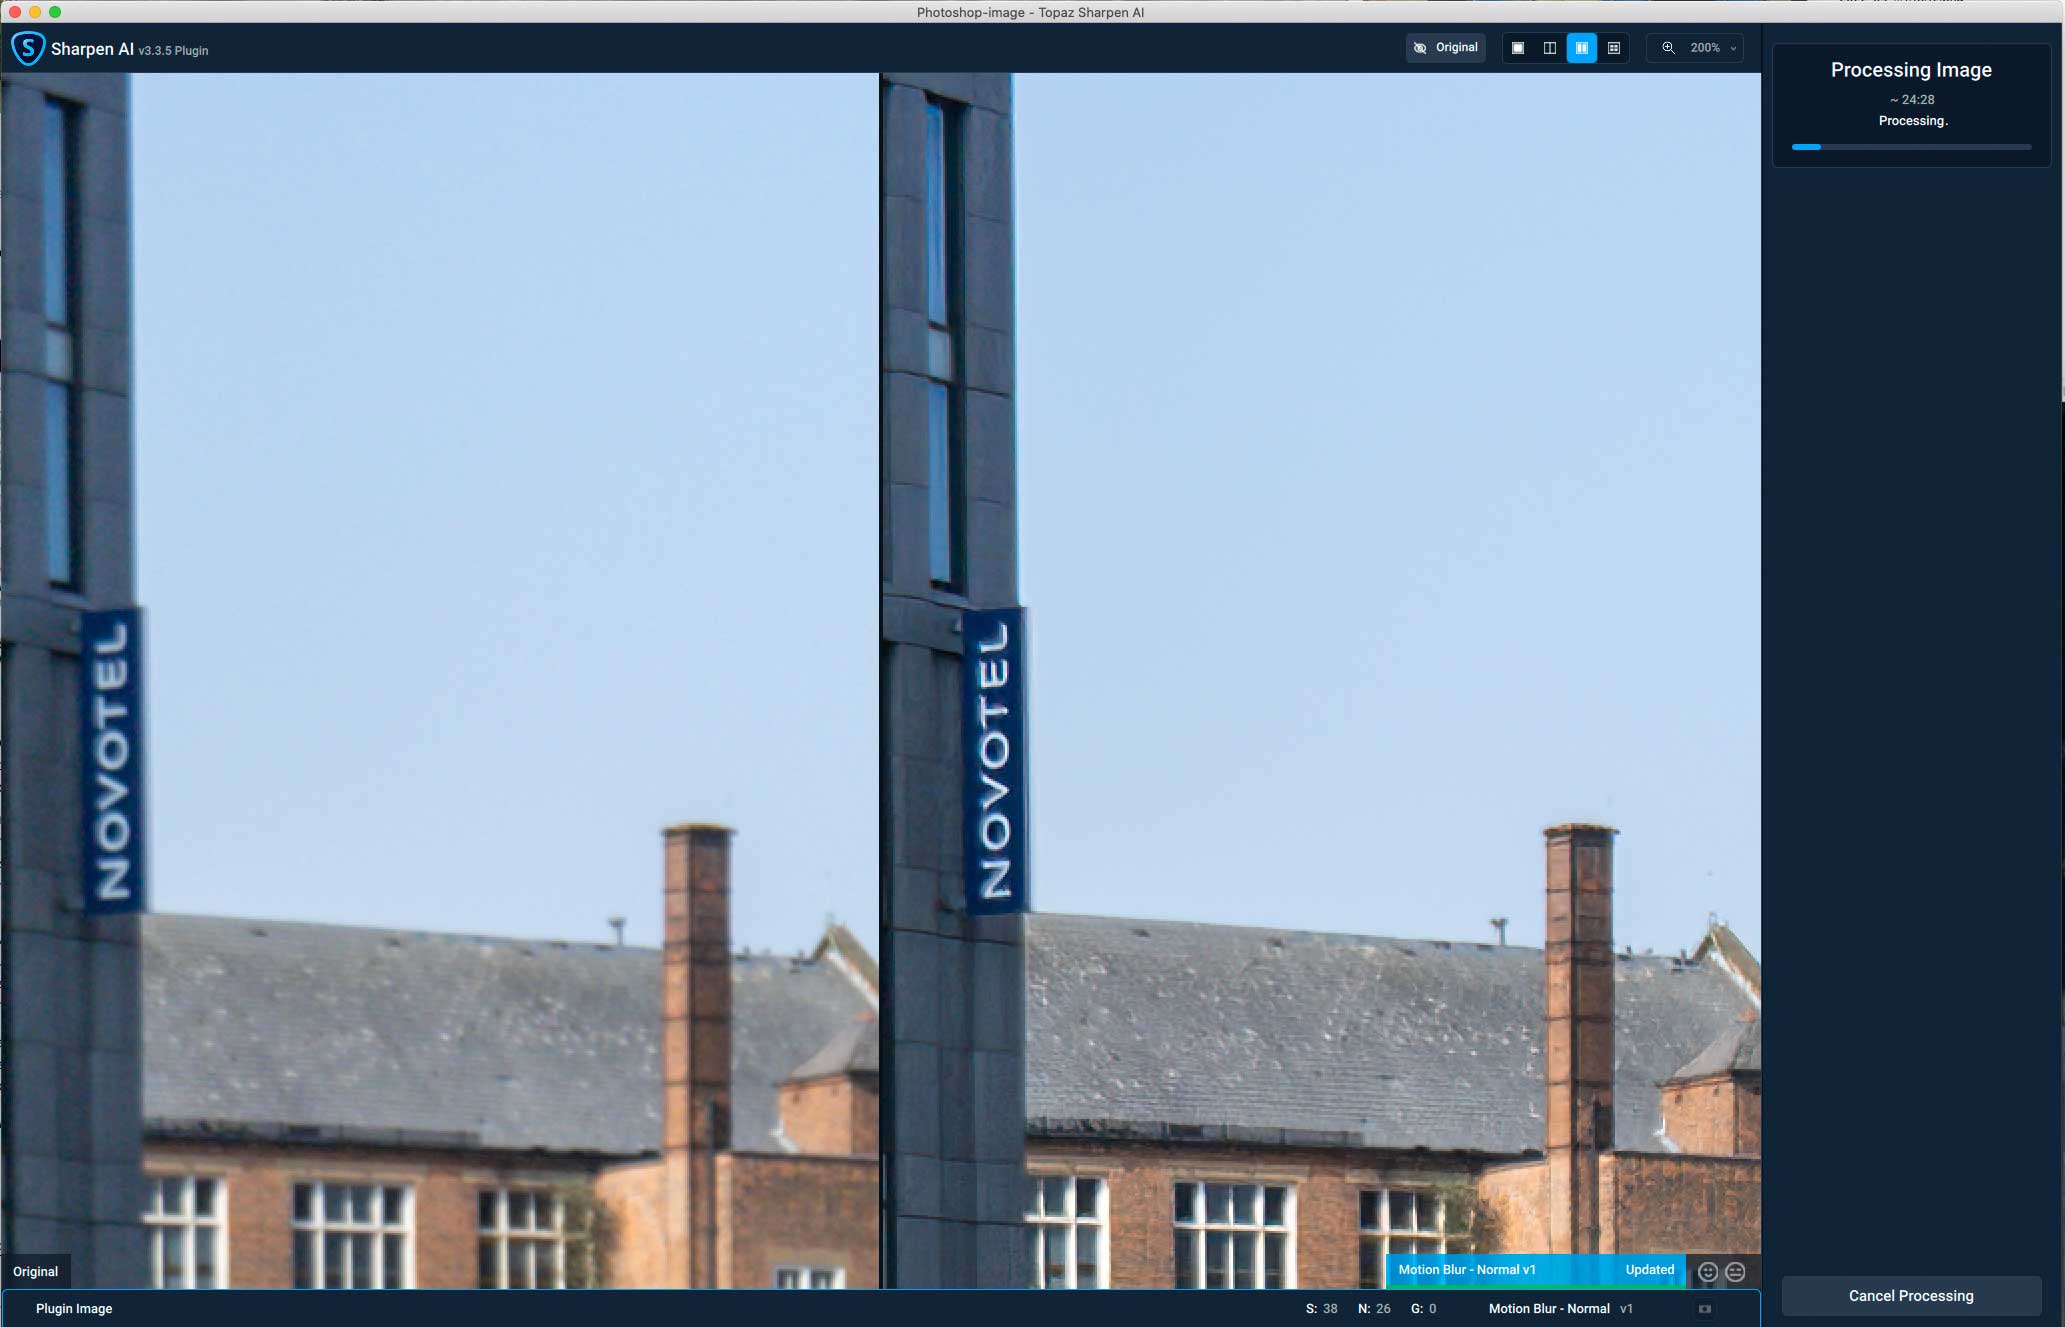
You need to experiment, but as a starting point, the ‘auto’ suggestions are typically twice the strength needed.
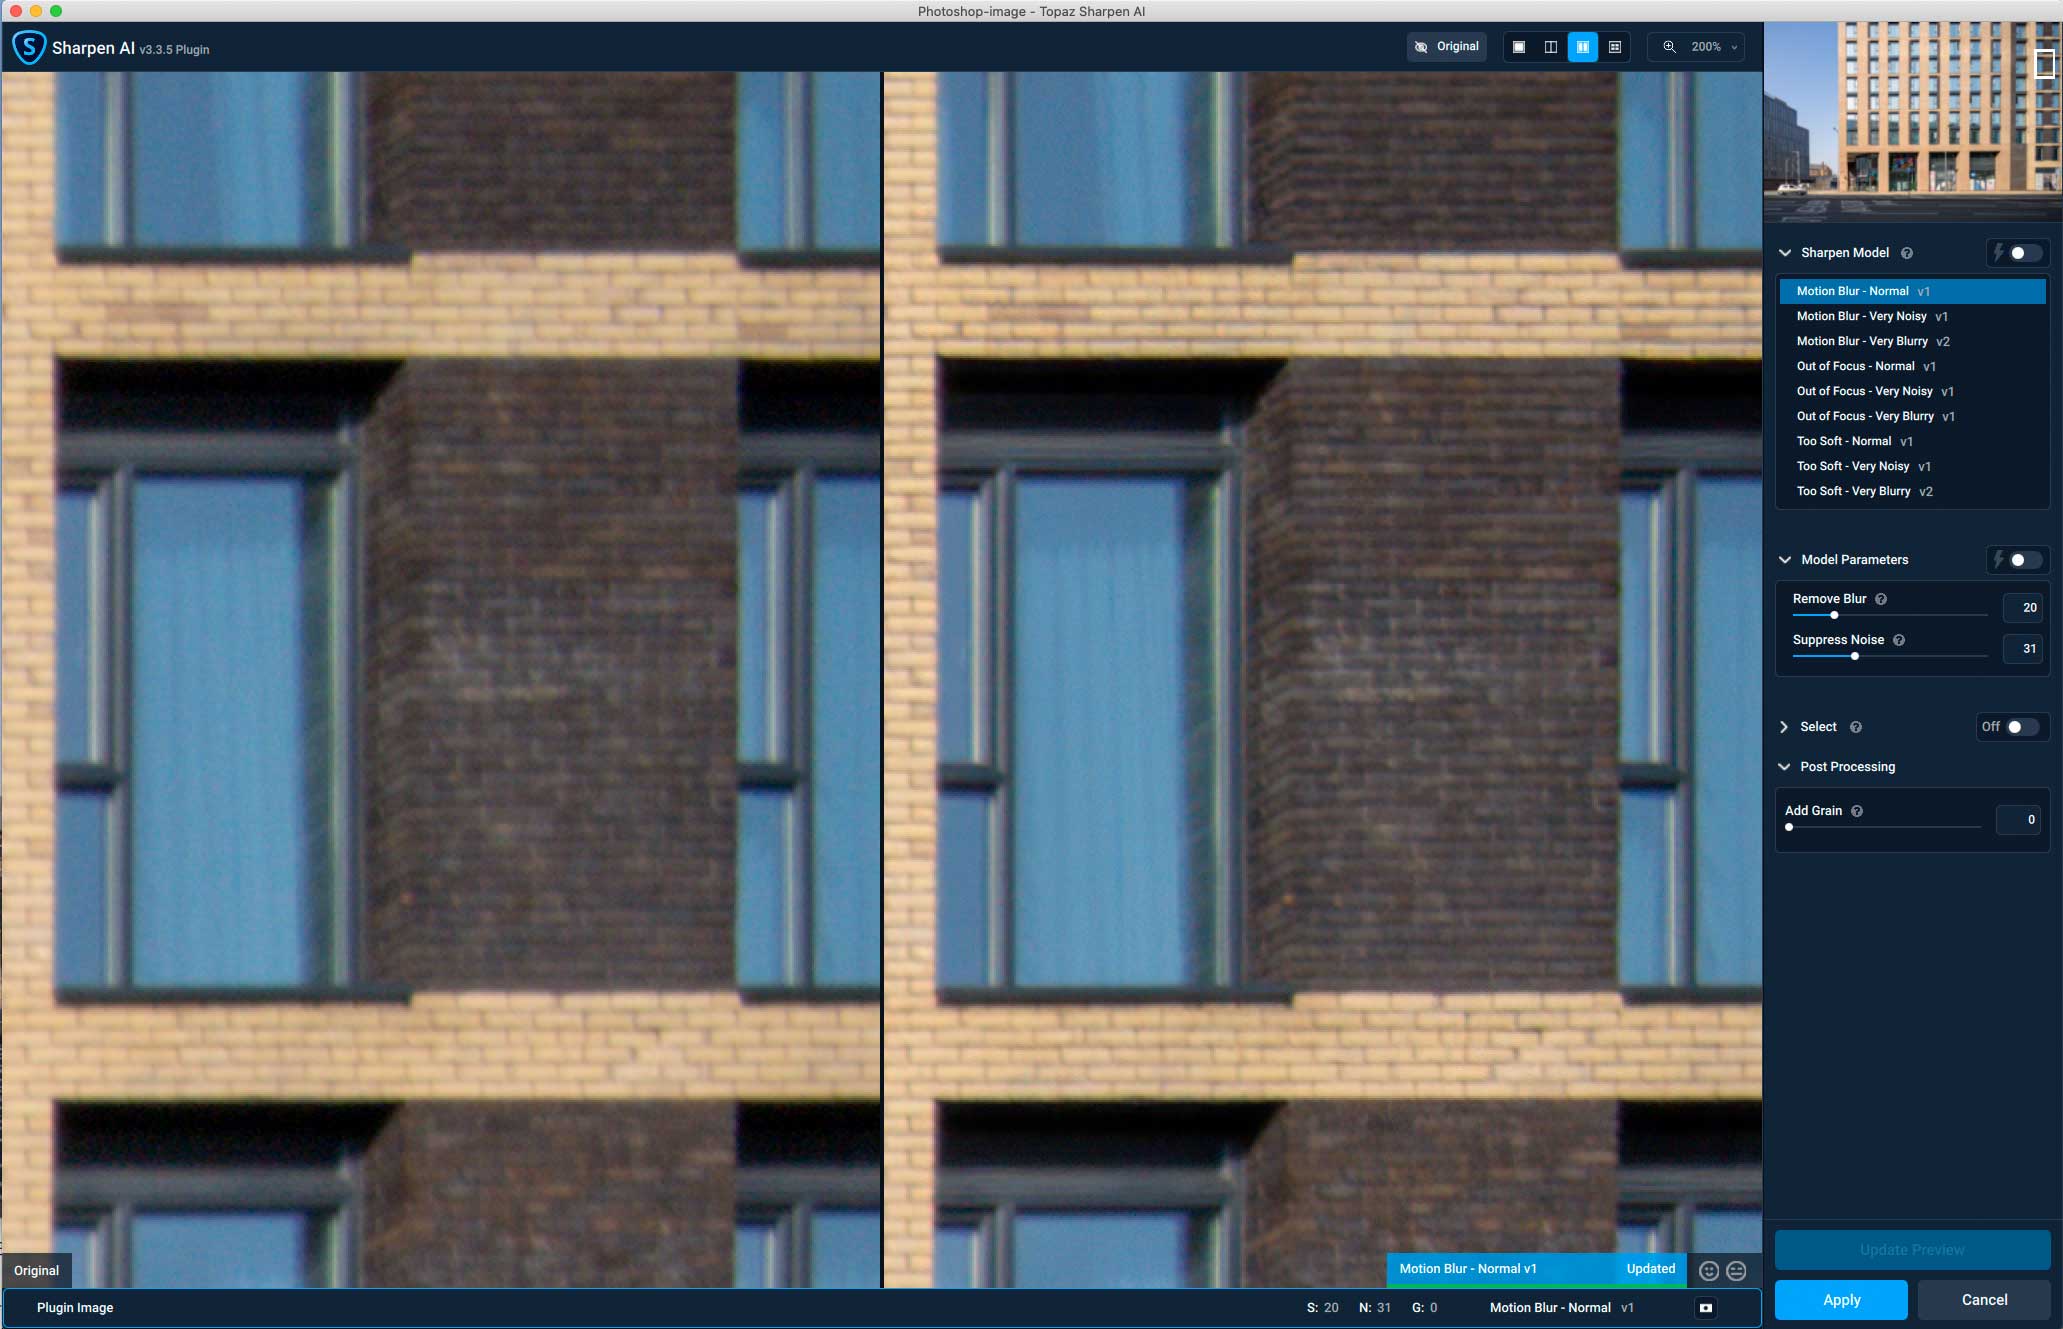
Don’t overdo the sharpening. This top shifted corner is the softest part of the source image. See the link about resizing below for more.
I have in the past sharpened the image as a new layer (in Photoshop) and then masked in the intensity of correction with a radial mask. This allows for vignette correction as well, since the centre of the lens image circle is actually by the entrance to the coffee shop.
If you’re unfamiliar with this use of shift lenses, see the examples in my review of the Laowa 15mm Shift lens.
Gigapixel AI V6 For printing?
One area I’ve found the software (with out without other tools) is for enlarging image resolution prior to printing large images. The enlargement amplifies edge detail, matching the effect of some types of sharpening for print.
This is an aspect I look at in
I’m hoping to get another big printer some time to test, and will be doing quite a lot about the art and techniques of the ‘Big’ print.
Gigapixel AI V6 – a worthwhile update?
Since it originally came out, the licensing of Gigapixel AI has changed, so it may not be obvious whether to update or not.
If you have an Apple M1 Mac, then performance benefits says yes. If you are still using an older Mac, then benefits are far less obvious – especially if you’re still running an older system. So, check before updating, even if your license still covers updates.
There’s a Fully functional demo available
Use our discount code ‘Northlight’ for an additional discount on some promotions (it also helps support the site)
Never miss a new article or review - Sign up for our occasional (ad-free) Newsletter
and please do subscribe to Keith's YouTube Channel

Other areas of our site that may be of interest...
All the latest articles/reviews and photo news items appear on Keith's Photo blog

Keith explains tilt and shift lenses
Keith has written a book that looks at the many ways that tilt/shift lenses can benefit your photography from a technical and creative point of view. If not in the UK check for import issues and maybe try an on-line bookshop. Keith has no connection with sales of the book.
ISBN 9781785007712
There is also a specific index page on the site with links to all Keith's articles, reviews and videos about using tilt and shift.
We've a whole section of the site devoted to Digital Black and White photography and printing. It covers all of Keith's specialist articles and reviews. Other sections include Colour management and Keith's camera hacks - there are over 1200 articles/reviews here...
Adverts removed
Keith | Jun 21, 2023 at 10:44 pm
Thanks – I need to do some new testing of this. It’s such useful software!
Alan Rew | Jun 21, 2023 at 10:17 pm
Having read your interesting article “Upsizing and sharpening an old digital photo for a big print” I tried the latest trial version of Gigapixel AI (GPAI) on a Canon 10D (6 megapixels) image from 2007 that ended up being cropped down to about 3.2 megapixels for composition. Originally, this was printed on A4 paper, the largest I could manage with the level of detail in the image.
The aim was to produce a 600 ppi file large enough to produce an A3 print on my new Canon Pro-300 on glossy paper.
I used GPAI and, for reference, Photoshop CC (“preserve details 2.0” algorithm), to produce two versions resized by 300%.
Print sharpening was applied to both in Photoshop (Smart Sharpen) with different amounts being used to allow for the sharpness of the files produced.
Both produced nice A3 prints, with GPAI producing significantly more detail than Photoshop.
Examining both very closely, it does appear that GPAI is inventing some fine details that aren’t in the original photo. I must admit I have mixed feelings about this – is the photo still “my” photo?
On the other hand, back in 2007 I was using Genuine Fractals which on close inspection did produce some slightly unnatural effects when creating A3 prints from my 10D photos!
I’ll carry on with my experiments with old photos. I’m *very* impressed with GPAI so far – it’s amazing what it does, compared to what was available back in 2007.
Once again, thanks for producing all these reviews, which I’m finding very useful in re-starting my photography.
Keith | Apr 11, 2022 at 2:12 pm
Good point – I find the face refinement a very mixed bag – especially with groups of people
John aka jmlphotography | Apr 9, 2022 at 10:39 am
I still struggle as to whether they have made balanced improvements after 5.4.5, which I would strongly suggest anyone buying GPAI should download as a fall-back option (the licence will cover it). A lot is better (and I’m using 6.0.0 now, as alas you can’t have multiple versions installed at once) but there are serious problems (that happened after 5.4.5) that haven’t been fixed. I find 6.0.0 is in-the-ballpark to 5.4.5 provided you turn Face Refinement off, but can fall off a cliff with it on. If I can put links here see my post here:
https://community.topazlabs.com/t/gigapixel-v6-0-0/31066/5
and the linked post…
Also when installing 6.0.0 it asks if you’d like to download the models. I’d recommend doing it (was 1.4GB for me) as otherwise it’ll do them as you need them and slow processing down quite a bit on an ever more occasional basis. With 5.5 you could download the models in a file (the batch download is new in v6) and they were 14.8GB, so they’ve lost a lot of weight along the way…