


Review: Laowa shift lens support
Laowa shift lens support
Moving the camera, not the lens

No more Google ads. Too many deceptive and irritating adverts.
Any ad links left are non tracking, to companies we know, trust and we've worked with for years [Park Cameras]
Ads helped pay for site running costs, so if you found something useful, please
...Make small KoFi donation?
...Subscribe to Keith's YouTube Channel
...Get Keith's book about how to use tilt/shift lenses
Our site contains affiliate links - these help support the site. See our Advertising policies for more
Keith has been looking at the Laowa shift lens support from Venus Optics. It’s designed for the Laowa 15mm f/4.5 and 20mm f/4 shift lenses.
The lenses are available in Nikon/Canon/Sony/L/Pentax mounts. The adapter enables parallax free camera movement whilst keeping the lens stationary. Ideal for basic shift/ stitching as well as panoramic sequences.
Check availability/prices at Venus Lens
The adapter is tested with the 20mm F4 lens. There are very detailed reviews [and videos] of the actual shift lenses and their use at:
There is also a 12min
Video overview of the shift lens support

The list price (US) for the adapter is $250
As ever, if importing from overseas – check for taxes and import costs.
The shift lens support
The device is a clamp which attaches firmly to either the laowa 15mm or 20mm shift lenses. It weighs some 510gm.

The base plate is grooved for a standard ‘Arca Swiss’ type mount. There is no tripod screw attachment.
The hole is just below the ‘nodal point’ of the lens, meaning that rotating the lens assembly and attached camera will not exhibit any parallax errors in captured images.
How so? If you have the camera mounted on a tripod and rotate (pan) it, the lens moves round the tripod head rotation axis, This means that as you move the camera, the viewpoint of the camera/lens system shifts..
If your scene has overlapping near/far elements (trees/stairs/lampposts etc) then the change of viewpoint will mean that the overlap position varies from shot to shot, For a simple example hold your hand up, close one eye, and line up your hand with a distant object. Now, without moving your hand, look with the other eye.
Your hand will seem to shift. This parallax shift makes for errors in attempting to stitch images together (you brain mostly ignores such problems, and uses it as part of your depth/distance perception).
What about keeping the camera still and just shifting the lens for capturing multiple shots? Well, the viewpoint still shifts with the lens. You need to keep the lens from shifting and move the camera.
No Parallax? – the Laowa shift lens support
I’ve looked at many uses of shifted lenses for changing the view and apparent perspective of shots, but an important aspect of their use for me is being able to take multiple shots at different shift and then stitch the images together. Another use is to add vertical shift and then pan the camera round to acquire multiple shots for a panoramic view.
Shifting and stitching
Shifting, taking a photo, then shifting a different amount and taking another shot, gives a series of photos which, if the camera was stationary will be easy to flat stitch.
This example, shows one frame, and a second added.
The first frame is shifted up, the second downwards.

It’s possible to stitch left/right shifted shots as well – or any number of shots taken at the same point.
For pairs of shots, the shift of the viewpoint can be countered by shifting the camera the opposite direction to the lens movement (with an L bracket for example) but it can be a cumbersome process to get right, especially with multiple shifts at an angle.
The easy solution for such movement is the shift lens support from Laowa.
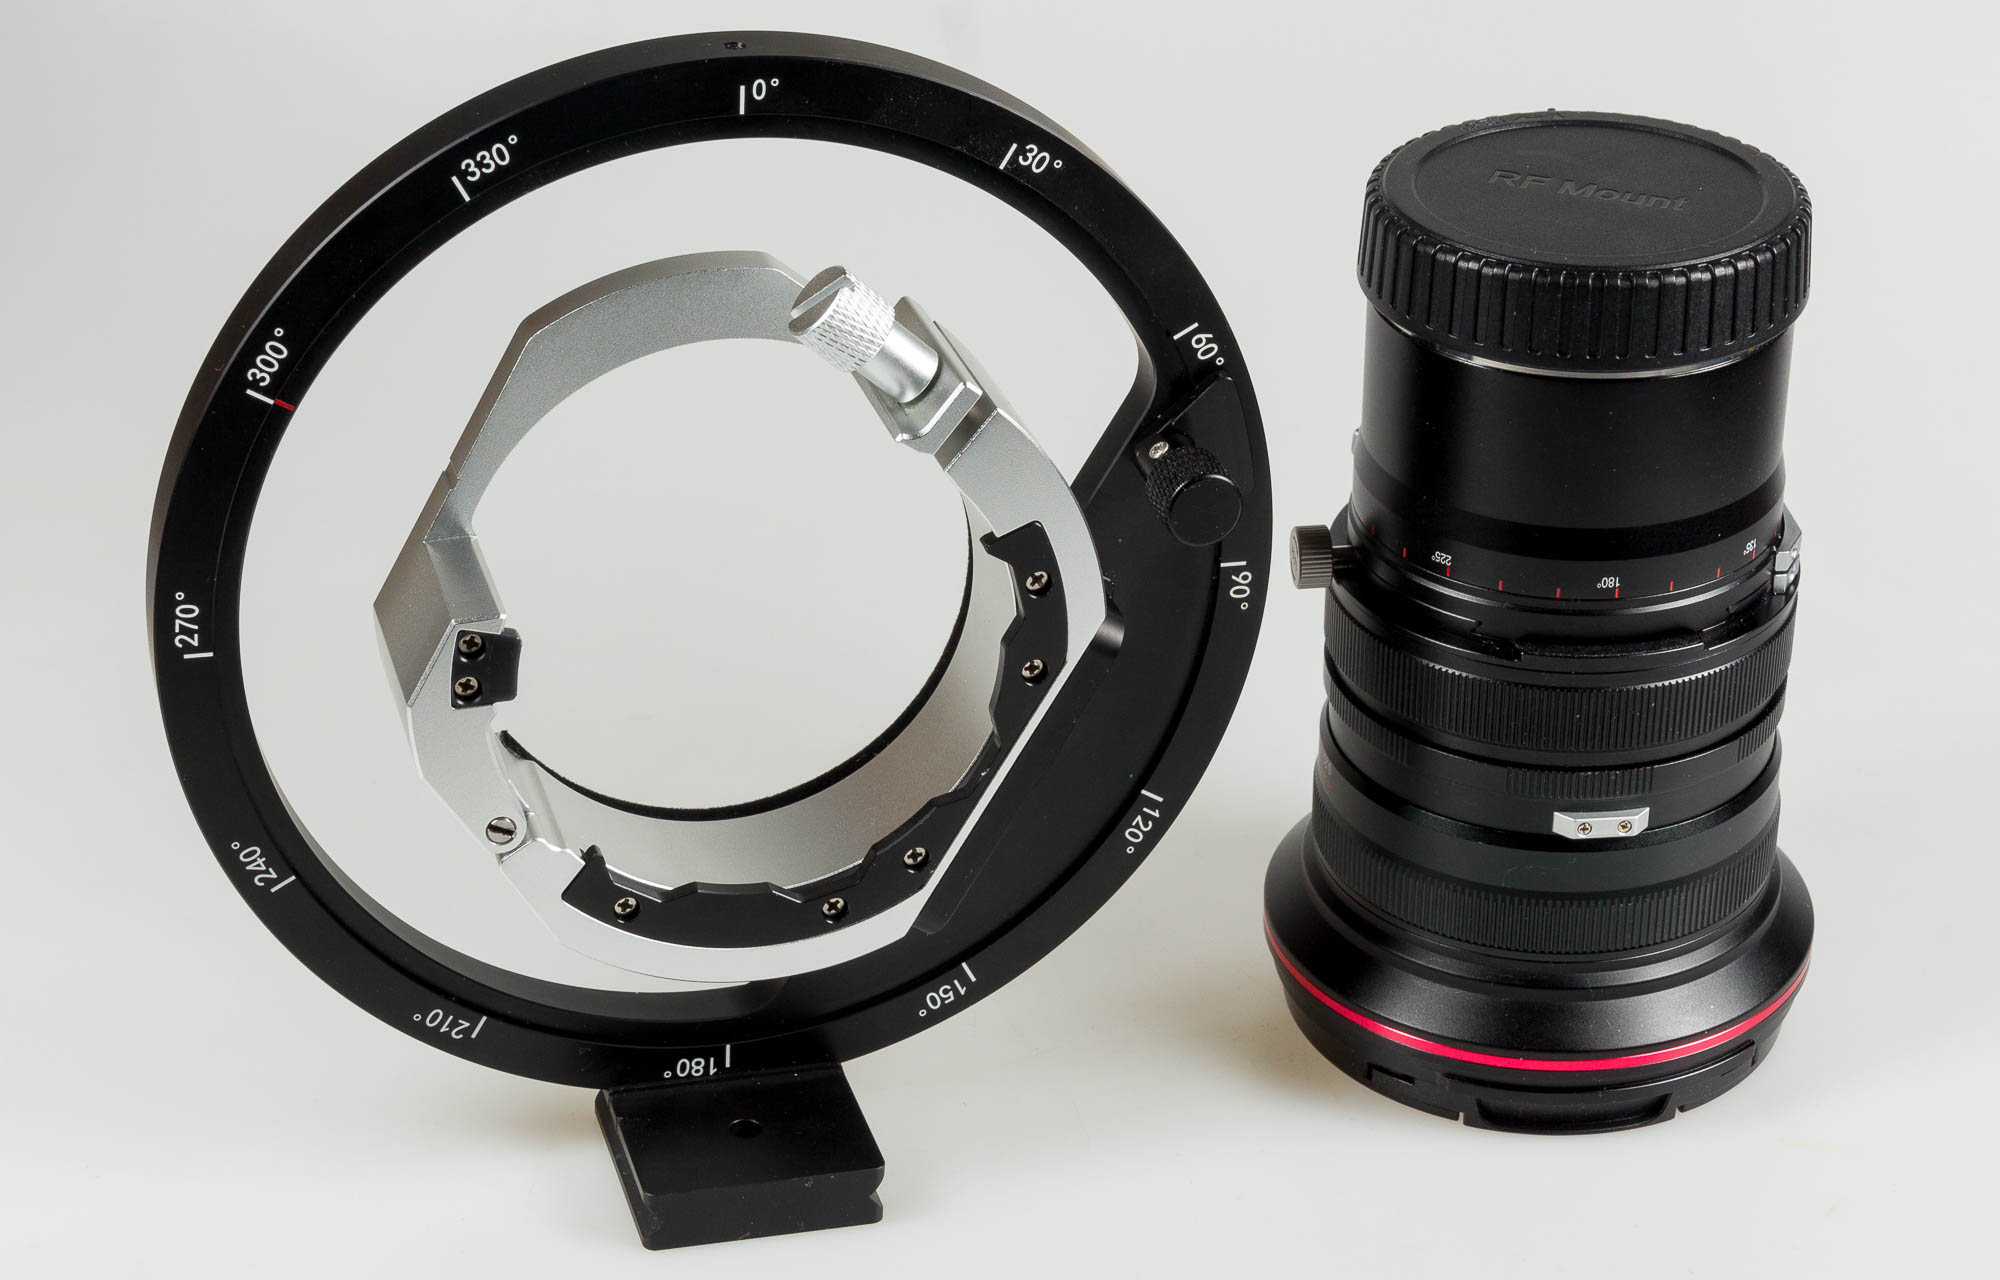
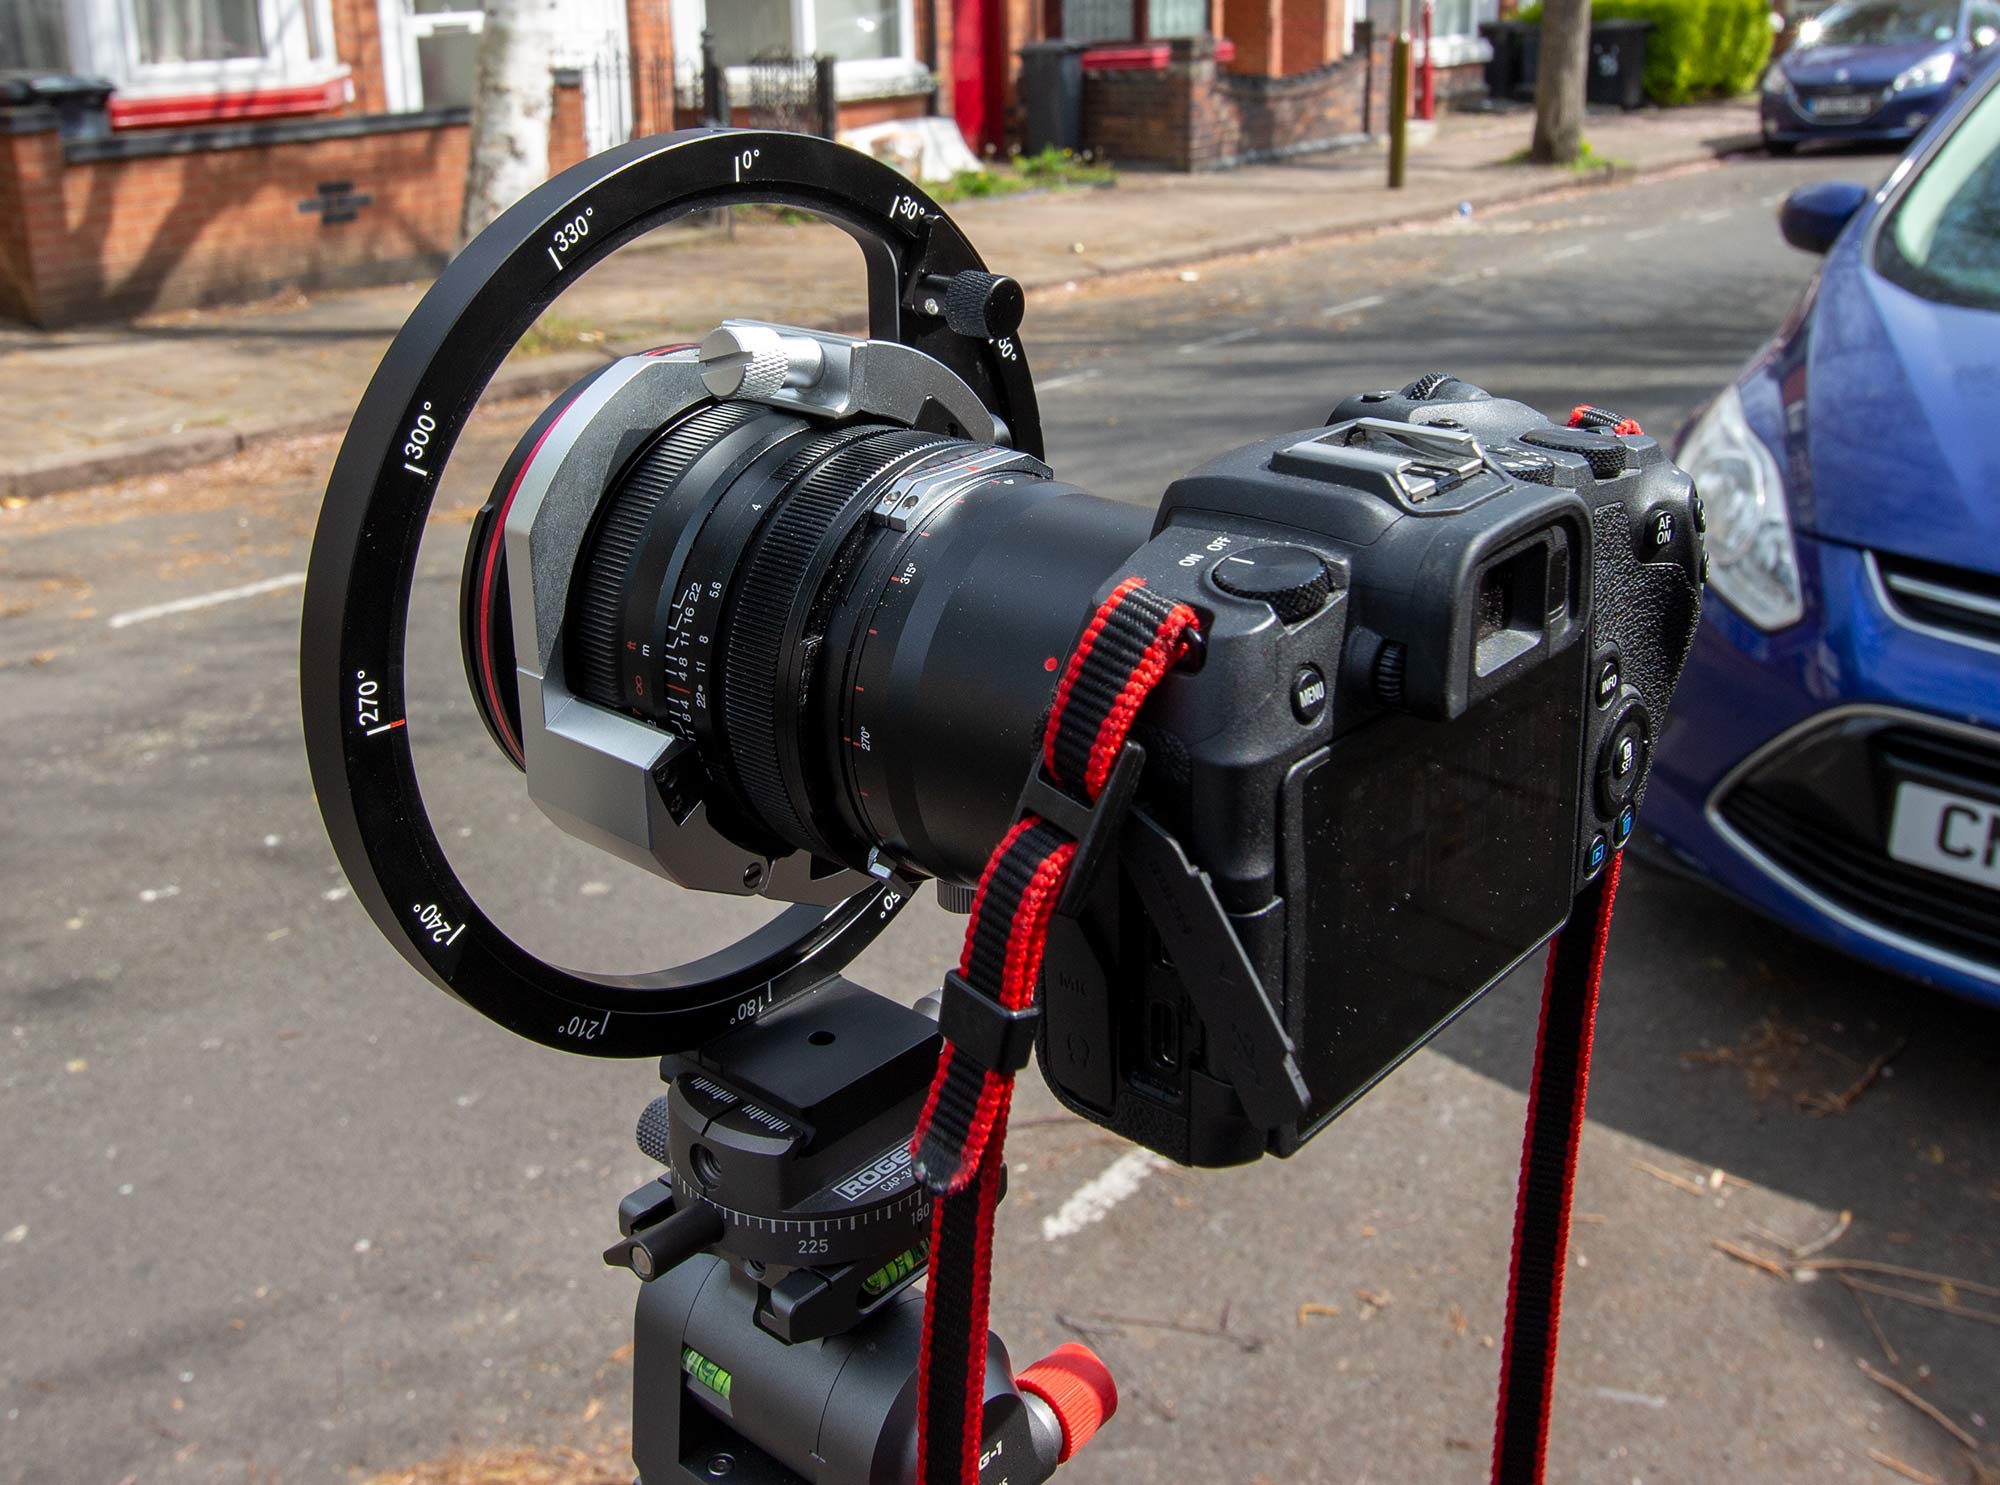
The adapter is mostly aluminium alloy, and consists of an inner lens mount assembly, which freely rotates inside a ring. The ring is marked with angular measures, and can be clamped in place.
Note the shiny metal lug on the lens. This fits into one of four slots (black) in the clamp assembly.
Here’s the inner section rotated 60º anti-clockwise.
The lens is clamped in place. The assembly has some hard plastic and a soft finish section to avoid marking the lens.
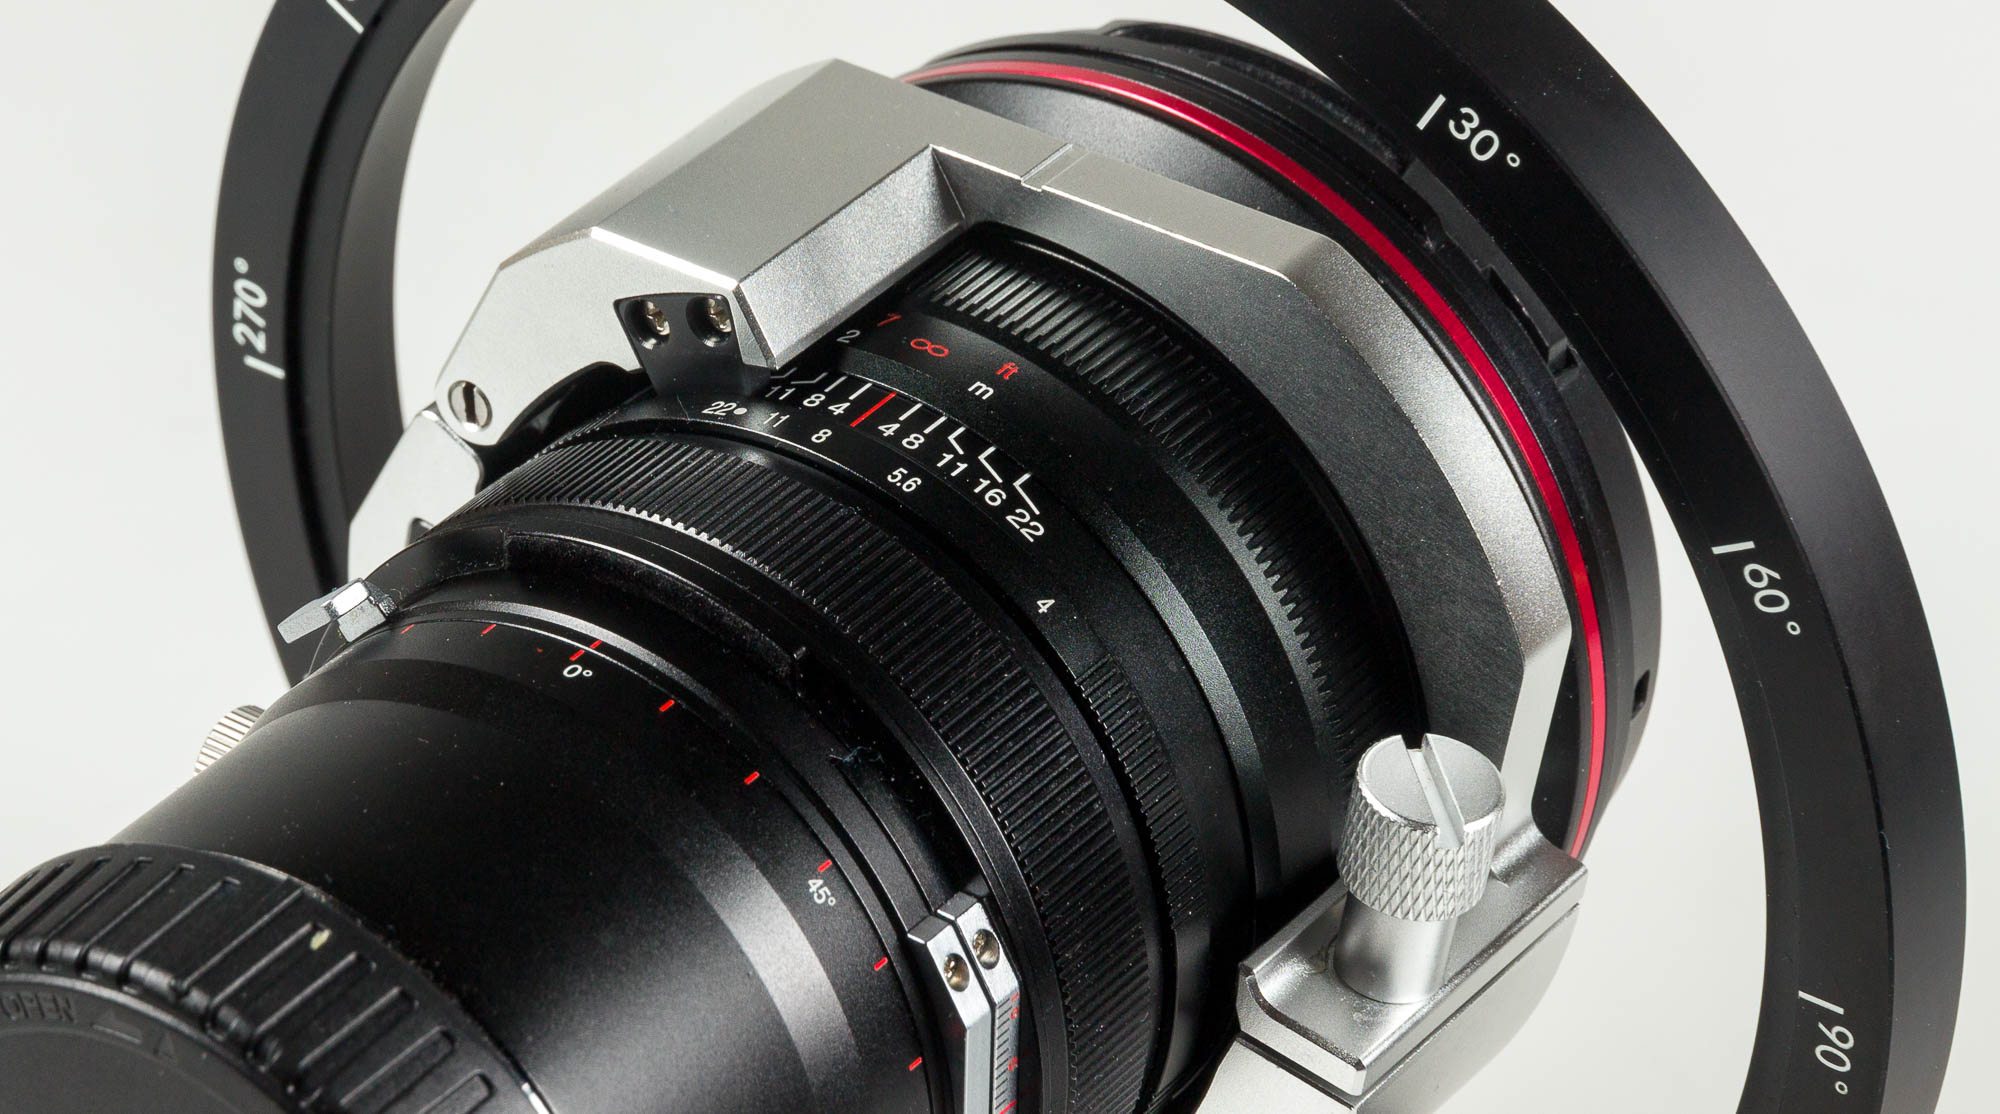
In the shot above, the lens is clamped in place. You can see the shift indicator scale on the right side of the lens – set in this case for up/down shift.
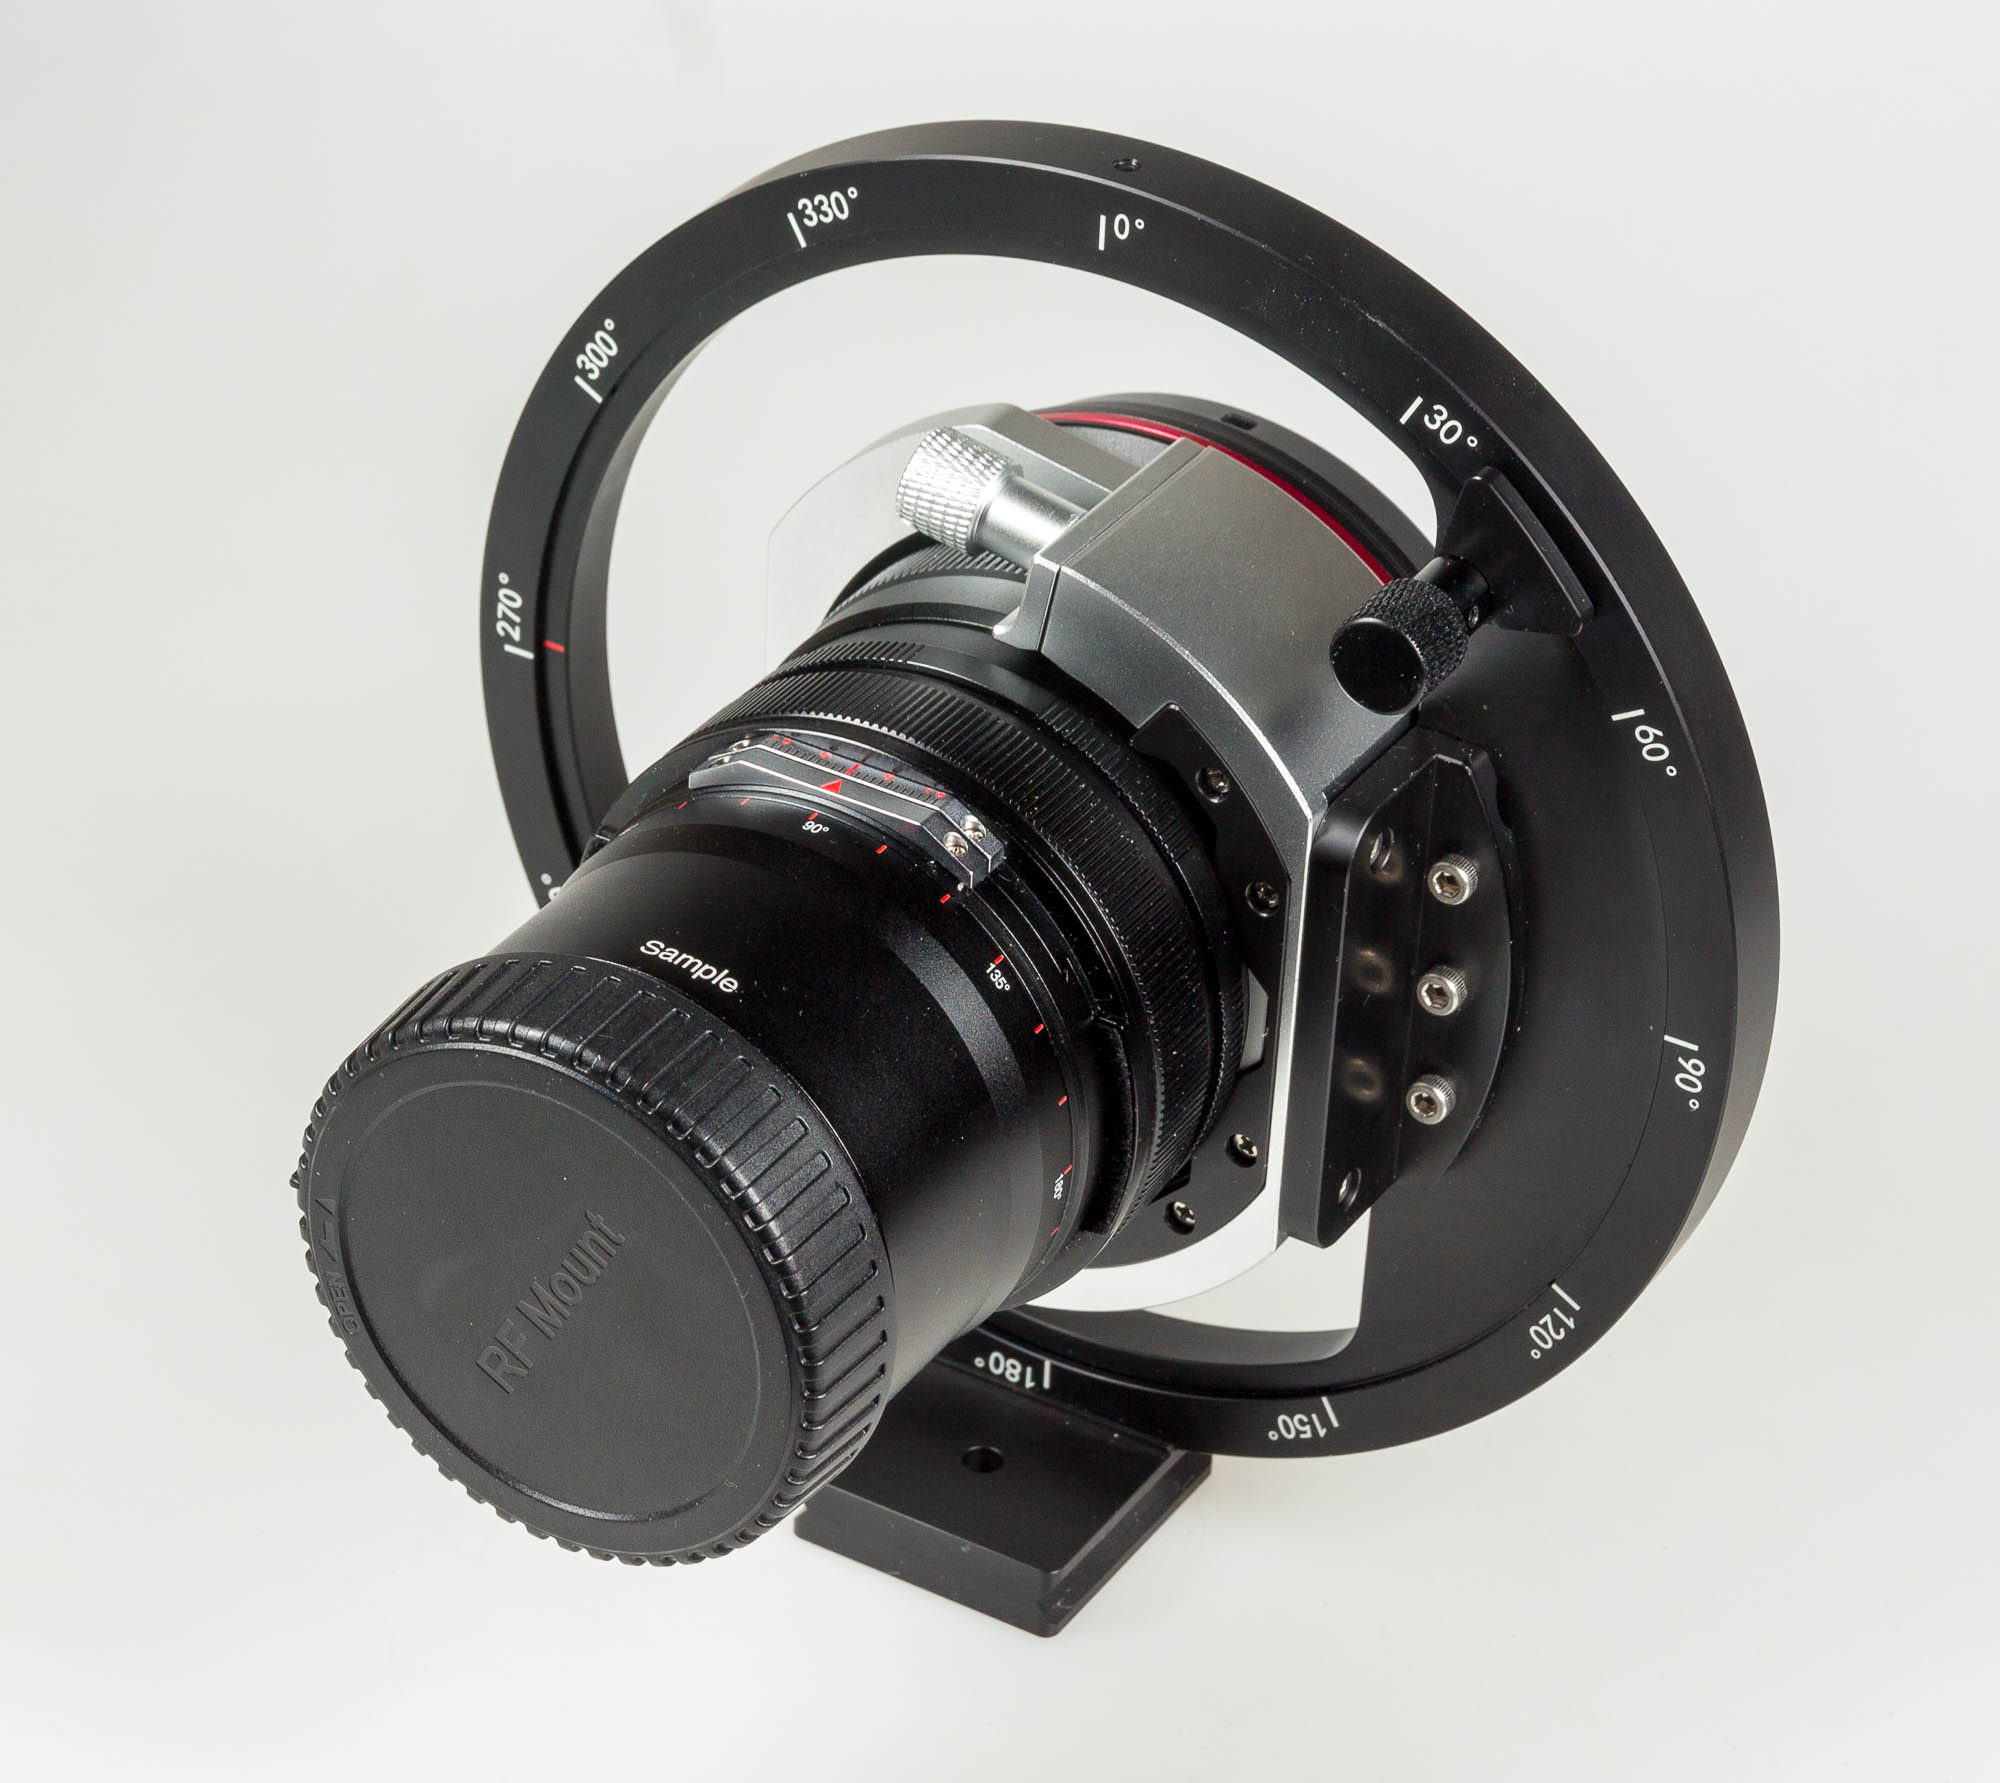
In the next photo, the lens locating lug has been set into the side slot. The lens movement is now left-right.

Which way to use the shift?
From the above, we have two ways of setting the direction of the lens shift axis.
You can initially fit the lens in the clamp in one of the four slots. These give 0º and 90º options as well as ±45º settings.
You can also rotate the whole lens in the circle.
I’ve thought about which I’d use and it would likely be just the bottom slot and then move the ring as needed.
Hence something like these two images to change from up/down to left/right shift.

I had to think why I might want to use the slots in the clamp…
The best use I could come up with were if you took a lot of diagonally shifted shots at 45º – having the axis set at 45º might just make it easier. I asked Venus Optics about this and their view was that it just gave more choice for users.
The camera moving
It might have occurred that as the lens rotates, so does the camera, and you probably don’t want it to.
No problem there, since the lens has a full 360º movement range for the mount end. Press the metal tab and the lens rotates freely (15º click stops).

Look carefully at the lettering on the end of the lens and lens cap in these next two images.
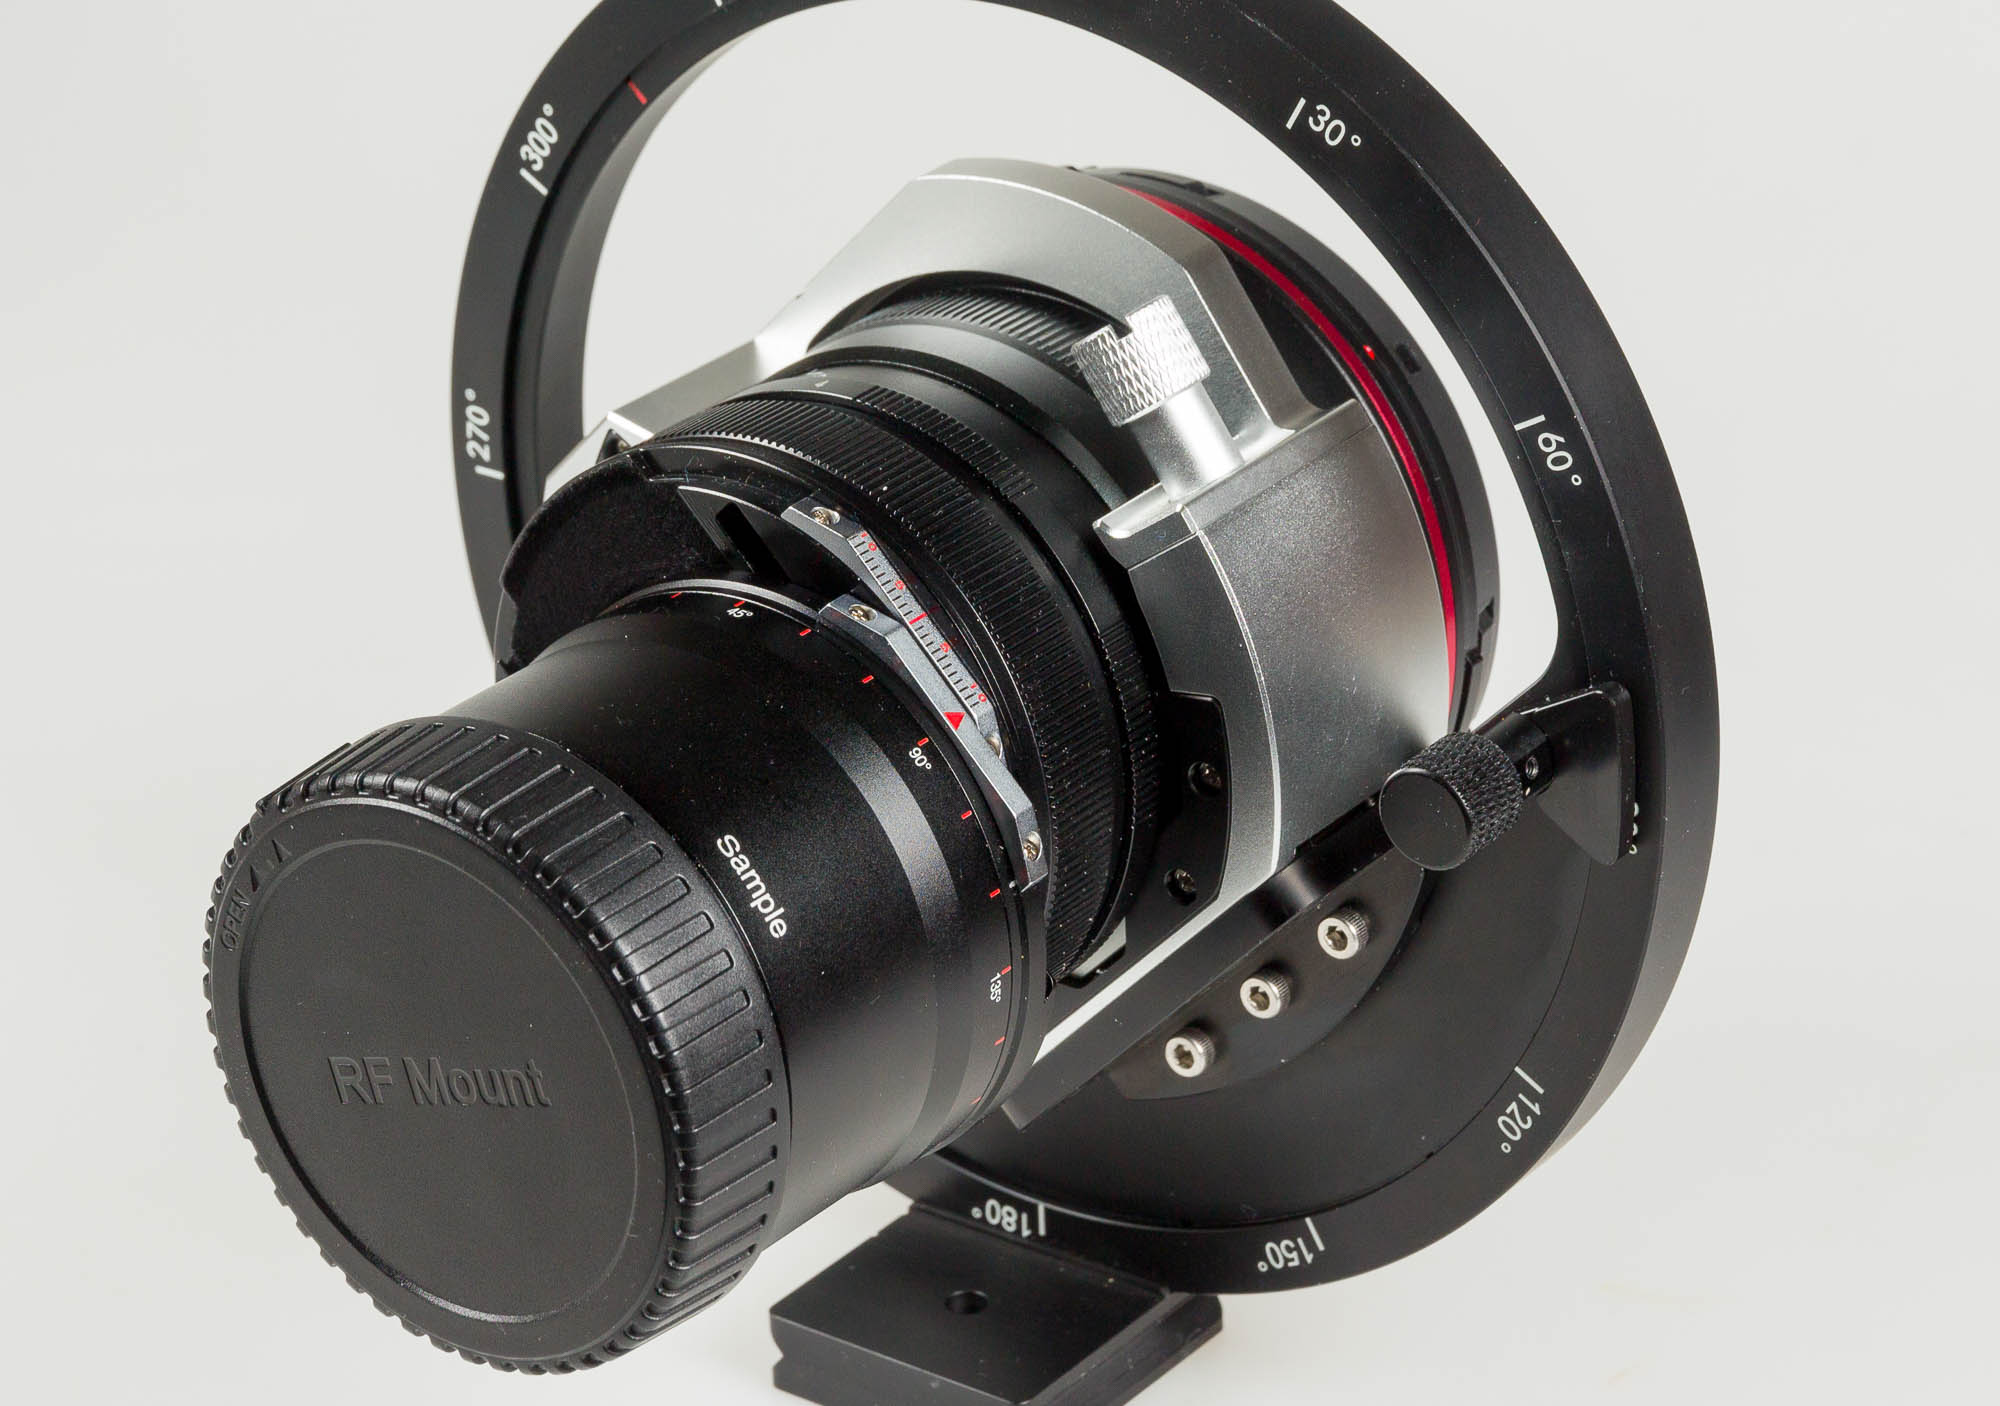
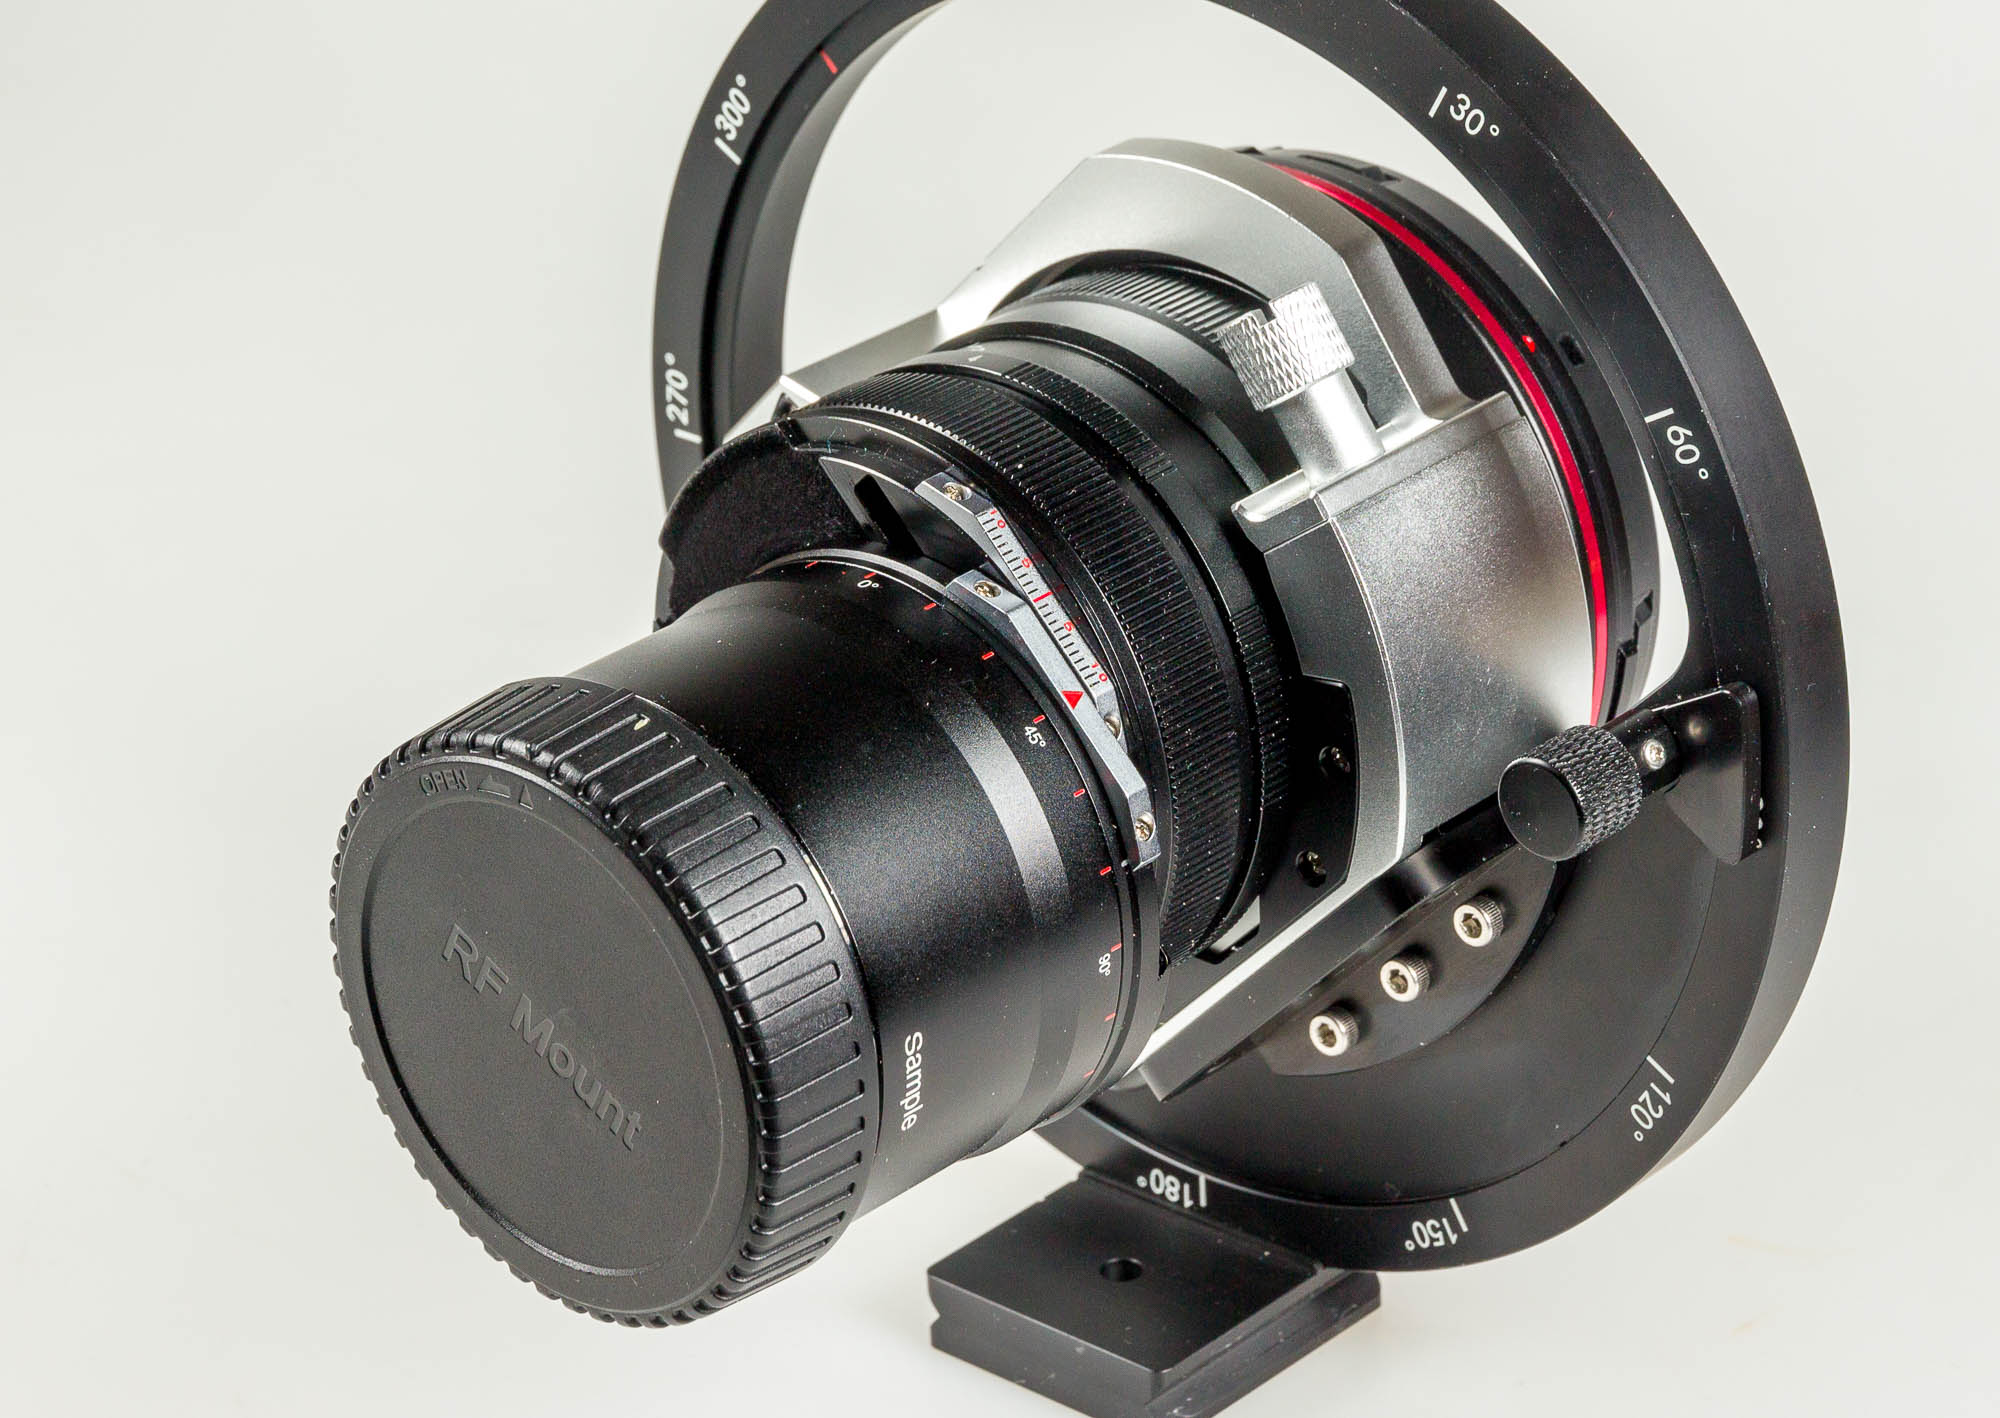
This means you can set the camera orientation after setting the lens shift axis.
These next two examples are allowing up/down shift (rise/fall) for the camera in landscape and portrait orientation.
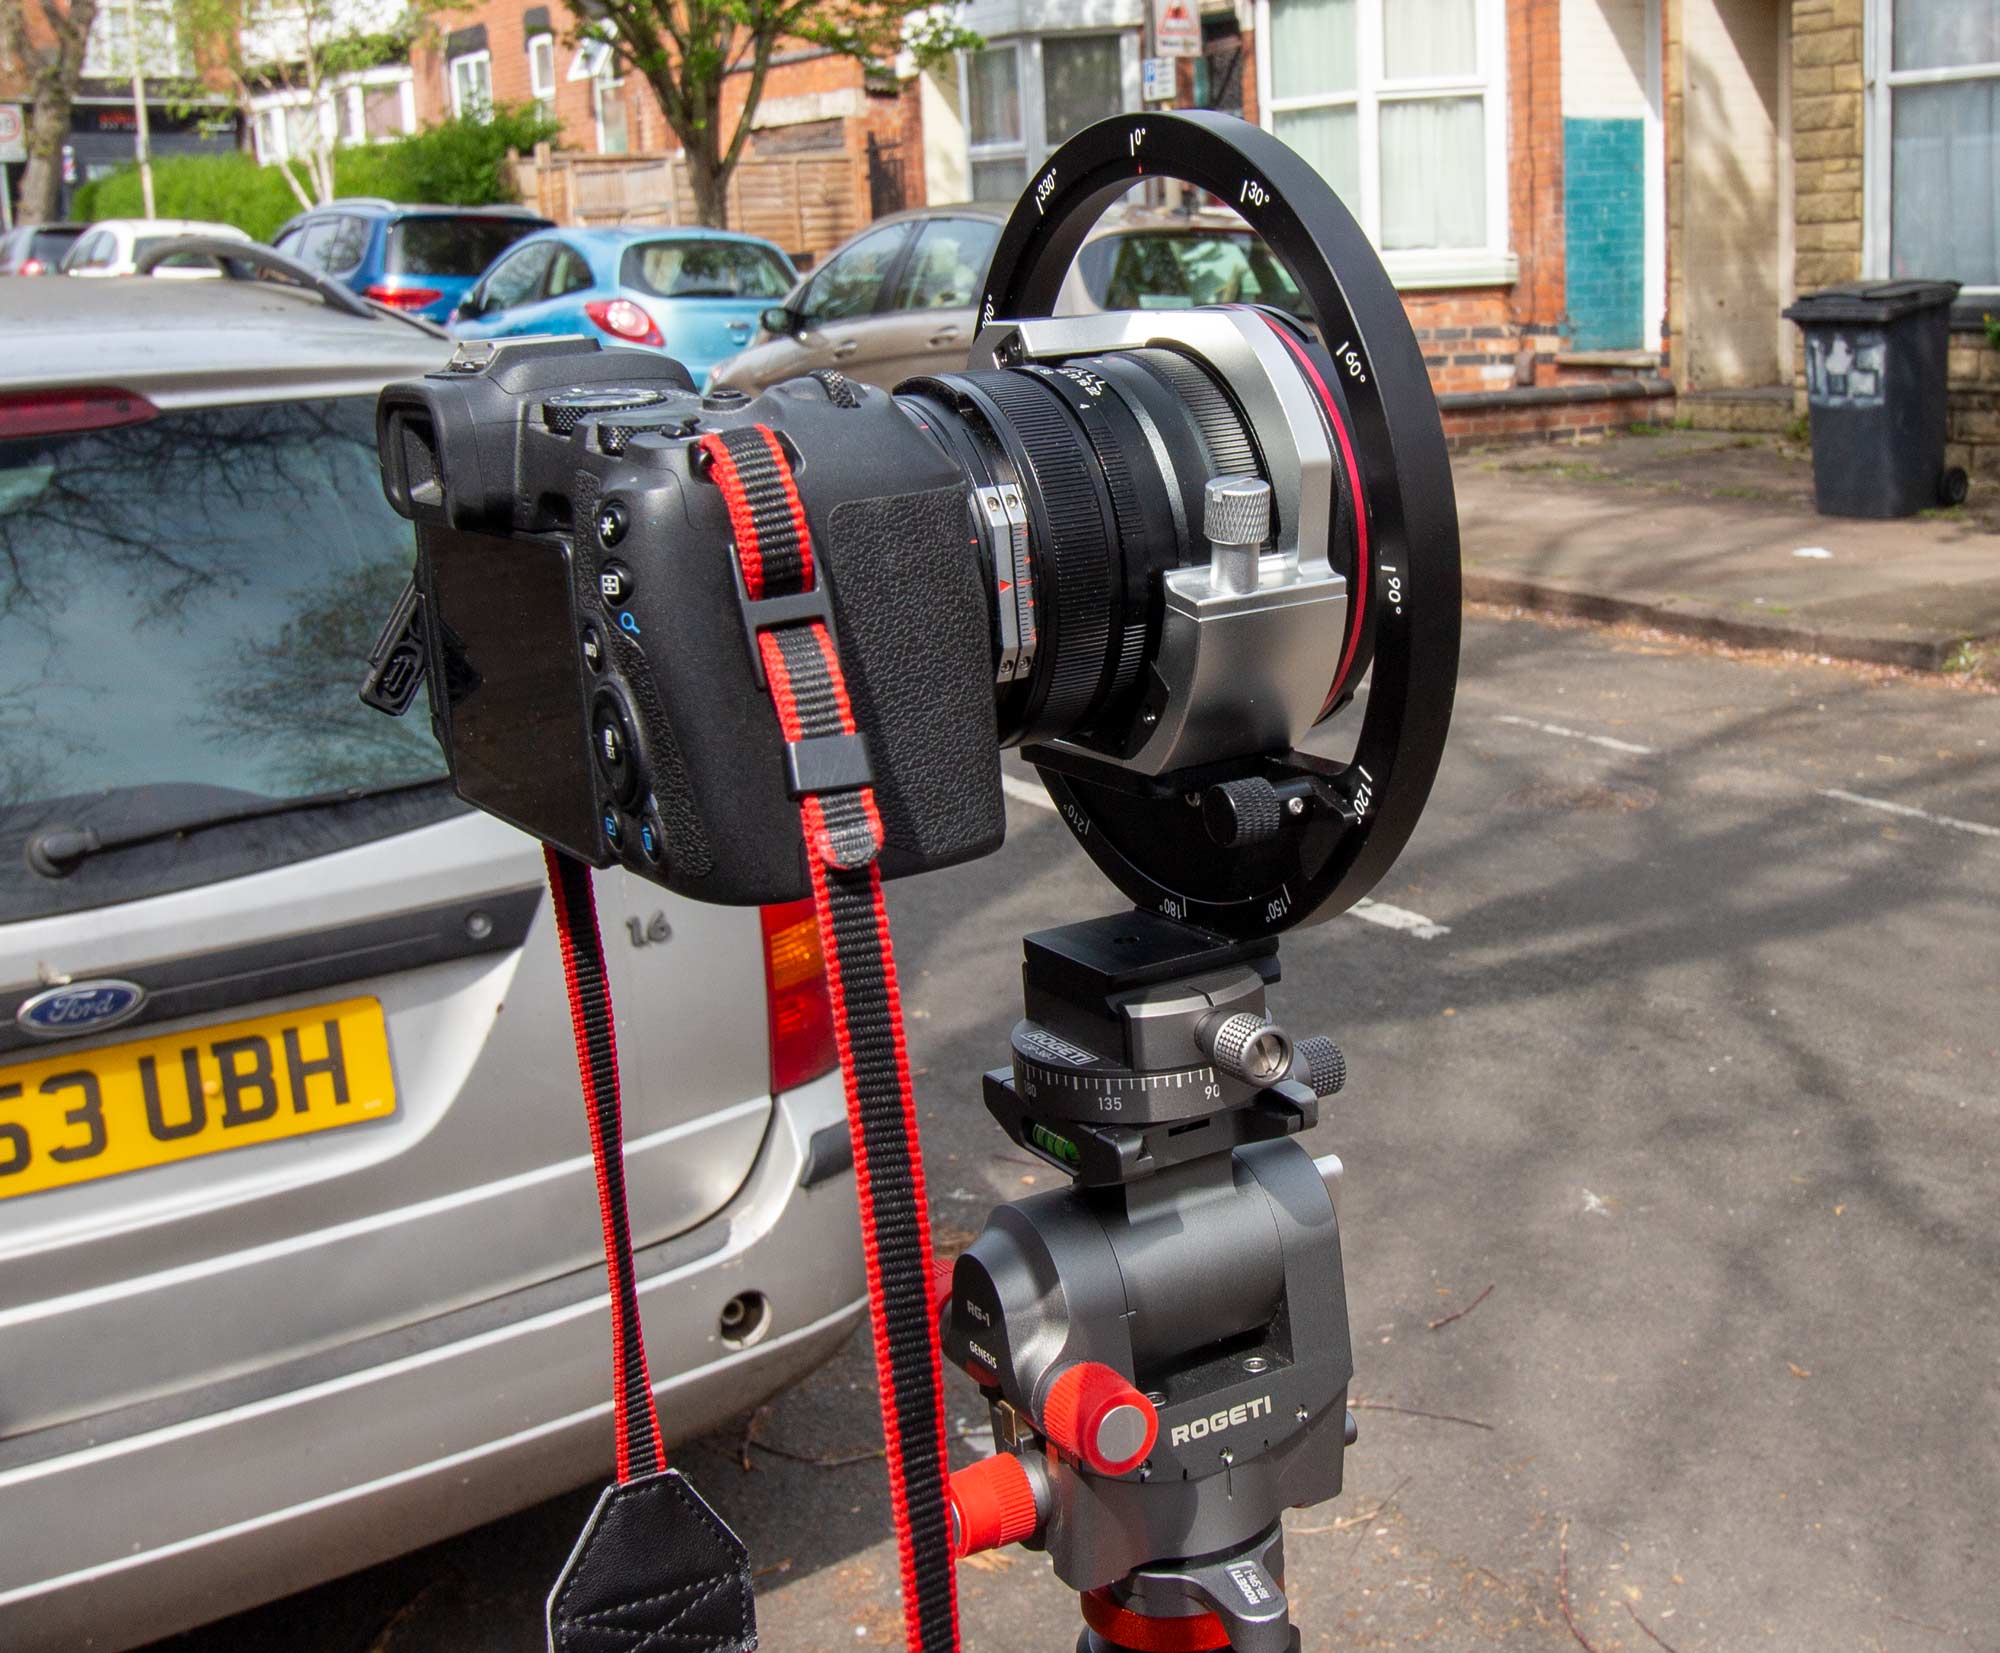
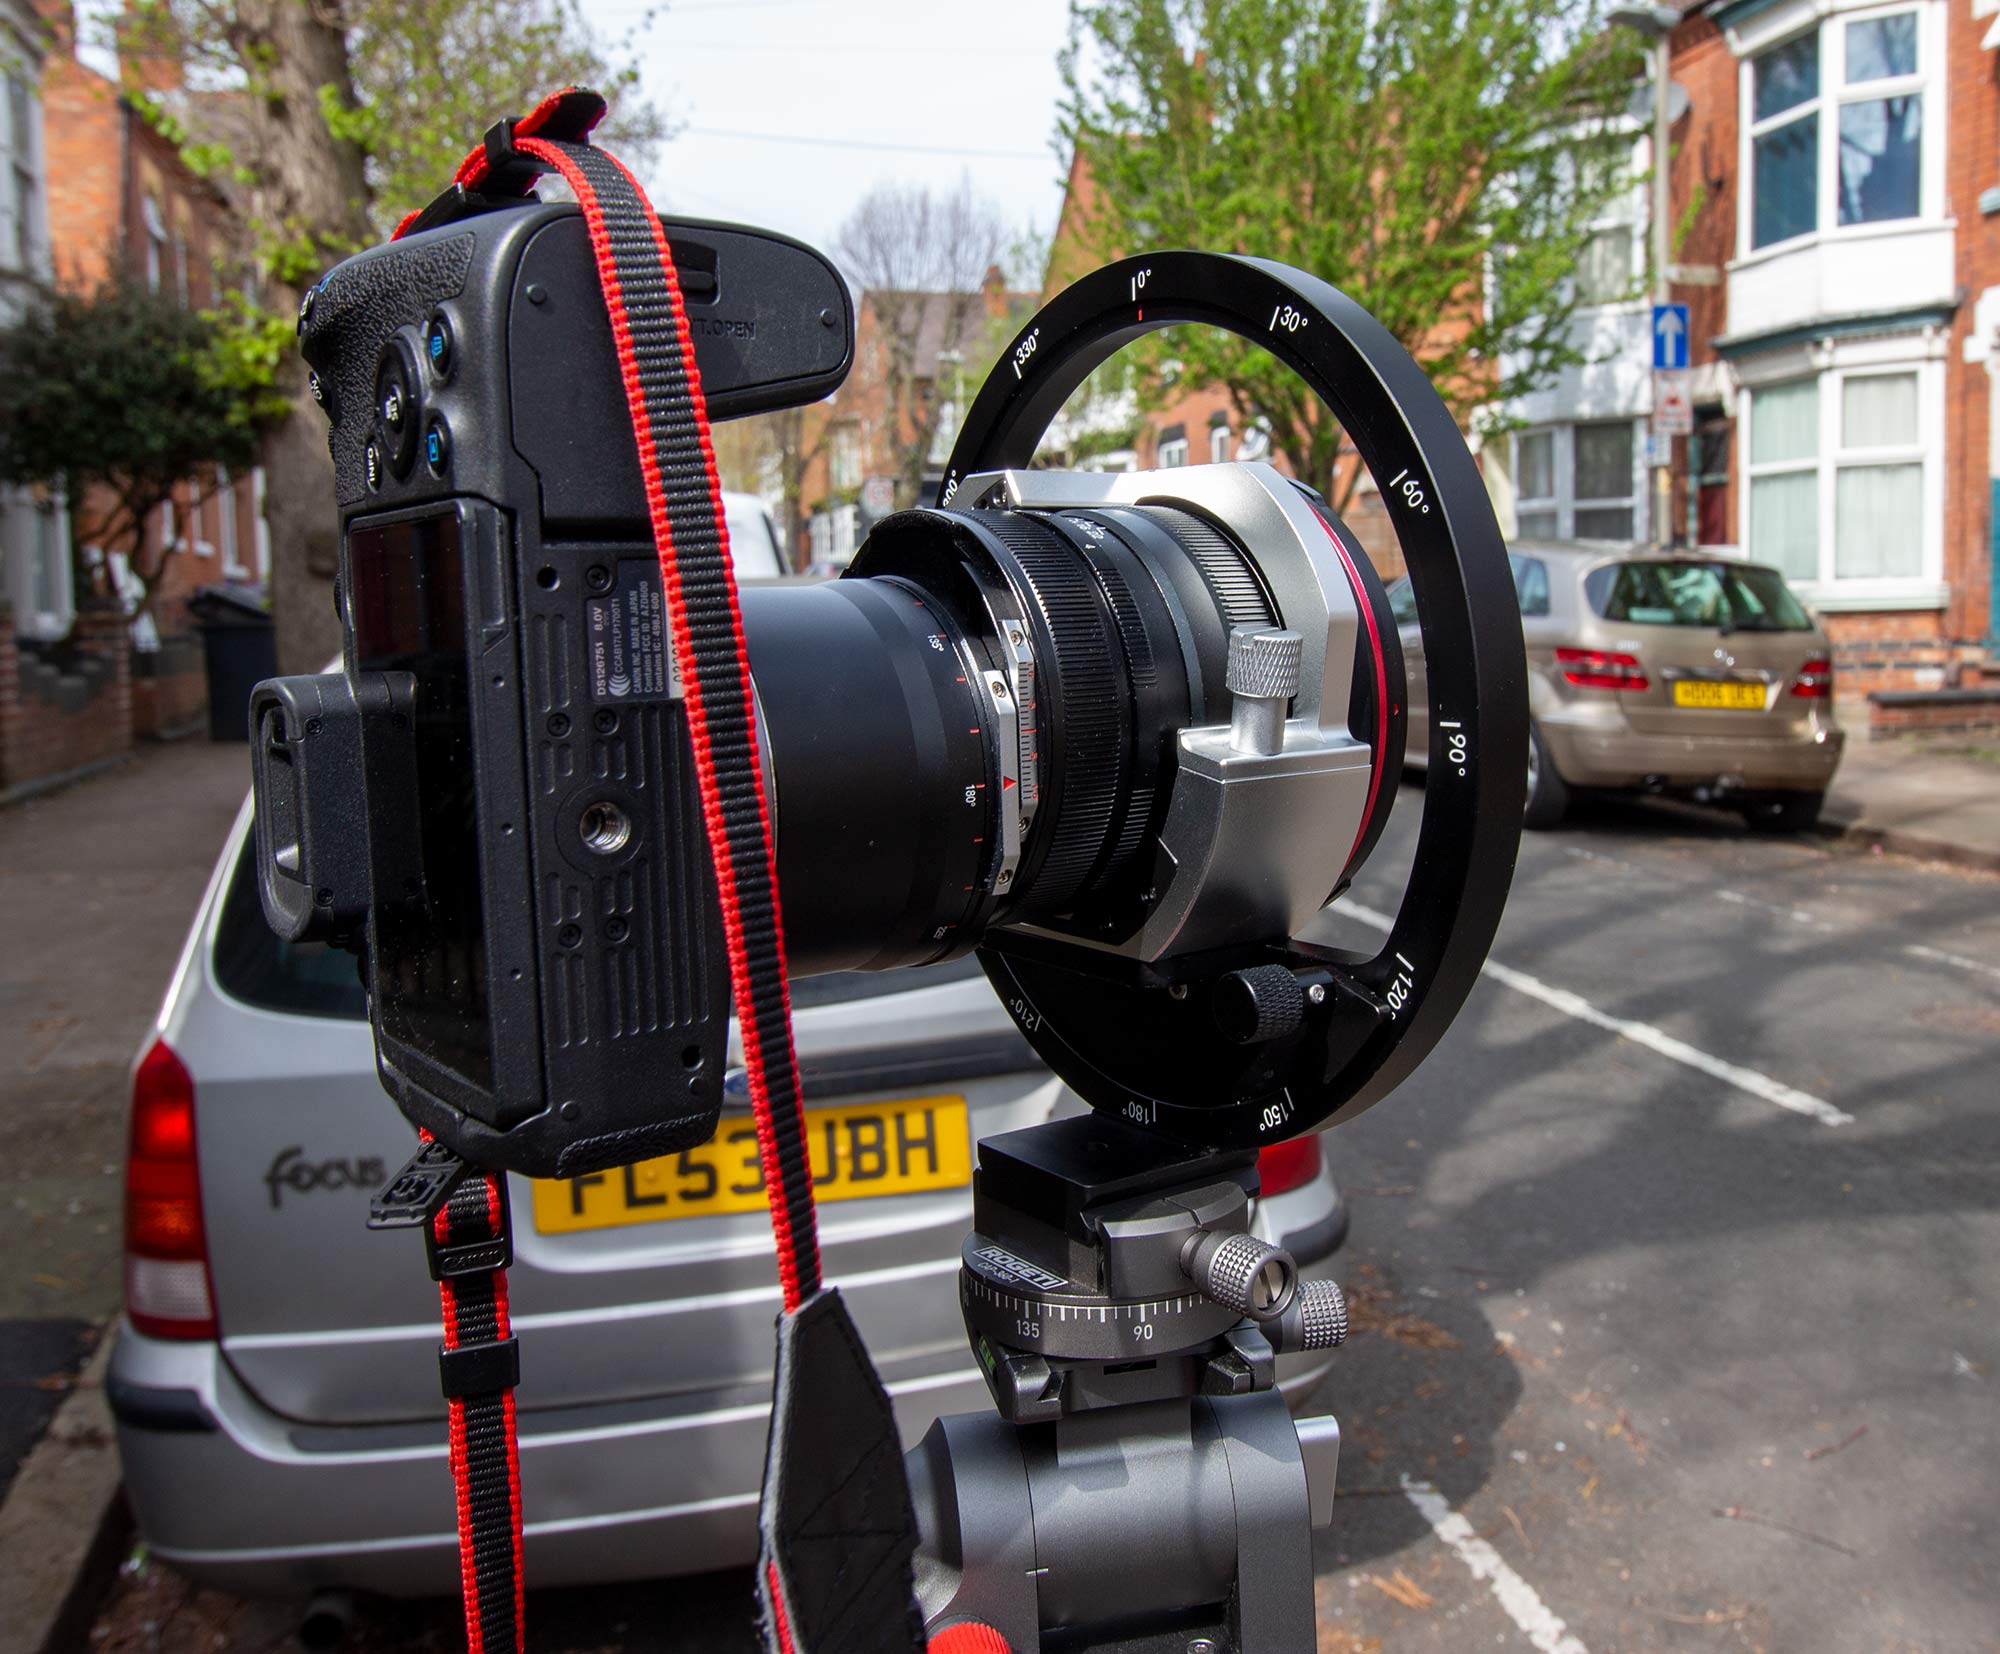
Here’s left/right shift for landscape orientation.
Using the mount
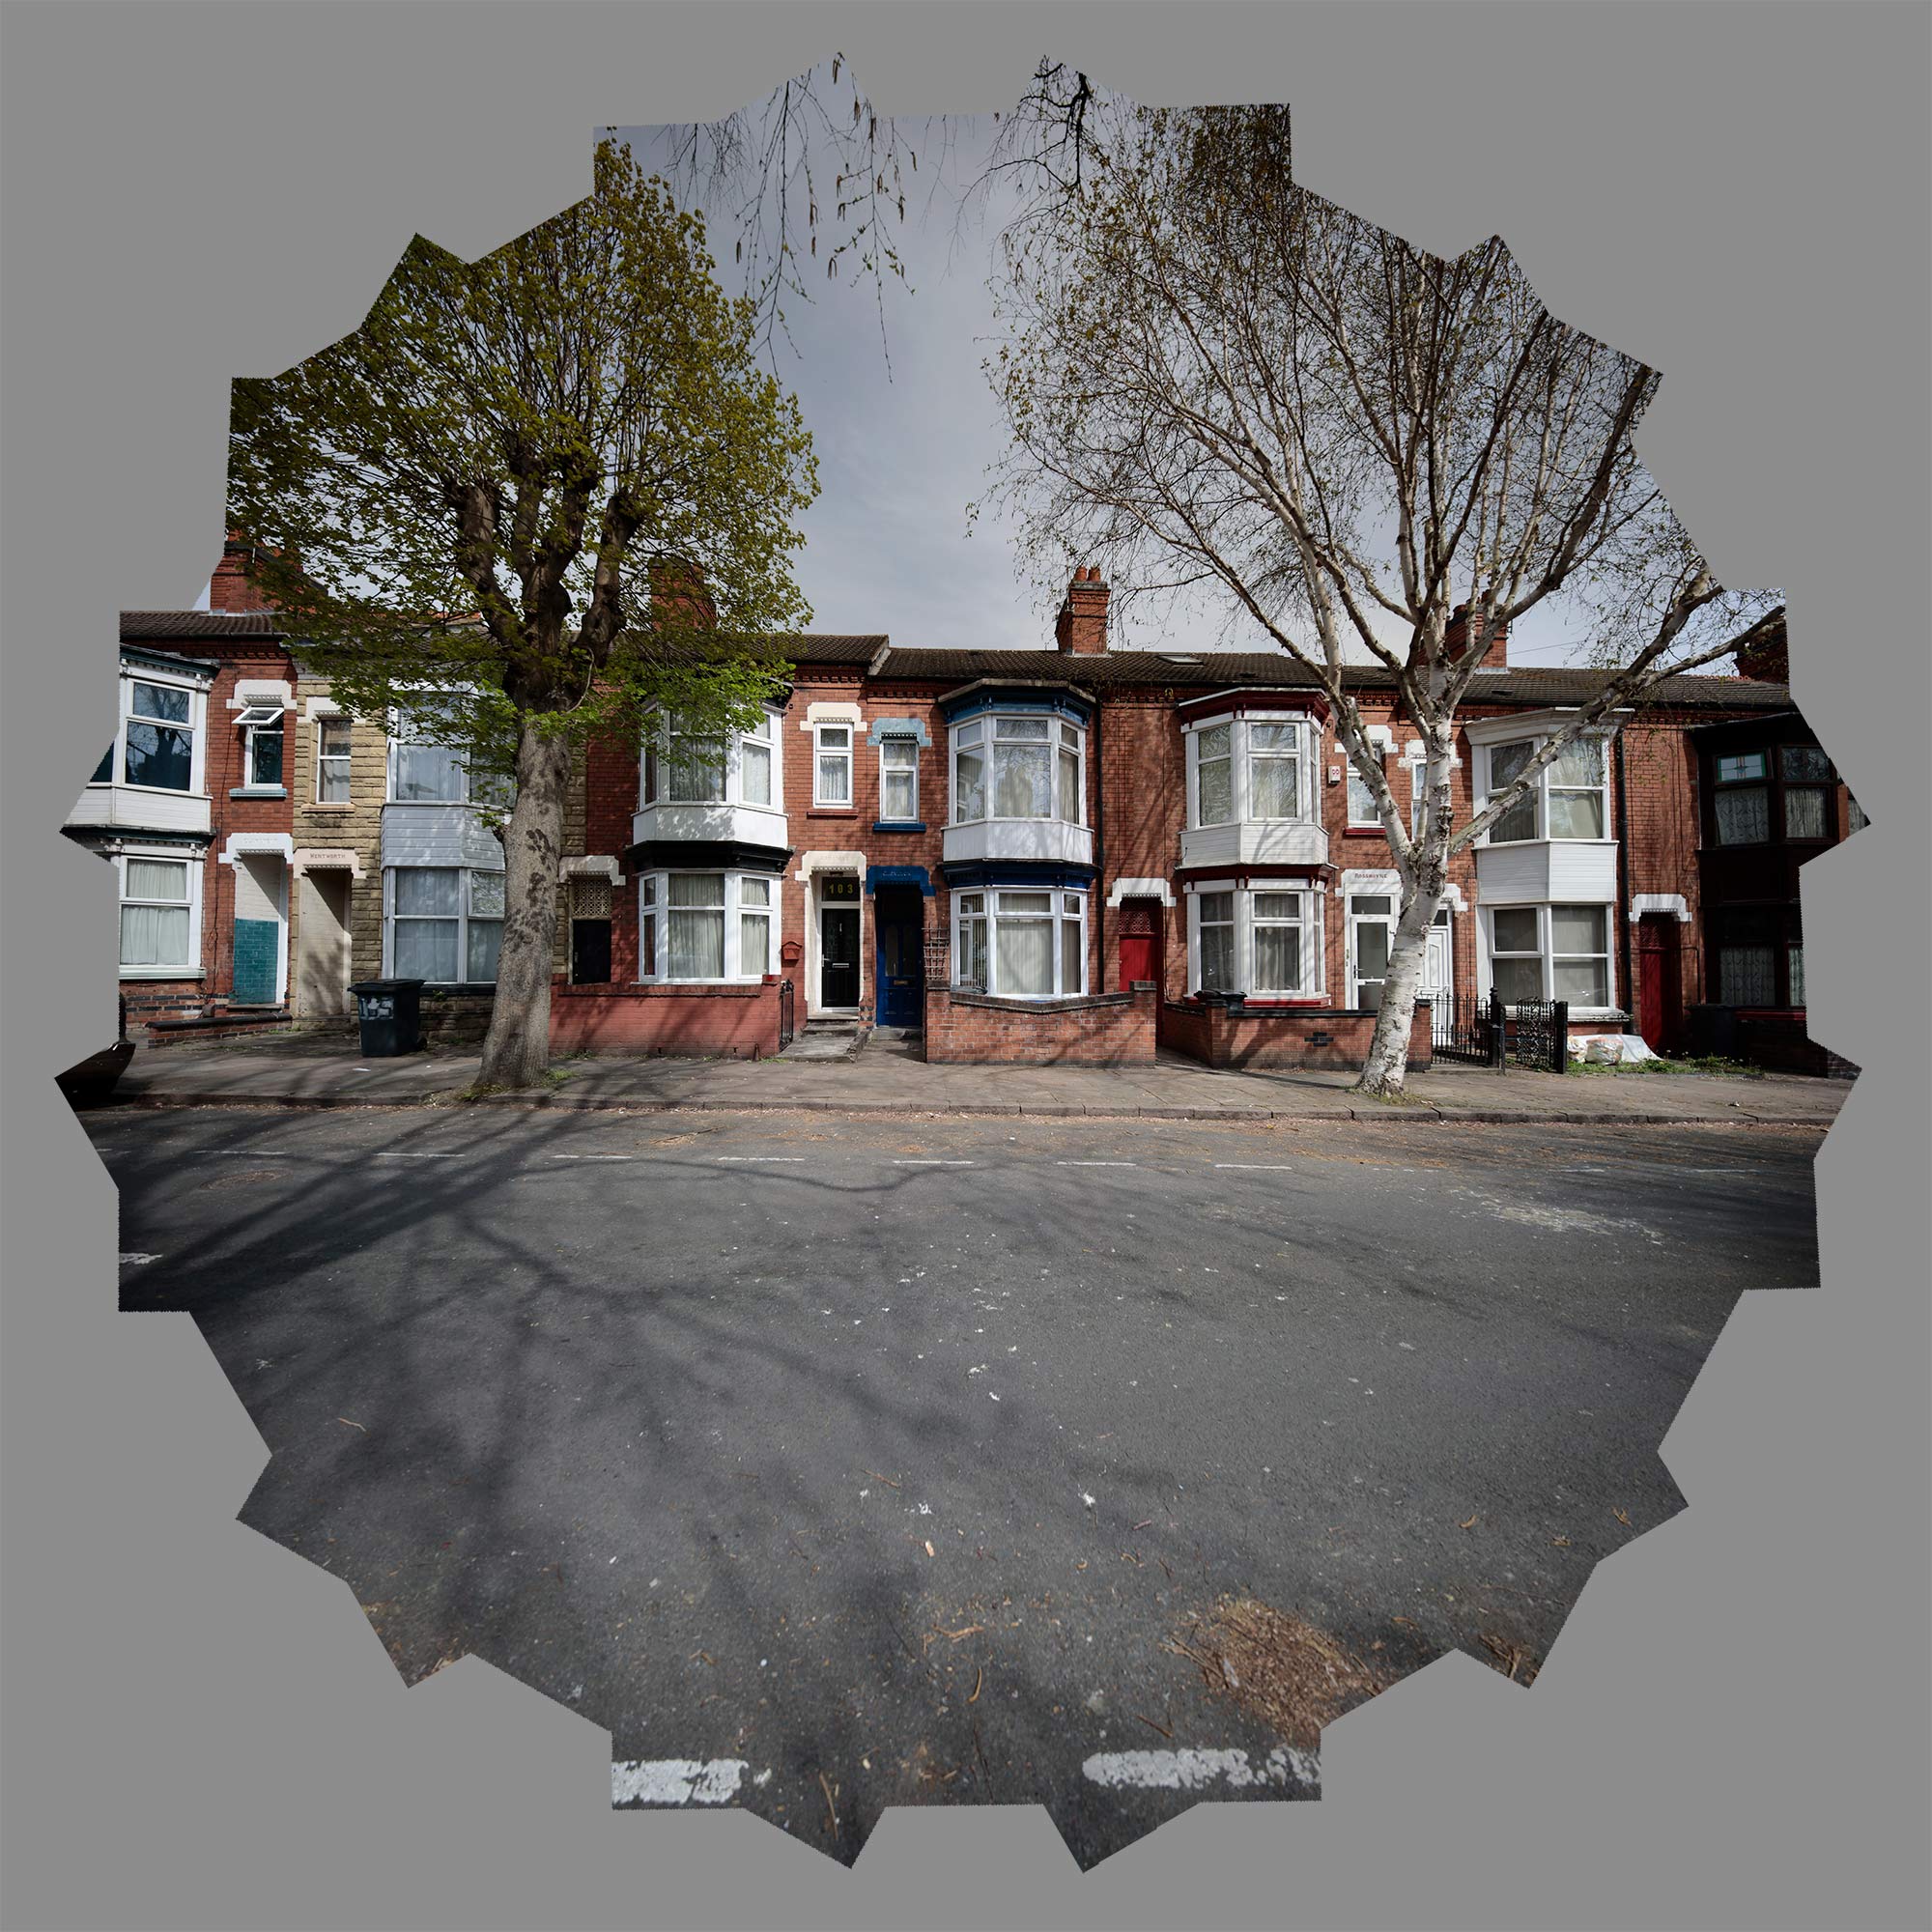
What if I shift the camera upwards in portrait orientation, take a photo and then just rotate the central unit in 30º steps taking a picture each time?
I get 12 overlapping shots. A simple stitch of the camera jpeg files (no corrections) shows the multiple images.

Using the RAW files and making sure the development parameters are equalised give a very good feel for the size of the lens image circle.
Panoramic views
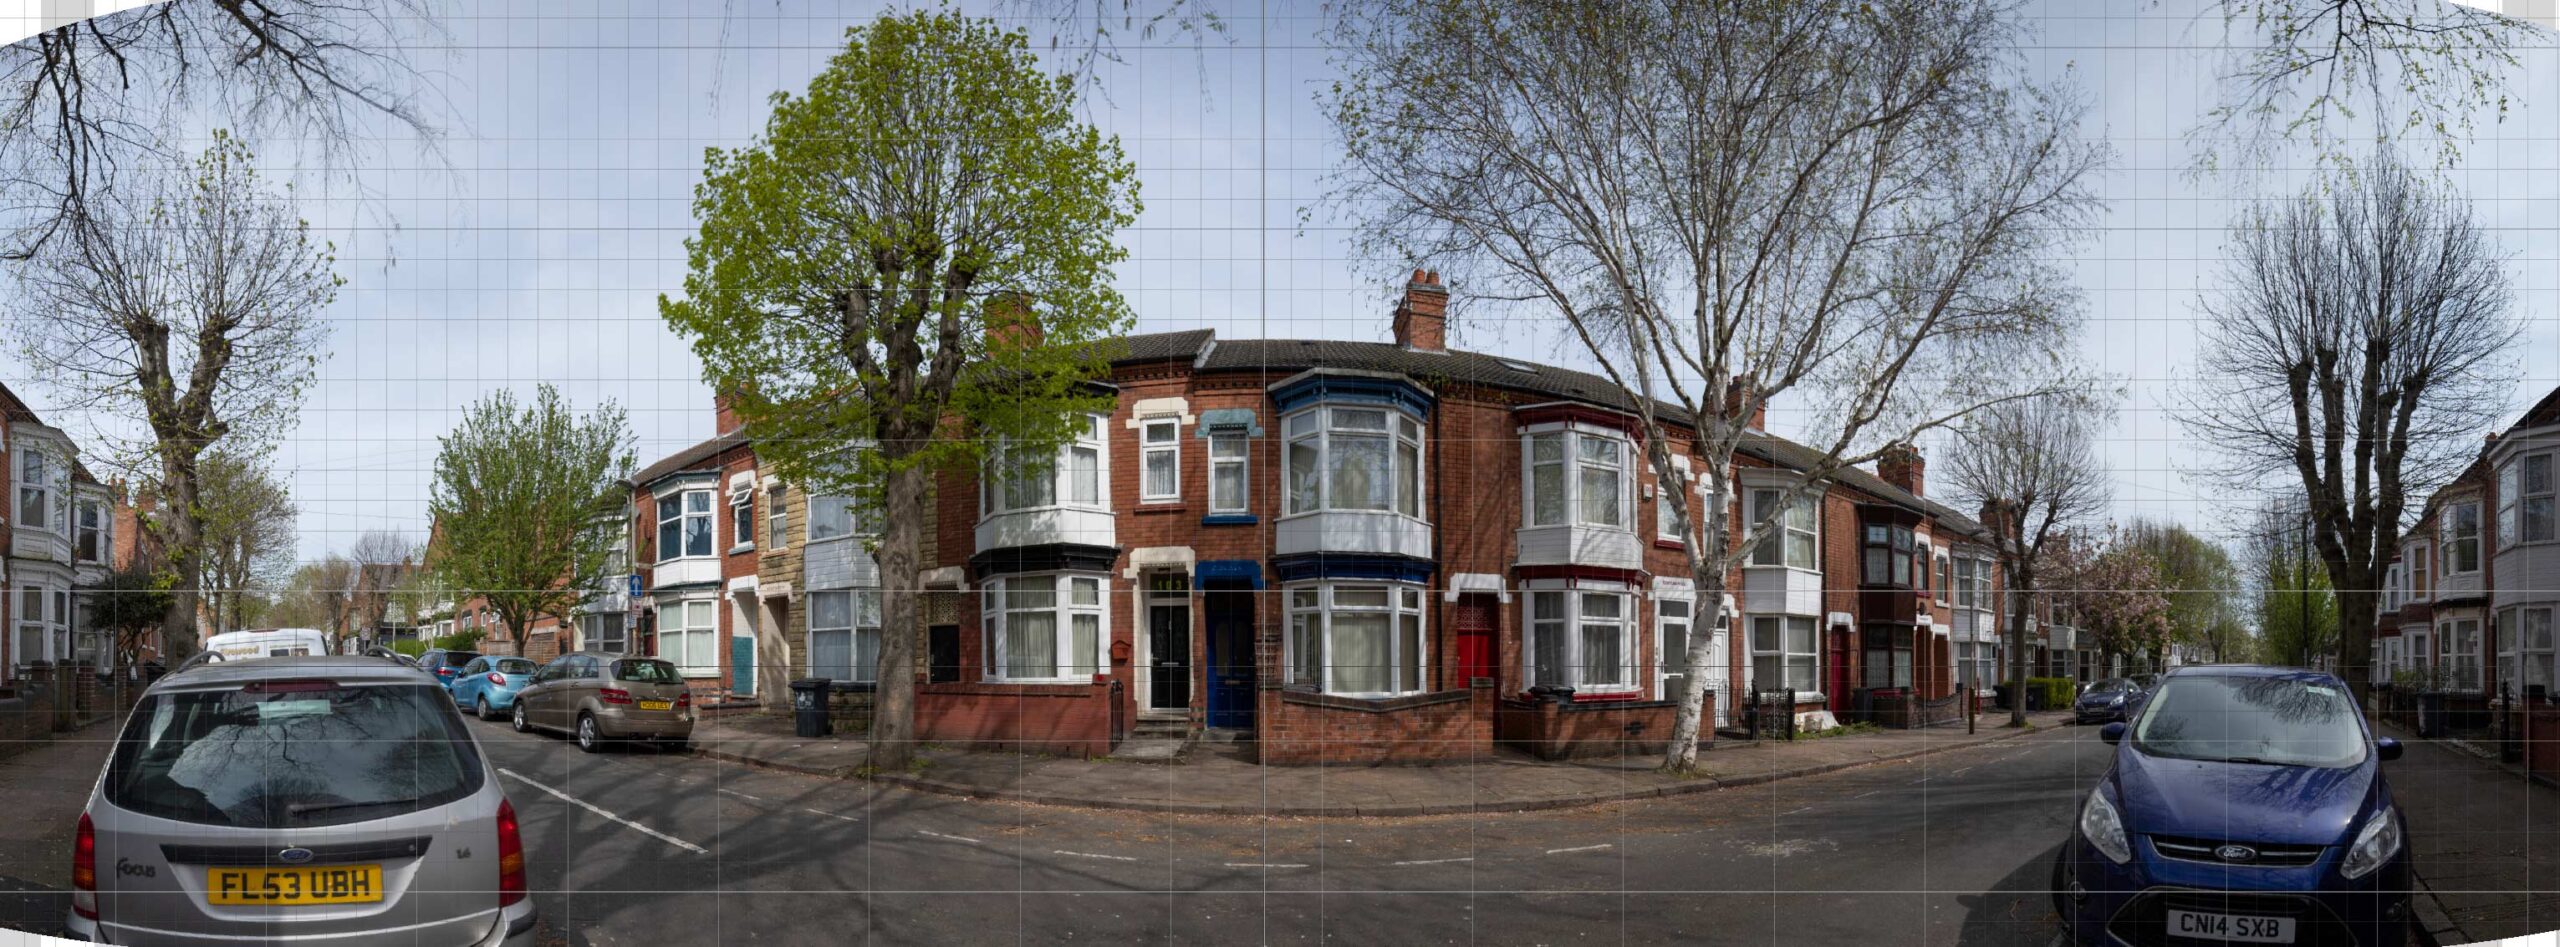
A bit of vertical shift, and portrait orientation for the camera gave me this sequence of shots, panning the shift lens support via the pano head on my tripod.

Quickly stitching in AutoPano Giga gives me a basic cylindrical projection for the view up and down the street.
The vertical shift in the setup is clear from the lowered viewpoint on the scene.
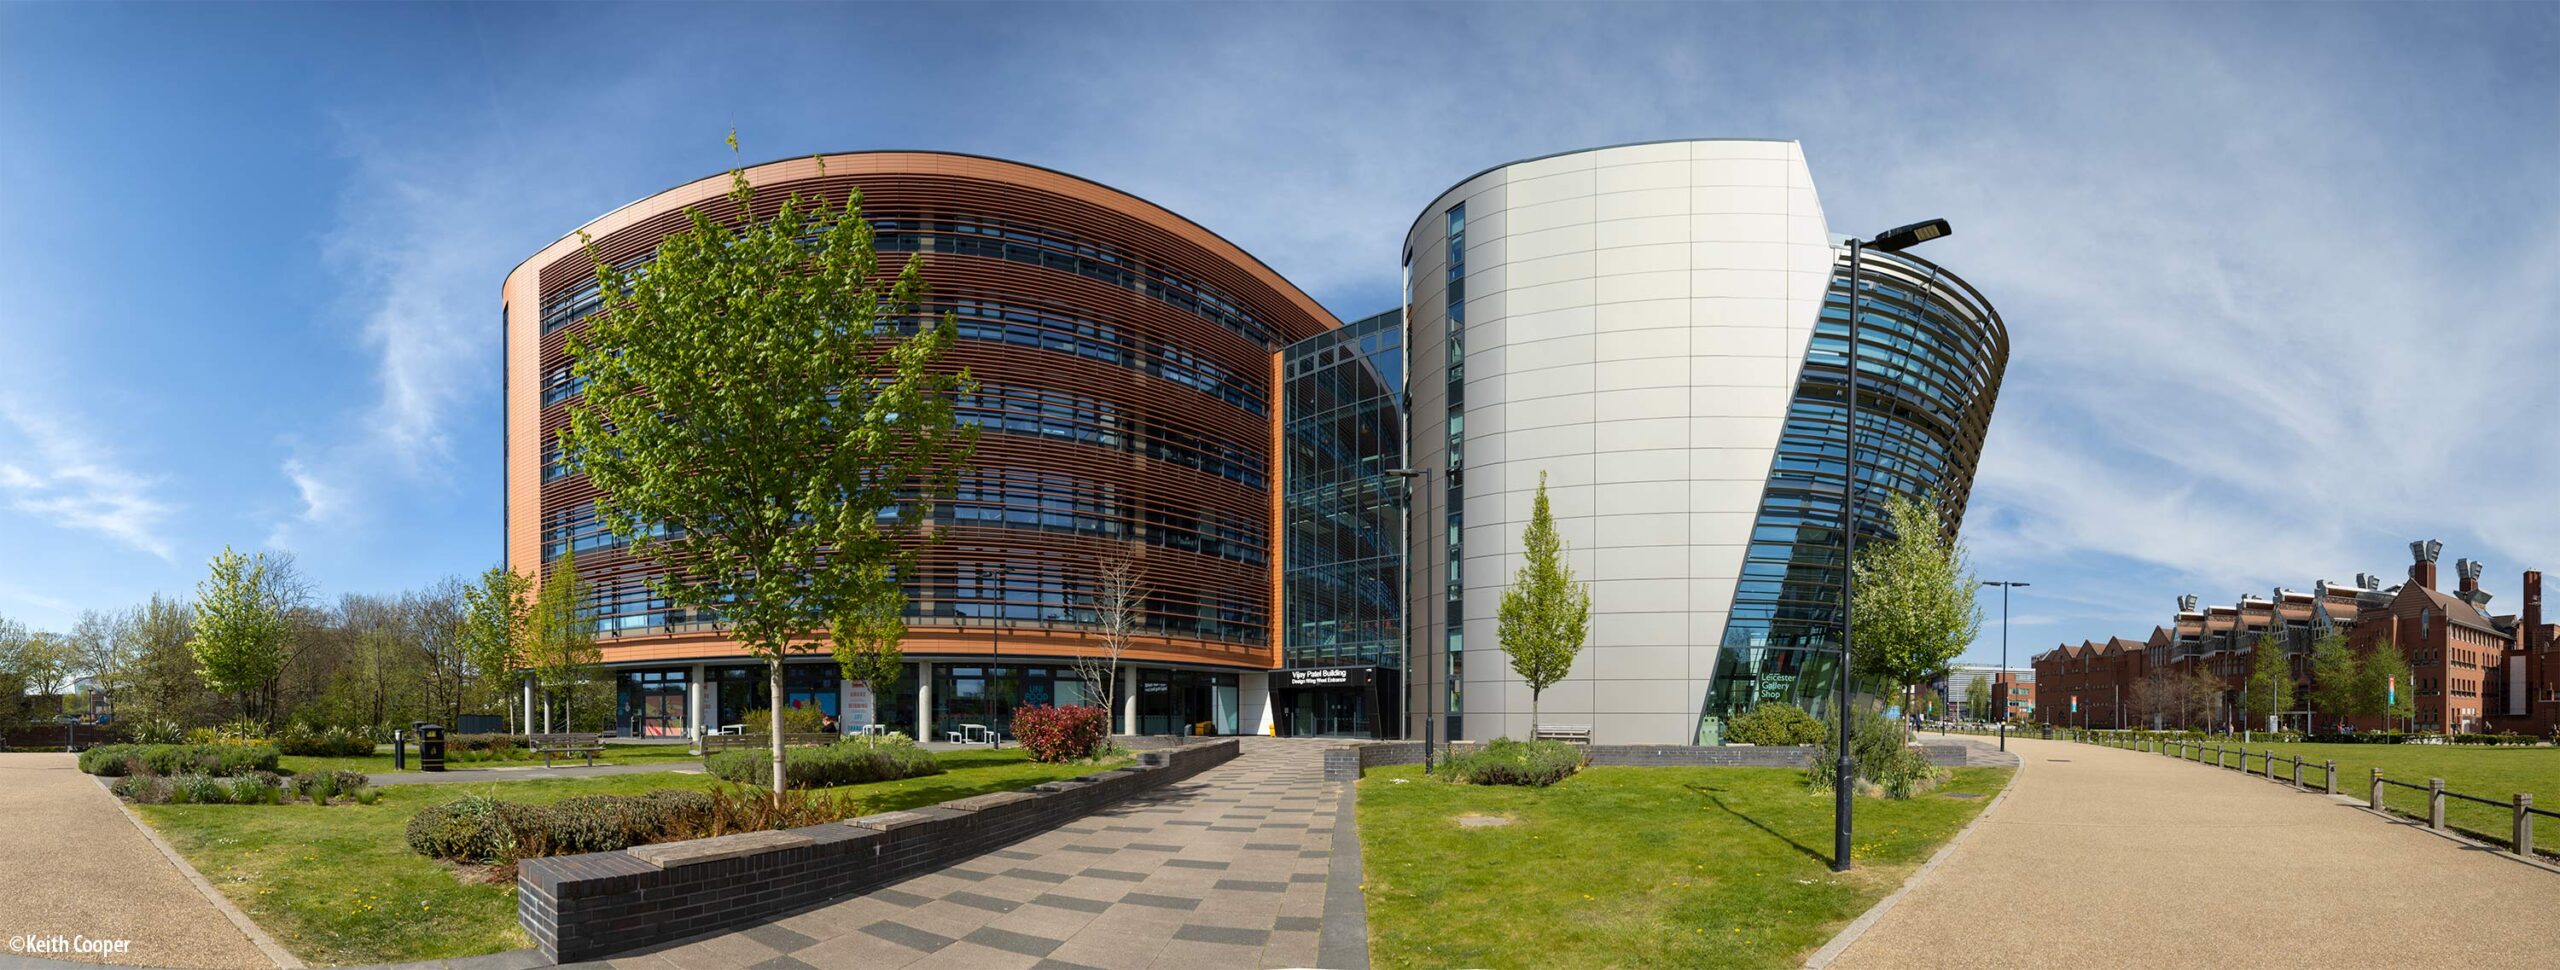
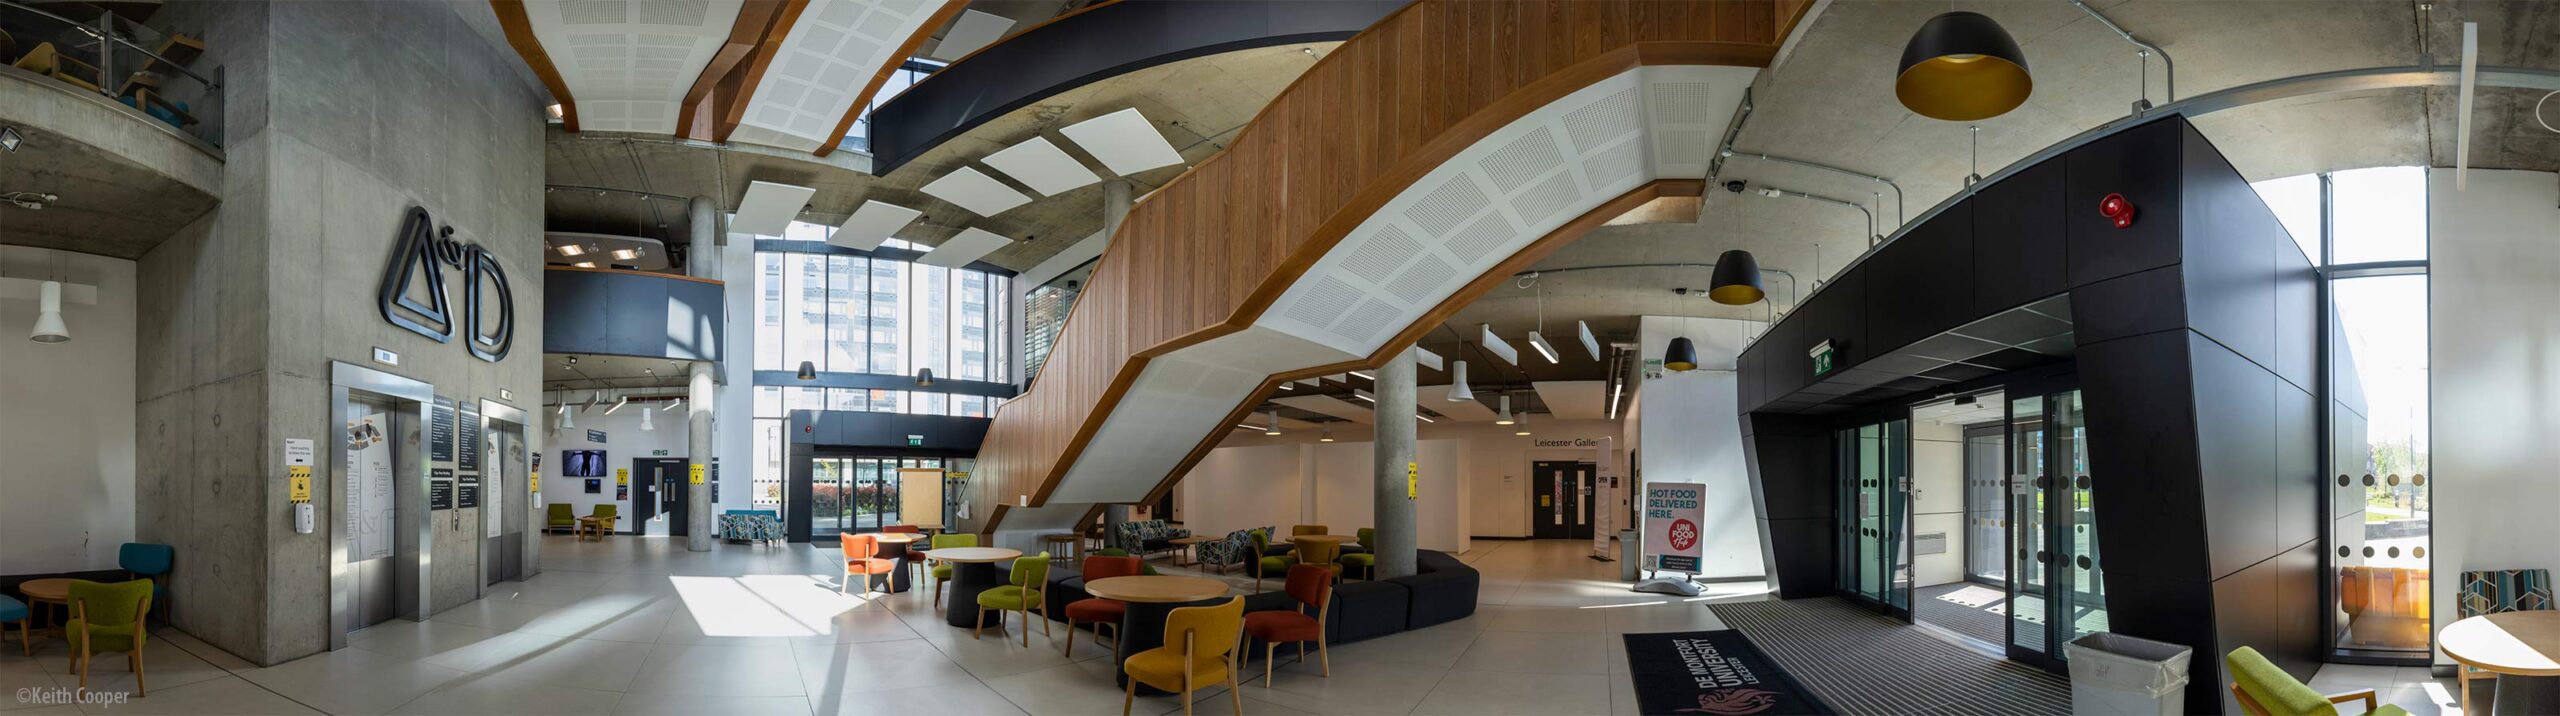
Two more examples, shot in a similar manner.
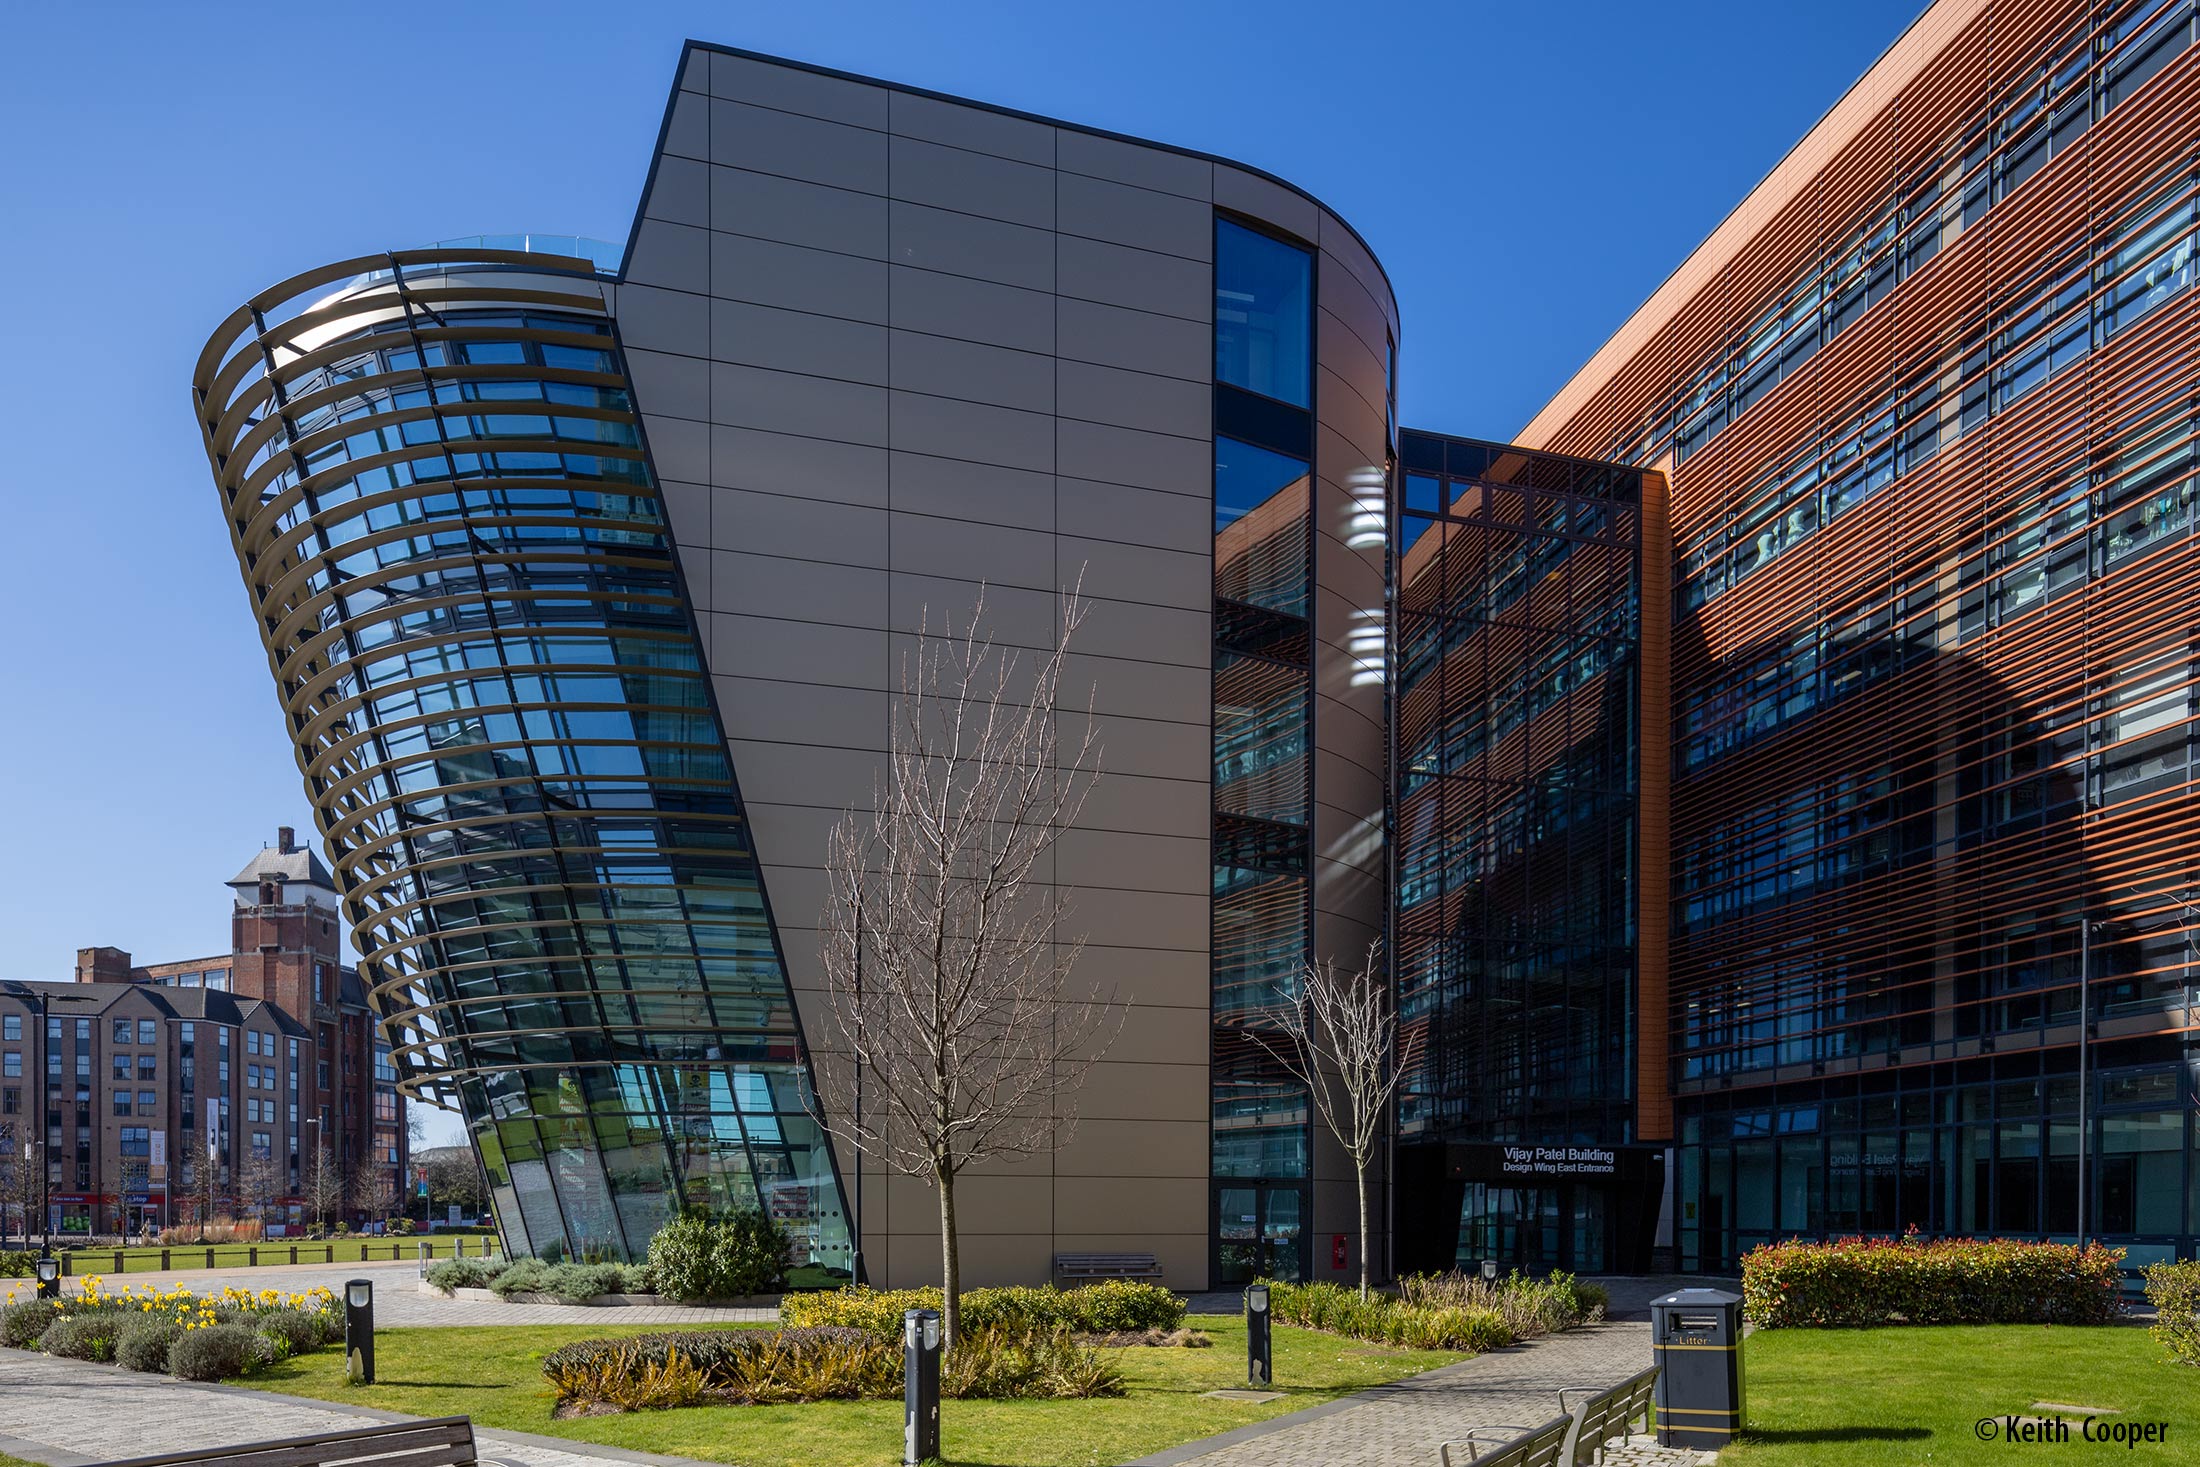
The Vijay Patel building at DeMontfort university, Leicester
Inside view of the foyer.
How much is parallax a real problem
For normal single shot images, the shift lens support performs no useful function. Well not quite so, I found it far easier to experiment with diagonal shift via adjustments using the big ring.
In my architectural work I use the Canon TS-E17mm and TS-E24mm lenses a lot, on my 50 MP EOS 5Ds. I frequently do up/down stitches of images to get a roughly square composition at ~80MP of resolution. For most outdoor shots an up down shift minimises parallax issues and I rarely have any problems. For landscape shots I often use the TS-E24mm hand held and do up/down stitches – no problems if I’m careful.
Where I do see issues is with interiors, where parallax does get in the way more often. I address this with a TSE Frame mount for the TS-E24mm and TS-E17mm.
[Reviews TS-E17mm | TS-E24mm | TSE Frame]
The Laowa shift lens support solution would be an absolute must if I was using the 15mm or 20mm for interiors and stitching images for coverage or panoramas.
Levelling the shift lens support
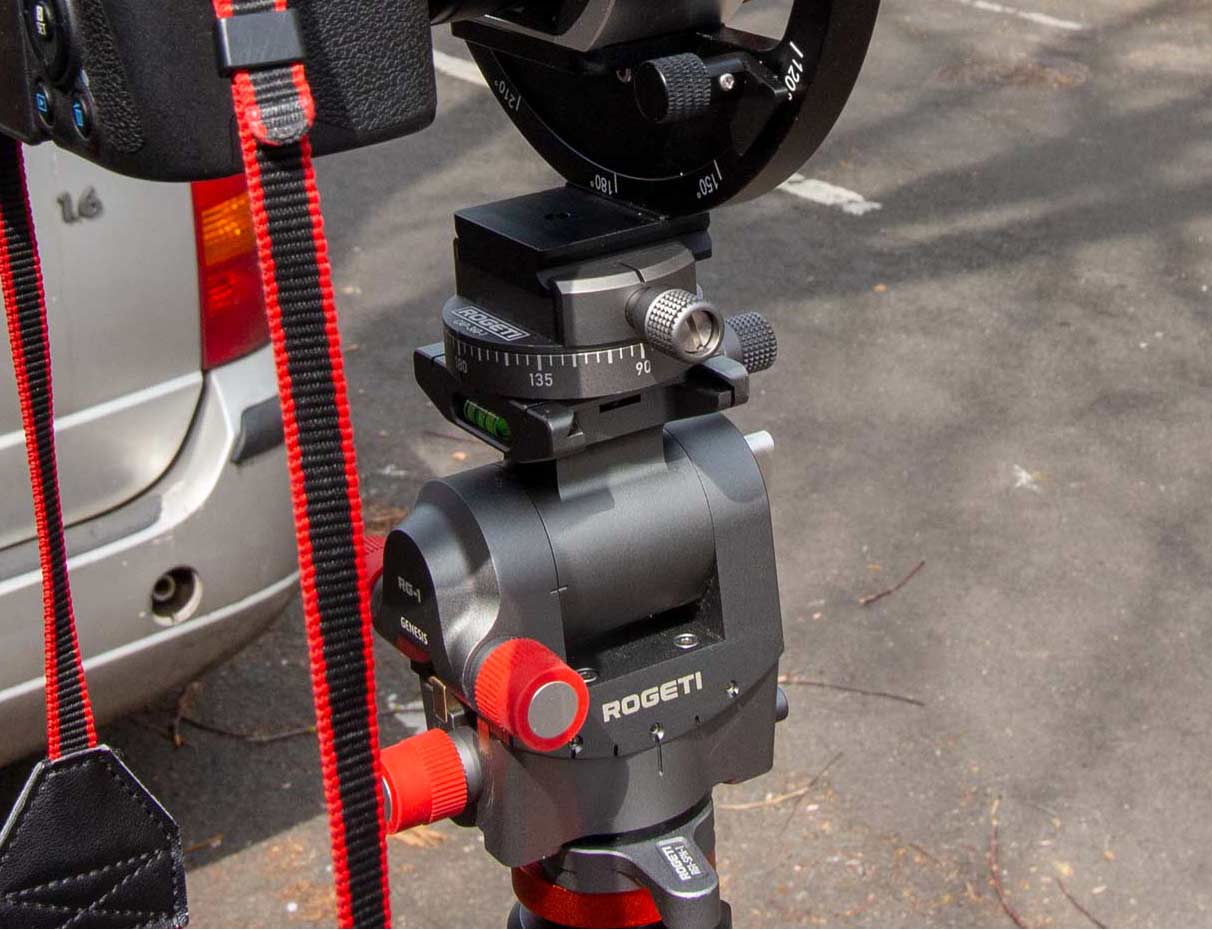
The device has no built in levels. I used the ones in the RG-1 mount I was using, along with the built-in level in the EOS RP camera. A good quality tripod head is important – one like that shown here is geared and with the pano head attachment (just below the shift lens support baseplate.) quick to set up accurately.
[More RG-1 info and review]
Conclusions: Shift lens support
The shift lens support is very solidly made and at 510g not an excessive weight either. This is a device made for serious use, not a lightweight travel accessory… It may be well built, but take care in handling. It looks as if fine sand could get in the big ring mechanism – it looks fairly straightforward to dismantle for cleaning, but it wasn’t my shift lens support to pull apart.
My ‘opening the box’ thoughts of it looking cumbersome were quickly dispelled when I actually started using it. It works smoothly and with no slack in the movement.
If I had a minor complaint it would be that I’d like to see 15º tick marks added to the outer ring rather than the 30 degree steps. I don’t need more numbers, but 15º steps are easier to use (especially when you want 45º)
[ Note that I’m told that a new version of the device does have 15º marks – not tested]
In looking closely at panned images, there was no sign of parallax at all – it does everything it’s meant to do in what I find a quite elegant way.
–ooOoo–
If you’ve any questions – please feel free to ask.
If you’ve any questions – please feel free to ask.
There is also a specific Tilt/shift index page on this site with links to all Keith’s articles, reviews and videos about using tilt and shift.
–ooOoo–
Never miss a new article or review - Sign up for our occasional (ad-free) Newsletter
and please do subscribe to Keith's YouTube Channel

Other areas of our site that may be of interest...
All the latest articles/reviews and photo news items appear on Keith's Photo blog

Keith explains tilt and shift lenses
Keith has written a book that looks at the many ways that tilt/shift lenses can benefit your photography from a technical and creative point of view. If not in the UK check for import issues and maybe try an on-line bookshop. Keith has no connection with sales of the book.
ISBN 9781785007712
There is also a specific index page on the site with links to all Keith's articles, reviews and videos about using tilt and shift.
We've a whole section of the site devoted to Digital Black and White photography and printing. It covers all of Keith's specialist articles and reviews. Other sections include Colour management and Keith's camera hacks - there are over 1200 articles/reviews here...
Adverts removed
Keith | Dec 22, 2022 at 2:08 pm
I’ve not seen anything for Nikon lenses, but you need to take care with camera/lens handling.
I use the Rogeti TSE frames for my Canon lenses – I only fit them and use them as needed – I don’t carry the tripod round (much) when set up this way.
David Shawley | Dec 19, 2022 at 12:10 am
Hi Mr. Cooper.
I shoot with the Nikon PC-E lens and have found similar rigs that will hold them like the Laowa rig above.. I haven’t purchased one yet because I am concerned that the weight of the lens and camera hanging free would eventually damage the gears in the lens or the electrical connection between the lens and the camera (Nikon 19mm PC-E + D850). Are these concerns unfounded in your opinion?
Thank you.
David
Keith | Oct 26, 2022 at 11:16 am
The Laowa 20mm is better than the Samyang – the SY has too much geometric distortion for my preference. The adapter route purely depend on the quality of the lens (and image circle)
Dennis jeffrey | Oct 24, 2022 at 6:07 pm
Previously I have used Canon TS lens but now use a Sony A7Riii. I have been researching the Samyang T-S 24mm T&S, Laowa 20/4 and a combing a Fotodiox adaptor with a Zeis lens.
I use for architecture especially church architecture and have been using a Sony 12-24 and DXO to correct. I am starting a series of church projects. and am looking for a set-up that gives good sharp images with minimum intervention. I use LR/PS, DXO Viewpoint + DXO and Topaz.
You’ve written excellent reviews of the individual alternative kits on the web and cover the Samyang in your book. Do you have any preferences from the three alternatives I’ve identified (the hartblei is too expensive for an amateur).
Thank you
Dennis