


Jessop zoom slide duplicator lens
Testing a direct slide duplicator lens
Slide copier with zoom lens

No more Google ads. Too many deceptive and irritating adverts.
Any ad links left are non tracking, to companies we know, trust and we've worked with for years [Park Cameras]
Ads helped pay for site running costs, so if you found something useful, please
...Make small KoFi donation?
...Subscribe to Keith's YouTube Channel
...Get Keith's book about how to use tilt/shift lenses
Our site contains affiliate links - these help support the site. See our Advertising policies for more
Years ago Keith got a Jessops Zoom slide duplicator, which was intended for making direct copies of slides onto slide film.
It’s sat around in the ‘miscellaneous stuff’ drawer for some time. Recently Keith was given some old slides he’d taken in 1975 that had been mislaid at his parent’s home. Time to give them a look and see how the duplicator does on a modern digital camera.

Copying/scanning old slides with a slide duplicator
I’ve got boxes of 35mm slides from the last century, taken when photography was an occasional hobby of mine, going back to the 1970’s. I do have a good film scanner (Canon FS4000) which still works fine but after coming across some slides taken when I was at school in the 70’s, I thought I’d look at using the slide duplicator I’d picked up some time in the 80s. It’s from the UK photo dealer Jessops (which was big then) and is the sort of thing you find on eBay [specific ones ~£20) and charity shops. [eBay general link]
I know I can scan the the slides, but what about using a 35mm digital camera? Much quicker and with my 26MP EOS RP slightly more resolution that the scanner.
Using the slide duplicator
The slide duplicator originally had an Olympus OM mount which was taken off at some point (probably to fit on a lens I’d come across. This OM mount was actually an Adaptall T2->OM adapter, so I was able to fit a T2->M42 adapter and then mount it on my EOS RP.
Note: The device is designed for 35mm film, so worked just fine on my Canon 5Ds. If used with an APS-C (crop) sensor camera the small sensor gives an automatic 1.6x-1.5x magnification making it less useful. For such cameras a custom desktop setup with a light, diffuser and near macro lens may be what’s needed.

The slide scale for focus is also shown. This varies with magnification and is slackened off with that knurled screw at the top.
There’s then a zoom ring to change magnification from 1x to 2.5x. This allows you to zoom in on the slide.

The slide holder give two slots, so you can speed up working by switching back and forth (like some slide projectors).

The end mount also rotates and shifts up/down allowing a selective crop of a slide when magnifying.
There is a diffuse plate at the end of the slide duplicator which will give good even illumination to the slide.
The plate unscrews, showing the lens assembly inside.

The lens also unscrews midway, to reveal that it’s quite a simple lens

You can see the (fixed) aperture ring inside.
Sorting slides
I want to have a quick look through the slides first (~80) and individually fishing them out to look at is a pain.
Fortunately I still have a perfectly working projector (in the back of a cupboard somewhere)
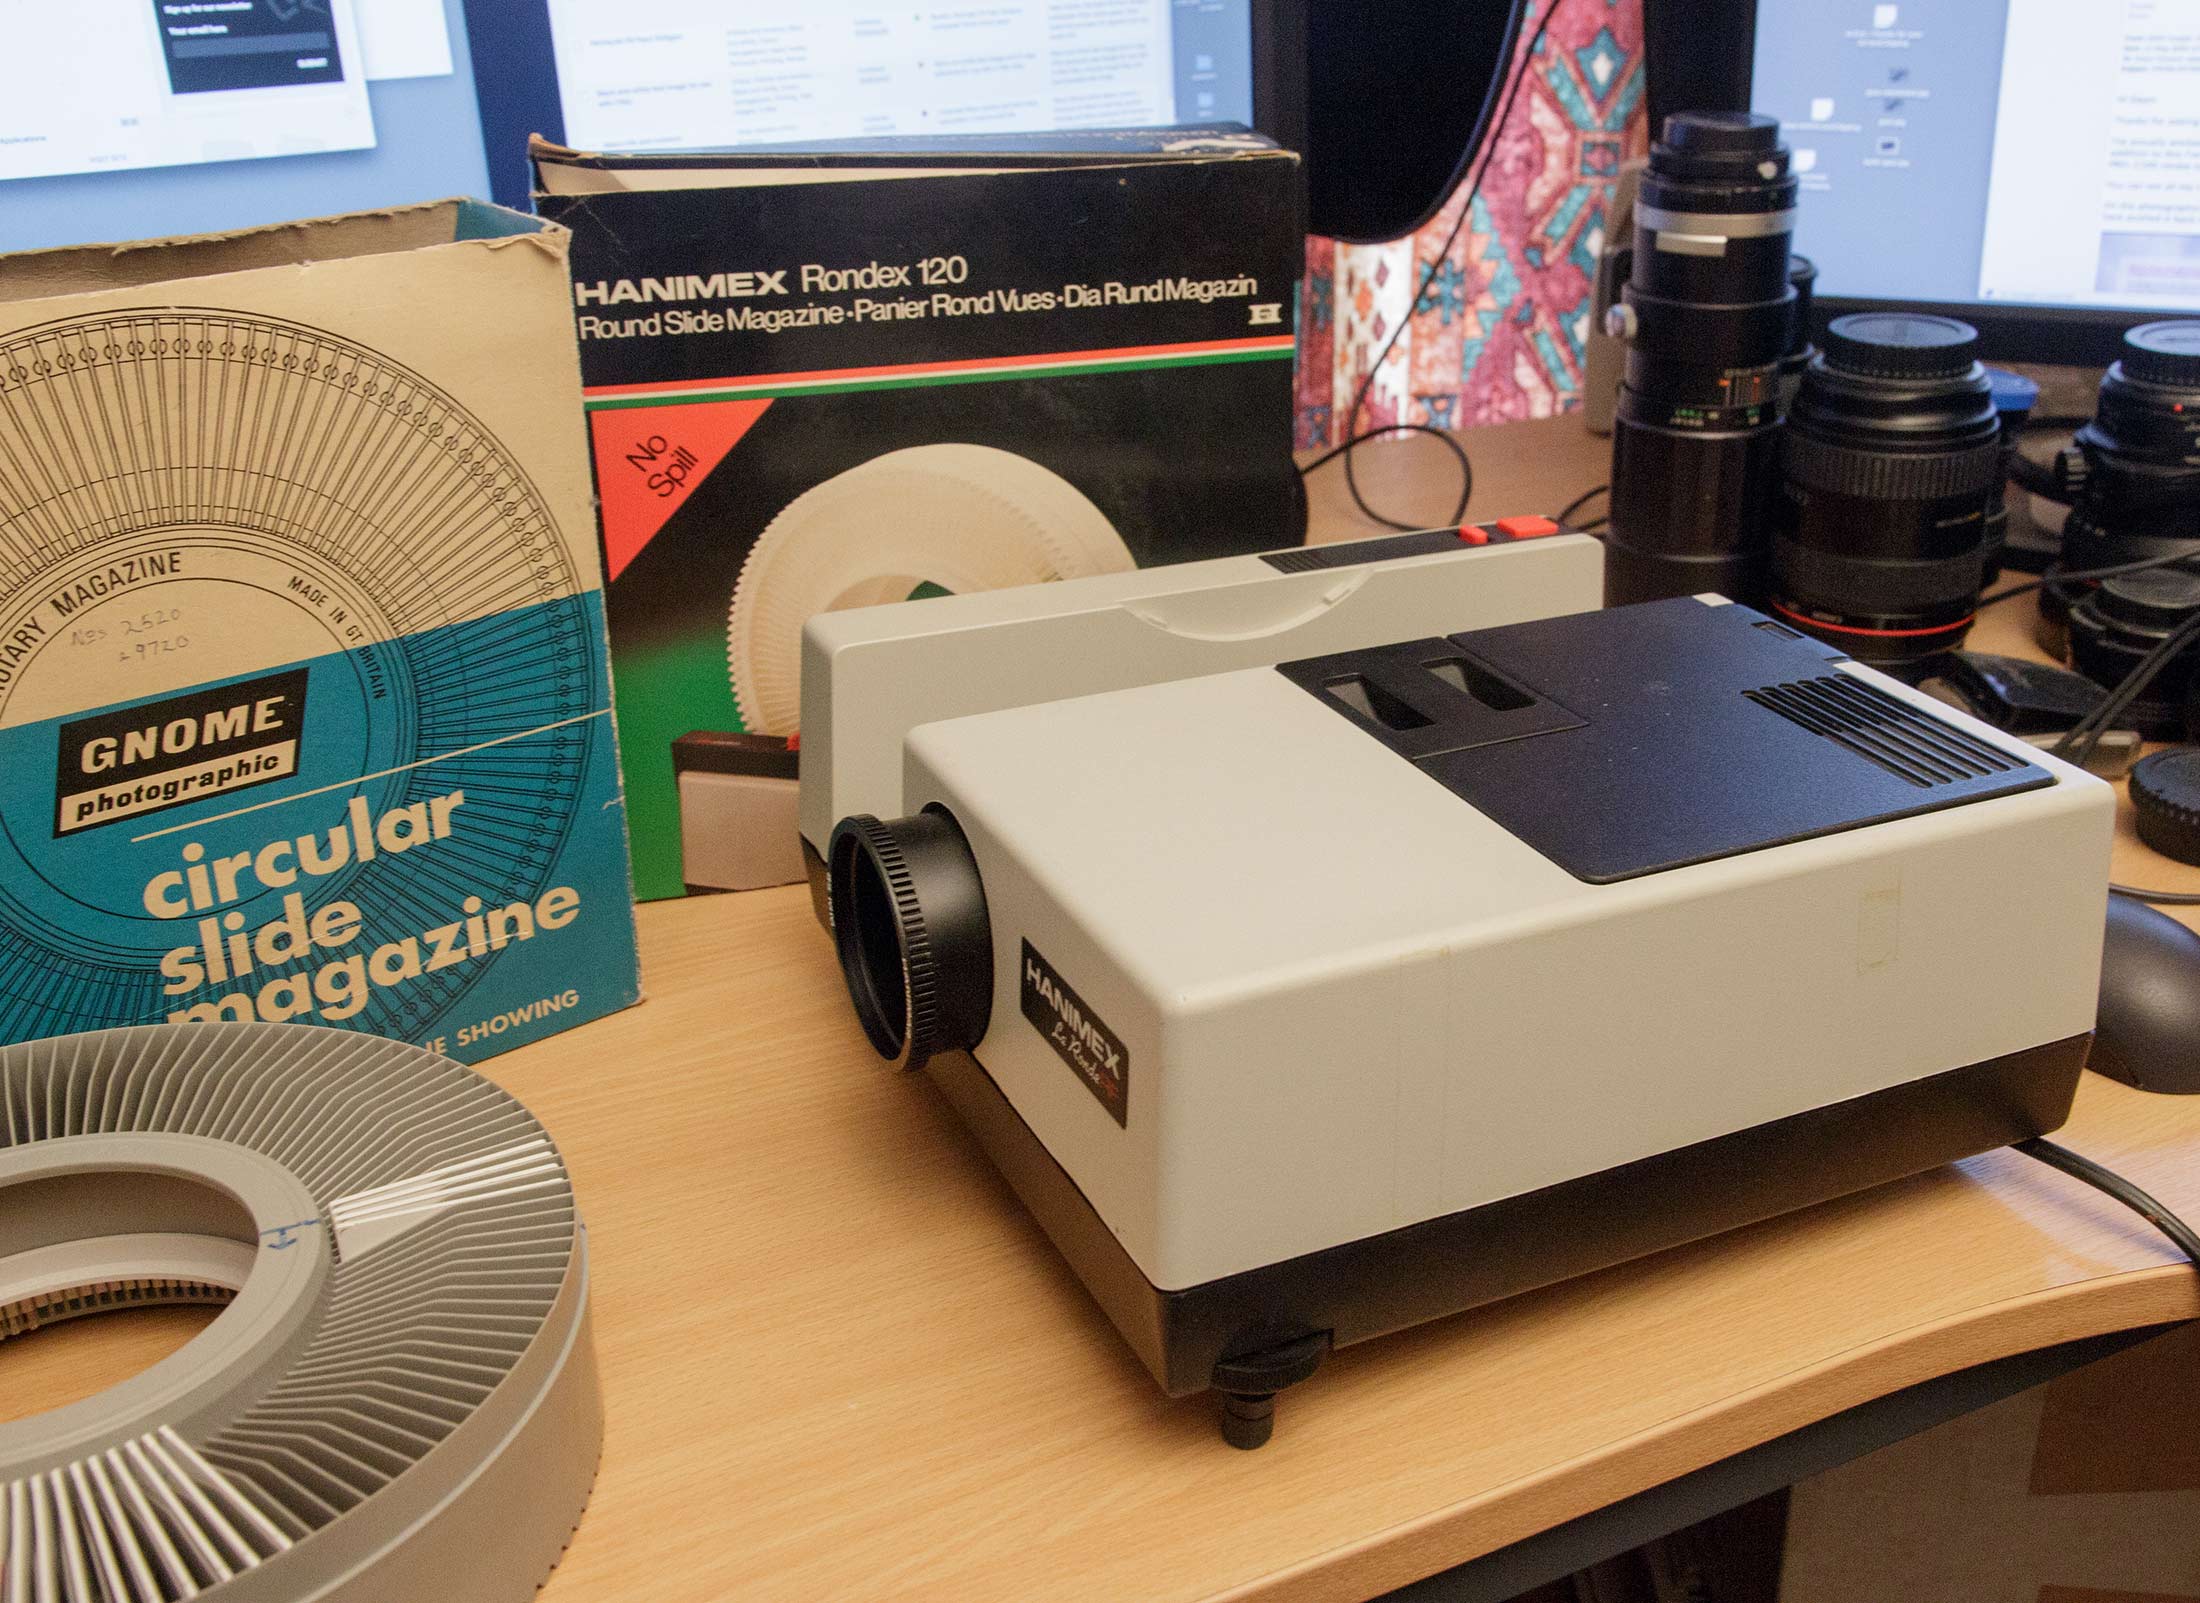
The slides are in an old carousel of a different type (meaning there are many boxes of slides and a projector in a cupboard at my parent’s house somewhere…)

Yes, the slides need moving across.

There are two sorts of them. The classic Kodachrome cardboard mount and some ‘Boots’ own brand slide film.

Now ready to project.

No need to set up a screen, some white card will do.

At this range the projected image is extremely bright. Compare to my 100cd/m2 monitor in the background.

That’s a 1975 view of my grandparents from Ipswich and my aunt on her visit from South Africa.
There are several photos I initially decide to copy – I know that my parents will not have seen these pictures for many years, so at times like this they will be appreciated.

Photos of the slides
One quick way to set things up is to connect the camera up via USB, and use Liveview.

Trying to get sharp focus on the slides made me realise that whatever lens I’d used wasn’t the greatest, and that my focus technique could do with improvement. I still rarely photograph people, unless they’re wearing Hi-Vis or protective clothing…
You can see plenty of dust on the images, when zoomed in.

White balance and colour management
It’s worth noting that you need to white balance your camera for the lighting that’s coming in through the diffuser, so a shot without a slide will let you set white balance and exposure so as not to clip any highlights.
With this slide duplicator, there is no aperture to set and the lens has no electronics, so won’t appear in EXIF data – it’s not even there from the POV of the camera.
Since the lamp on my desk is a warm white LED one, I also quickly made a custom DNG camera profile with a ColorChecker card

It’s not easy to show here (in a web article), but look at the red and blue patches above (normal profile) and below (custom profile for the LED lamp). There’s more about this in my recent look at making such profiles [DNG profiles]

An easy way to get good colour rendition from your slide photos with this setup is to take the photos looking out of a window on a bright day. As long as there’s no strong colour cast, the diffuser will take care of things.
Editing the photos
The photos show all the vagaries of colour balance with slide film – at least the exposures were mostly OK.
I’ve opened the camera RAW files (in Photoshop ACR) which allows me to adjust contrast, crop out the border and a few other adjustments to even things up a bit. Remember though, you’re editing the capture of the slide, not the original scenes, so don’t expect adjustments to work quite the same way as your normal digital images.
Here I am in Ipswich in 1975, with a natty pair of purple tartan flares, alongside my more stripe oriented cousins.

A bit of a crop and tonal adjustment also helps remind me of the wallpaper in our front room in 1975.

The adjusted version, as sent off to curious relatives…

Landscape
Not long after the photos above, I went to visit a friend in the Black Forest and we visited my grandmother in Alsace. There I bumped into my cousins again – still wearing the same stripes..
Then on to some other friends in Switzerland. I’ve quite a lot of scenic photos, but I can see that many of my landscape photography skills were still 10-15 years away ;-)
I can at least see my interest in Geology in these two from somewhere in the Alps (AFAIK – any location info appreciated).


This next view is, for various convoluted reasons, the only photo I have from when I visited India (as a geologist) – it’s Bombay (as was) in ~1985 at dusk (or dawn, I don’t remember)

The lens was probably a 50/1.8 on an OM2, and the film likely Ektachrome.
This 100% crop shows the film grain [click to enlarge] and a restaurant I don’t recall visiting.

More resolution
Just to finish off here’s a section (enlarge to see at 100%) of the Bombay photo using the slide duplicator with my 50MP 5Ds. It’s using the lens at ~2x.

More detail of the grain, but not much more to see.
The mirrorless RP is actually rather easier to use (focus peaking) without setting up the liveview. The device is designed for the 36x24mm frame size so a crop sensor camera would start with a ~1.6x magnification
If you’ve lots of slides to copy there are many more efficient methods and lots of resources devoted to such scanning/reproduction, but this old adapter works surprisingly well.
Using old kit
This is one of a series of articles about re-using assorted old kit I’ve acquired over the years with modern cameras. For more see
Never miss a new article or review - Sign up for our occasional (ad-free) Newsletter
and please do subscribe to Keith's YouTube Channel

Other areas of our site that may be of interest...
All the latest articles/reviews and photo news items appear on Keith's Photo blog

Keith explains tilt and shift lenses
Keith has written a book that looks at the many ways that tilt/shift lenses can benefit your photography from a technical and creative point of view. If not in the UK check for import issues and maybe try an on-line bookshop. Keith has no connection with sales of the book.
ISBN 9781785007712
There is also a specific index page on the site with links to all Keith's articles, reviews and videos about using tilt and shift.
We've a whole section of the site devoted to Digital Black and White photography and printing. It covers all of Keith's specialist articles and reviews. Other sections include Colour management and Keith's camera hacks - there are over 1200 articles/reviews here...
Adverts removed
Keith | Sep 22, 2024 at 3:22 pm
Not that I know, other than using full frame to M43 focal reducer
Pete McElroy | Sep 18, 2024 at 12:54 pm
I got one of these Jessop’s zoom slide copiers many years ago, still pristine in its box. OM mount, used it occasionally to copy slides to film for printing. Would be great if I could use it for digitising slides, but my dogital cameras are 4/3 and micro 4/3 mounts. Is there a way to adapt it to avoid losing most of the image?
Keith | Feb 24, 2023 at 11:53 am
Yes – this sort of stuff s very amenable to such hacks
Andrew Starr | Feb 24, 2023 at 11:38 am
How to get rid of the crop.
I bought the zoom version, which was an ebay bargain. I have lots of slides to scan. I wanted to to remove the crop, and scan the whole 35mm slide.
The zoom, of course, goes in, not out. I did some lens arithmetic, and worked out that it could also zoom out, if only the lens would moved closer to the camera.
– The slide duplicator lens can’t physically move far enough down the tube, without machining the parts. But optically it would work.
I wanted to do it with kit already in my box.
I tried removing the slide duplicator lens completely. Fitted the camera with 12mm extension tube + 28-48 zoom. Then the empty slide duplicator tube in front of the lens – brings to focus at about 40mm zoom.
That scans the whole slide, in a little under half the frame. Finally, a 2x converter nicely presents the slide almost full frame.
An adapter was required to connect the lens filter thread to T2. Solved for £5.
Keith | Dec 2, 2020 at 2:39 pm
Hi – I believe the non zoom versions still have adjustments for optimal focus (just to allow for film bending and mount thickness)
The adapters should take care of getting the right focus – I’ve found that for things like this, stacking a few adapters has little impact on the performance. I just used what I’d got in my collection of ‘stuff’…
Pavel Masek | Dec 1, 2020 at 1:44 pm
Hello, very nice article, thank you for that.
I have Canon 6D and I am interested in this solution as it seems to me better than using tripod and macro lens… and I think output will be better too. On ebay I have found out non-zoom version of this duplicator (with OM mount) and thinking how to adapt it on 6D… I think that maybe non-zoom version could have better quality but maybe I will lost possibility to focus (?).
Anyway, if I understood it well – you have used 3 adapters – T2-M42 and M42-EF and EF-RF (which is not needed for me).
I have found out on ebay there is T2-EF adapter (T2 thread, EF screw) – so do you think this one can be also used instead of your solution with 2 adapters (M42)? I guess focal length will be slightly different (2 adapters instead of one) and it seem there is no way how to adjust it.
Thank you for your opinion.
Keith | May 17, 2020 at 9:49 am
Yes, but with crop. The device was made for 35mm film
I’ll update the notes at the end about the 5Ds (full frame)
A custom setup with macro lens is likely to be more useful with a crop camera
Jack Ryding | May 17, 2020 at 9:06 am
Can this equipment be used with DX and full frame DSLR cameras?