


Greeting card paper and printing
Print your own greeting cards
Using blank cards in your inkjet printer
– tested with the Canon PRO-300

No more Google ads. Too many deceptive and irritating adverts.
Any ad links left are non tracking, to companies we know, trust and we've worked with for years [Park Cameras]
Ads helped pay for site running costs, so if you found something useful, please
...Make small KoFi donation?
...Subscribe to Keith's YouTube Channel
...Get Keith's book about how to use tilt/shift lenses
Our site contains affiliate links - these help support the site. See our Advertising policies for more
Our local paper specialist provides a range of papers (and envelopes) pre-cut and folded to make your own greeting cards.
After recent testing of the new Canon PRO-300 for his review, Keith has had a quick look at how to make best use of these cards, and the sorts of images you can print.
The papers are part of a range of cards from Paper Spectrum, in our home city of Leicester in the UK.
You may find your own local suppliers offer similar papers, and in sizes more fitting your location (such as ones popular in the US).

Update: Keith has produced a video looking at more card sizes, and a series of templates which he uses to make accurate printing of cards more reliable. There is also a short article/video looking specifically at printing 6×4 postcards, where the small size needs some care
Printing your own cards
Whilst it’s possible to just fold suitable prints to make cards, this does limit sizes somewhat, and getting a good fold can be tricky to get right consistently.
The cards from Paper Spectrum cover quite a range of sizes:
- Gift Cards A7 (folding from A6)
- Portrait A5 (folding from A4)
- Portrait A6 (folding from A5)
- 100mm square (when folded – Pinnacle Etching only)
- 140mm square (when folded)
- 150mm square (when folded – Pinnacle Etching only)
- 7×5″ (when folded)
- DL size (Tallboy) – 210x105mm when folded
- Landscape Cards in A5 and A6 (when folded) vertically creased landscape cards, which avoid the need for “tent fold” cards and the associated problems of collapsing
I’m trying some A4 lustre paper and two smaller sizes of ‘Etching 310’ a 310gsm art paper, with a slightly roughened surface and a bright white look. Here they are with the PRO-300 printer [click to enlarge images]

Depending of your printer, it may support borderless printing, or you may have to set a custom media size. I’ll start with the Lustre paper.
A4 borderless cards
A4 is an easy size to support, since the PRO-300 has A4 as a borderless option. It also helps that the Pinnacle lustre paper is one of my regulars for testing, so I have a good printer profile. If you didn’t, then the paper is very similar to Canon Pro Luster paper, which I’m using as the media setting for printing. Some attention to colour management does help when printing photos, but these are cards, not exhibition prints.
The paper has a crease formed into it – just make sure the sheet is flat when you print, you don’t want the bump hitting the printhead and being marked.
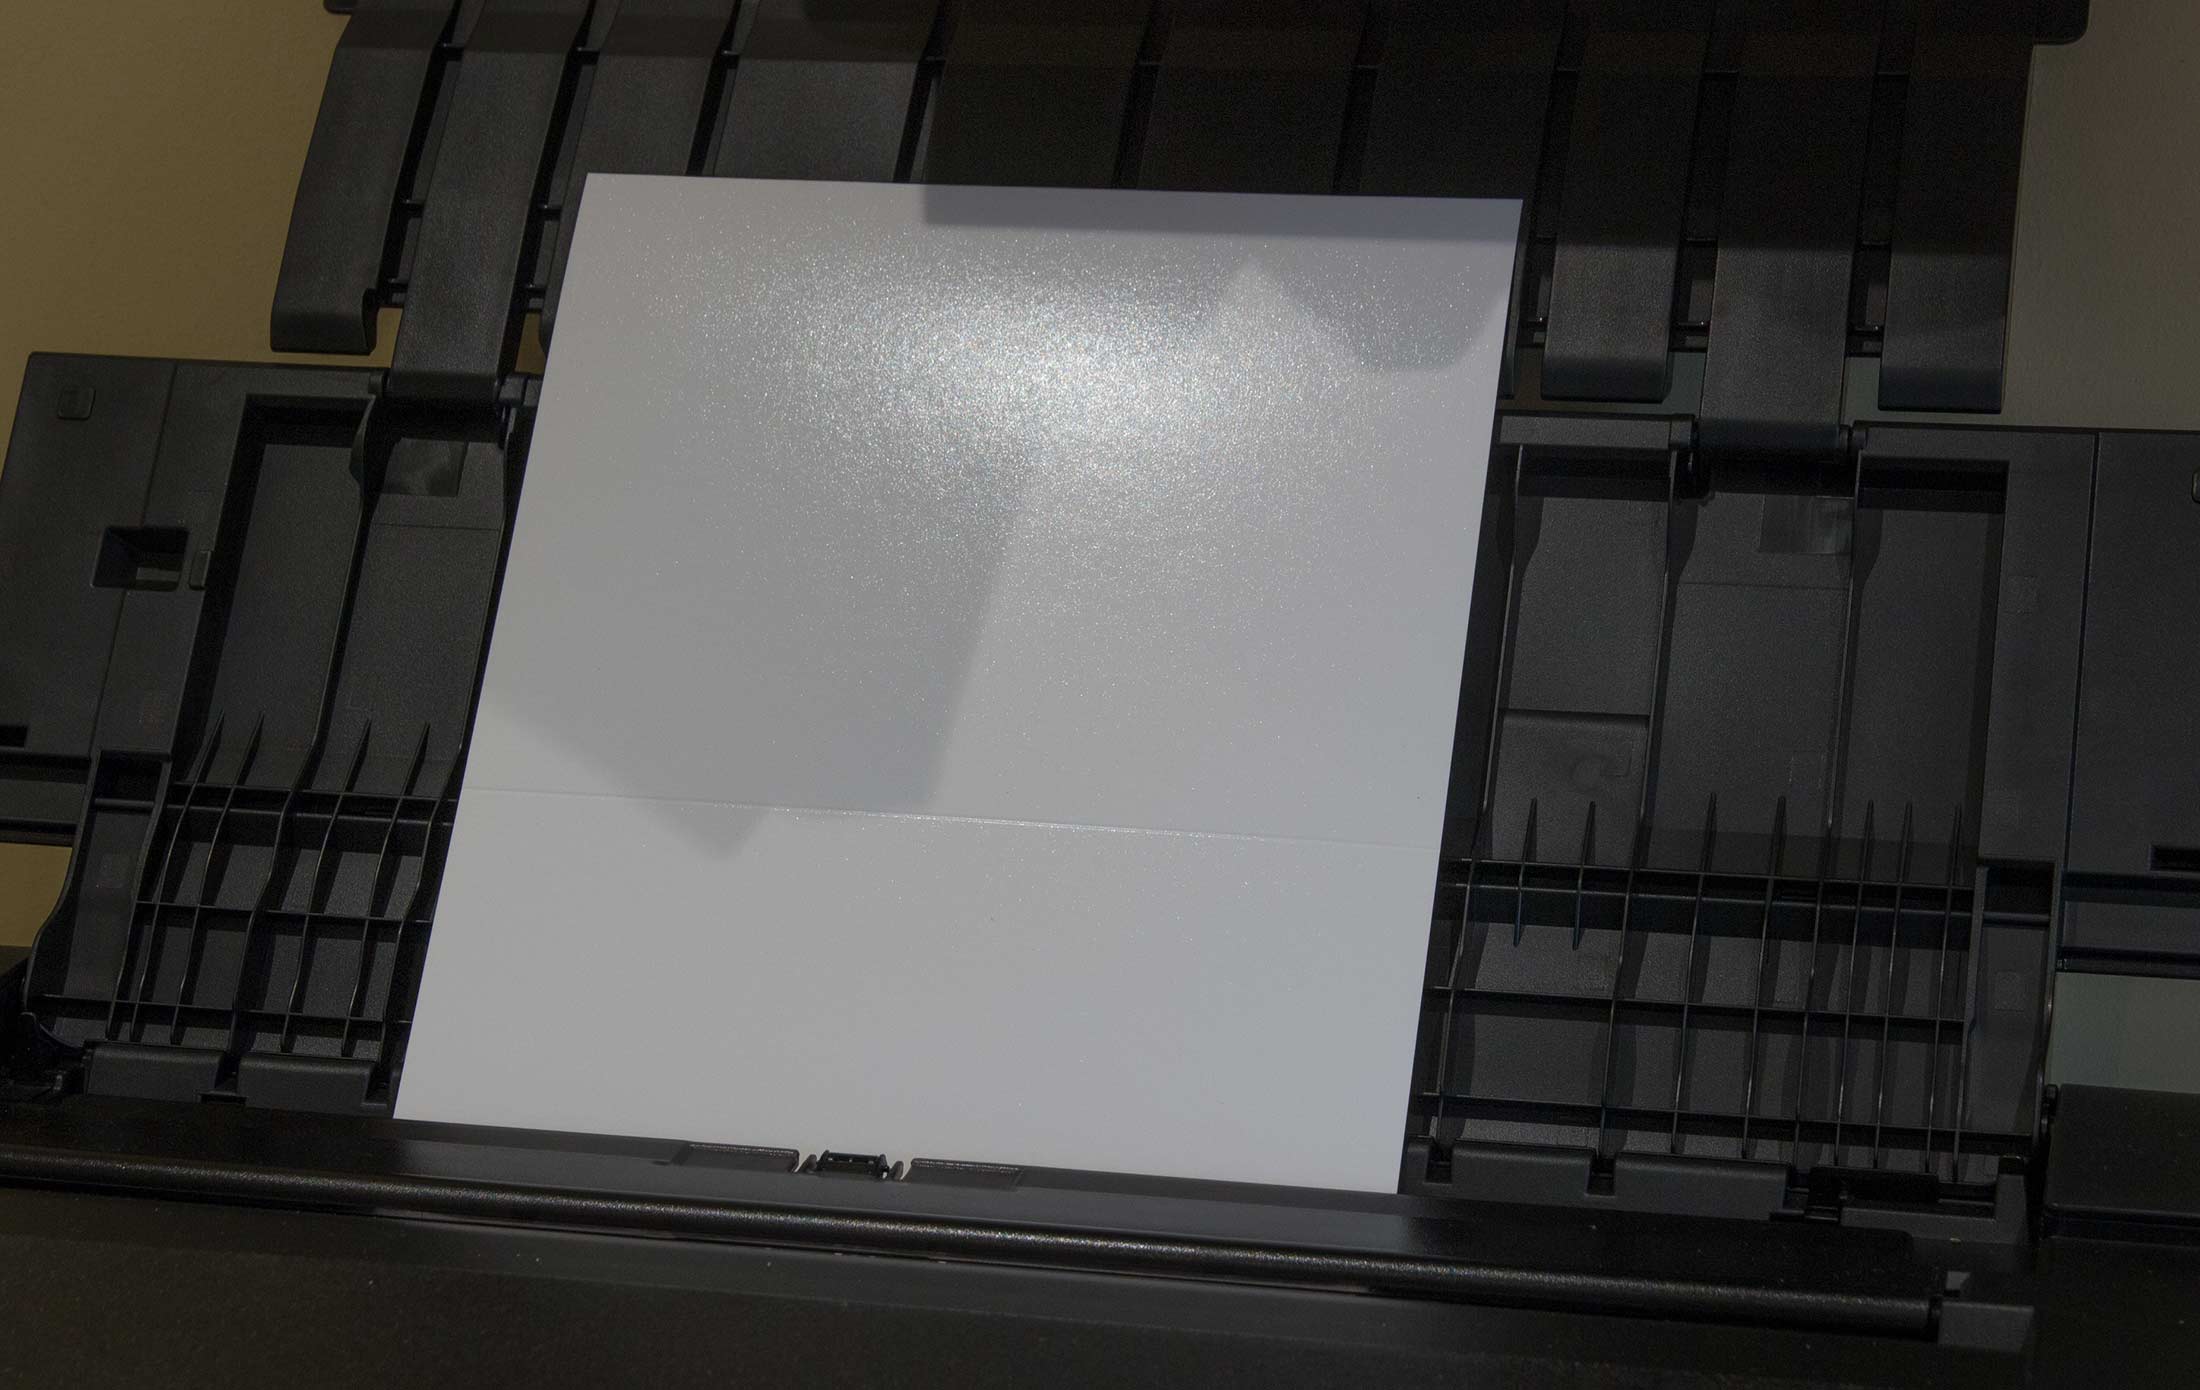
The card comes out looking fine, but you do need to pay some attention to the image layout process.

Image layout
For my printing I’m using Photoshop, but the features are basic ones which should be available in any good image editing software.
First up I create a new document the exact size of the paper. Then I set a vertical guide halfway across the paper, where the fold is. The image is then placed into this new document, up against the guide, and printed.
Take care you get the image the right way round with respect to the crease.
However, there is a slight problem in that the image needs to overlap the crease a bit. See here where I forgot.

In my template I’ve set the guide at 49% of the width. The edge of the placed image ‘snaps’ to this guide.
Note too how the image I’ve placed on the template overlaps a little bit. This is to ensure that I can use borderless printing at the ‘retain size’ setting and not worry about any resizing affecting precise layout.

Custom sizes
A4 is easy – the printer offers borderless printing. However, other sizes may need a custom media size to be set.
When setting up custom sizes, be sure to specify an equal margin on all edges. This helps with layout and the look of your finished card.
For this print, on 150mm x 300mm paper I’ve specified a 5mm margin all round.
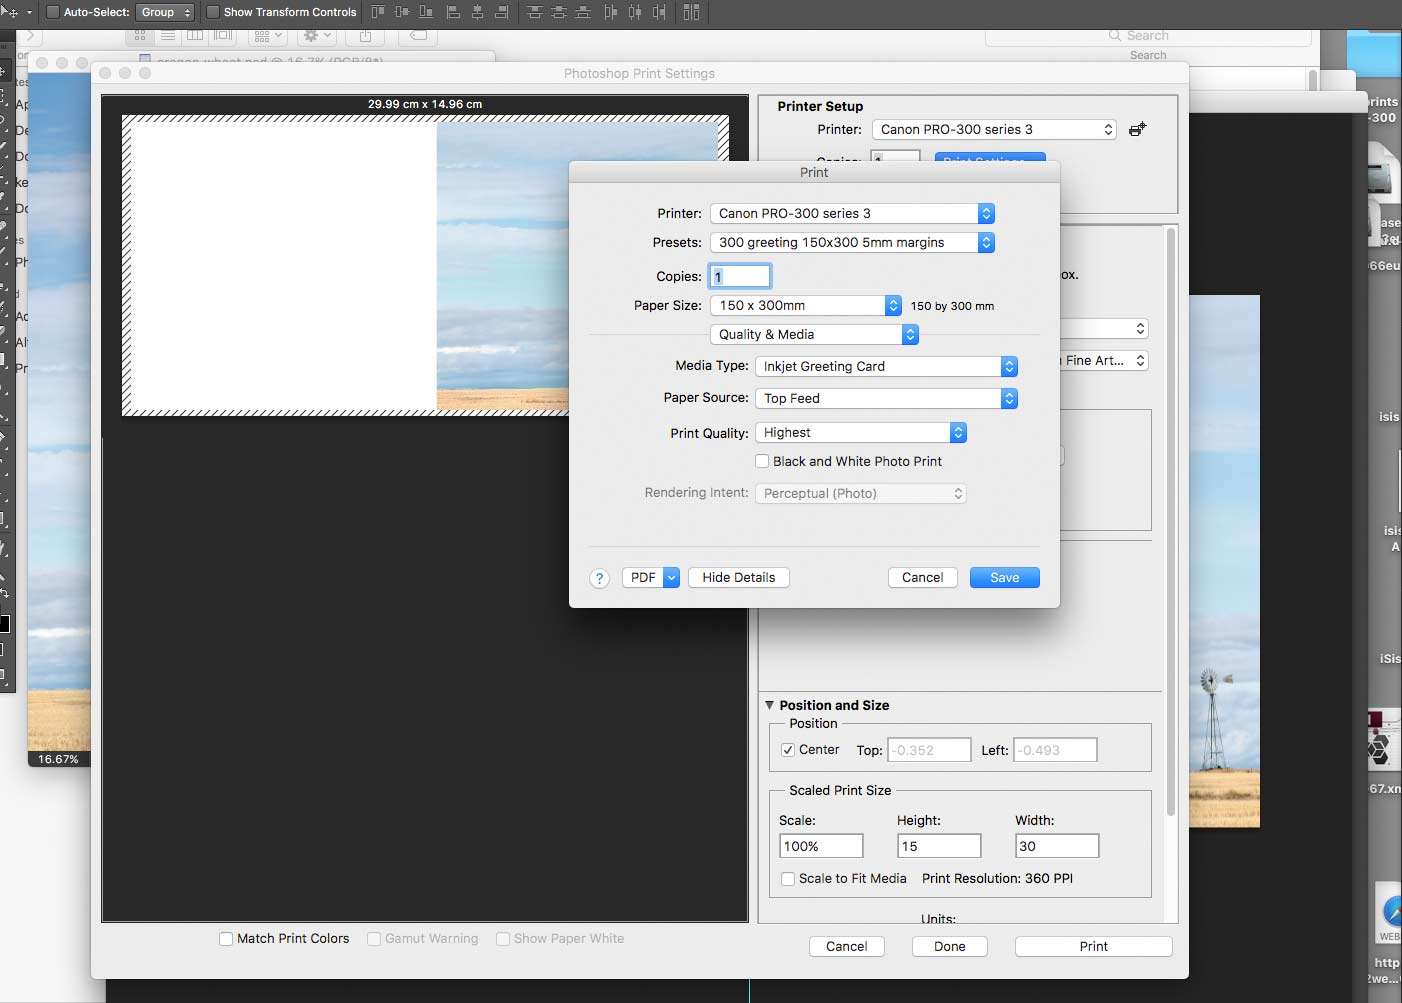
Note the margin all round the printed image.
For this template, I’ve set the guide at 50% +5mm from the left hand edge.
This gives a 5mm margin from the fold and three other margins of 5mm from the custom media setting. Once again I’ve ensured no resizing or fitting when printing. You should also remember this paper margin when placing your image (and text), since it will not be printed.

If I was doing a lot of cards I’d add guides for this 5mm margin, just to make layout easier.
Media choice and profiling
The paper prints exactly as a normal fine art paper. Unfortunately this printer doesn’t support custom sizes this narrow for fine art paper. That meant I had to choose the special ‘IJ Greeting card’ media type. [click to enlarge to see settings]

Using my profile for this paper, but with the ‘IJ Card’ settings didn’t go so well, with blocked shadows.
Fortunately I’ve some of the paper in A4 size and was able to make a custom icc profile (right).

You could experiment with the Canon ‘IJ card’ profile. However, do remember that this is a matte fine art paper, so I wouldn’t expect strong bright colours to perform well – that’s what lustre and glossy paper are good for.
Paper choice fits the image type whether for framed prints or cards…
–ooOoo–
The papers are part of a range of cards from Paper Spectrum, in our home city of Leicester in the UK.
-oOo-
Update: I’ve produced a video looking at more different card sizes, and a series of templates which he uses to make accurate printing of cards more reliable. There is also a short article/video looking specifically at printing 6×4 postcards, where the small size needs some care
Never miss a new article or review - Sign up for our occasional (ad-free) Newsletter
and please do subscribe to Keith's YouTube Channel

Other areas of our site that may be of interest...
All the latest articles/reviews and photo news items appear on Keith's Photo blog

Keith explains tilt and shift lenses
Keith has written a book that looks at the many ways that tilt/shift lenses can benefit your photography from a technical and creative point of view. If not in the UK check for import issues and maybe try an on-line bookshop. Keith has no connection with sales of the book.
ISBN 9781785007712
There is also a specific index page on the site with links to all Keith's articles, reviews and videos about using tilt and shift.
We've a whole section of the site devoted to Digital Black and White photography and printing. It covers all of Keith's specialist articles and reviews. Other sections include Colour management and Keith's camera hacks - there are over 1200 articles/reviews here...
We're an Amazon.com affiliate, so receive payment if you buy via Amazon US
Neal Timothy Shafto | Nov 10, 2025 at 11:11 pm
enjoy the videos I have seen. I am a past Professional Photographer from the film and slides age. 1964-1985, then when the Silver market was at its peak I retired from SLR Cameras. When I was once again single, [freedom to buy], I bought My first DSLR, a Olympus body and [2] lenses.
I now am old guy freelance and have a collection of 10 DSLR’s, Canon, Nikon, and Olympus.