


Review of Topaz Adjust V5
Review of Topaz Adjust V5
The Topaz Labs range of image editing plugins

Keith has removed all Google ads. Too many deceptive and irritating adverts.
Any ad links left are non tracking, to companies we know, trust and we've worked with for years [Park Cameras]
Ads helped pay for site running costs, so if you found something useful, please
...Make small KoFi donation?
...Subscribe to Keith's YouTube Channel
...Get Keith's book about how to use tilt/shift lenses
Our site contains affiliate links - these help support the site. See our Advertising policies for more
Keith Cooper has been looking at some of the image processing plugins from Topaz Labs. Whilst we use Photoshop for image editing at Northlight, the Topaz plugins work with a wide variety of image editing packages, including PaintShop Pro and iPhoto.
The range of functionality is so broad that the reviews of the whole set of plugins are split up over several articles.
This first review, covering Topaz Adjust 5 also looks at general installation and how you’d use the plugin.
We’ve reviews of all Topaz software. See the Topaz Category in the dropdown menu at the top of the right column.
The plugins are tested here with Photoshop CS5 on an Apple Mac – functionality is virtually identical under different applications and on Windows PCs.

Aug. 2014 – V5.1 of the plugin has a refined interface and other changes – There is a short Adjust review update you might want to look at after this more detailed review.
What do you get with Topaz Adjust V5
It’s taken a while to put together these reviews, mainly because the Topaz collection does so many things.
Buying from Topaz Labs
If you buy any software via this link (bundle or individual plugin), then we get a small fee (it costs you no more). Neither Keith Cooper nor Northlight Images has any other connection with Topaz labs whatsoever. We believe strongly in making any affiliate links like this clear.
Use our 15% discount code 'Northlight' for an additional discount on some promotions.
There are some areas of overlap in functionality between plugins, but if you get the ‘Plug-in Bundle’, be prepared to spend quite a while experimenting (and following the various tutorials) to get the best from the software.
The headline features of the Adjust plugin are listed as:
- Easily correct and balance image exposure and colour.
- Enhance dynamic range with adaptive exposure control.
- Quickly create single-image HDR effects.
- Shadow & highlight recovery that reveals lost detail.
- Adaptive colour for a wide range of colour effects.
- Creative detail enhancement and sharpening.
- Over 30 presets for a faster & more creative workflow
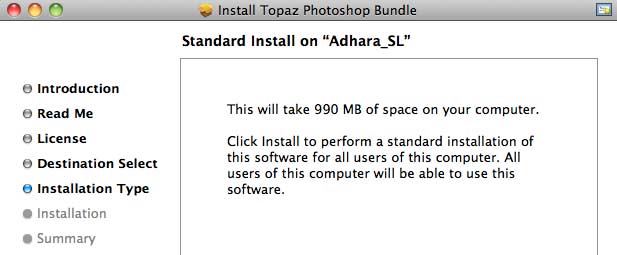
If you get the bundled software, then the installer will allow you to add in all the options below.

For installation with other image editors, there is a guide at Topaz about installation options.
The full set of software (with guides) takes up a moderate bit of space
Processing an image
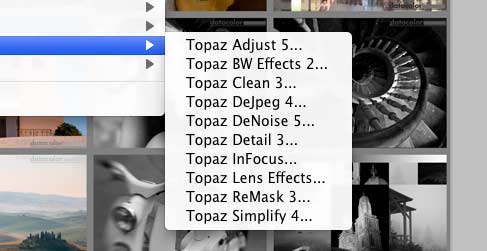
In Photoshop, the plugins appear in the filters menu.
The plugins work as applications in their own right, so there is a passing of image data from Photoshop and some initial preprocessing before the plugin window opens.
The effects range from subtle to what I believe would be called ‘strongly artistic’, so in this instance I’ve just opened up one of our standard test images (one I use as part of our printer testing).
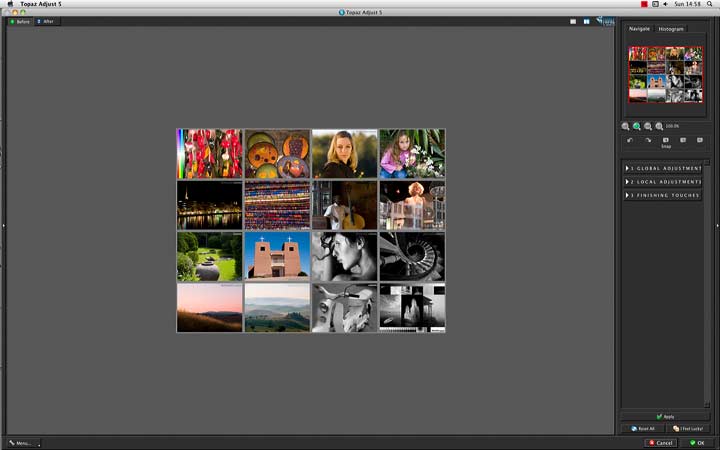
When finished, you either cancel the edit, or if OK, the edited data is back to Photoshop.
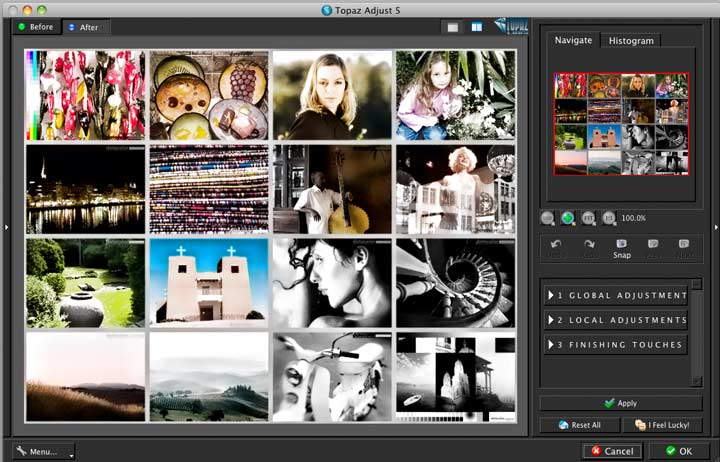
The window that’s opened up, shows just the adjustment controls to the right (they can be hidden).
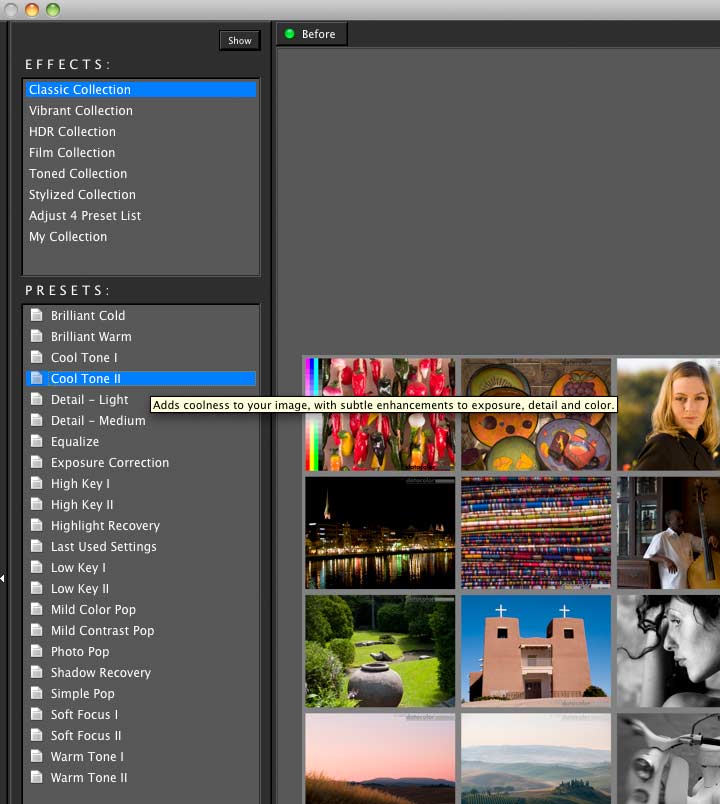
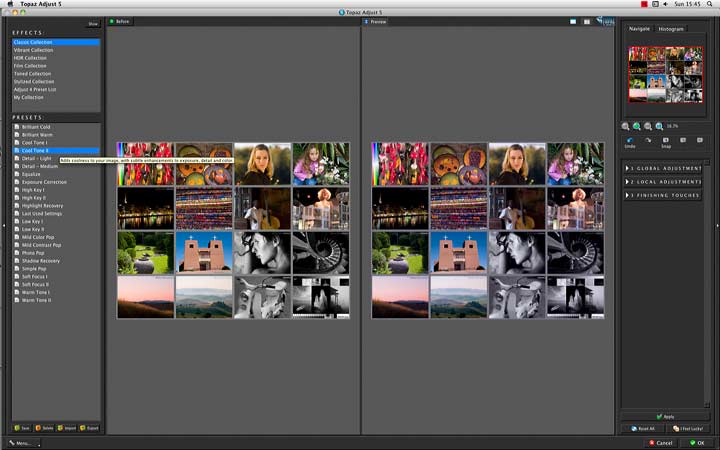
To the left you can have a menu of preset effects, or collections of settings. This can include your own saved option sets, or ones you have downloaded from other people.
There is an options menu in the lower left corner, that accesses a number of useful resources for getting more out of the plugin.
If you’ve been using the free 30 day trial version of the software, this is where you’d enter your license key to fully activate.
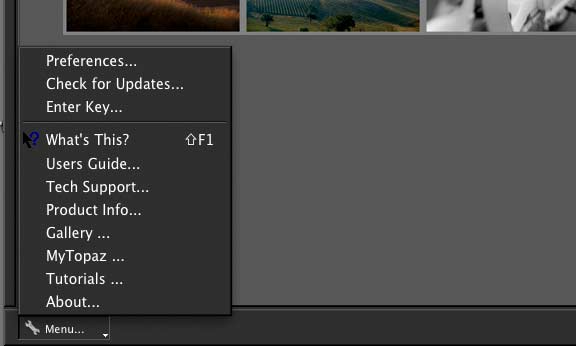
Several settings preferences are available.
You’ll notice that the preset preview is disabled at startup, this is where small preview versions of how a preset would look applied to your image are displayed – useful, but you may find it slows things down a bit too much for you.
A light grey workspace is available if you prefer.
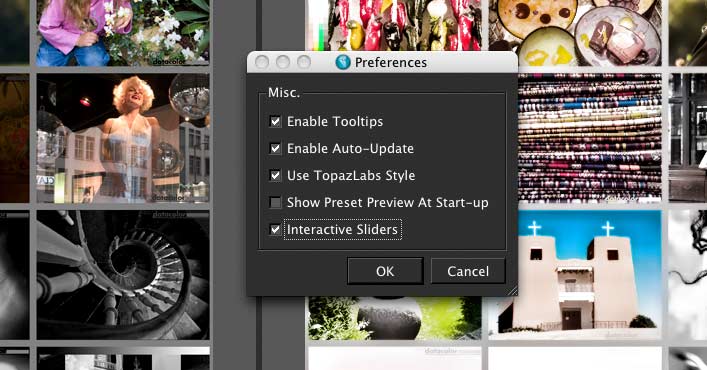
Tooltips are the little boxes of text that pop up to hint at what functions are for…

With all the various settings it’s worthwhile remembering to take snapshots every so often. A full ‘history’ option might be more useful, but I’ve found using it elsewhere that it can sometimes get rather unwieldy.
At the top RH side is an area to show where you are in an image (useful if zoomed in a lot) and a histogram feature.
Whilst useful, I did find the histogram sometimes a little slow to update, and lacking options such as per channel or luminance only views.
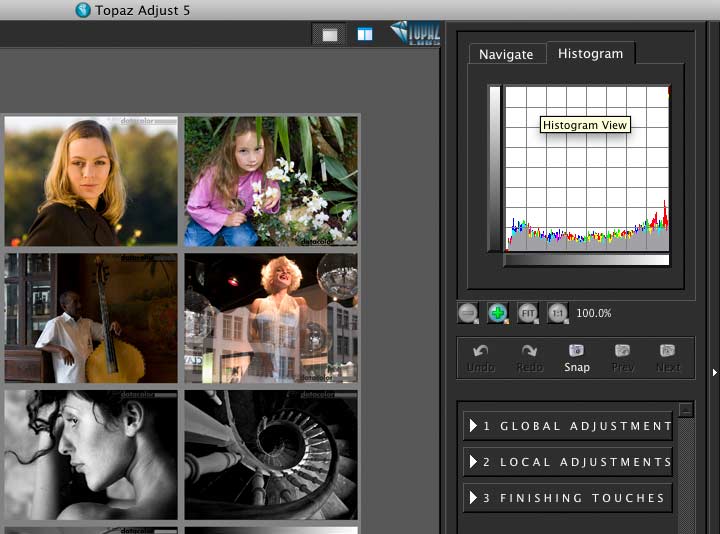
The plugin doesn’t need to be run at full screen size (something, that as a user of large screens, I find useful).
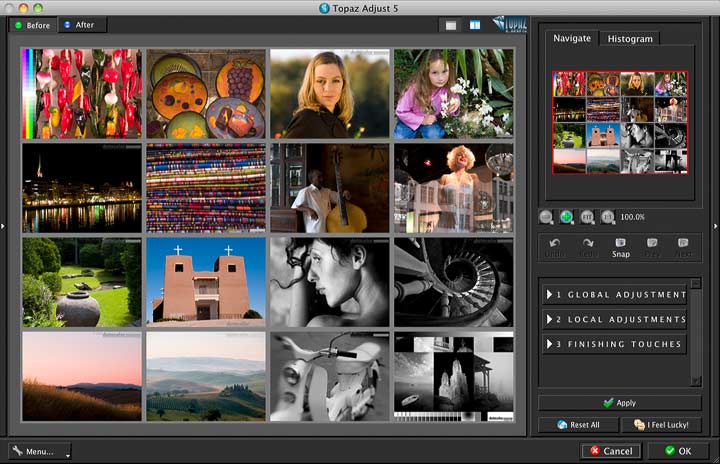
There are before/after views available (image above vs. one below)
If preferred, you can have a side by side before/after view (showing a Cool Tone preset in this instance)
Adjustments
When applying adjustments, it’s best to work down the list of options, starting at the various global options
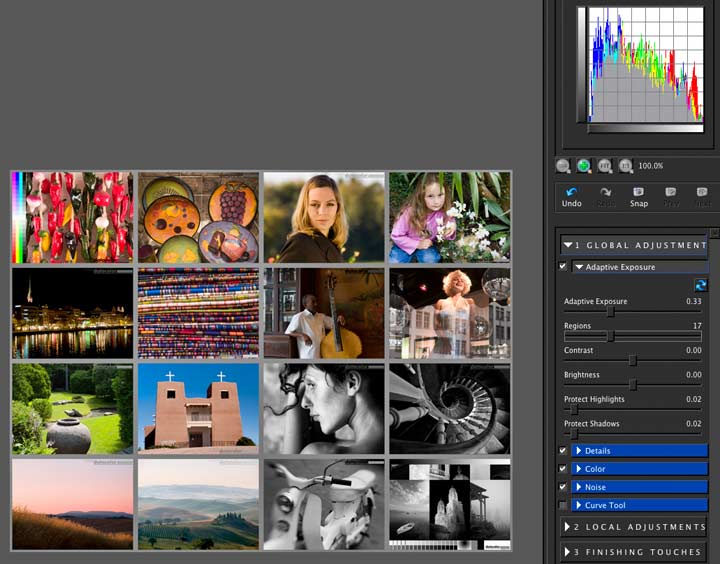
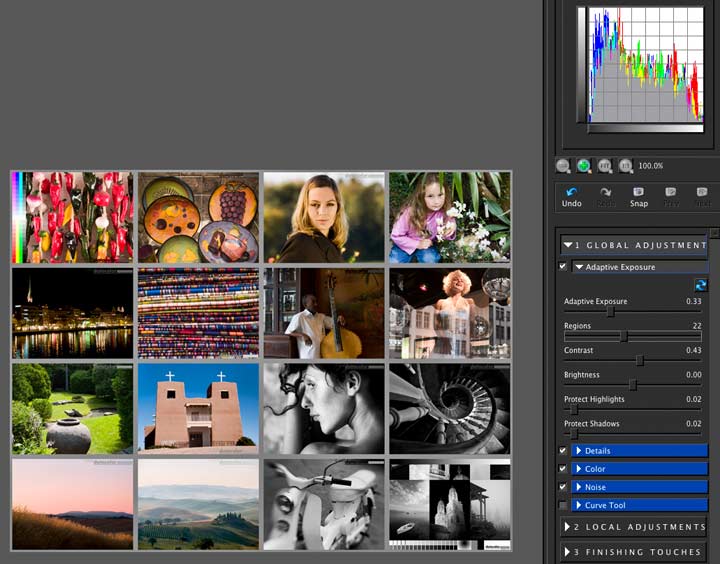
Exposure allows some quite complex adjustments of how bright your image is (way beyond any normal brightness/contrast control).
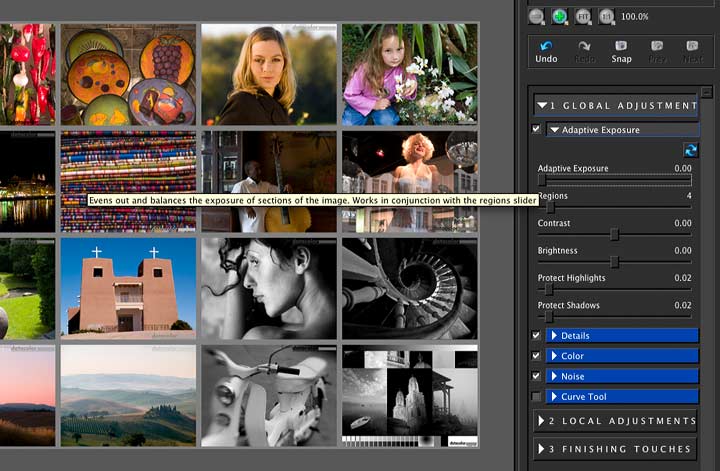
The effects can easily damage highlights and shadows, but you can protect them from this (move your mouse over the image to see)
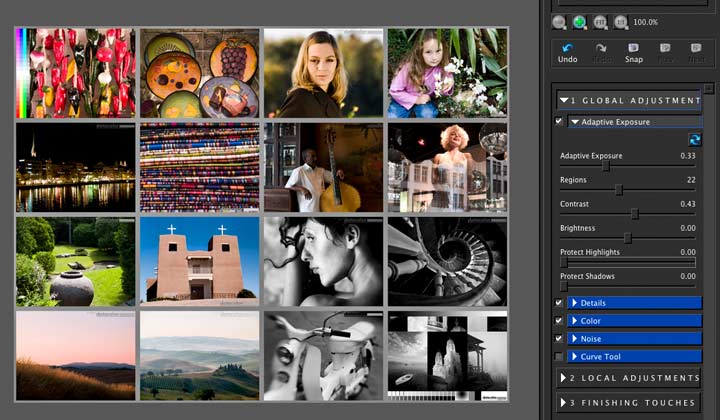
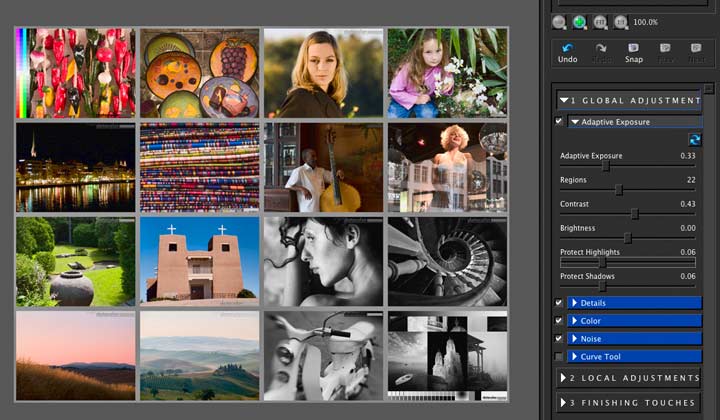
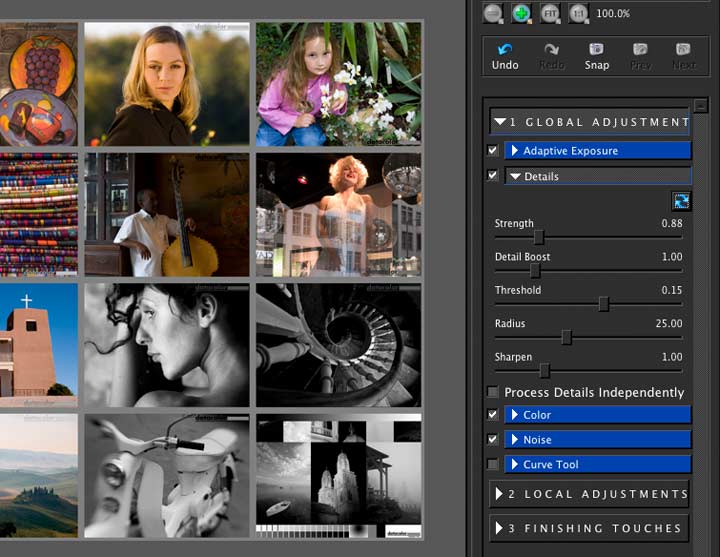
Localised contrast enhancement affects how detail in an image is perceived.
It’s once again a much more capable version of something that often considered just ‘sharpening’.
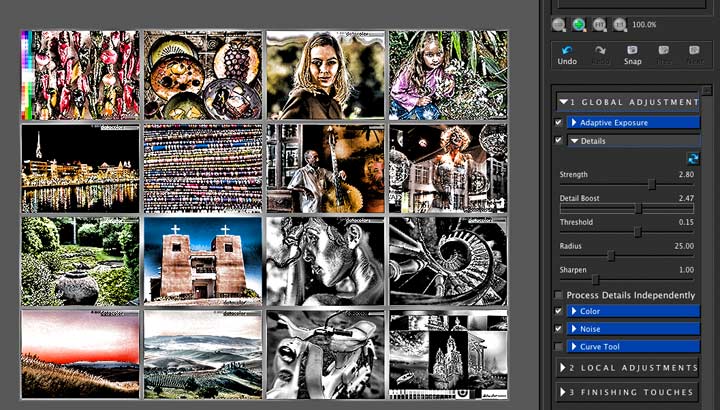
As with many of the controls, it’s possible to go way over the top (IMHO) with processing.
If you’re new to my reviews, then I should note that I regard much of the current vogue for ‘HDR style’ images as quite tawdry and ghastly – I do appreciate that tastes differ…
Similarly it’s possible to really push aspects of colour saturation.
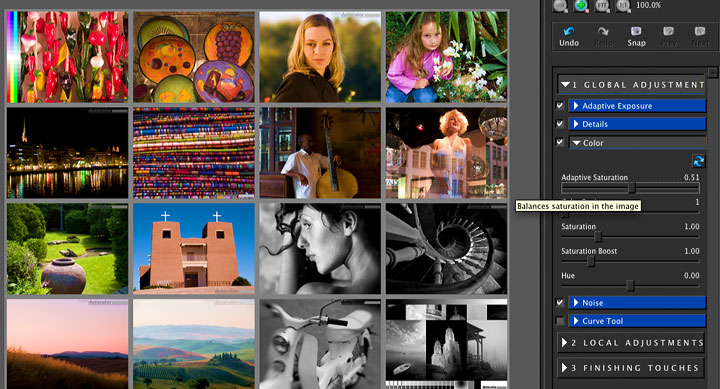
However, a more subtle approach is still there, if you are looking for more realistic adjustments (such as to compensate for some of the desaturation you tend to get when printing on some papers).
Move your mouse over the image to see the effects.
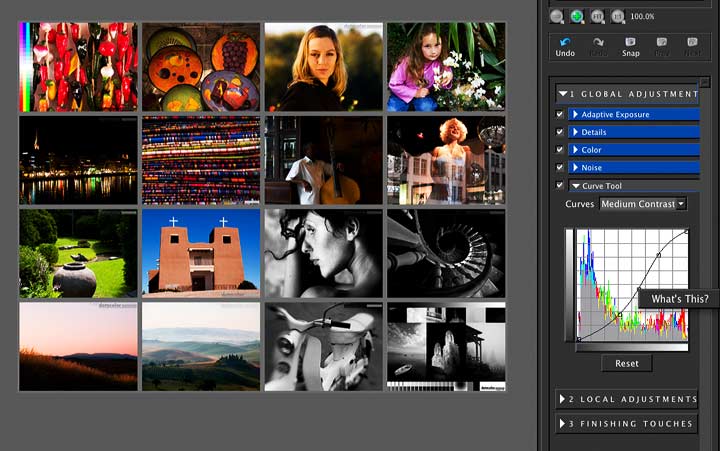
In the shot below, I’ve expanded the global adjustment options, and further expanded the curve option.
Curves are a powerful image adjustment tool and well worth getting to understand, particularly when combined with the subsequent ‘Local Adjustment’ set of adjustments.
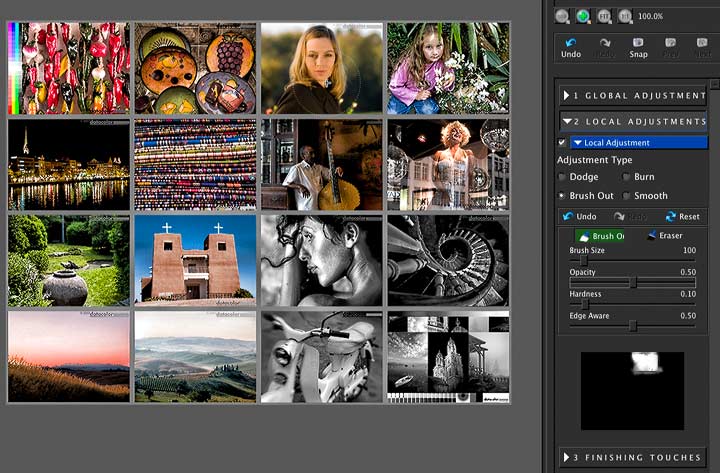
Local adjustments are applied to just part of your image.
In the example below, I’ve ‘painted out’ the adjustment for one of the panels – the mask view at the bottom shows where (you can also see the brush outline I’m using if you look carefully).
This function allows you to apply the plugin just to parts of your image.
An example might be applying the plugin twice, once to the sky and once to the landscape.
Finishing touches are, as the name implies, applied after you’ve made adjustments.
An example would be applying a softness (blur) to your image.
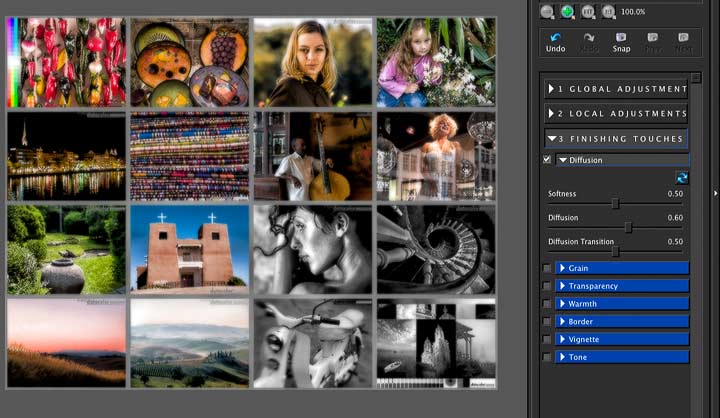
You can also turn down the whole effect of the filter with an adjustment to transparency.
With many filters I find it more helpful to slightly overdo the adjustment, and then pull it back with the transparency. Move your mouse over the image to see the effect.
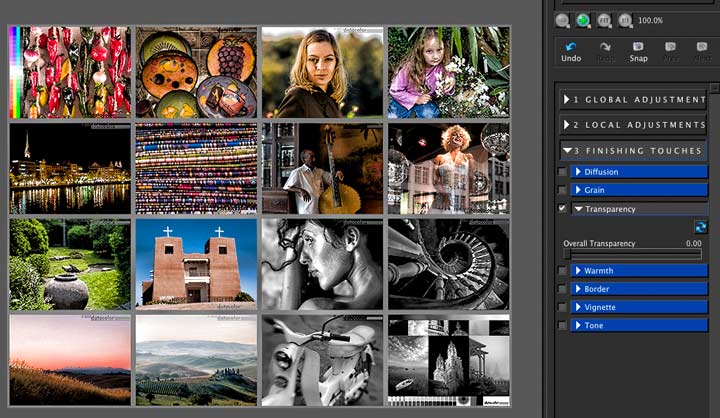
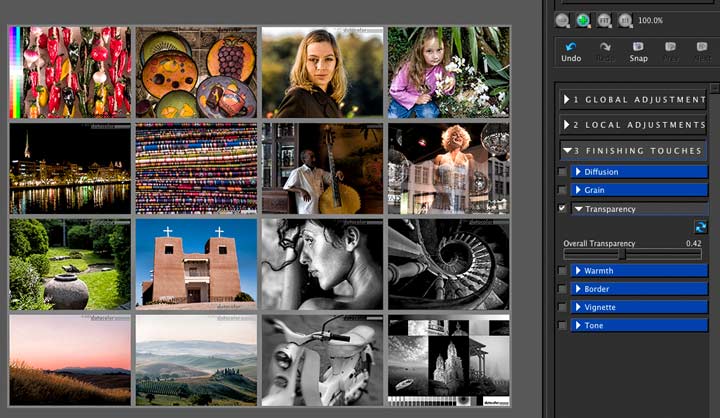
As you might have noticed, there are a huge number of potential adjustments available. It’s easy to be overwhelmed.
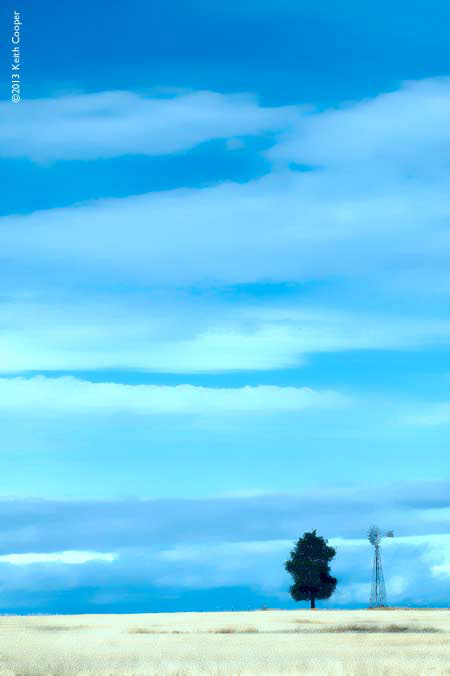 I found it helpful to make use of the presets, and then tweak controls, to get a feel for how the preset was working.
One other function that shouldn’t be overlooked is the ‘I feel lucky’ button, which produces random sets of adjustments. Many were absolutely awful looking, but as I’ve said before, tastes vary, and its a good way of realising just how powerful the plugin can be.
The image to the right was produced whilst I was testing a watercolour type paper with a print from a photo of a wheat field in Oregon.
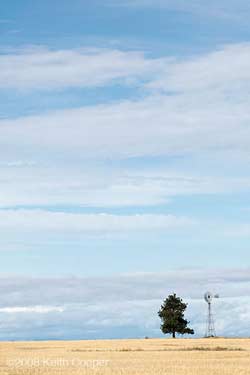
I don’t use such heavy embossed type papers very often, but this image works quite well.
Conclusions
The plugin is clear to use and has well written guides and tutorials.
It offers very powerful adjustments for your image, that from my own point of view need to be used with care.
I’ve always been of the view that a good enough image will stand on its own without lots of obvious processing, but tastes vary… Try out the presets and get a feel for what level of processing you feel happy with.
It would be nice if the plugin had the option of returning its results to Photoshop on a new layer, which would offer more flexibility when combining multiple uses of the plugin (or others), but that’s just because, a few times when testing, I forgot to duplicate layers before using the plugin.
Plugins like this (with its masking capability) actually allow you to do some quite advanced image editing with applications like iPhoto, that I’d normally never even consider. It takes a bit of care in planning your workflow if you’re used to using a big bit of software like Photoshop, but if you’ve a copy of Elements, then these Topaz plugins offer a great deal of power (just be wary of the tawdry side of the force… ;-)
Buying from Topaz Labs
If you buy any software via this link (bundle or individual plugin), then we get a small fee (it costs you no more). Neither Keith Cooper nor Northlight Images has any other connection with Topaz labs whatsoever. We believe strongly in making any affiliate links like this clear.
Use our 15% discount code 'Northlight' for an additional discount on some promotions.
There is a fully functional 30 day demo version of the software that is available.
Summary
Software plugin for a wide variety of image processing functions. Comprehensive examples, tutorials and support cover usage.
Can work with a wide range of ‘hosting’ software.
Aug. 2014 – V5.1 of the plugin has a refined interface and other changes – There is a short Adjust review update you might want to look at after this more detailed review.
System Requirements (from Topaz Labs at time of original review)
Mac
- Intel-based Macs with OS 10.6, 10.7 or 10.8 (Topaz is NOT compatible with PowerPC processors – like G4 or G5.)
- 2 GB RAM minimum – preferably more
- Adobe Photoshop CS4-CS6 (32-bit and 64-bit), Adobe Photoshop Elements 6-11***.
- Apple Aperture 2 and 3, Lightroom 2-5, and iPhoto via Topaz Fusion Express
- photoFXlab ONLY – Video Card should support OpenGL 2.1 technology and later (A better video card will increase performance even more so than a faster computer processor.)
***If Photoshop Elements was bought from the Mac app store, the plugin cannot be directly copied into the plugins folder or else you will receive this message: “Cannot proceed: IPC Memory in use or image is too big for the system”. At this moment our plugins are not compatible with the Mac store’s version of PSE due to a sandboxing issue, which we are currently investigating.
Windows
- Windows XP, Windows Vista, or Windows 7 (32-bit and 64-bit), Windows 8
- 2 GB RAM minimum – preferably more
- Adobe Photoshop CS4-CS6 (32-bit and 64-bit), Adobe Photoshop Elements 6-11.
- Lightroom 2-5 via Topaz Fusion Express
- Irfanview
- PaintShop Pro
- Photo Impact
- Serif Photo Plus
- photoFXlab ONLY – Video Card should support OpenGL 2.1 technology and later (A better video card will increase performance even more so than a faster computer processor.)
*ReMask is ONLY compatible with photoFXlab, Photoshop, Photoshop Elements and Paint Shop Pro. ReMask is NOT compatible with iPhoto, Aperture, Lightroom, Photo Impact or Irfanview.
There is more information at Topaz Labs
We’ve reviews of all Topaz software. See the Topaz Category in the dropdown menu at the top of the right column.
Never miss a new article or review - Sign up for our occasional (ad-free) Newsletter
and please do subscribe to Keith's YouTube Channel

Other areas of our site that may be of interest...
All the latest articles/reviews and photo news items appear on Keith's Photo blog

Keith explains tilt and shift lenses
Keith has written a book that looks at the many ways that tilt/shift lenses can benefit your photography from a technical and creative point of view. If not in the UK check for import issues and maybe try an on-line bookshop. Keith has no connection with sales of the book.
ISBN 9781785007712
There is also a specific index page on the site with links to all Keith's articles, reviews and videos about using tilt and shift.
We've a whole section of the site devoted to Digital Black and White photography and printing. It covers all of Keith's specialist articles and reviews. Other sections include Colour management and Keith's camera hacks - there are over 1200 articles/reviews here...
We're an Amazon.com affiliate, so receive payment if you buy via Amazon US