


Review of Topaz Lens Effects
Review of Topaz Lens Effects V1.2
Image editing filter and plugin

Keith has removed all Google ads. Too many deceptive and irritating adverts.
Any ad links left are non tracking, to companies we know, trust and we've worked with for years [Park Cameras]
Ads helped pay for site running costs, so if you found something useful, please
...Make small KoFi donation?
...Subscribe to Keith's YouTube Channel
...Get Keith's book about how to use tilt/shift lenses
Our site contains affiliate links - these help support the site. See our Advertising policies for more
Keith Cooper has been looking at ‘Lens Effects’, one of the range of image processing plugins from Topaz Labs, and has written up these short notes covering its use. It allows you to apply a wide variety of lens and filter effects to an image.
We’ve reviews of all Topaz software. See the Topaz Category in the dropdown menu at the top of the right column.
Article Index
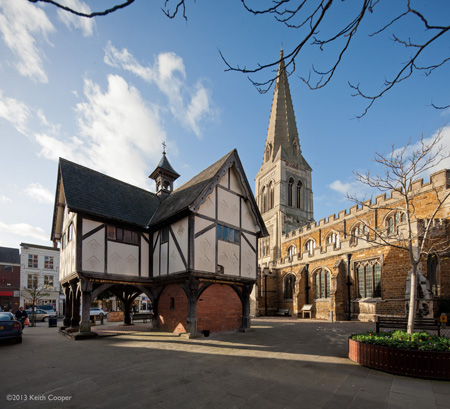
What do you get with Topaz Lens Effects
Buying from Topaz Labs
If you buy any software via this link (bundle or individual plugin), then we get a small fee (it costs you no more). Neither Keith Cooper nor Northlight Images has any other connection with Topaz labs whatsoever. We believe strongly in making any affiliate links like this clear.
Use our 15% discount code 'Northlight' for an additional discount on some promotions.
The plugin installs as an ‘add-on’ for other software and provides a range of preset adjustment options and ways of fine tuning settings.
It’s easy to be overwhelmed by the range of options, but if you take a few sample images and just experiment with them, you can soon get a feel for the underlaying features of the software.
Fortunately There is a fully functional 30 day demo version of the software available., so you can easily have a try.
One difficulty I find with any plugin that offers so many adjustments and filters, it’s rather difficult to say ‘what it does’ in a simple manner.
Topaz Labs themselves splits the functionality into these categories:
| Bokeh Aesthetically blur the background and bring more attention to the image subject. |
Vignette Gradually darken or lighten image edges to bring more emphasis to the centre. |
| Diffusion Soften light to create a hazy or dream-like effect. Traditionally used for portraits to soften and smooth skin. |
Polarization Enhance the look of sky and water by darkening the sky, reducing water reflections and foliage shine. |
| Colour Filters Single tone and duotone filters for colour correction and enhancement. Also produces creative colour effects. |
Graduated Neutral Density Achieve better exposure balance between sky and ground by gradually darkening brighter areas in your images. |
| Tilt-Shift Lenses Selectively adjust the focal plane and subject to create unique perspectives and miniature effects. |
Old School Combine multiple colour tones, vignettes, and grain effects to create photos with a vintage look and feel. |
| Creative Blur Creatively blur and distort images to drive attention to your subject and create your desired mood. |
Motion Blur Create and emphasize movement using motion tools that simulate zoom, spiral, rotation, panning, and shake effects |
I’ll pick a few examples that give an idea of how the software works.
 This review is based on my using Photoshop, but the software works perfectly well in conjunction with other packages.
The plugin
The plugin is applied via Photoshop’s filter menu (see the summary at the end for details of all the other applications you can use it with).
There is a lot of help and support materials available from Topaz.
I’d like it if there was an option to return the results of the filter as a new layer, but as long as I remember to duplicate my working layer before using the plugin, I’m fine.
As with all Topaz plugins, just remember that you don’t have to use them ‘turned up to eleven’.
Some of the plugin’s smartest features, where you can create a depth map and selectively alter sharpness (to simulate depth of field) are (almost) hidden away in just two effects (bokeh SLR and bokeh selective) – I’ll cover those later, but first, how you use the filter.
Using the Plugin
Your image appears in a central pane in the plugin’s window.
The two side panels show preset adjustment options (you can add your own) and on the right, navigation controls and all the adjustment sliders.
Both of these side panels can be hidden. In the bottom left hand corner is a general menu offering plugin information, help and update details.
Along the top, there are buttons for before and after views (there is a split-view before/after option too).
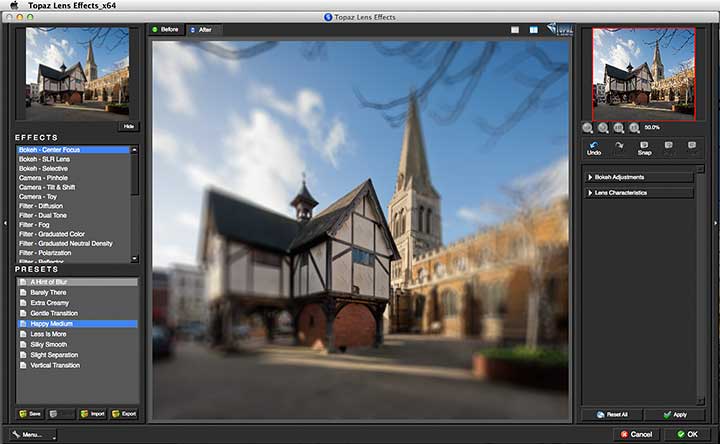
The first example I’ve shown is a centre focus setting, which has adjustments for where the focus point is (and its strength) and the type of blur.
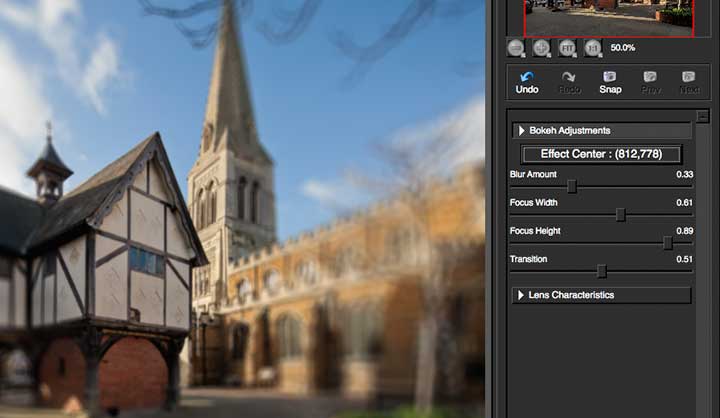
The blur is based of a number of criteria, including the type of lens aperture,
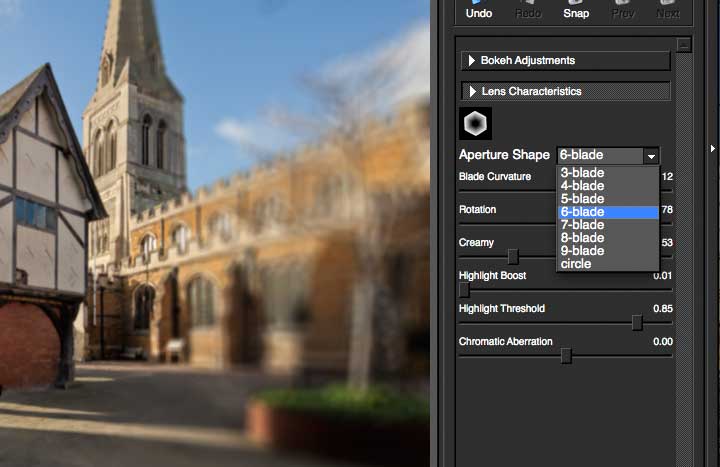
In the example below, move your mouse over the image to see the point of focus changed.
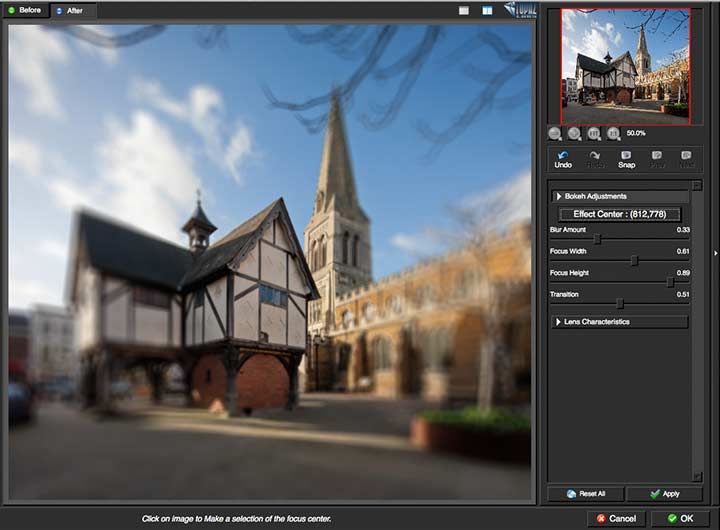
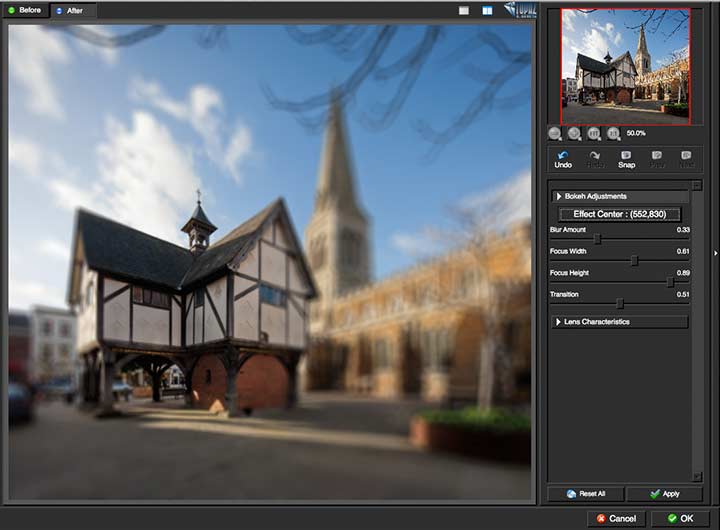
There are many options, even for a basic ‘pinhole’ effect.
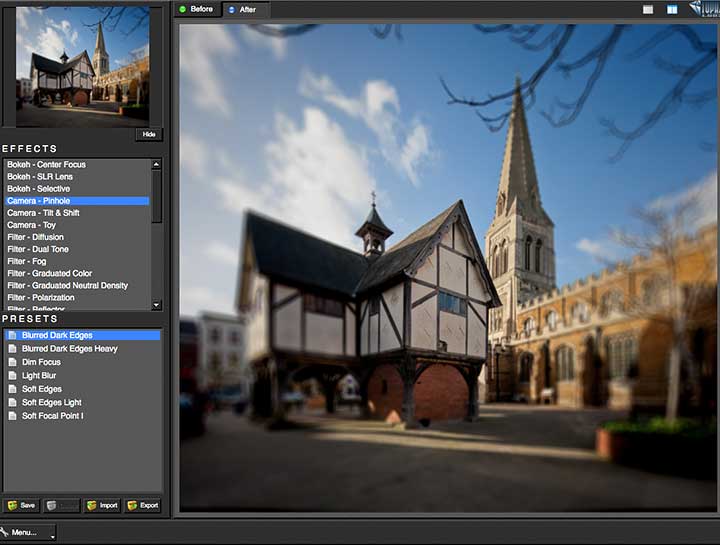
Each filter’s preset options can be viewed in the thumbnail version at the top left.
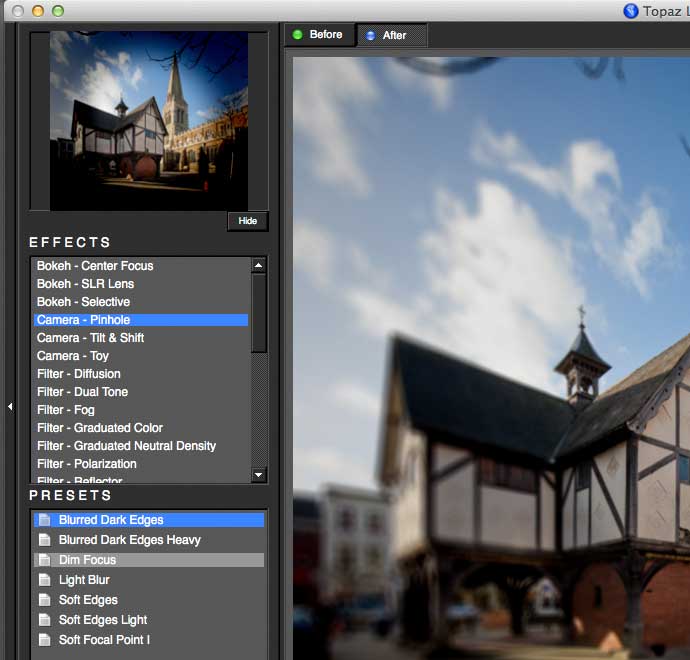
Another effect is a so called ‘Tilt’ effect, from using a tilt-shift (T/S) lens.
As someone with a collection of real T/S lenses, I can assure you that it only simulates a tiny part of what you can do with such lenses. See my tilt/shift lenses article for much more.
You can throw camera quality right out of the window, with a whole range of ‘Toy camera’ options.

There are a lot of settings to play with…
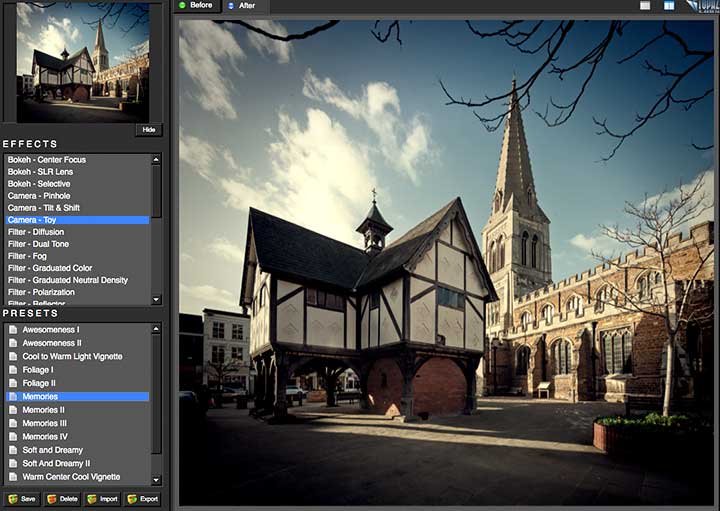
If you’re looking for this effect, take time to realise just what each setting changes – originality rarely comes from clicking a few preset filter options.
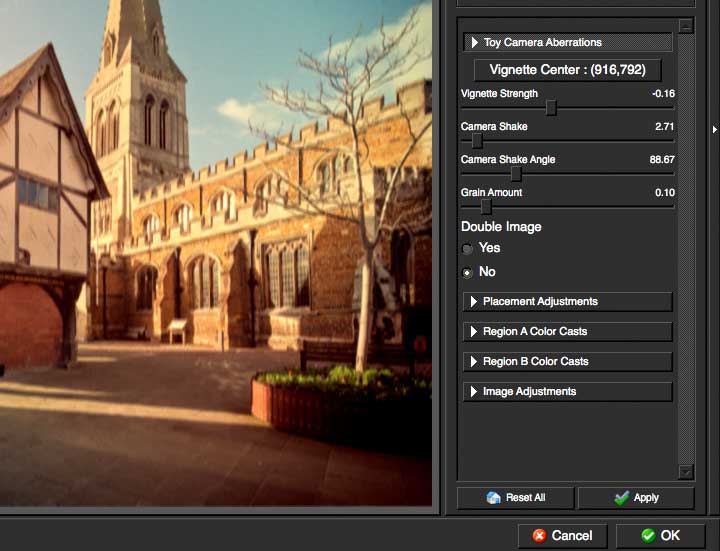
There are some basic image editing options available too.
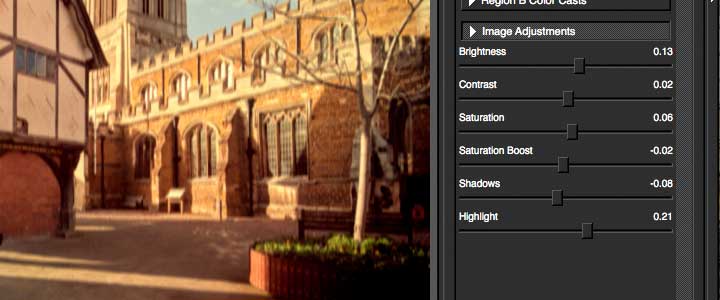
Some filters are more like physical filters you might choose for your camera.
A ‘Soft focus’ setting for example’

Or a polarising filter.
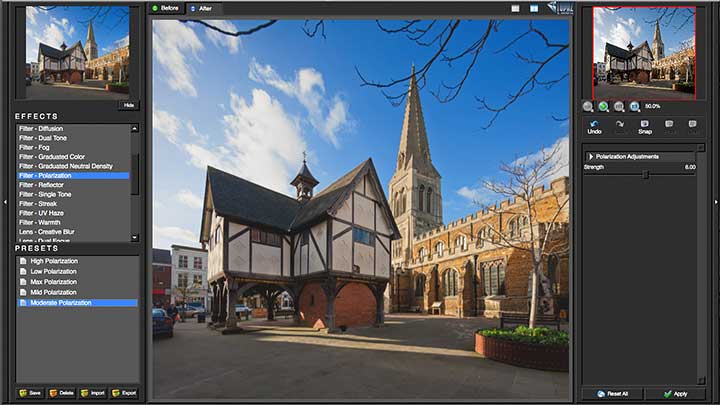
A range of tone adjustment filters.
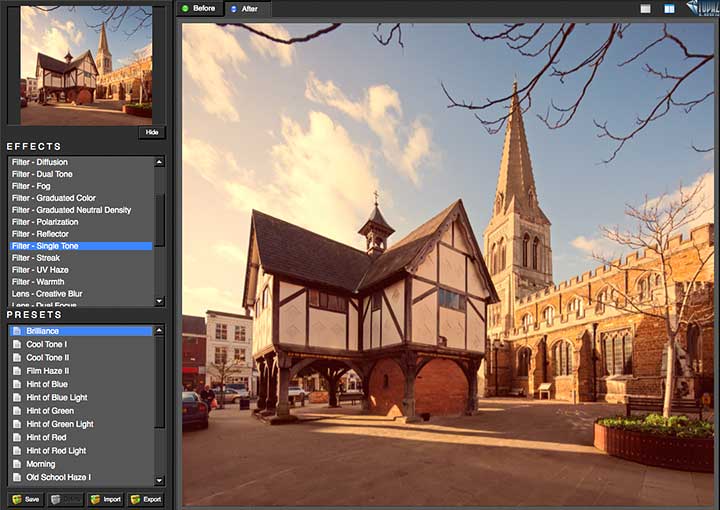
Blurring effects extend to motion blur (note the zoom blur in the list of presets as well).

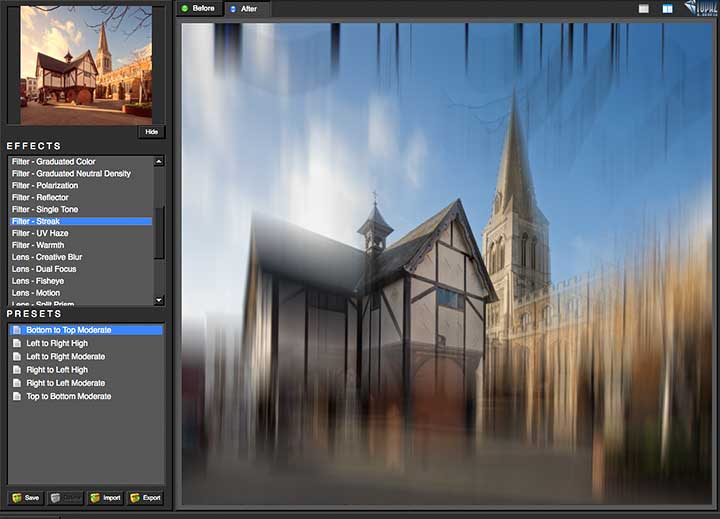
or a localised ‘streaking’ effect.
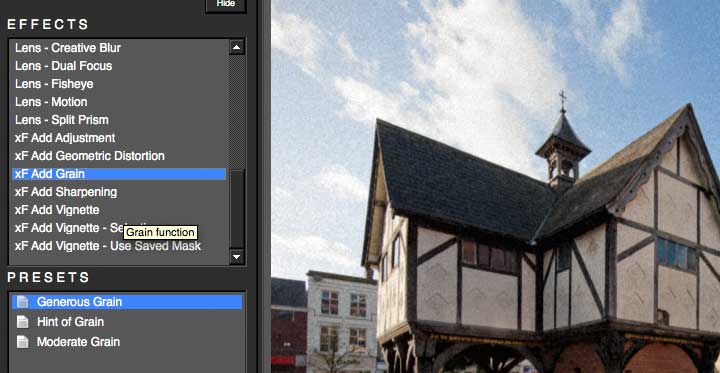
Film style grain can work well with some images (I use it for black and white sometimes).
Although I have to admit that I’ve never had a requirement for the ‘prism’ kaleidoscopic look.
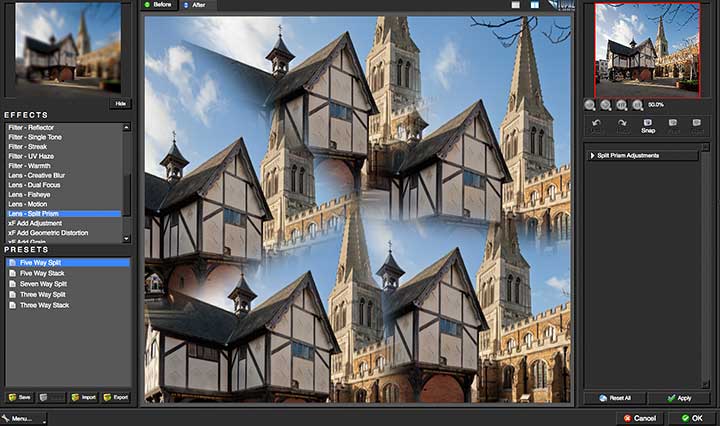
More useful?
OK, let me step back from the more extreme effects to some that I might have more use for.
When I’m using extremely wide lenses, it’s almost impossible to make use of conventional graduated filters, particularly with a shot such as the example I’ve been using, which comes from two views stitched together, using a 17mm shift lens, shifted up and down. There are filter options available (at a suitably hefty price) but they are difficult to use when shifting the lens as I did (not to mention that this particular shot was also taken hand-held).
Move your mouse over the image below to see a graduated neutral filter applied to the top of the image.
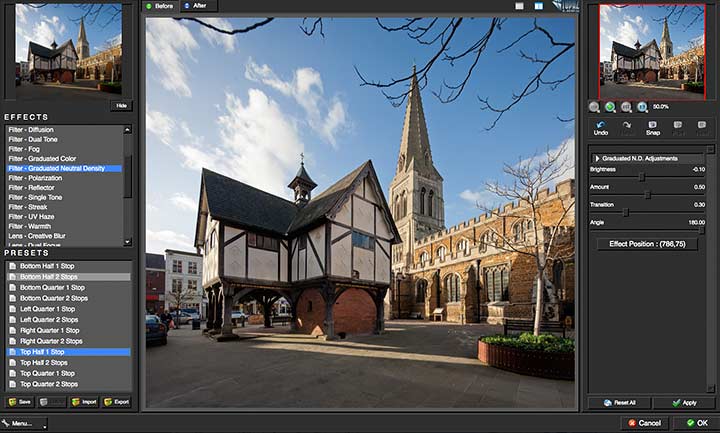
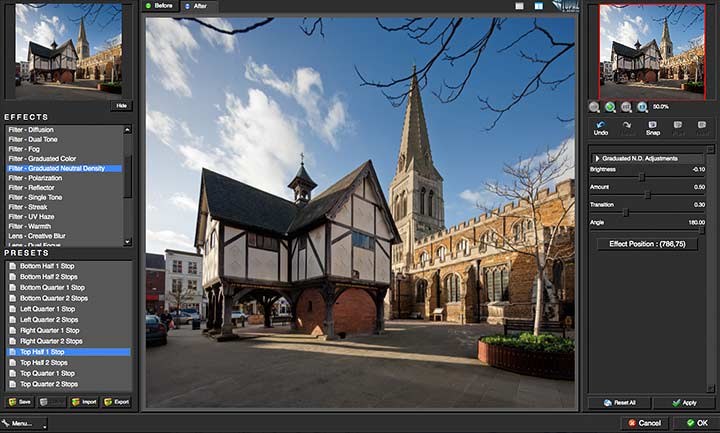
As with real ND filters, there is always the problem of unwanted darkening being applied where it’s not needed (the spire), but at least doing this in Photoshop, allows for masking.
Actually, there are basic masking capabilities built into Lens Effects, but it’s the sort of thing I generally don’t want to do in the plugin, but afterwards with layer masks.
Sometimes, when doing architectural photography I really could do with a group of people holding gold reflectors to give a bit of warmth in shadow areas. This is not that practical (or a good use of project budgets), so I may look to warm images after I’ve taken them.
One way I use is to produce conversions of the same RAW file, but at different white balance settings. These I can then manually blend together. It takes care, but with a bit of practice, you can make the editing almost undetectable…
One quick way I found with Lens Effects, was to use its ‘Reflector’ filter.
Move your mouse over the image below, to see the graduated effect
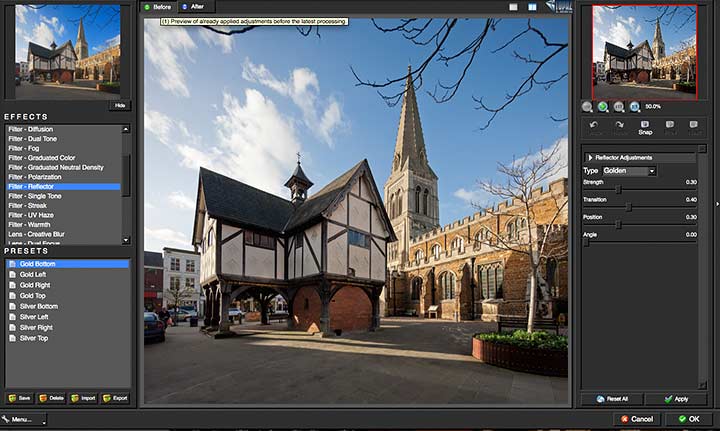
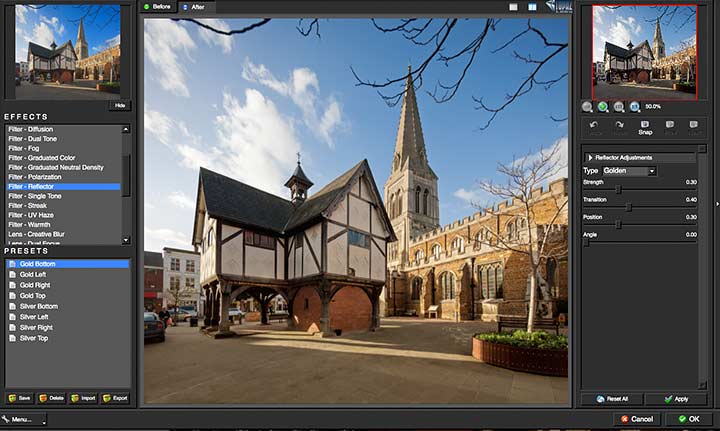
I’ve pushed it a bit further on this image to show the effect, but you can position the reflected light quite accurately, and can always mask it too.
As with many of these filters, it’s often easier to turn them up fully to see the effects of settings on positioning. Move your mouse over the image below to see the version used for positioning the effect.
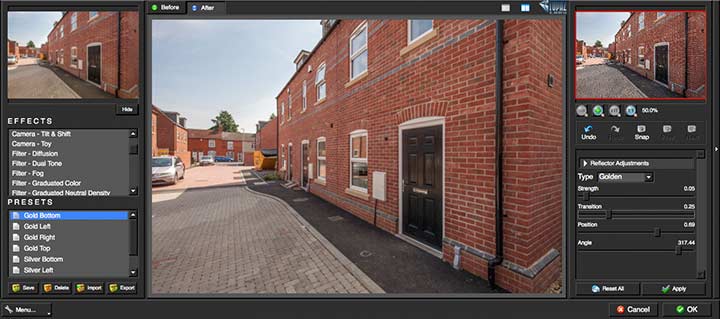
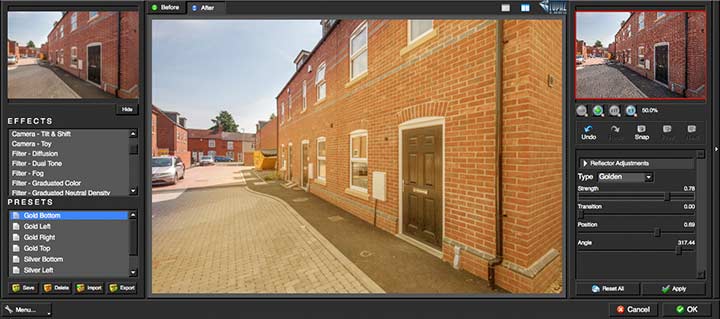
You’re not restricted to just one filter either – note that ‘Apply’ button just above the ‘OK’ button in the RH bottom corner.
This applies your filter, but allows you to remain in the plugin, to ‘stack’ effects.
I’d personally use different filters on different layers and be able to mask/adjust them, but I’m well aware that not all software that might host the plugin has such flexibility (or needless complexity – YMMV).
Selective focus
If you choose either the Bokeh-SLR or Bokeh-Selective effects, then a whole new feature of the plugin becomes available.
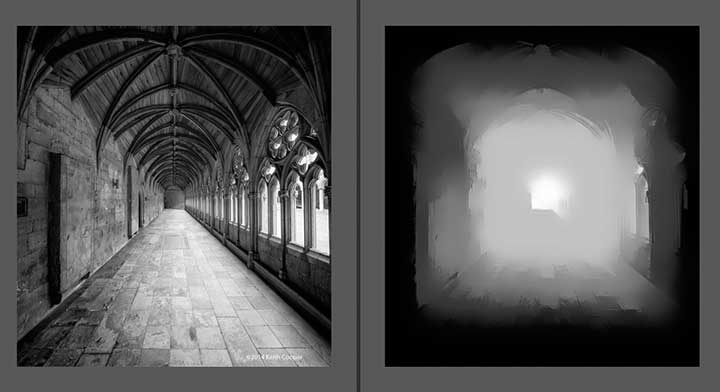
This is the ability to create and edit depth maps for your image. The map is a greyscale representation of how far away from the camera each part of the image is.
The image below, obviously runs from really close up to a long way away. The greyscale version is the plugin’s initial attempt at coming up with a depth map. It has the jist of the scene, but is pretty inaccurate in the details.
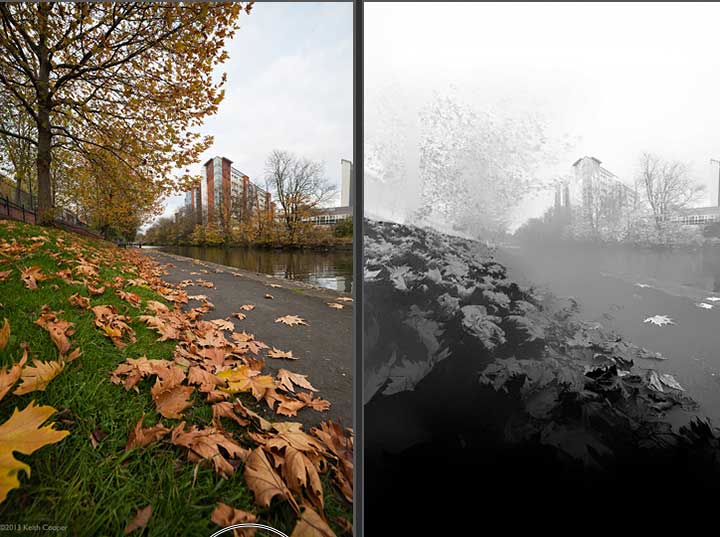
Depending on why you are applying some blur to your image, this may not matter too much.
However, there are ways of editing the greyscale image to improve things.
Note too in this split screen view, that an extra button has appeared at the to, to display the mask.
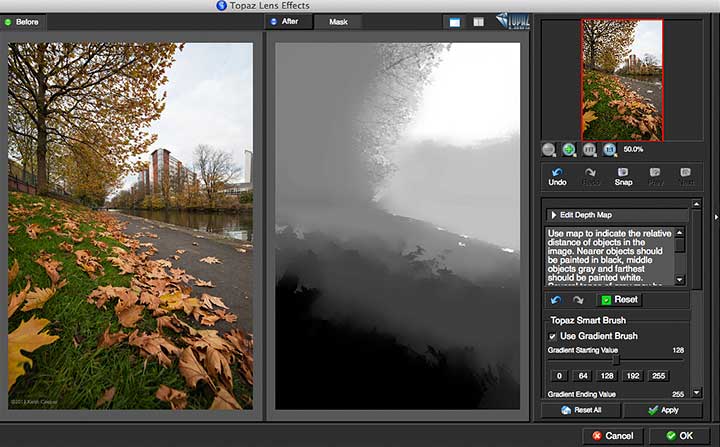
A bit of editing makes for a more accurate map.
There is a gradient brush too, where it’s easy to map the simpler areas of the scene.

With the map in place, I can set an arbitrary focal distance and then change the depth of field (and style of out of focus areas).
An extreme example, simulating the depth of field I’d get from a 50mm f1.2 Canon lens focused fairly closely.

A minor interface fault (IMHO), noticed whilst writing this article, is that the marker triangles don’t rotate to point downwards when you open a section of the settings area. You can see this in the screen shot above
A more obvious version, with a rough depth map painted in by hand (but still affected by ‘auto’ adjustments).
Selective focus part way along the cloister (Lincoln cathedral).
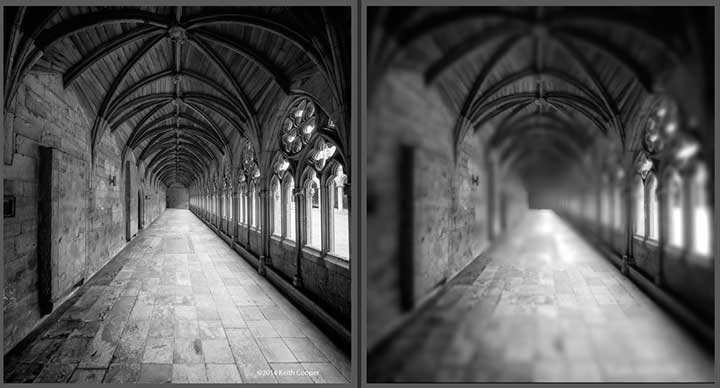
Quite tricky to do with a real lens… (this is perhaps equivalent to a ~20mm lens on a 6×6 camera at f/1.0 or wider)
Buying from Topaz Labs
If you buy any software via this link (bundle or individual plugin), then we get a small fee (it costs you no more). Neither Keith Cooper nor Northlight Images has any other connection with Topaz labs whatsoever. We believe strongly in making any affiliate links like this clear.
Use our 15% discount code 'Northlight' for an additional discount on some promotions.
Conclusions
The plugin works very effectively and is easy to use.
There are some powerful adjustments available, that would take a fair bit of effort to reproduce in Photoshop on its own.
Making effective use of the depth map takes some practice, and it would be nice to have a few basic drawing tools such as graduated fill and other ways of blocking in your depth map, without the ‘smart’ side of the drawing tool filling in things for you.
There is no way of exporting/importing a depth map (a simple 8 bit greyscale image) although you can do so for vignetting masks.
Looking at such software, I do face a dilemma in that as a commercial photographer I rarely have need for some of these effects – some even simulate features of images that I go out of my way to avoid, such as camera shake or blur.
I’m quite aware though, from the success of some of what I regard as truly awful photos, on the likes of instagram, that this is not a universal desire ;-)
If you’re looking to do something ‘a bit different’ with your images, then this could be a very useful tool for you.
I know too that once my photos end up with clients, anything can and does happen to them…
Experiment widely with the plugin (and fine tune settings) if you like these effects – just remember that sometimes less is a great deal more.
There is a fully functional 30 day demo version of the software available.
Summary
Software plugin for a wide variety of image processing functions. Comprehensive examples, tutorials and support cover usage.
Can work with a wide range of ‘hosting’ software.
We’ve reviews of all Topaz software. See the Topaz Category in the dropdown menu at the top of the right column.
System Requirements (from Topaz Labs)
Mac
- Intel-based Macs with OS 10.6, 10.7 or 10.8 (Topaz is NOT compatible with PowerPC processors – like G4 or G5.)
- 2 GB RAM minimum – preferably more
- Adobe Photoshop CS4-CS6 (32-bit and 64-bit), Adobe Photoshop Elements 6-11***.
- Apple Aperture 2 and 3, Lightroom 2-5, and iPhoto via Topaz Fusion Express
- photoFXlab ONLY – Video Card should support OpenGL 2.1 technology and later (A better video card will increase performance even more so than a faster computer processor.)
***If Photoshop Elements was bought from the Mac app store, the plugin cannot be directly copied into the plugins folder or else you will receive this message: “Cannot proceed: IPC Memory in use or image is too big for the system”. At this moment our plugins are not compatible with the Mac store’s version of PSE due to a sandboxing issue, which we are currently investigating.
Windows
- Windows XP, Windows Vista, or Windows 7 (32-bit and 64-bit), Windows 8
- 2 GB RAM minimum – preferably more
- Adobe Photoshop CS4-CS6 (32-bit and 64-bit), Adobe Photoshop Elements 6-11.
- Lightroom 2-5 via Topaz Fusion Express
- Irfanview
- PaintShop Pro
- Photo Impact
- Serif Photo Plus
- photoFXlab ONLY – Video Card should support OpenGL 2.1 technology and later (A better video card will increase performance even more so than a faster computer processor.)
*ReMask is ONLY compatible with photoFXlab, Photoshop, Photoshop Elements and Paint Shop Pro. ReMask is NOT compatible with iPhoto, Aperture, Lightroom, Photo Impact or Irfanview.
There is more information at Topaz Labs
Never miss a new article or review - Sign up for our occasional (ad-free) Newsletter
and please do subscribe to Keith's YouTube Channel

Other areas of our site that may be of interest...
All the latest articles/reviews and photo news items appear on Keith's Photo blog

Keith explains tilt and shift lenses
Keith has written a book that looks at the many ways that tilt/shift lenses can benefit your photography from a technical and creative point of view. If not in the UK check for import issues and maybe try an on-line bookshop. Keith has no connection with sales of the book.
ISBN 9781785007712
There is also a specific index page on the site with links to all Keith's articles, reviews and videos about using tilt and shift.
We've a whole section of the site devoted to Digital Black and White photography and printing. It covers all of Keith's specialist articles and reviews. Other sections include Colour management and Keith's camera hacks - there are over 1200 articles/reviews here...
We're an Amazon.com affiliate, so receive payment if you buy via Amazon US