


Canon TS-E17mm f4L review
Canon TS-E17mm f4L review
Using Canon’s ultra wide TS-E lens

Keith has removed all Google ads. Too many deceptive and irritating adverts.
Any ad links left are non tracking, to companies we know, trust and we've worked with for years [Park Cameras]
Ads helped pay for site running costs, so if you found something useful, please
...Make small KoFi donation?
...Subscribe to Keith's YouTube Channel
...Get Keith's book about how to use tilt/shift lenses
Our site contains affiliate links - these help support the site. See our Advertising policies for more
Keith has used the Canon TS-E17mm F4L lens since it first came out in 2009.
Whilst we have a TS-E17mm information page, it’s not quite a review in the way we’ve got for the other TS-E lenses.
-> Lots of pics – may be a slow load page
This review covers many different aspects of using what is one of Keith’s favourite lenses for his work.
If you are new to tilt/shift lenses Keith has written numerous articles and reviews. A good place to start is ‘What tilt/shift lenses do‘ with more about tilt in ‘Focusing the tilt/shift lens‘
Article Index

Buying a TS-E lens – Please consider buying a lens, or any other items at all, via our link with Amazon.
Amazon UK link / Amazon Fr / Amazon De
Amazon USA link / Amazon Canada link
It won’t cost any more (nor less we’re afraid) but will contribute towards the running costs of our site.
Or, if you’d prefer, you can look at:
Adorama, B&H Photo or Wex(UK)
17mm tilt and shift
The TS-E 17mm was first announced in 2009, along with an update to the TS-E24 F3.5L. Its construction and design immediately set it apart, with that huge front element.
It comes with a soft bag and large lens cap/cover.

Basic Features
The Canon TS-E 17mm f/4 L is the widest lens of its type
- Focal Length & Maximum Aperture 17mm 1:4
- Lens Construction 18 elements in 12 groups
- Diagonal Angle of View 104°
- +/- 6.5° Tilt and +/-12mm Shift
- Focus Adjustment Manual focus, overall linear extension system
- Closest Focusing Distance 0.82 ft./0.25m (0.14x)
- Max. Diam x Length. 88.9 x 106.7mm | 28.9 oz./820g
The lens shift mechanism can be seen at the mount end here.

This is at full shift, and partly explains some of the geometric vignetting you see with all TS-E lenses when fully shifted at wider apertures.
The TS-E17 has the lowest amount of tilt (±6.5º) of any TS-E lens, but the short focal length renders this a non-issue.

The lens has locks and friction locks to let you lock the lens with no tilt or shift, or set it at a chosen value.

A significant mechanical change (from the 3 original 1991 TS-E lenses) is that the tilt axis can now be smoothly moved by 90º so that it can be lined up with the shift axis, or orthogonal to it. There are click stops at 0º/45º/90º
If you add to this the ability to smoothly rotate the whole lens on its mount by 180º (click stops every 30º) it gives a lot more flexibility than the older TS-E design which needed a service centre to change the tilt axis by 90º (or you could do it yourself)
I’ve annotated this example, showing a combination of shift and tilt axis movement.

This looks more complex than it is…
This feature is more useful (to myself at least) with longer focal length TS-E lenses where I find tilt of more use. There are examples in my other reviews, especially the TS-E135mm F4L Macro.
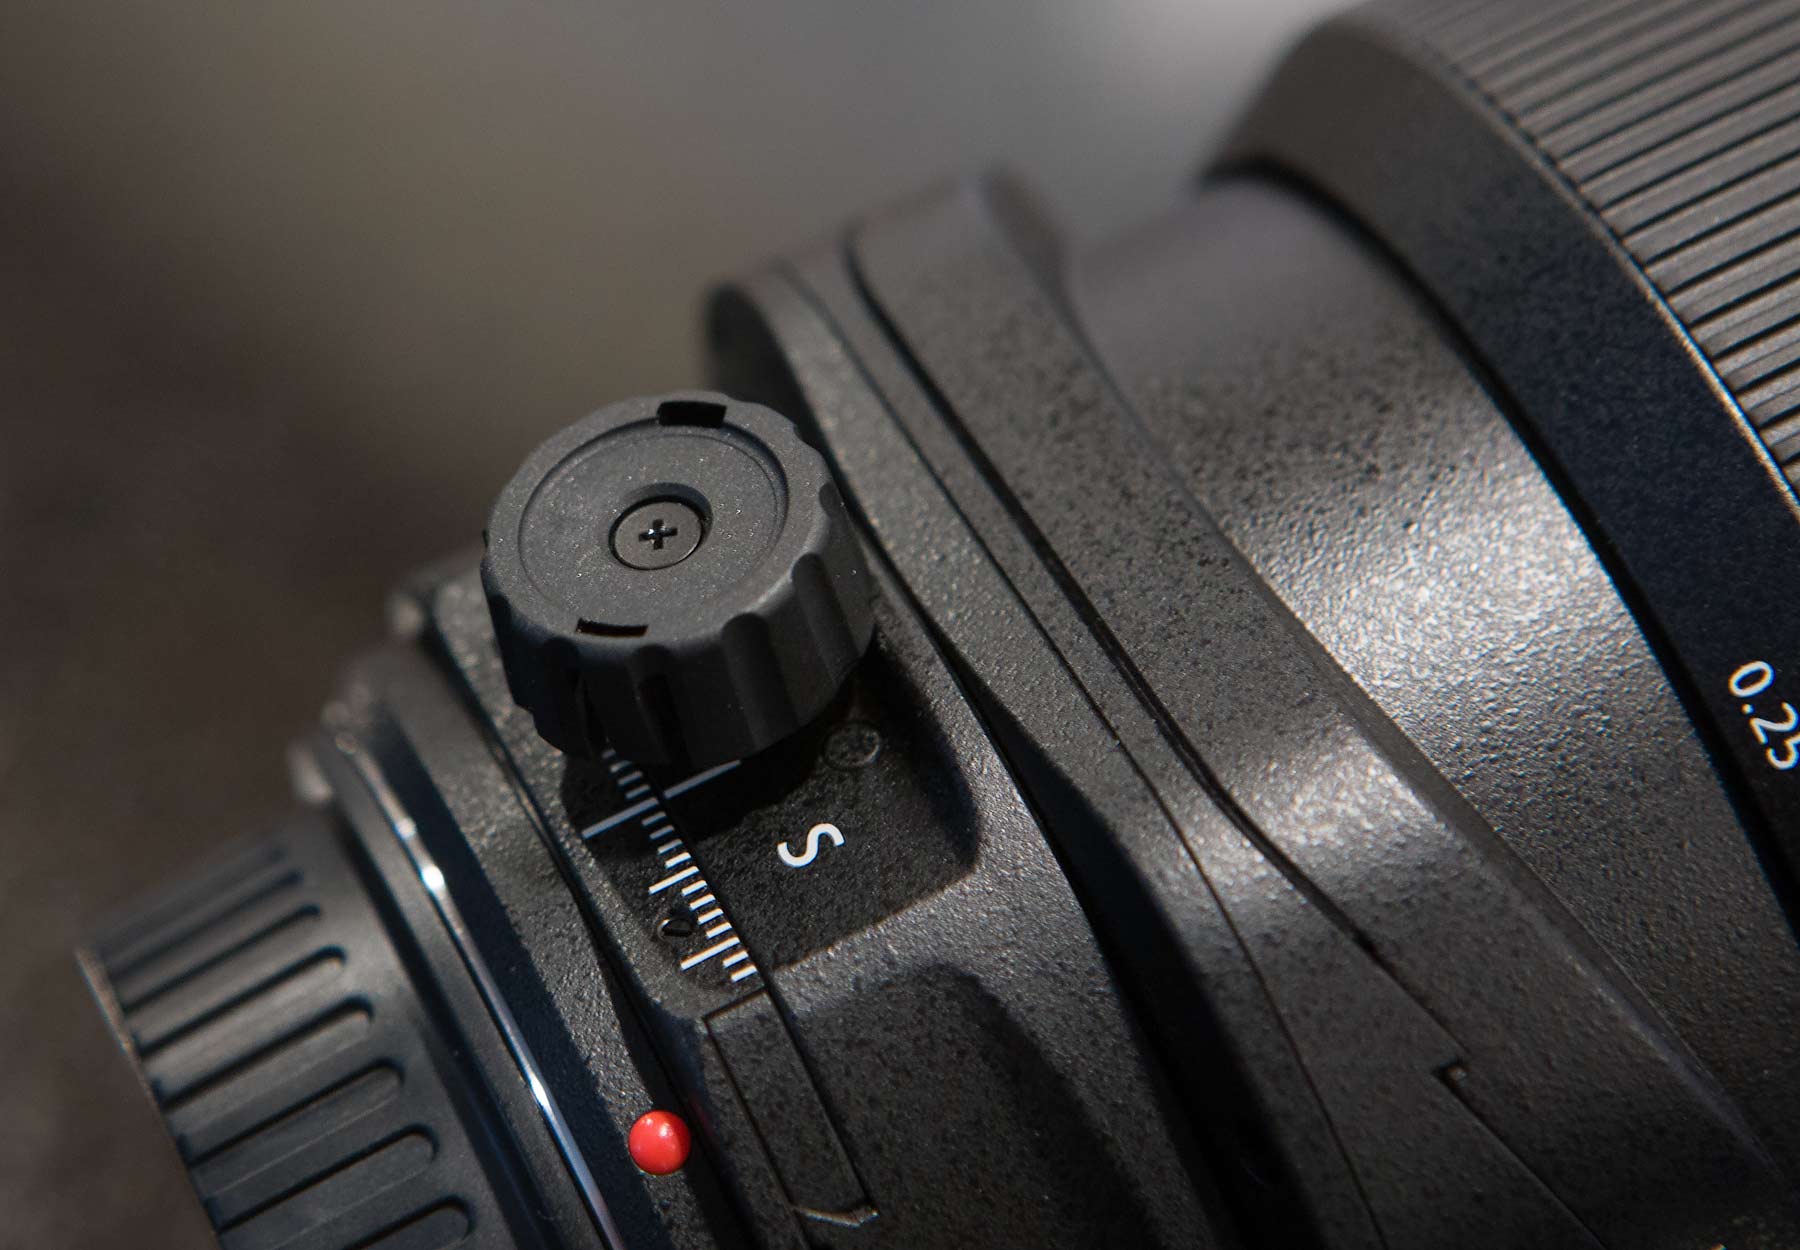
The old TS-E lenses have rather small adjustment knobs, which can be fiddly to set.
The TS-E17 has a larger tilt adjustment knob, and an optional ‘cover’ to enlarge the shift knob.

Do be careful if you have a camera with a built in flash – the larger shift knob can catch on the overhang.
The larger knob, fitted.
Filters
There is no filter attachment ring, and no rear mount for gel filters.
If you’re a fan of filters, then I’m afraid you will need one of the big third party add on contraptions to hold large sheet filters.
I’ve briefly looked at them and found then massively clunky and unwieldy, that could of course come from my general dislike of filters, so YMMV.
Specifications
Info from Canon.
| Lens Specifications | |
|---|---|
| Angle of view (horzntl, vertl, diagnl) | 93º 70º 30′ 104º |
| Lens construction (elements/groups) | 18/12 |
| No. of diaphragm blades | 8 |
| Minimum aperture | 22 |
| Closest focusing distance (m) | 0.25 |
| Maximum magnification (x) | 0.14 |
| Distance information | Yes |
| Filter diameter (mm) | 77 |
| Max. diameter x length (mm) | 88.9 x 106.9 |
| Weight (g) | 820 |
| Magnification – Extension Tube EF12 II | Not available |
| Magnification – Extension Tube EF25 II | Not available |
| Soft case | LP1219 |
A significant improvement in the 17mm and 24mm mk2 is the increased image circle. With the old 24mm, any shift beyond 7mm had red marks on the lens to indicate potentially ‘reduced image quality’
The larger image circle is shown here.

The improved image circle means that you can shift more without obvious fall off in image quality. With an adapter, the lens makes for a very wide angle T/S lens on mirrorless medium format cameras, albeit with proportionally less shift.
The lens has quite a mix of glass types and coatings, all to reduce aberrations and internal reflections.

MTF chart
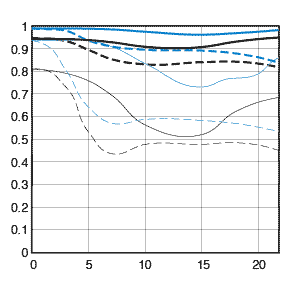
| A quick guide to MTF charts (which only measure contrast and resolution) > Canon's guide to their MTF charts) | |
| Black lines reflect lens performance at widest aperture. Blue lines show the performance at f/8 - Thick lines indicate lens contrast Thin lines indicate lens resolution |
Dashed lines: Lens performance with meridional lines. Solid lines: Lens performance with sagittal lines - Closer sagittal and meridional chart lines indicate more 'natural' out of focus areas. |
| Remember that MTF charts are good for comparing similar lenses, so comparing ones from the 14mm f2.8L and 300mm 2.8L won't tell you much at all, whilst comparing the EF14 2.8L with the EF14 2.8L II will show meaningful differences. Note that other manufacturers may have different ways of displaying such information that may or may not match up with the Canon figures. | |
Flare
There are 8 aperture blades – not easy to see through the mass of glass in front (f/8 here).

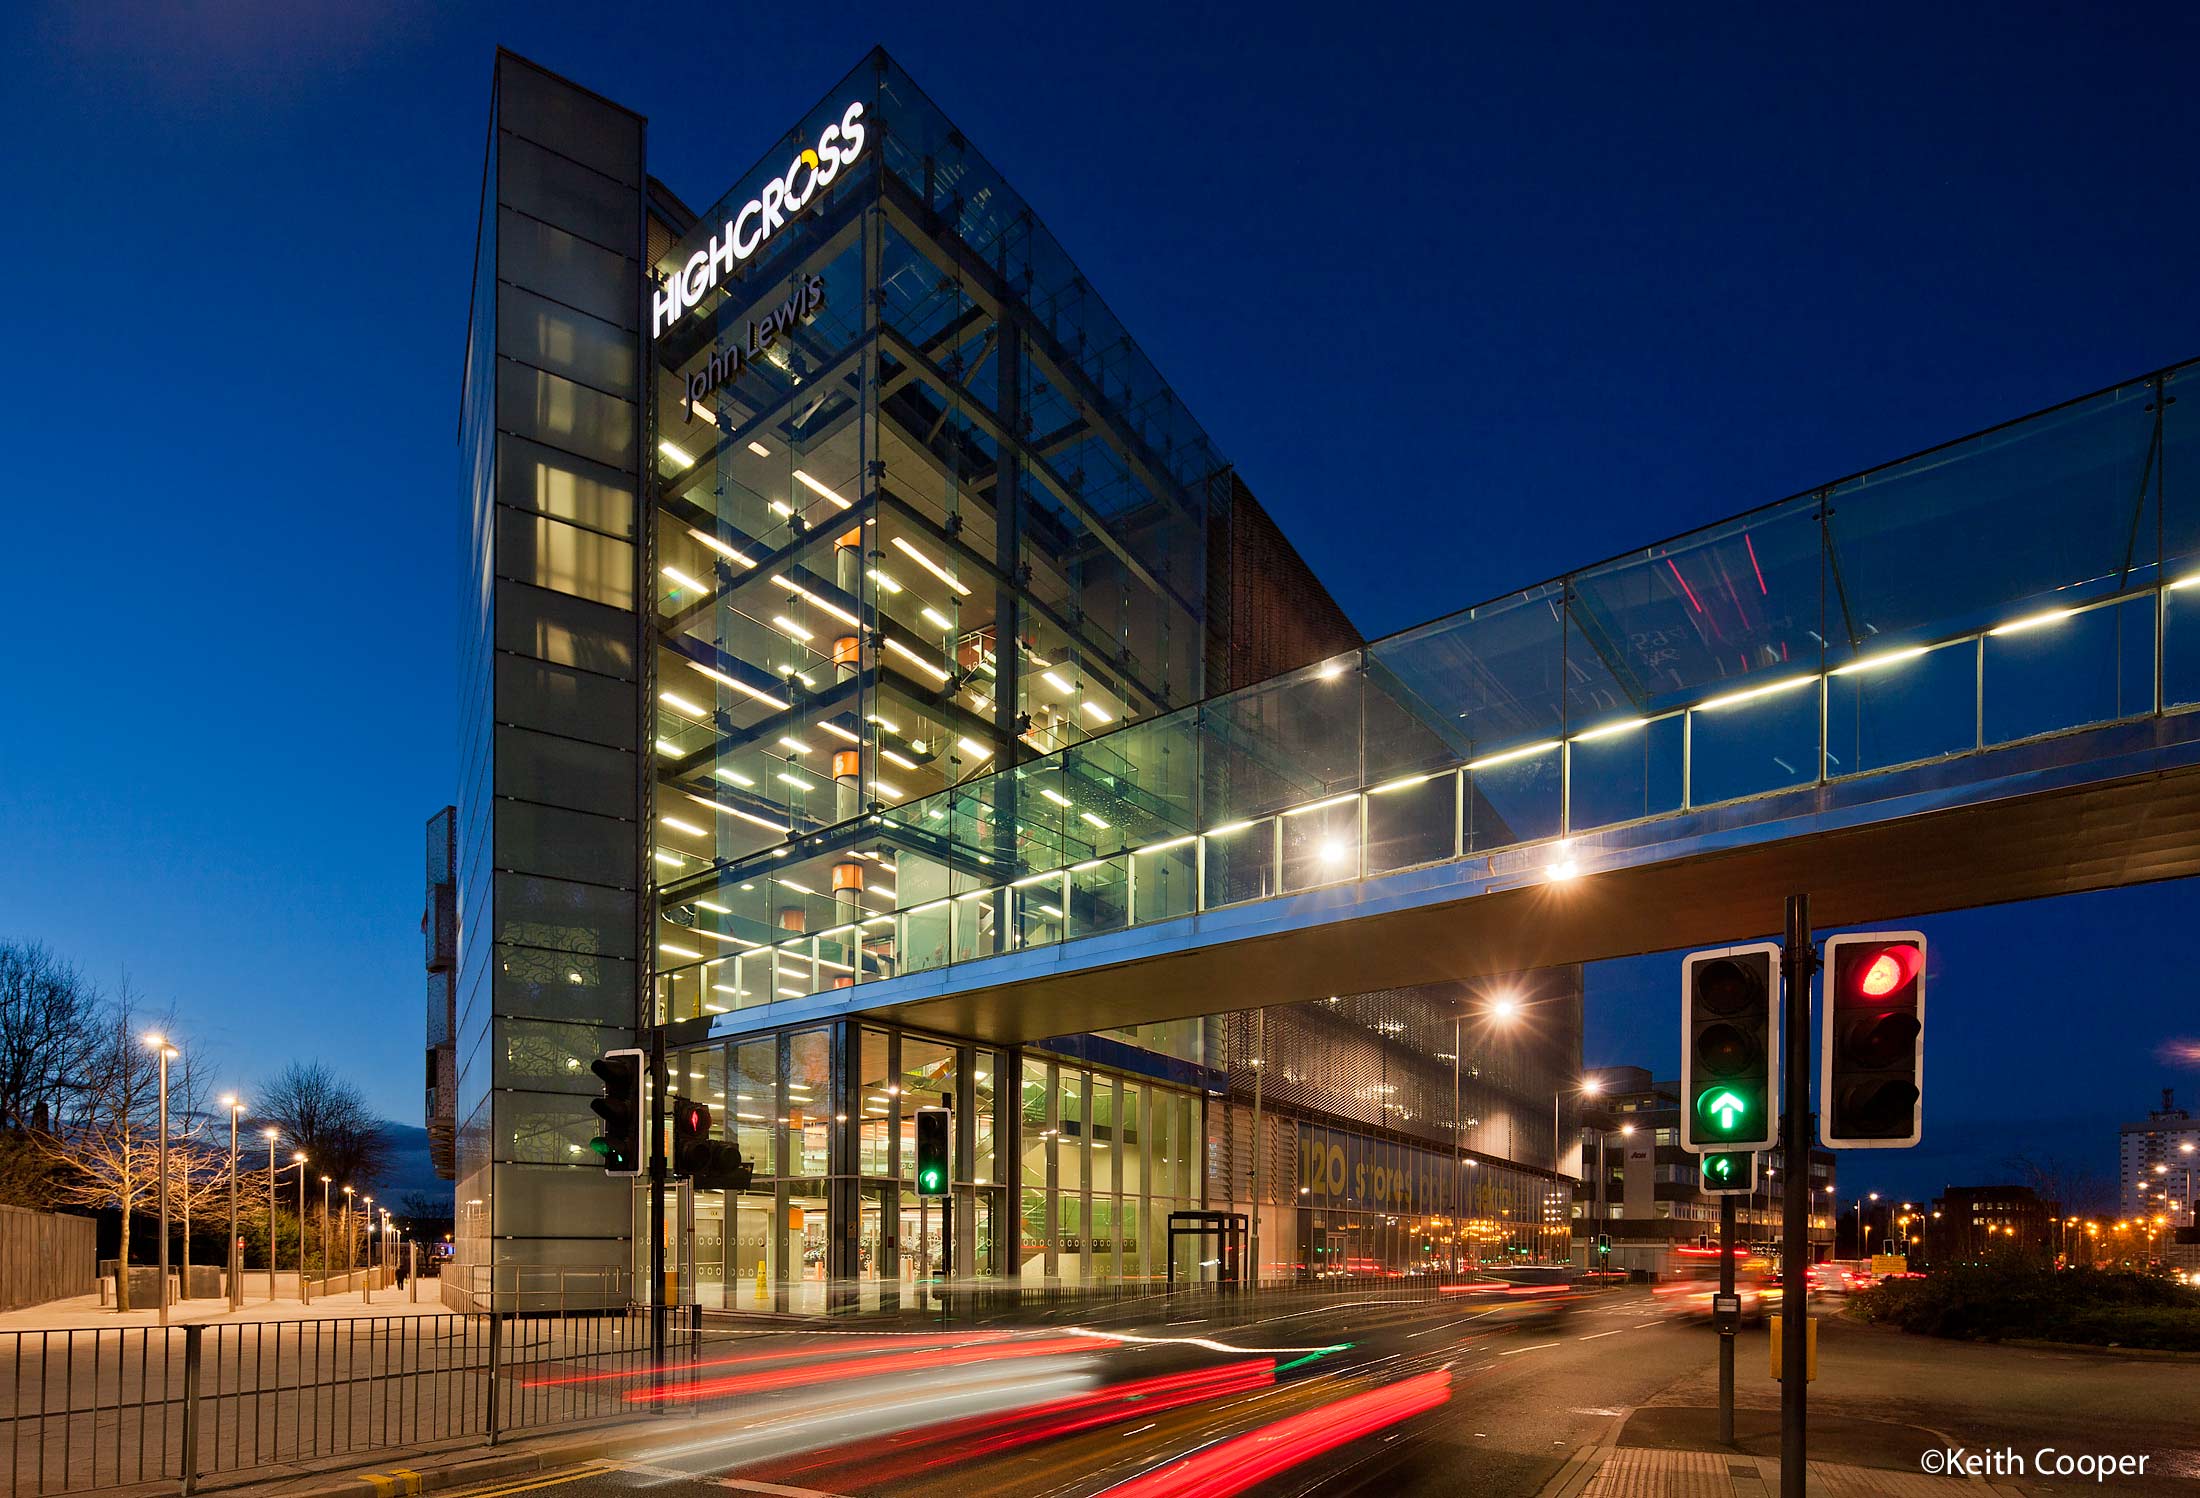
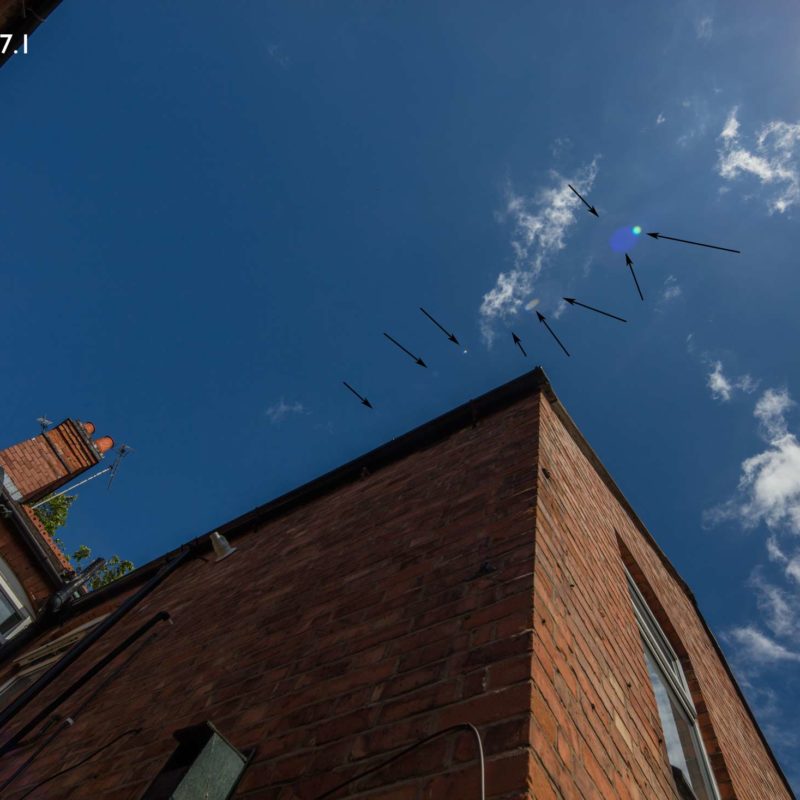
The lens is quite prone to star ‘spikes’ on bright lights. This a 100% crop of an image at f/7.1

The whole image.
I don’t find the spikes a problem, but if you do, then reducing or increasing aperture will change them, but it’s a trade off with other aspects of image quality.
Into the Sun
Over the years I’ve learned to basically stop the sun shining on that huge front element.
Here’s the sun in the frame.
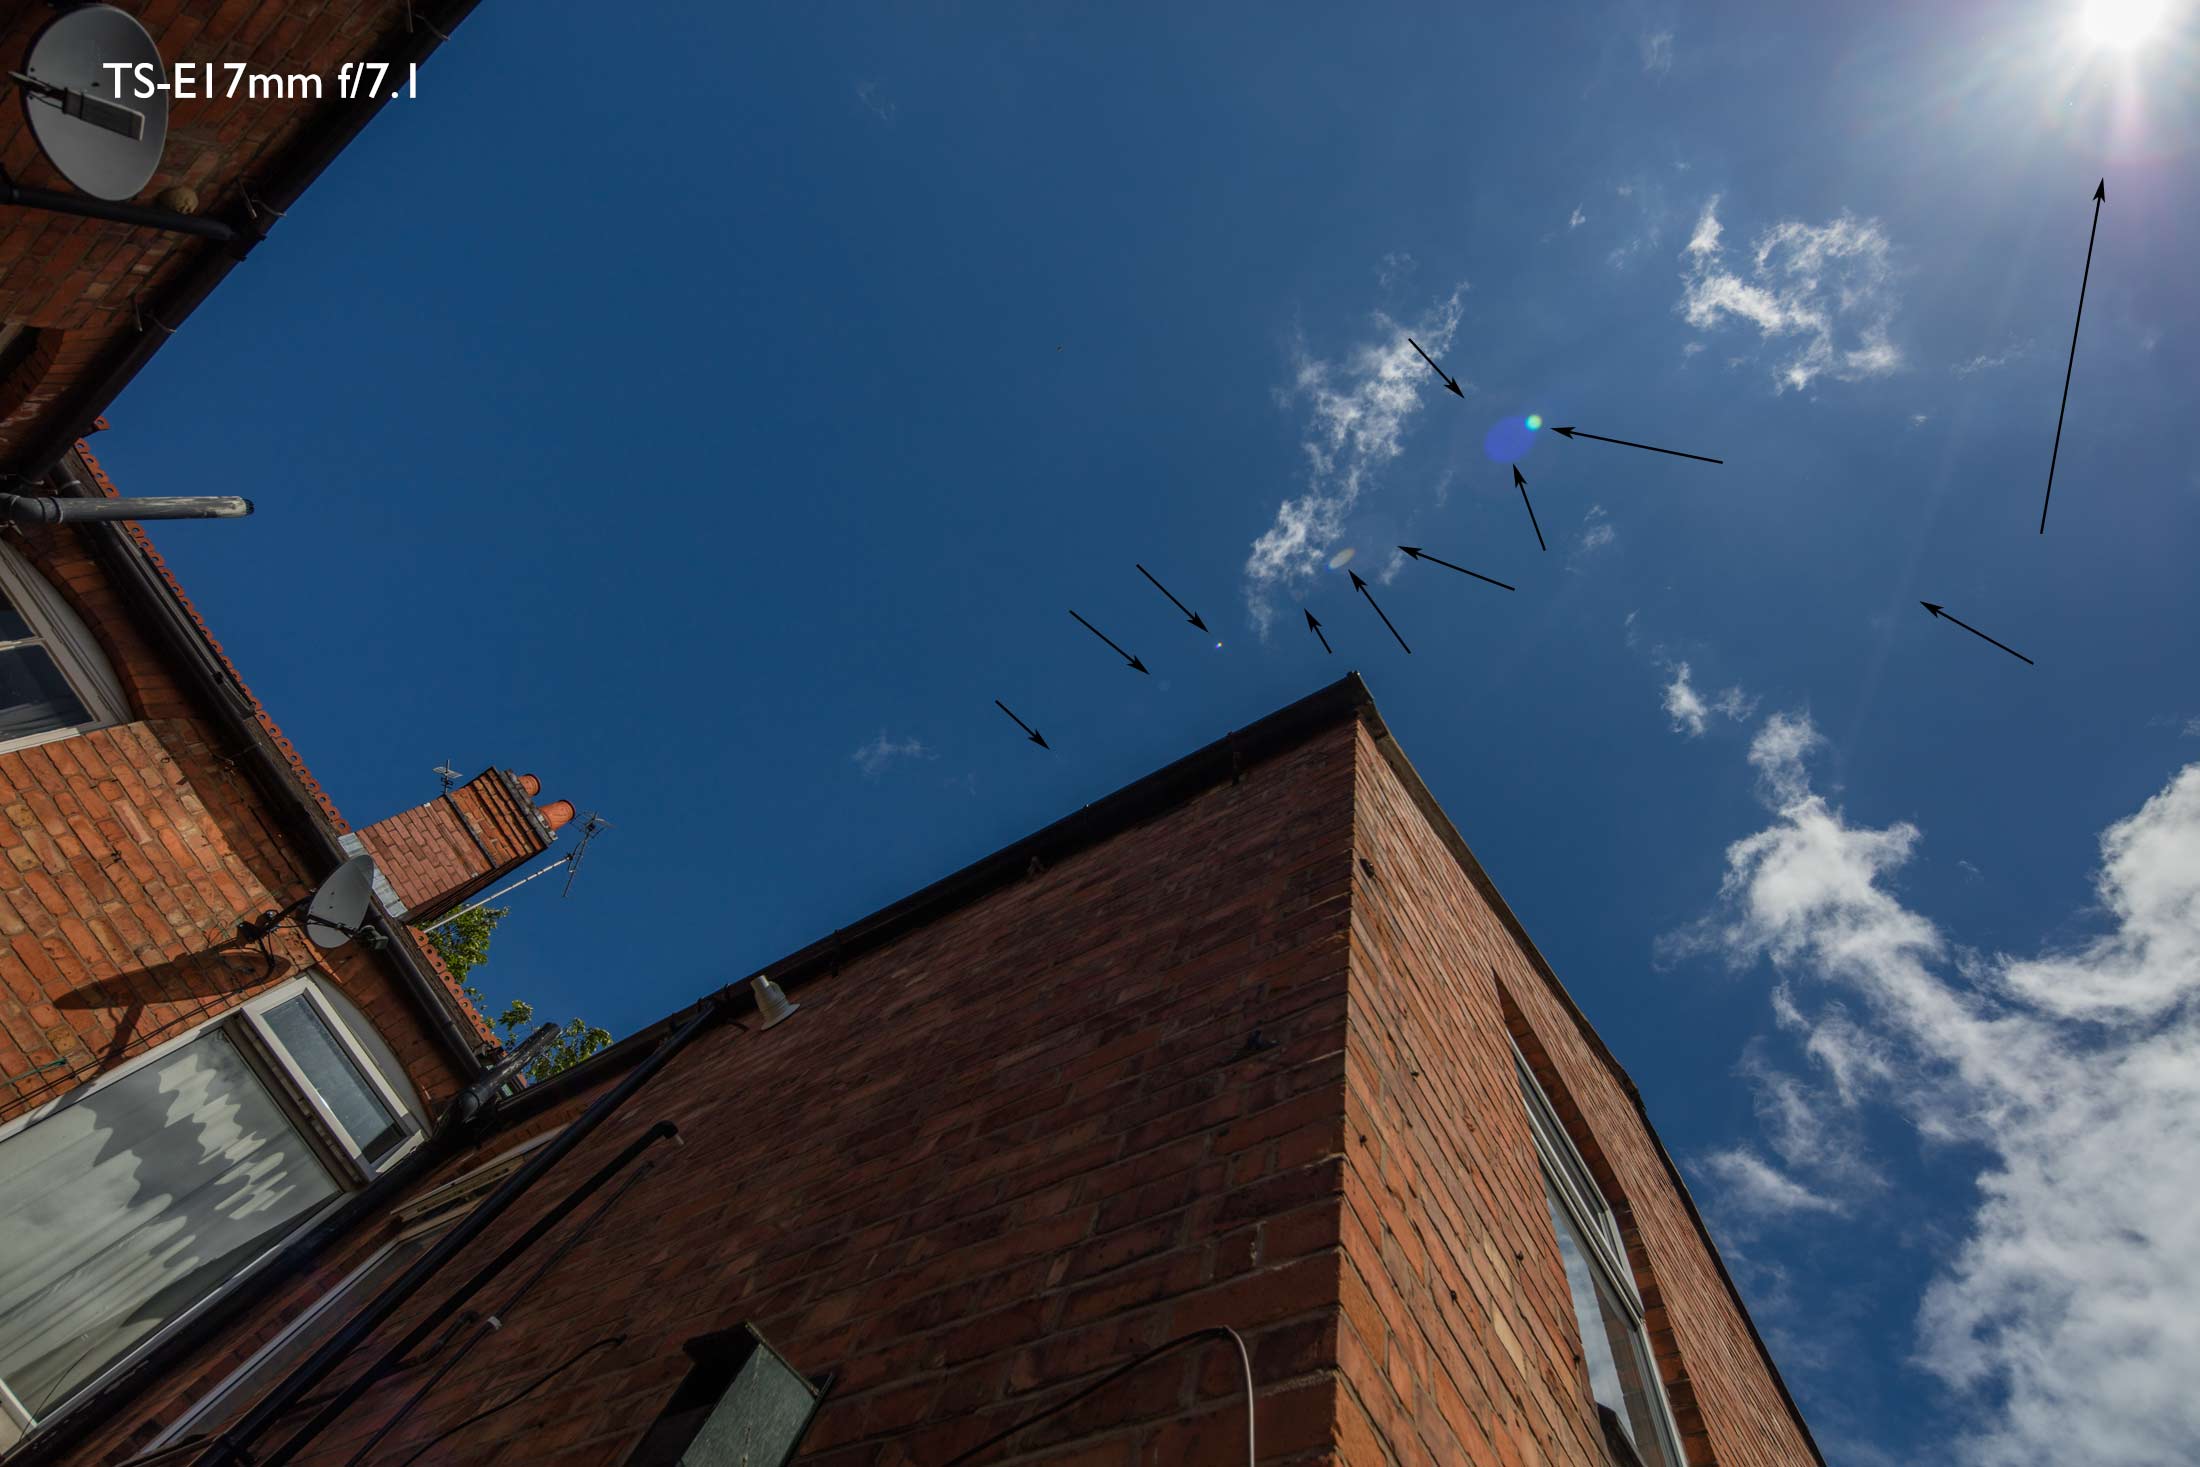
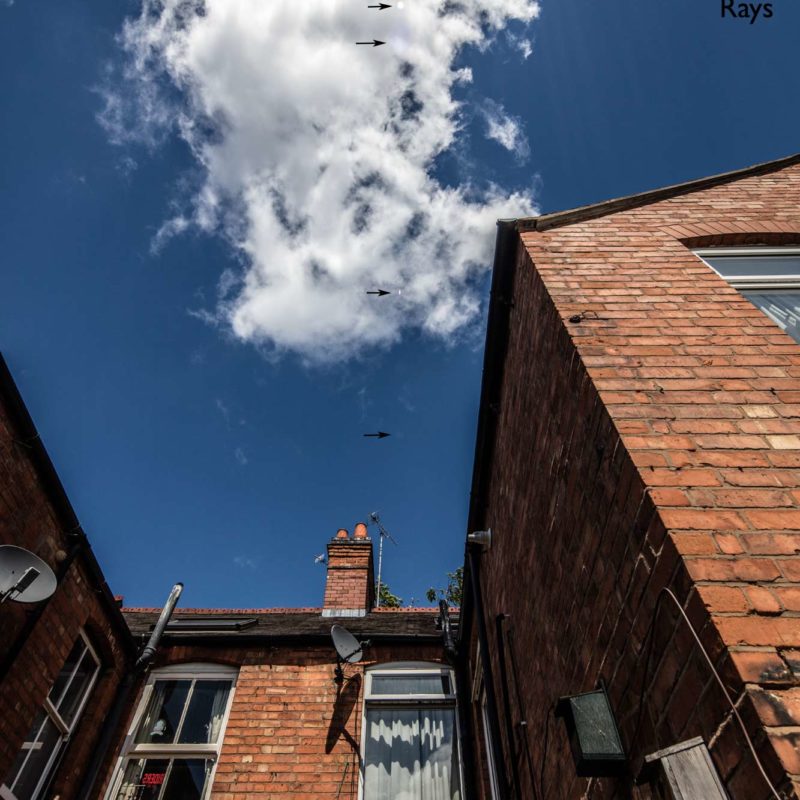
Secondly, with the sun well out of shot, but shining on the lens.
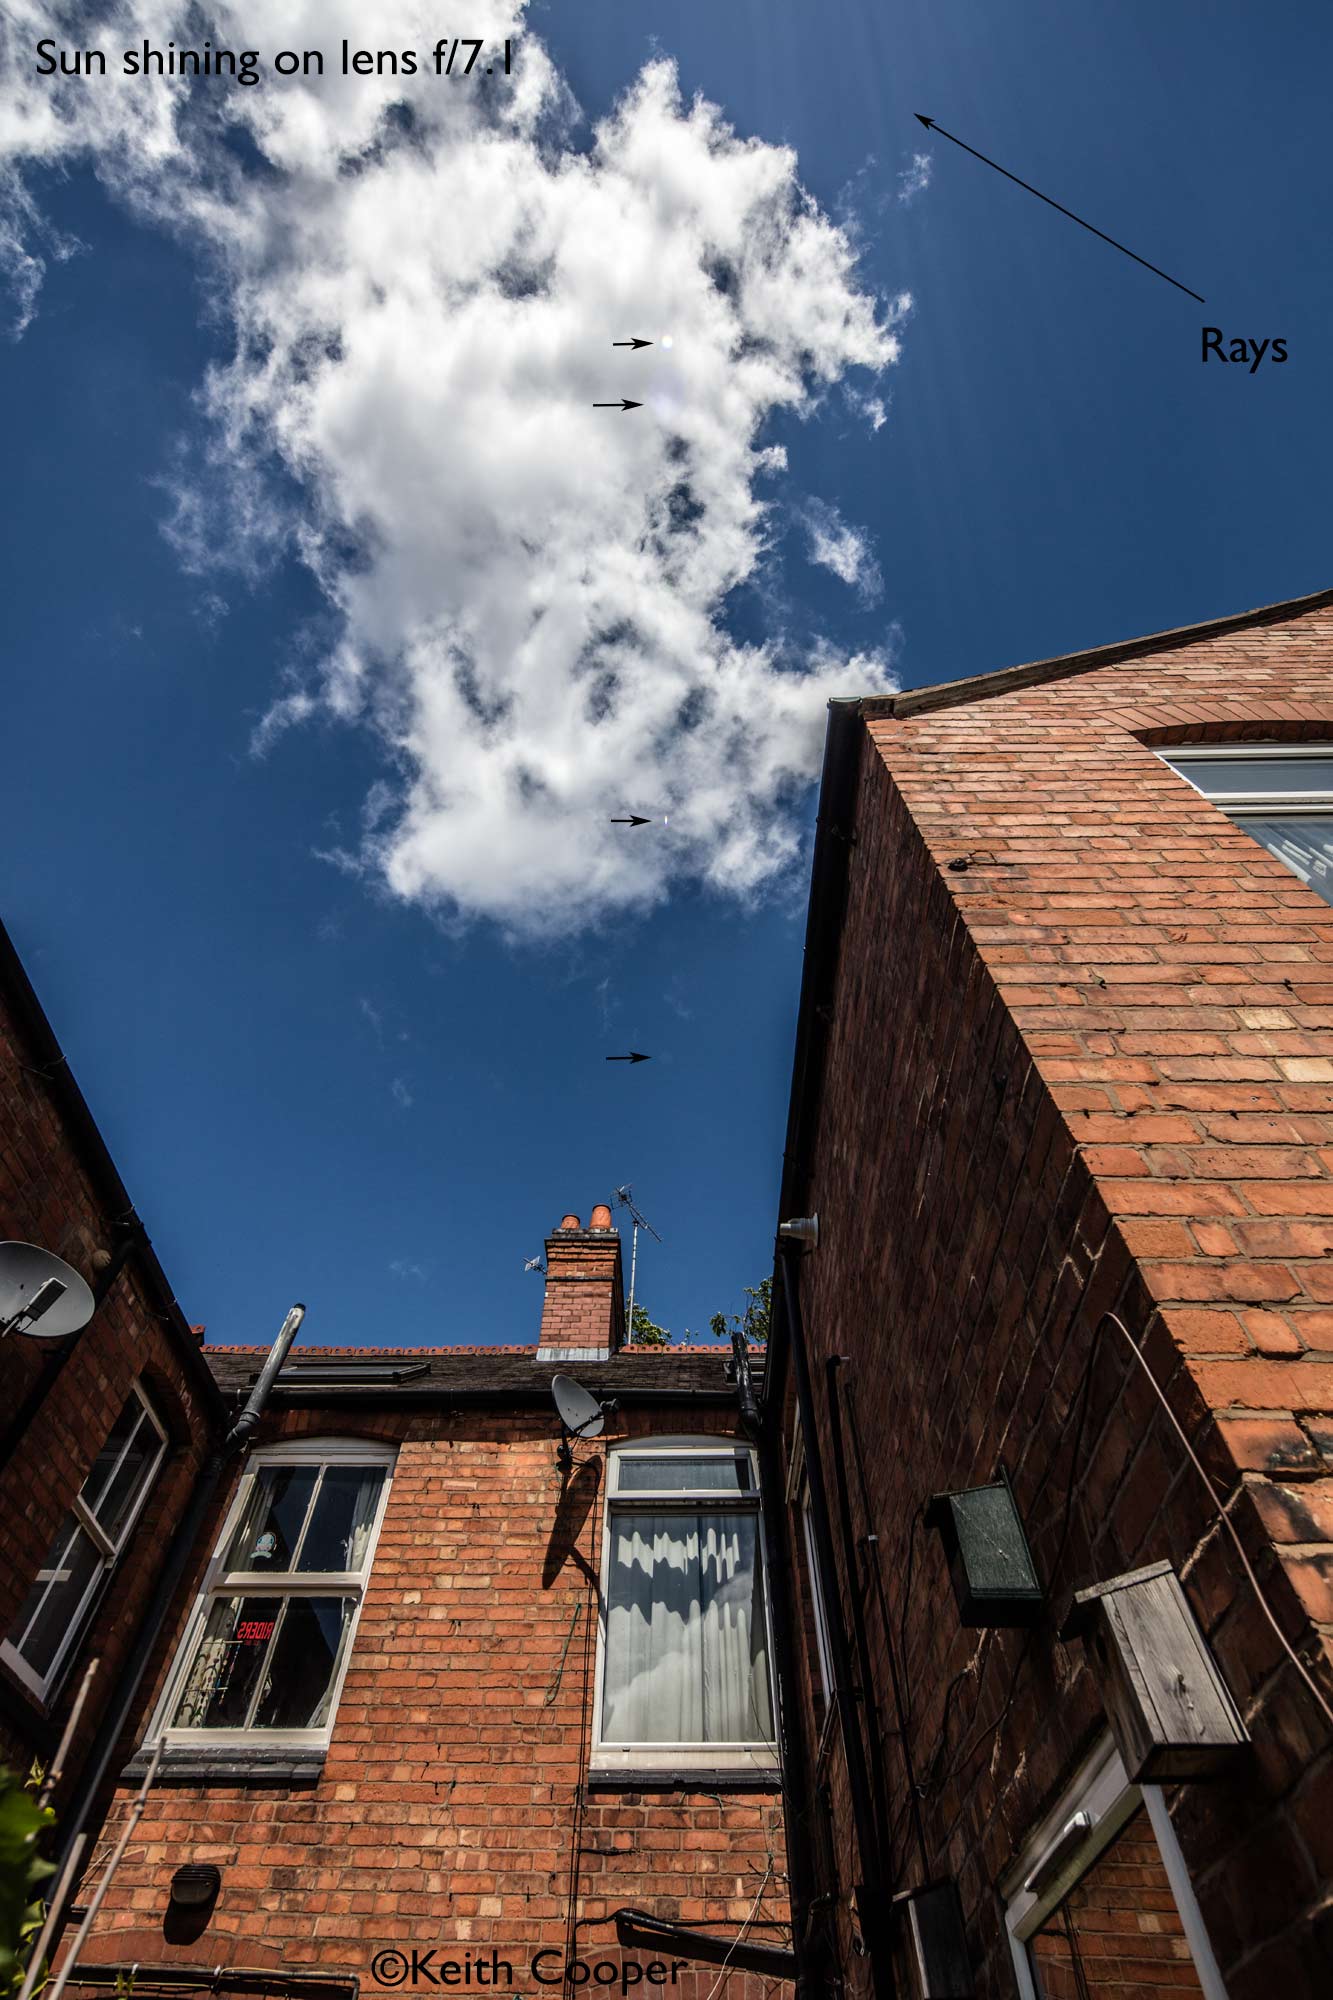
Do note though, that I’ve seriously overdone the local contrast enhancement and exposure adjustments to make those rays and the blobs of light more obvious (look at the dark halos around some of the roof line).
In normal use I just try and keep the sun out of the shot and keep the front element in shade. The flare does change with aperture too. There are a few shots I’ve taken with and without my hand obscuring the sun and then blended the two together using the sunny shot to fill the space my hand was. Just a few minutes work in Photoshop and you can’t tell ;-)
Vignetting
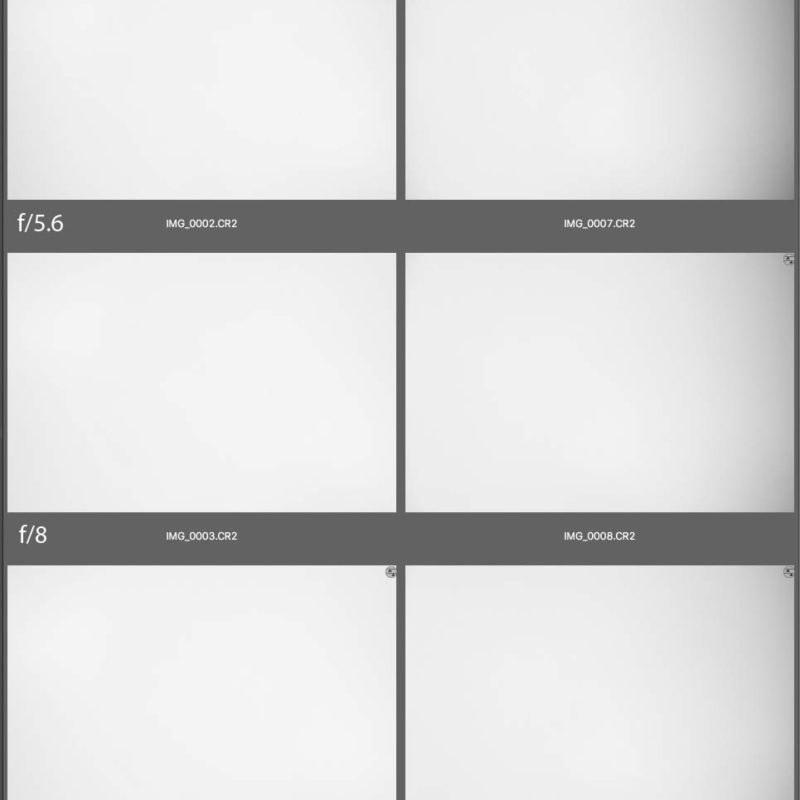
It’s been a bit more difficult to get a sufficiently even light source than I’ve used on my other TS-E lens vignetting tests, and it shows as a distinct asymmetry in the images below – however, the images are still useful in showing the relative amounts of vignetting shifted and unshifted.
The images show a series of shots, with shifted versions on the right. Any slight posterisation is due to these being screen shots of preview images from Adobe Bridge.

As you can see, you get quite noticeable vignetting at f/4, but it rapidly drops off, to the extent it’s not really visible in unshifted shots above f/6 or so.
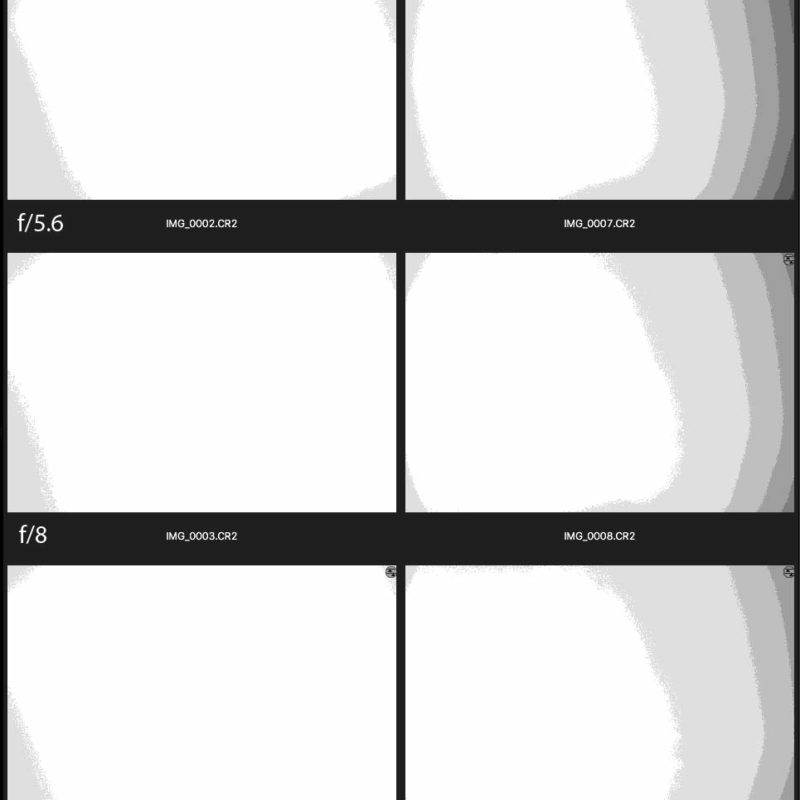
With a bit of posterisation and processing I can make the vignetting more obvious – as well as the slight unevenness of my light source.
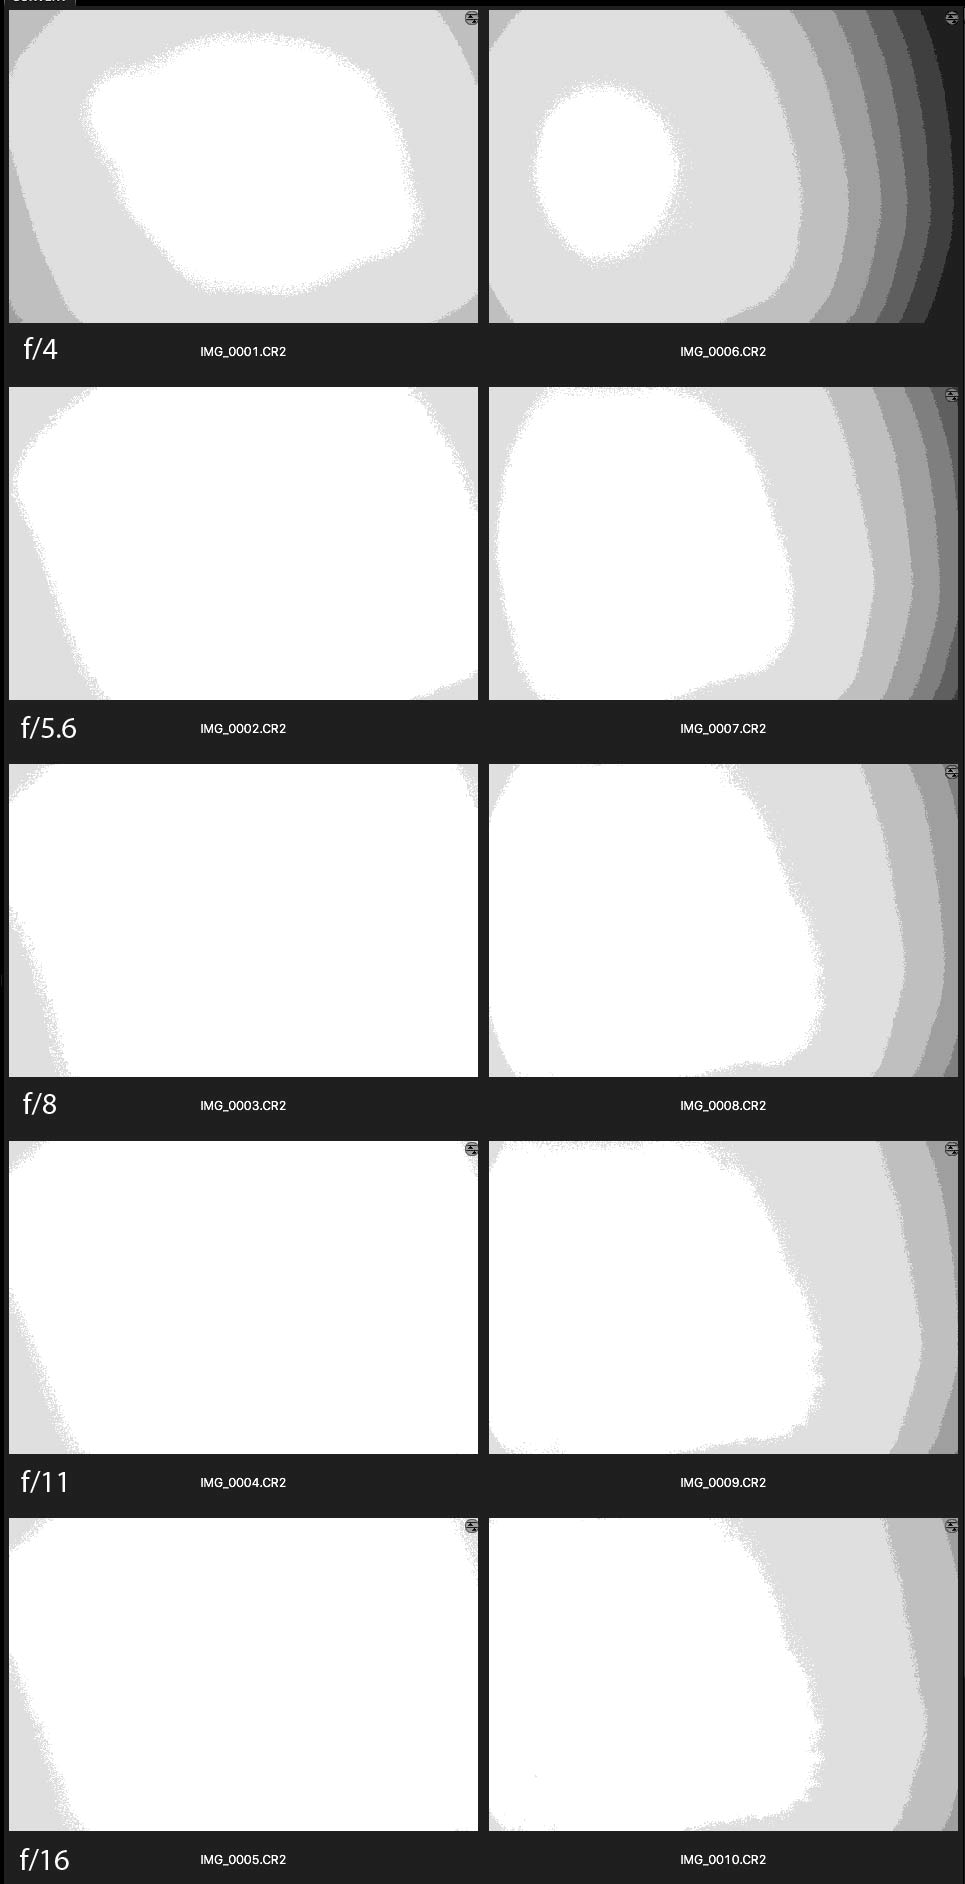
What’s particularly noticeable here is the slight vignetting on the left hand side of the shifted images. This shouldn’t really be there since the left side of the frame is quite close to the optical axis.
What you are seeing is physical vignetting caused by the lens mount. In an image that’s not been stretched to show it, it’s really small at f/8.
Why should this matter? Well if, you’re stitching images it can lead to an exposure mismatch for what are the same parts of the lens’s image circle. If I’m stitching images with a lot of shift, I tend to shoot at around f/7.1 (or higher if I need more DOF or better detail towards the edge of the image circle).
Tilt vignetting
Tilting the lens much also introduces vignetting, which can be offset or adjusted slightly with some shift.
It too drops off beyond f/8, but can be very noticeable if you really must shoot wide open with tilt.
Exposure
Camera exposure systems are designed to work with normal unshifted and un-tilted lenses.
That means that as a straight 17mm prime lens, your metering will work fine.
However add much tilt or shift and metering becomes somewhat unpredictable. If I need to use the camera meter for spot metering for example, I use it without movements, and then switch to manual exposure.
Lens focus
The lens has a very short focus throw, which does make manual focus a bit tricky, but at 17mm, depth of field is pretty good.

One feature of the TS-E17mm is how far the lens barrel rotates past the infinity stop.
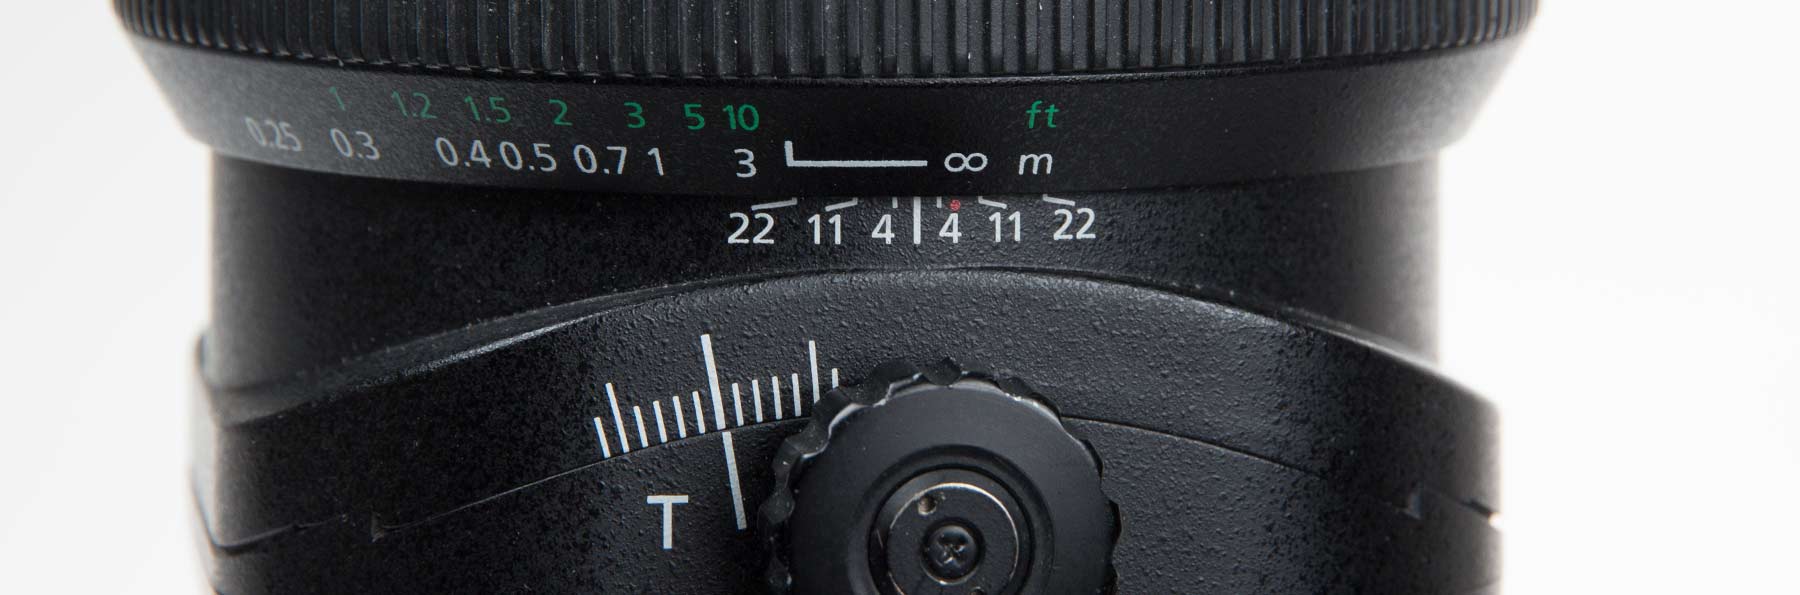
With some lenses using more exotic glass types like this one, you can’t have a set hard stop at infinity, since the focus is somewhat temperature dependent.
However, with the 17mm the far point is well beyond the ∞ mark. This is actually useful in moving the focal plane around when using tilt. There’s more info (and charts) about this in my article about focusing the tilted lens.
Over the years the lens focus has remained smooth, but is a bit easier to turn now, and easy to nudge away from what you’ve set. I use the lens hand held sometimes (it and the TS-E24 are often my ‘walk round’ choices) and have to remember to always check the focus setting hasn’t moved, since it’s not always obvious in the viewfinder.
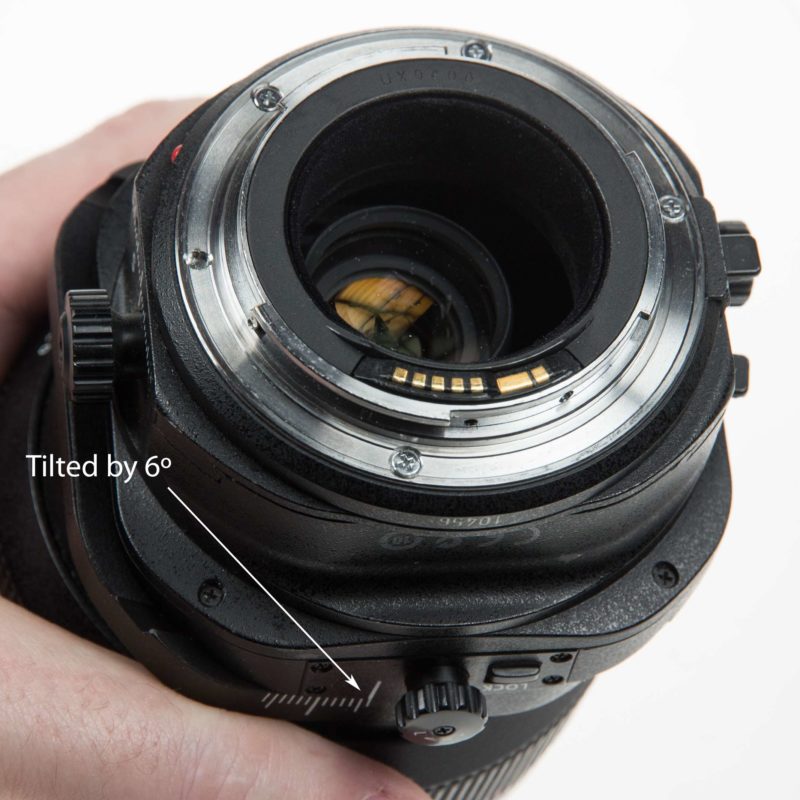
I’ve heard some complaints about slight field curvature for the TS-E17mm, but have never noticed it during recent testing of the lens. If you look at the photo above, you can see that even though I’ve the tilt locked off, it’s still showing as not quite zero. As I said, I’ve never seen any field curvature – perhaps just my avoidance of wider apertures, focus technique, subject matter and luck…
Using AF assist
Whilst the AF points on my 5Ds (and 1Ds3 before it) do light up, I’d note that phase AF systems are designed for non T/S lenses, so it’s worth experimenting with your particular camera as to whether, the points lighting up actually mean anything. On my 5Ds the centre point seems relatively accurate with slight shift, but with tilt, it’s just a red light that sometimes comes on.
Extenders
Although not mentioned in the lens specifications, you can use the TS-E17 with both 1.4x and 2x extenders.
I’ve not got modern teleconverters here to test, but I did try my old 2x TC when I first got the TS-E17 (here on my Canon 1Ds mk3)

The converter doubles the focal length (so 34mm).
A 100% edge crop from a fully shifted shot at f/5.6

The same edge shot, now at f/11 (the 2x TC adds 2 stops) shows a much softer image and some chromatic aberration.
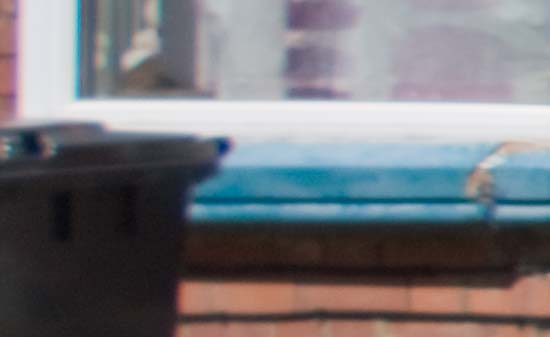
Do note though that this was with an older teleconverter. The 1.4x TC gives better image quality than the 2x, but still introduces geometric distortions and chromatic aberrations. Add that to the slight image softness and you’ll see why using a TC with T/S lenses is something I’ve never used in my work.
Note too that the EF extender won’t show up in EXIF info.
Outdoors
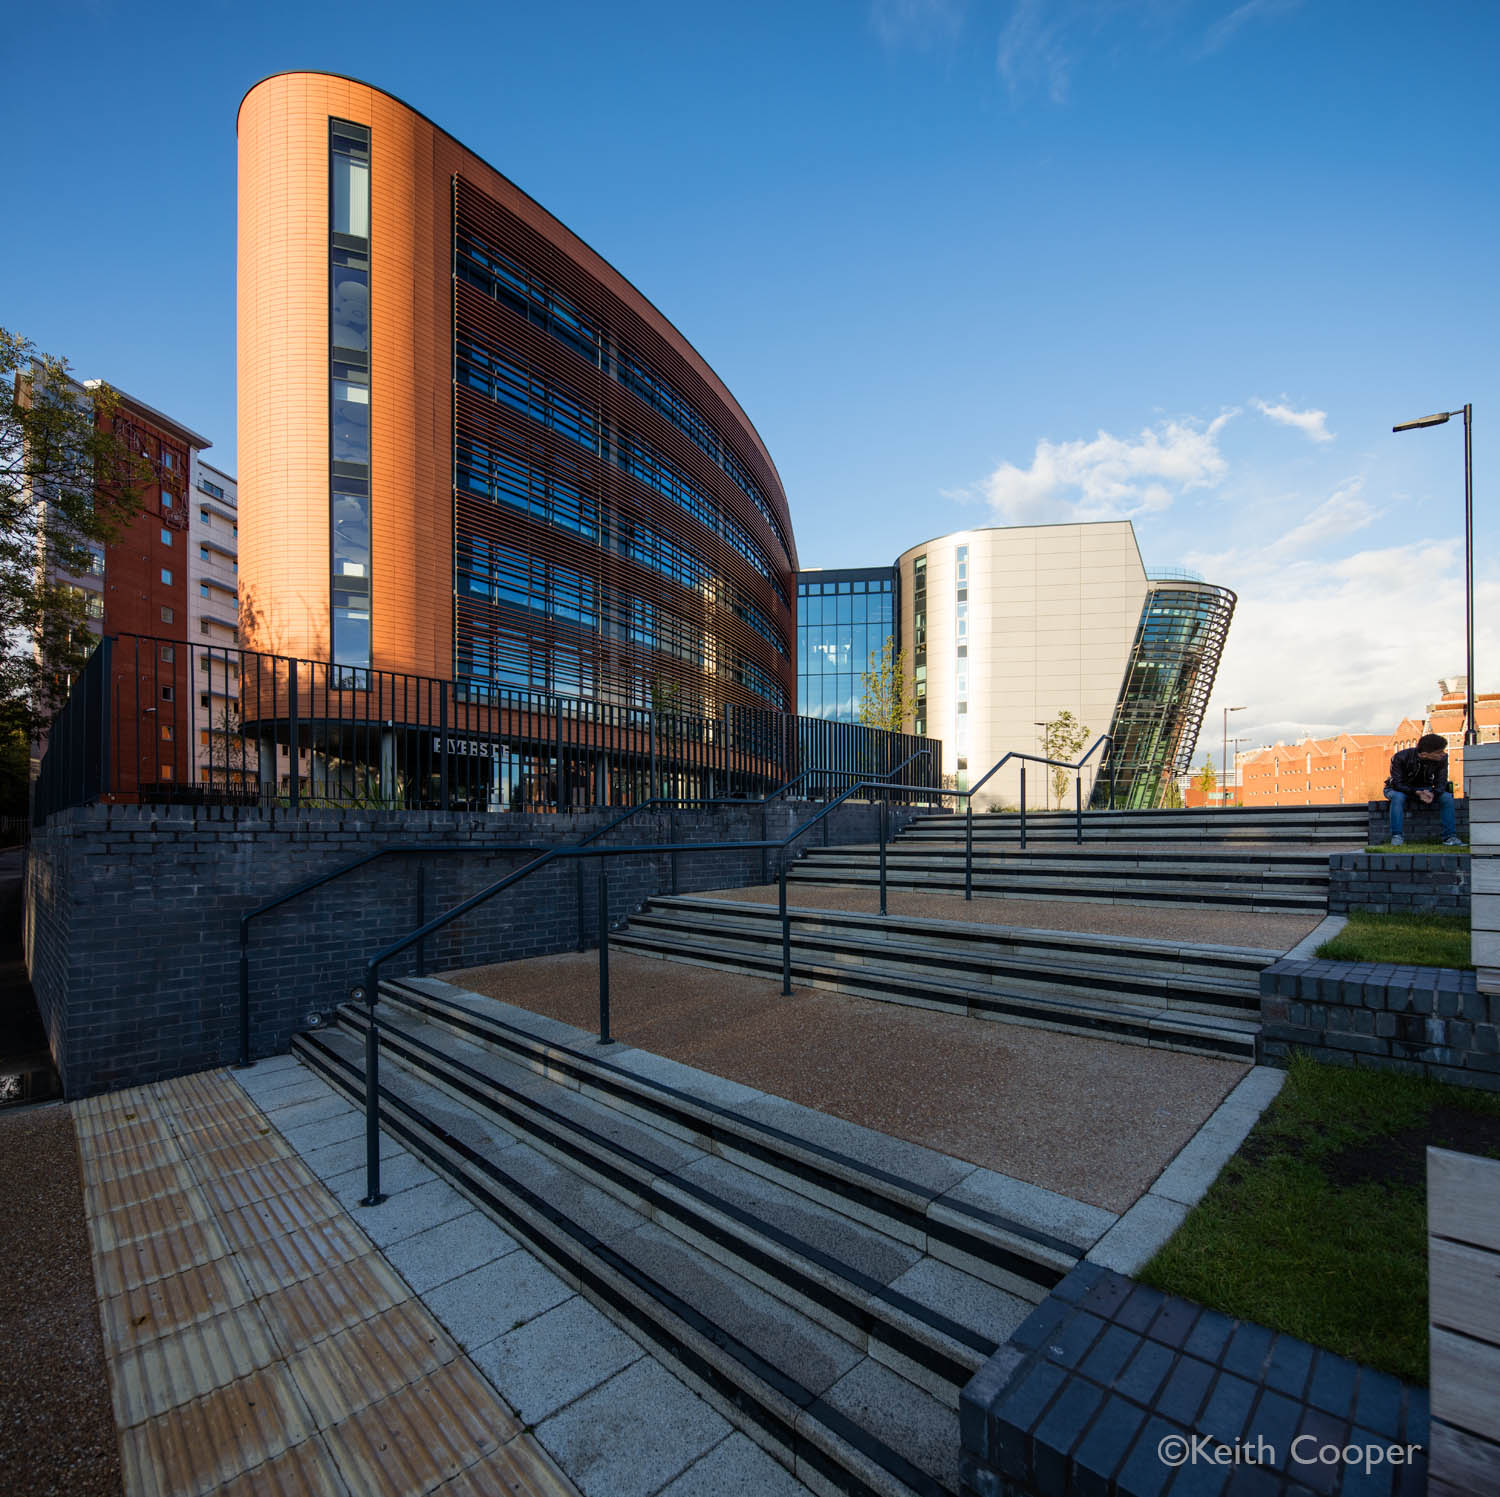
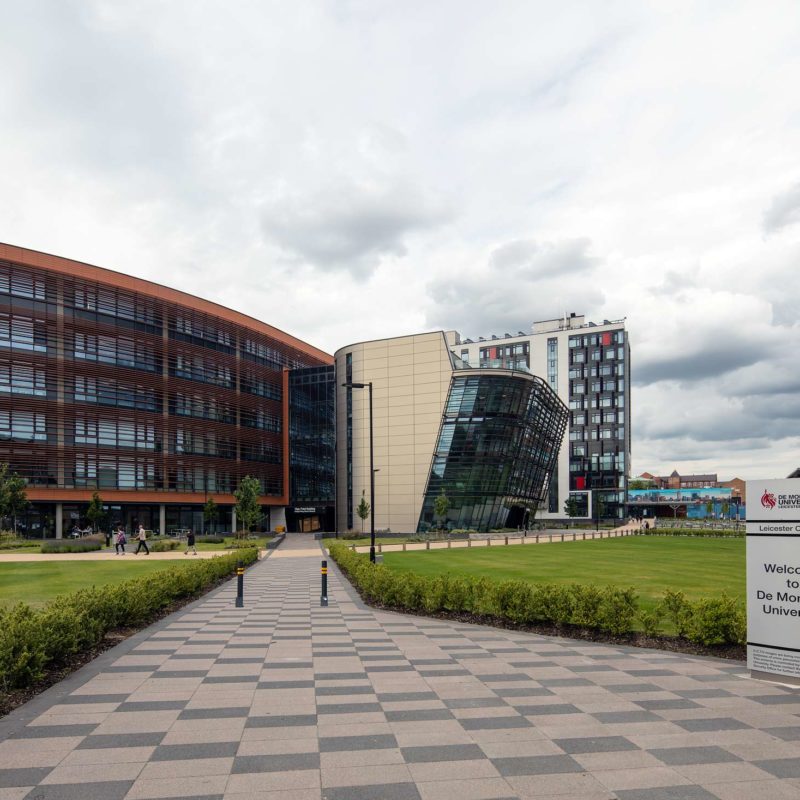
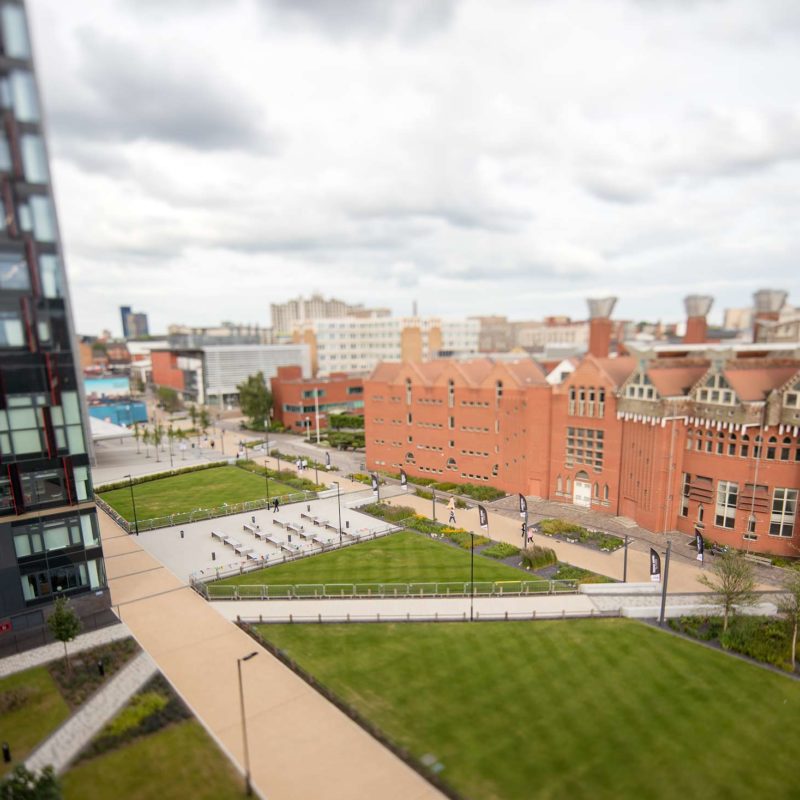
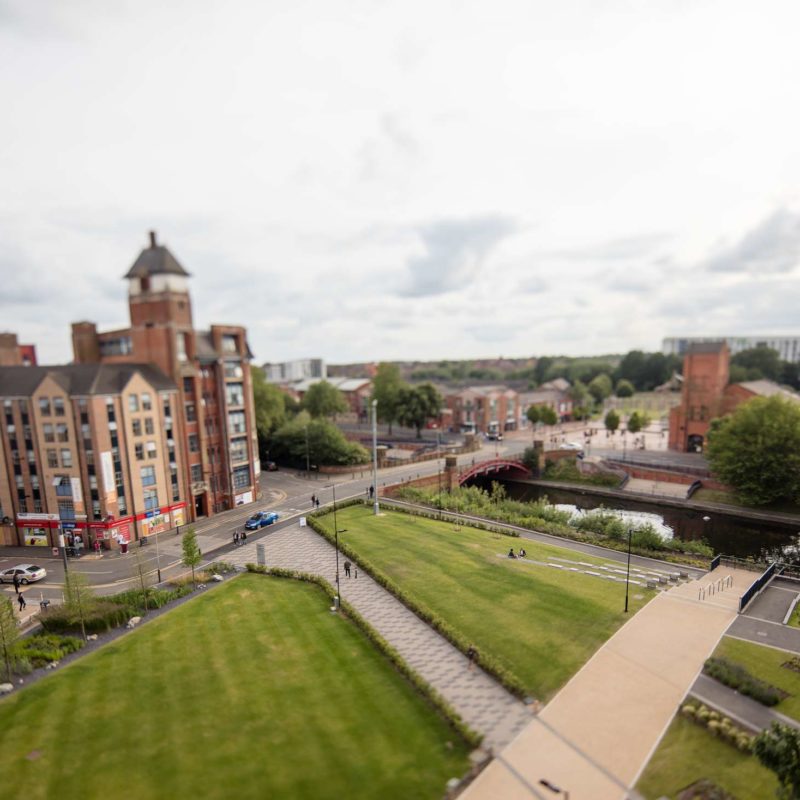
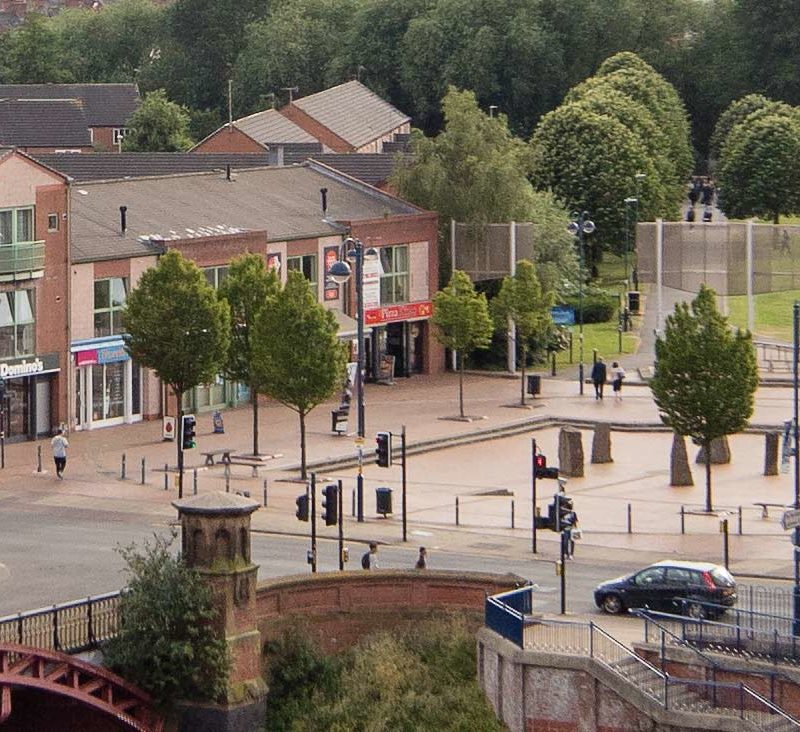
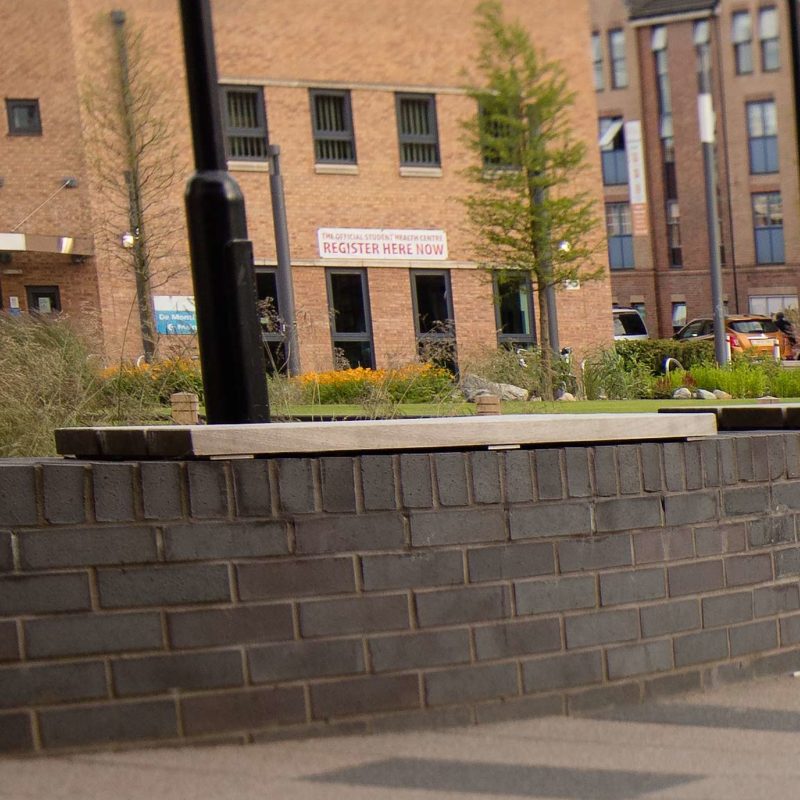
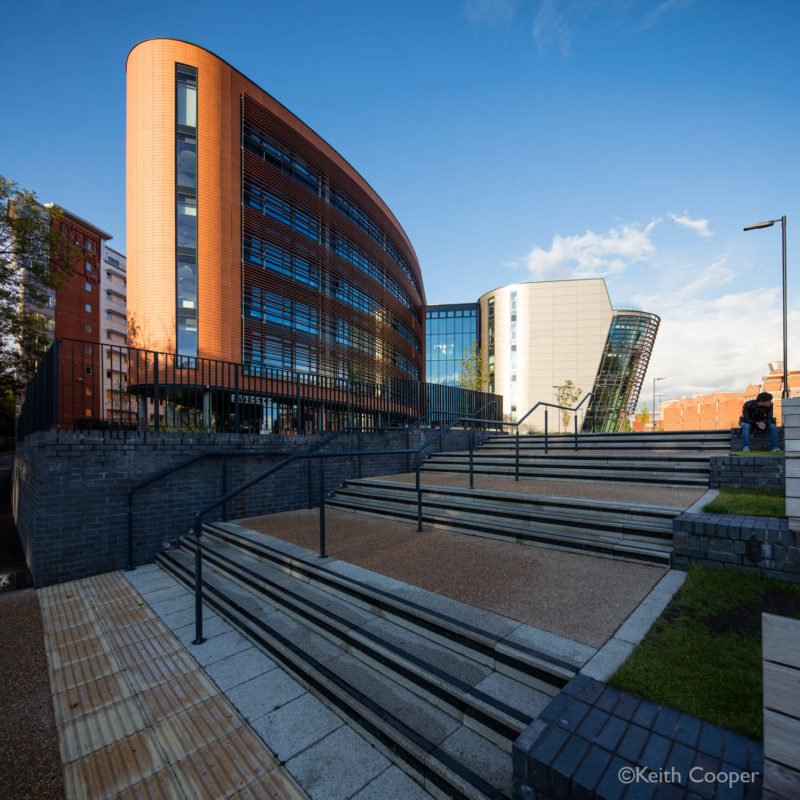
Whilst I’ve lots of examples of use of the TS-E17 to show its versatility, I’ve taken a few shots at the nearby De Montfort university campus, and particularly the new Vijay Patel building to give a comparison with the shots used in my reviews of the TS-E 45/50/90/135 lenses)
17mm is a wide lens. Wide enough that you do have to be a bit more considerate of the foreground/background relationships in your shot.
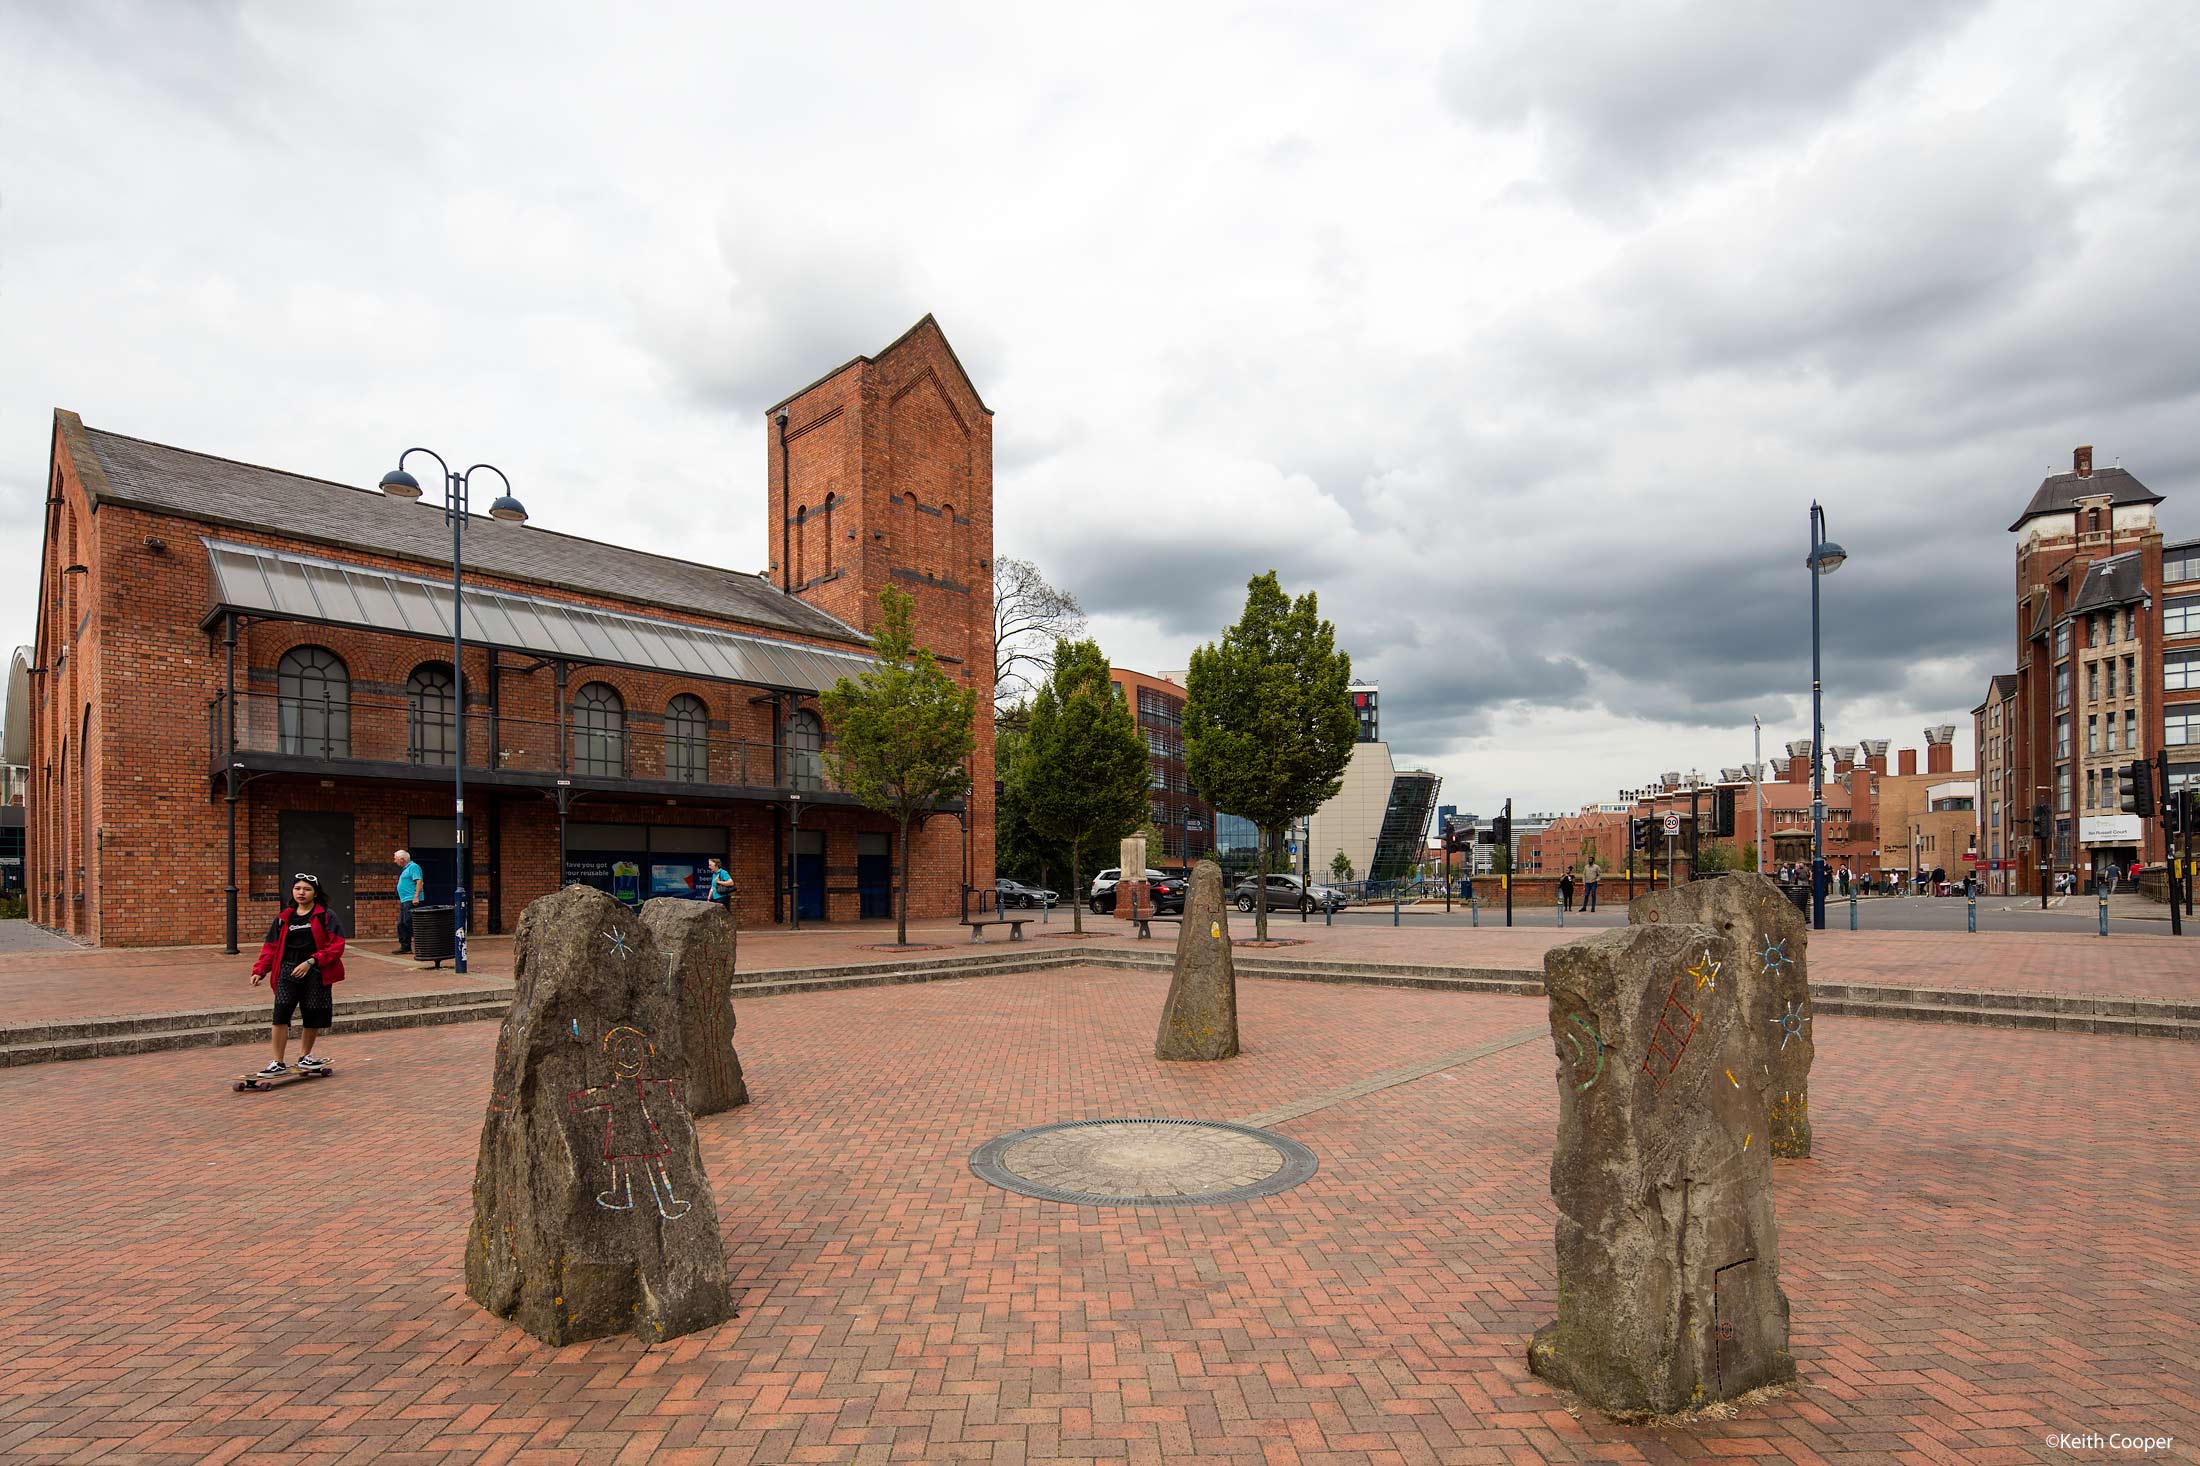
At f/7.1 I get good depth of field and sharper edges to my shots. It’s also the widest aperture I like to use if I’m stitching multiple shifted images to avoid vignetting from the lens mount on the opposite side of the image to the shift. At large shifts I’ll often go to f/9 – f/10 to get a more even image. I’ll come back to stitching images later, but it’s an important part of my use of shift lenses at all focal lengths.
At extreme shift, where an image corner comes up against the edge of the image circle, the image quality does drop off somewhat (in such corners), so f/10 or a bit higher might be needed. Of course, if the corner is just sky (as in some of the shots below) this is less of an issue. It’s also why for really high resolution wide angle shots I will often stitch multiple images together.
Views don’t have to look extreme with the 17mm, here with a bit of upwards shift.
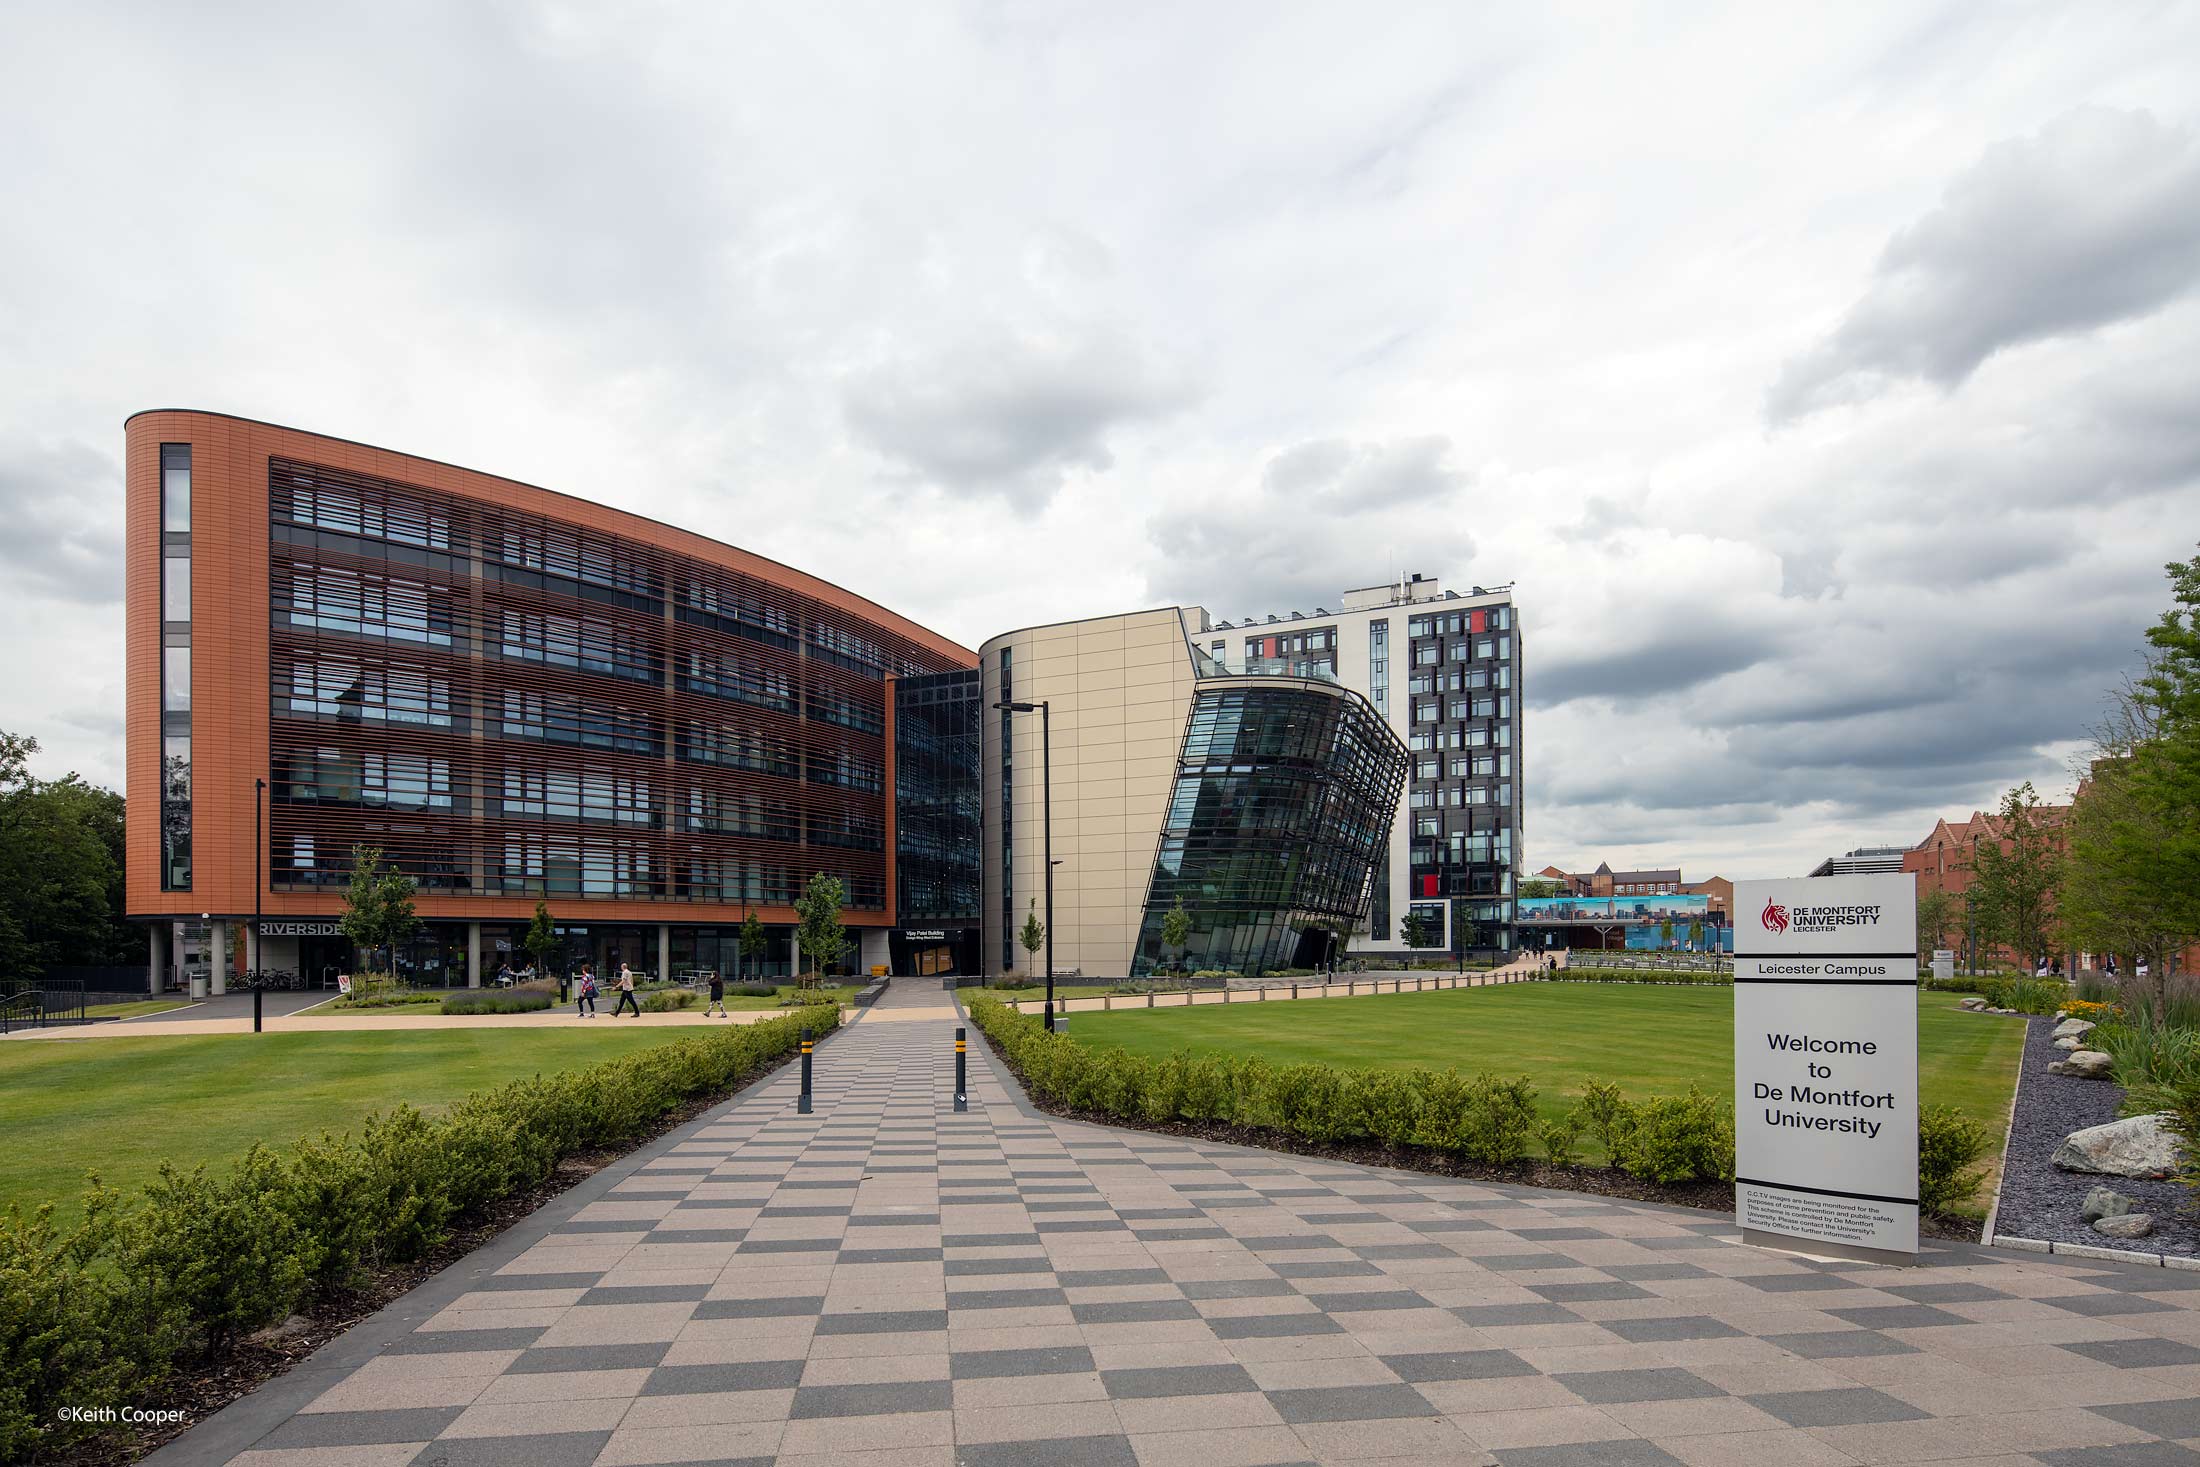
Of course, the 17mm with a lot of shift can give a very different look.

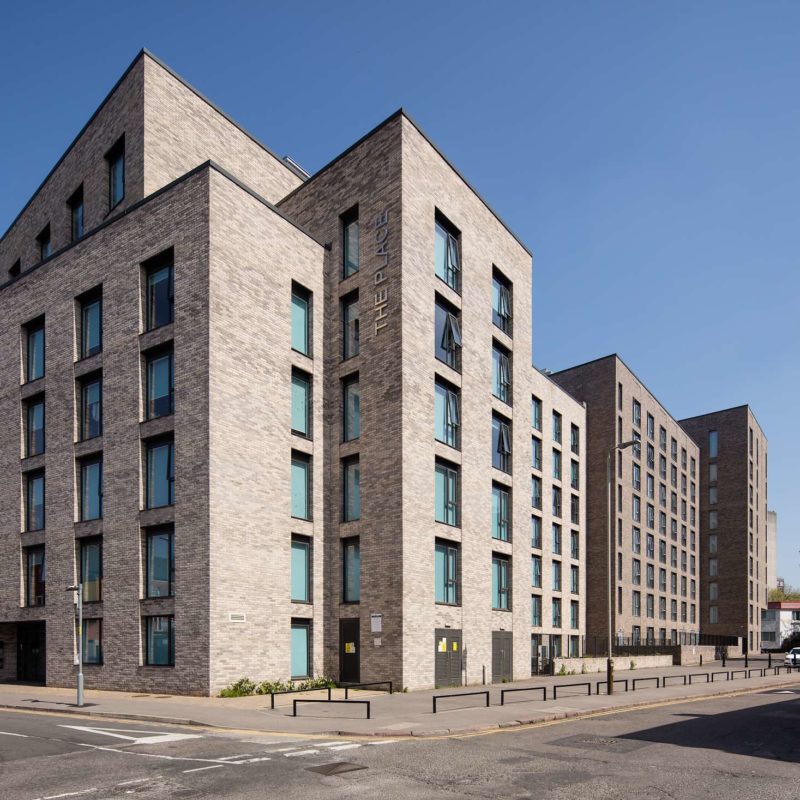
The 17mm lets you emphasise strong lines in buildings, such as this shot of student housing not far from where I tool the photo above.

You can always use the lens ‘just plain wide’ – although amongst our clients, I’d suggest that this is a view more loved by brochure and web designers than architects.
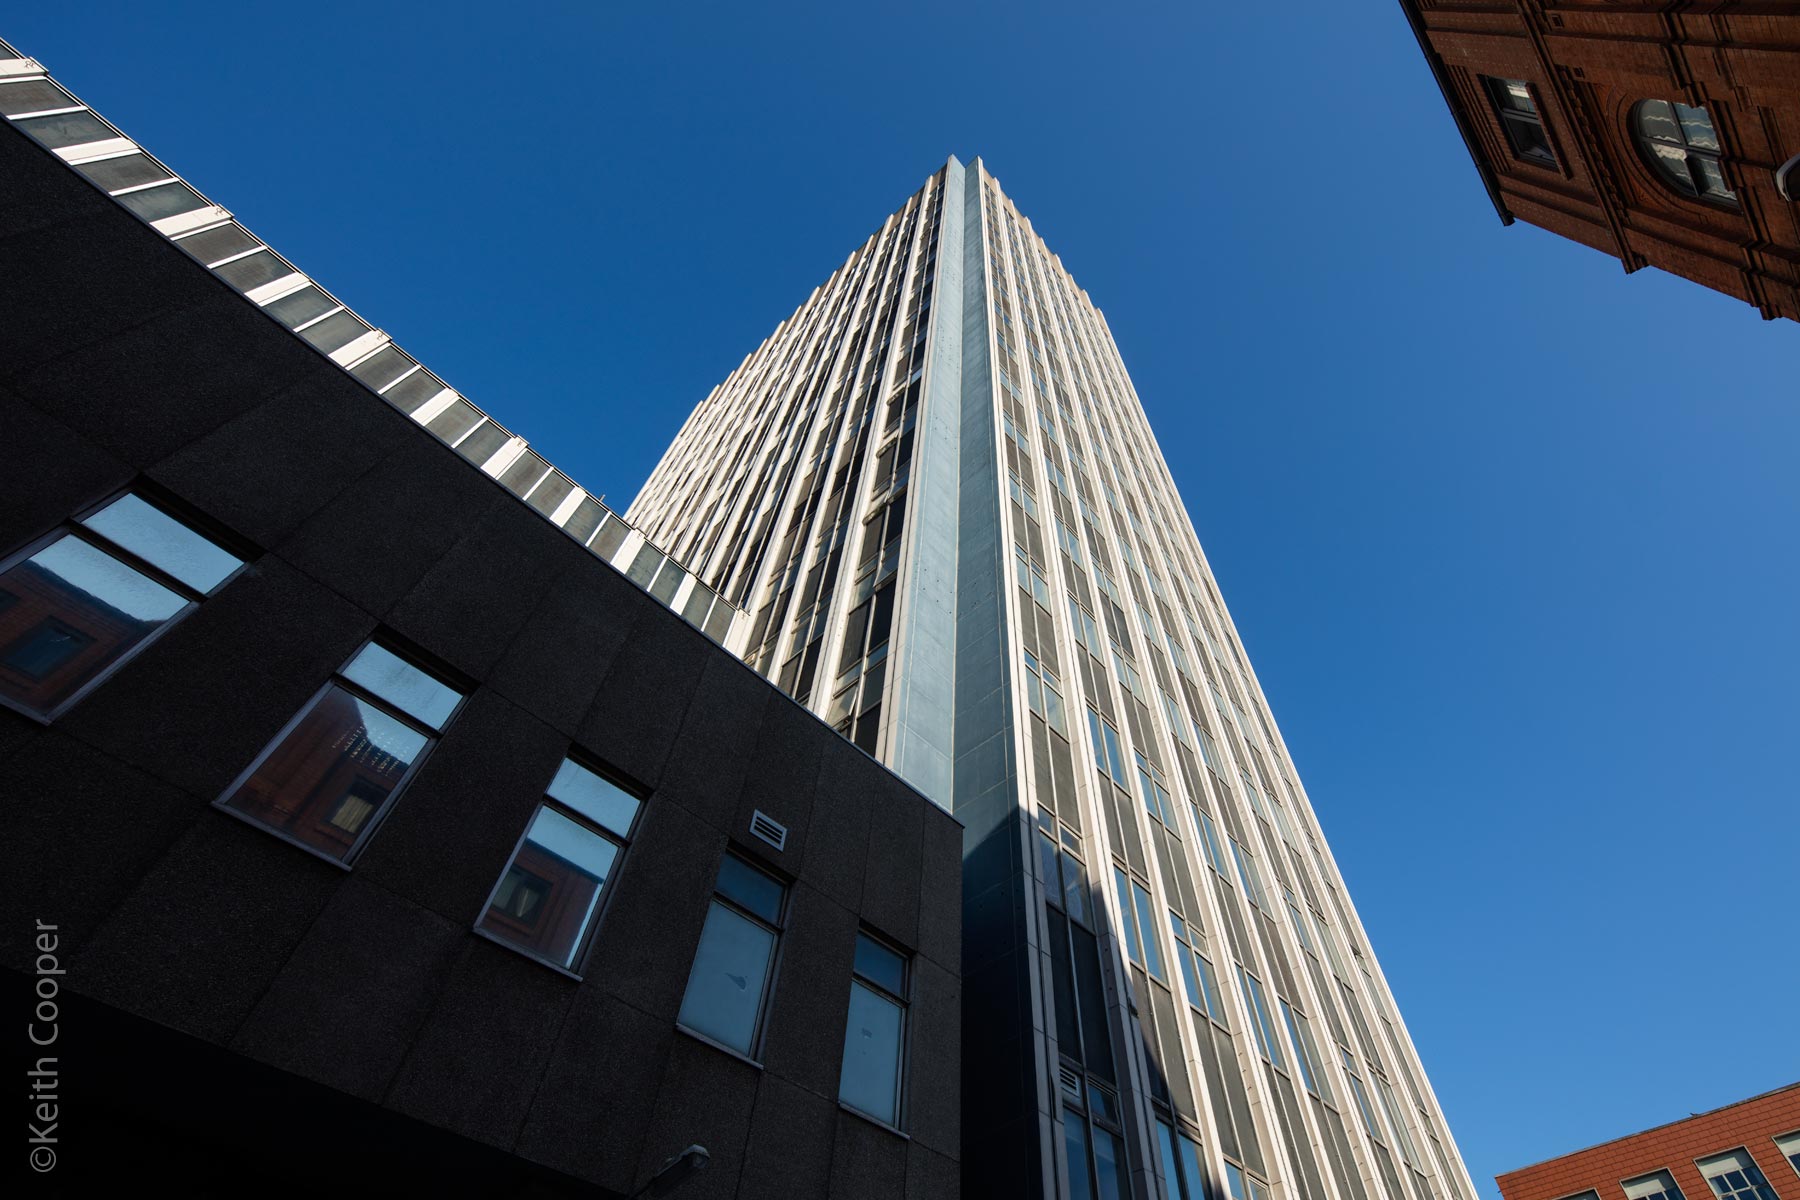
The lens geometric (barrel/pincushion) distortion is minimal, even with a lot of shift. You might just spot a bit of barrel distortion at the edges when fully shifted, but I’ve noticed it very rarely in nearly ten years of using the lens.
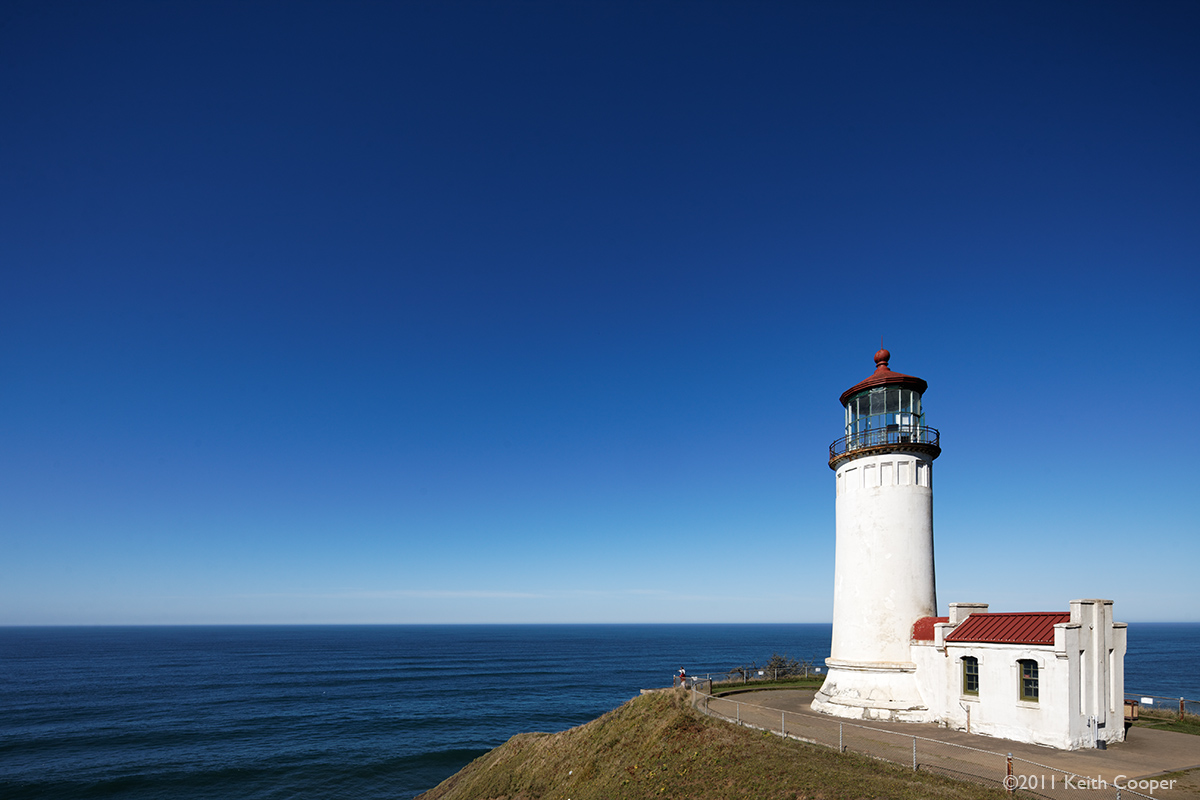
For landscape work, 17mm is quite wide and needs care in balancing the foreground/background. I like pushing the horizon down towards the bottom of the frame if there are interesting skies.
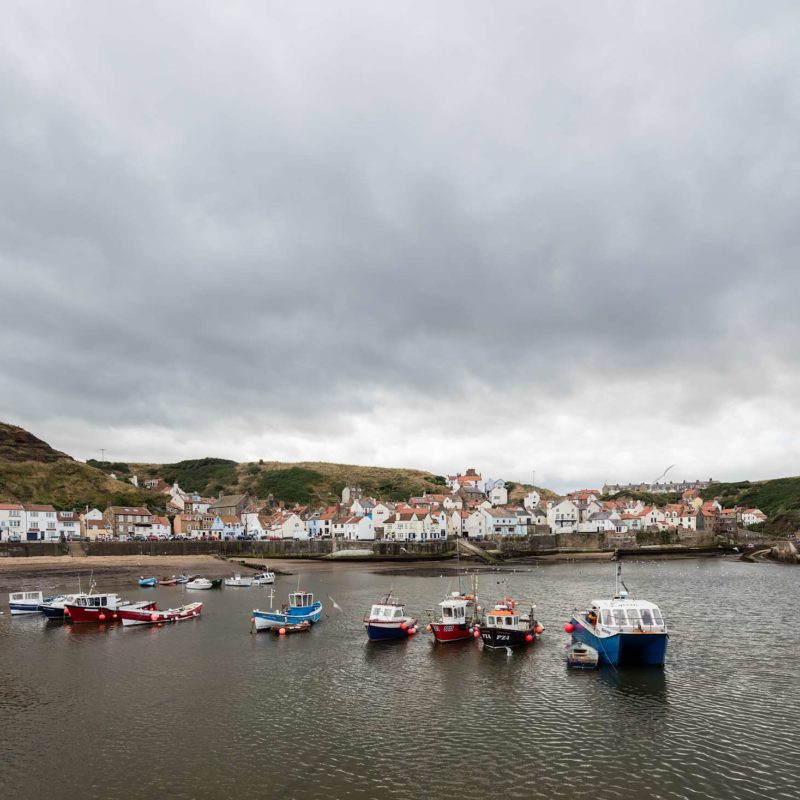
Using shift eliminates the problem of trees leaning inwards with a wide lens pointed upwards. Note how the buildings are not leaning in the shot below.
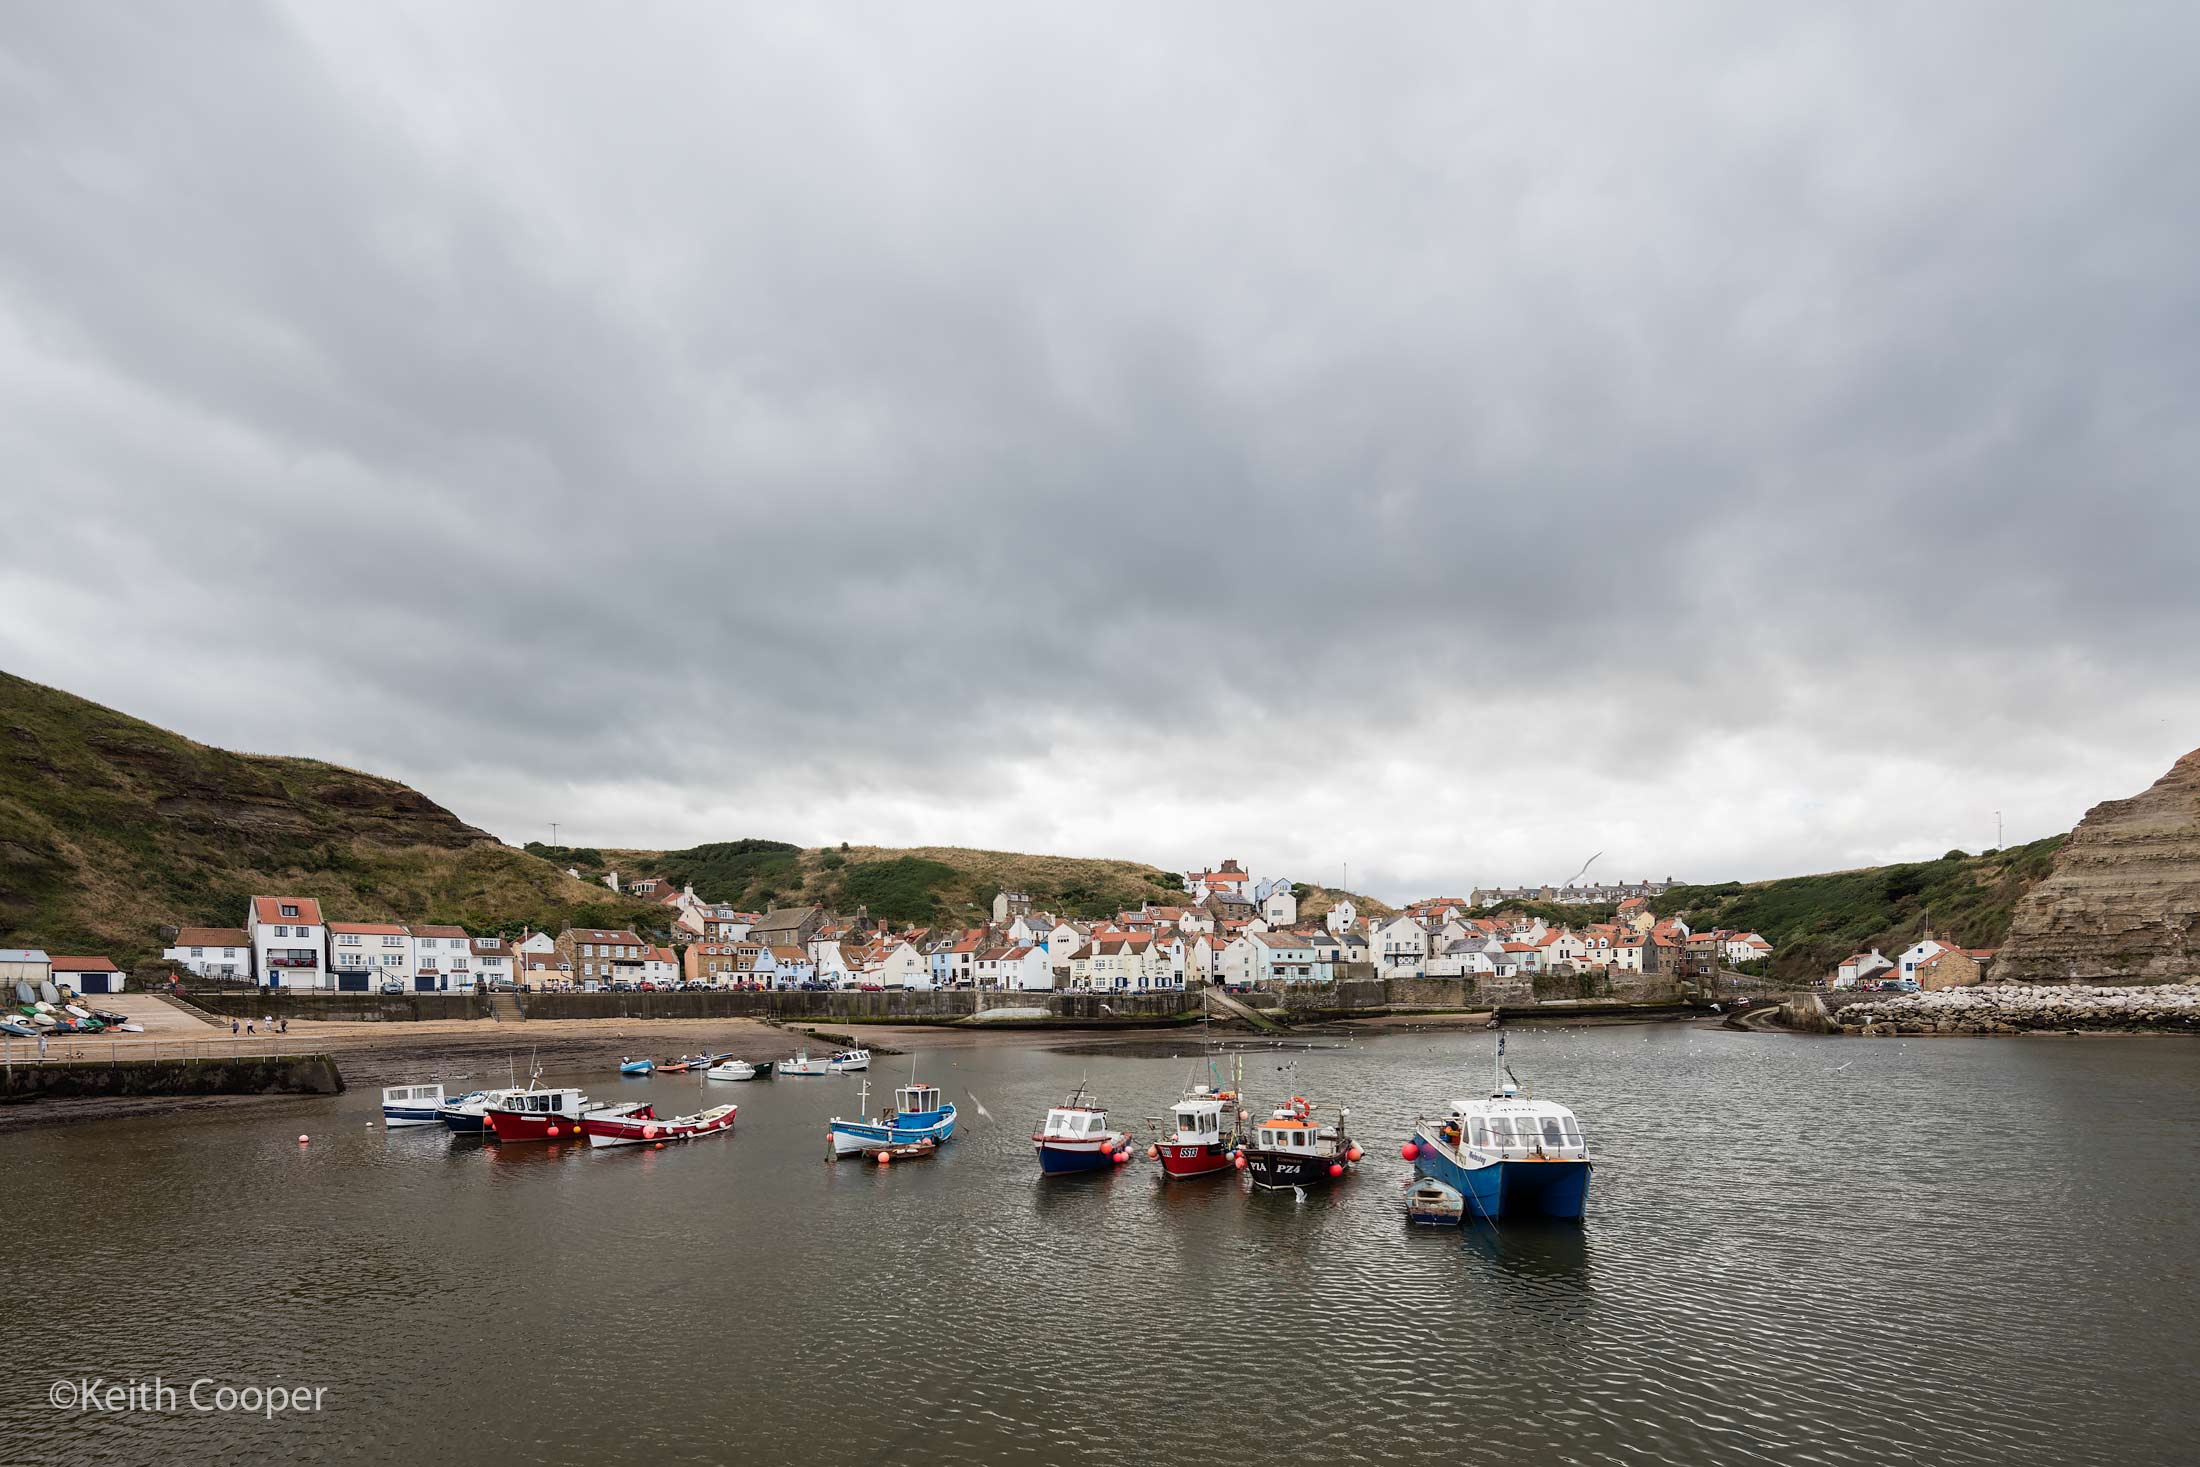
This photo is from my article about making a large B&W print of the harbour at Staithes, where I also look at cylindrical projections.
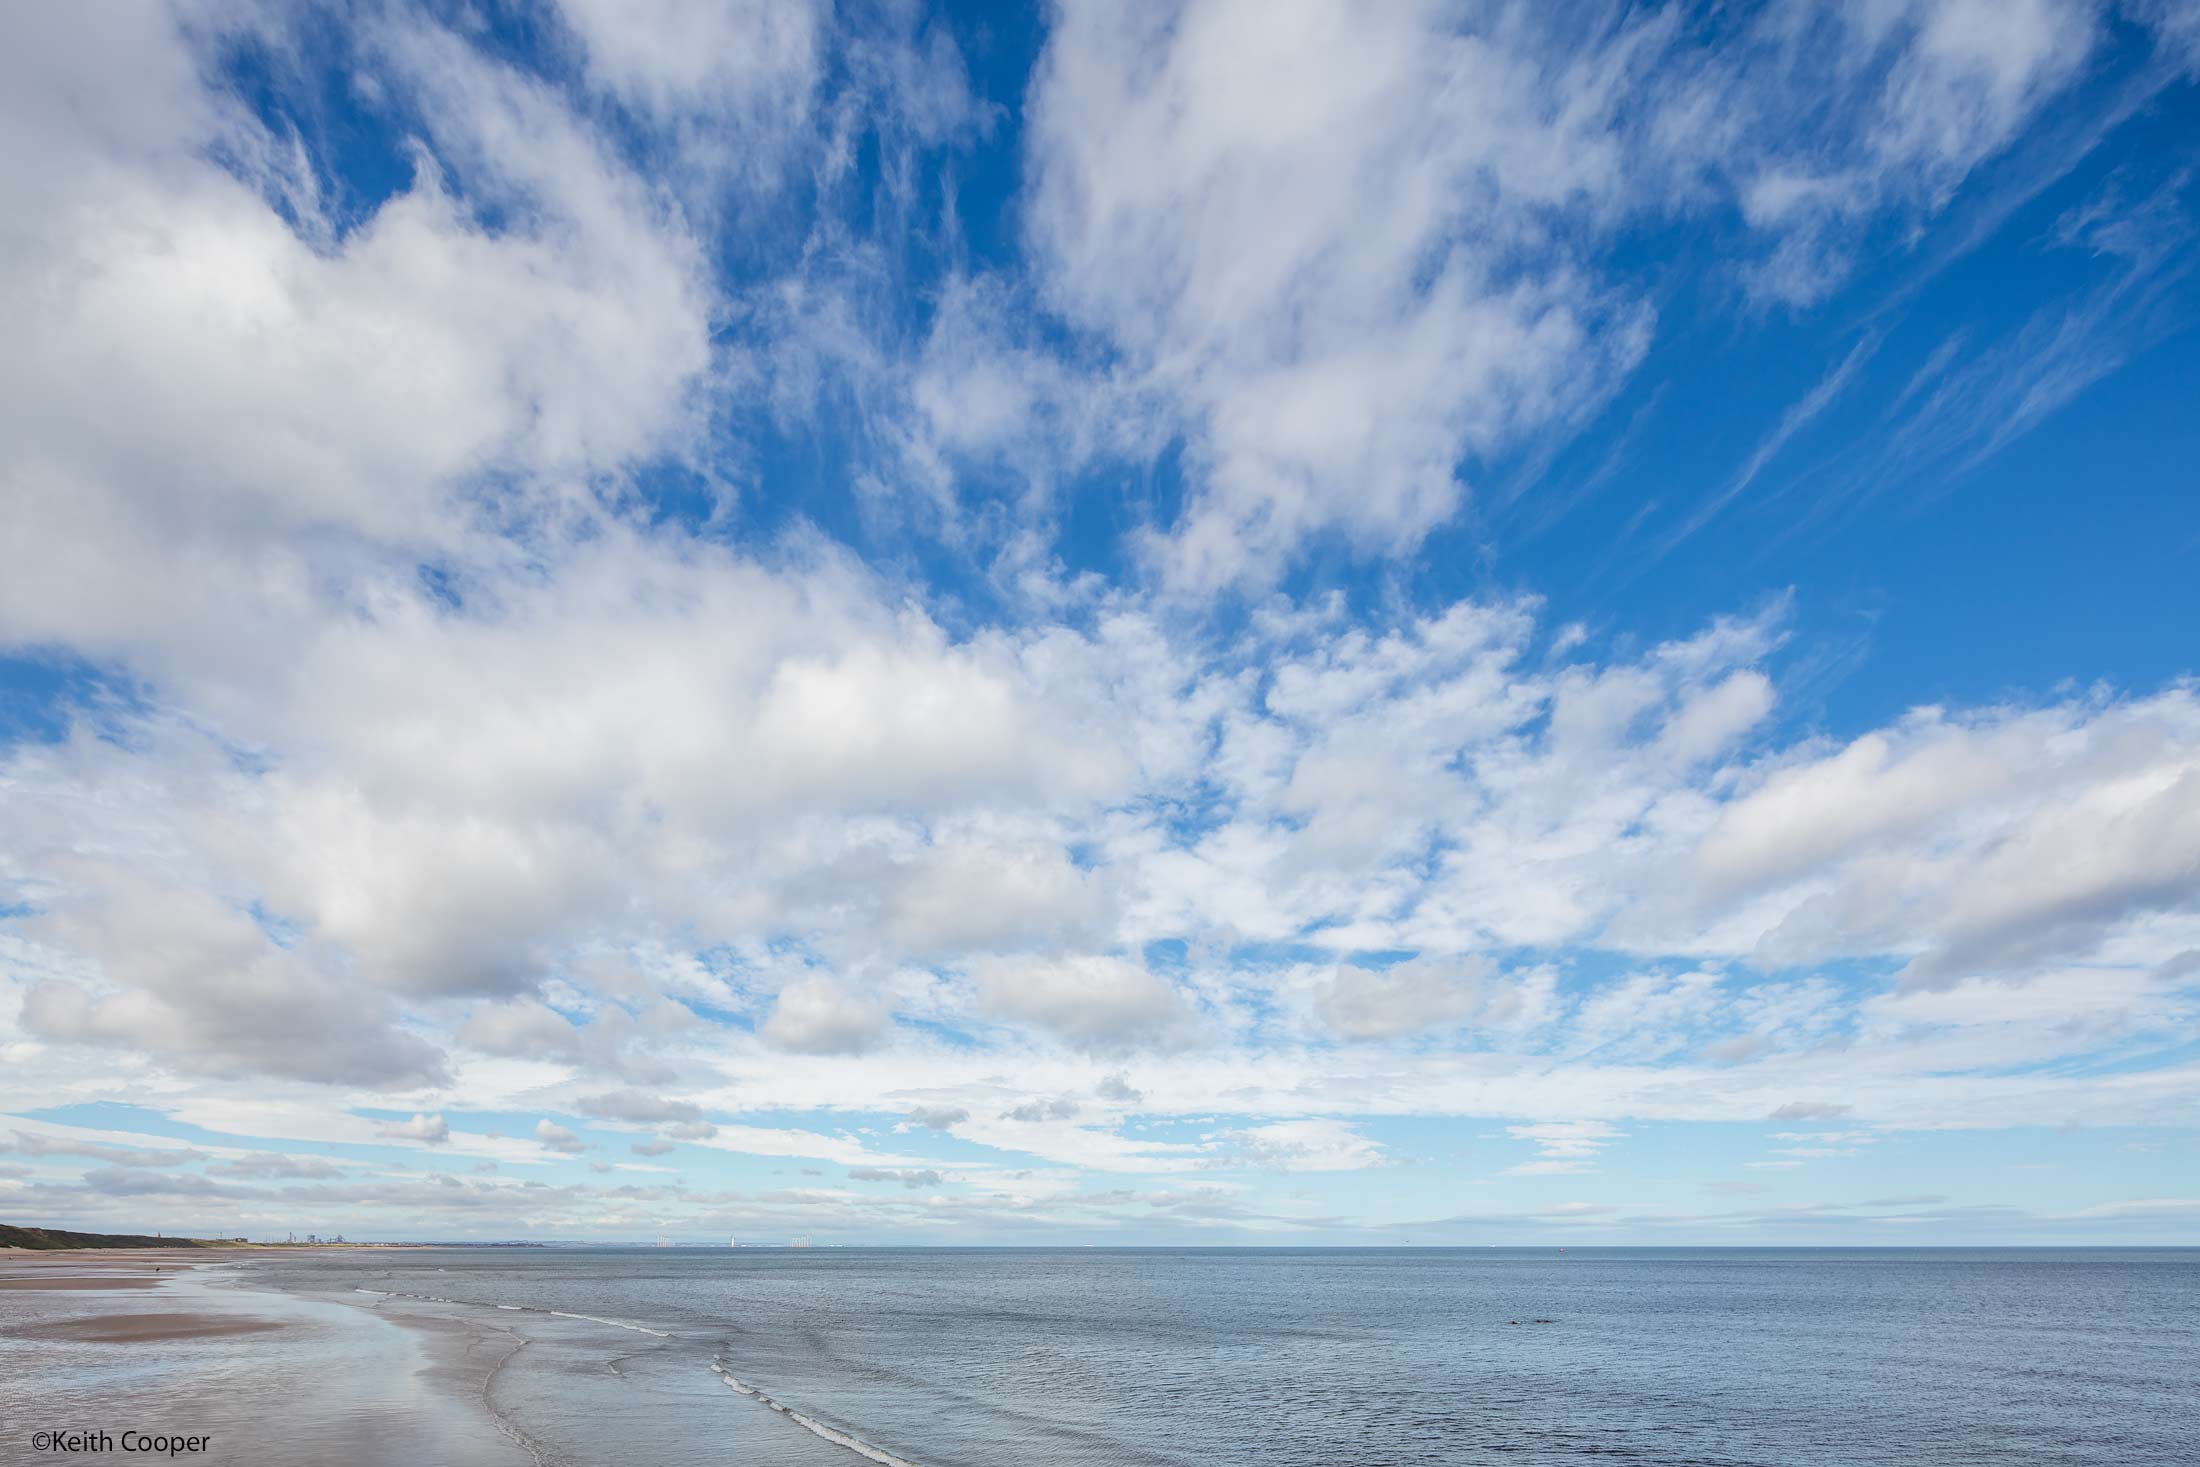
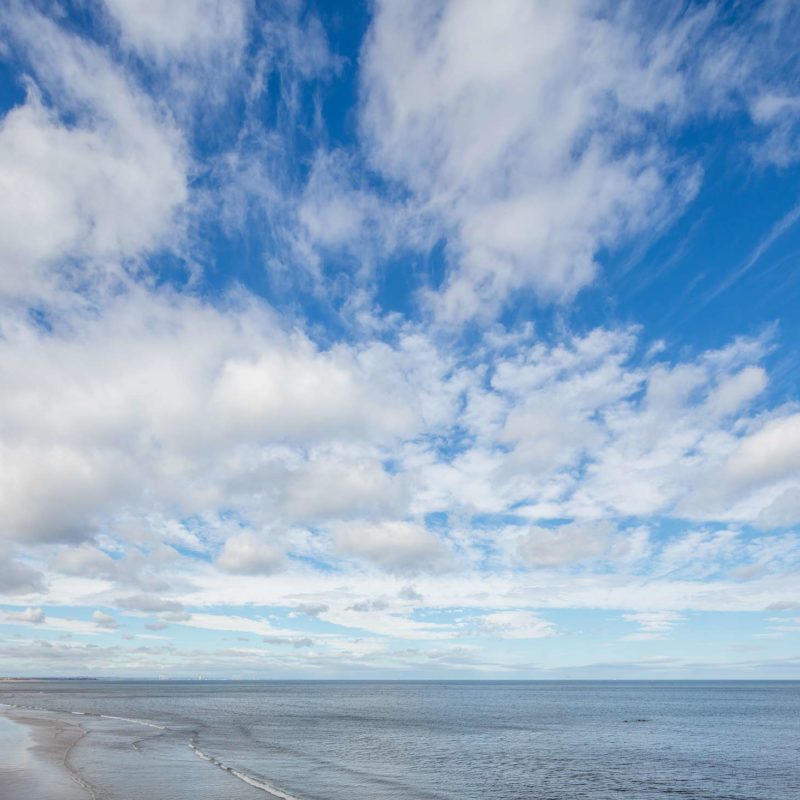
However, you do need to be careful with how the rectilinear distortion of a very wide lens can make clouds look as if they are trying to flee the top corners of the frame. This view looking along the North Yorkshire coast towards Redcar steelworks gives a feel for the effect, but it can be a lot more obvious (good or bad? – it’s up to you).
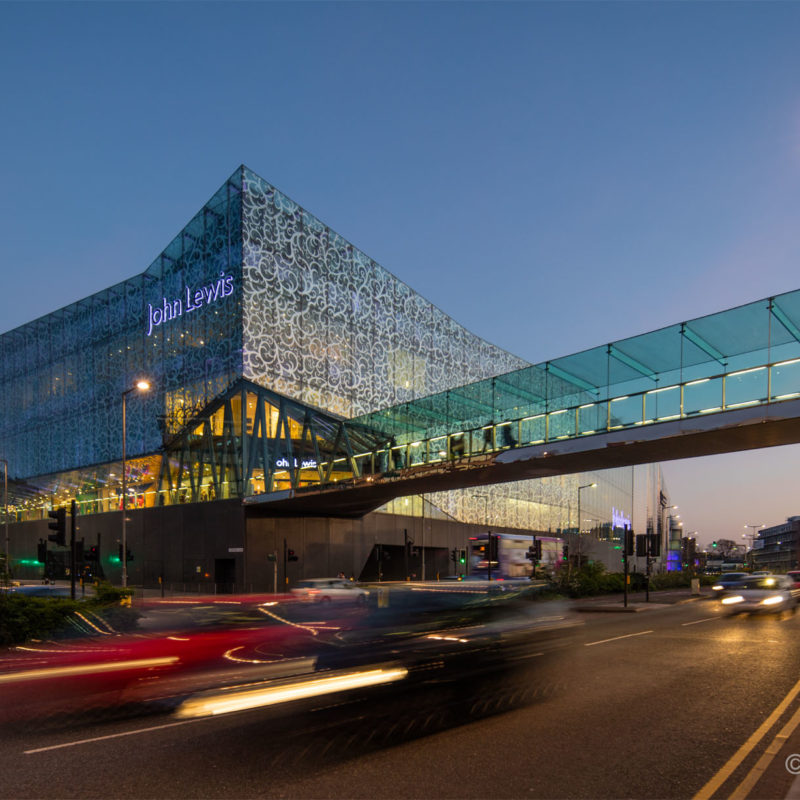
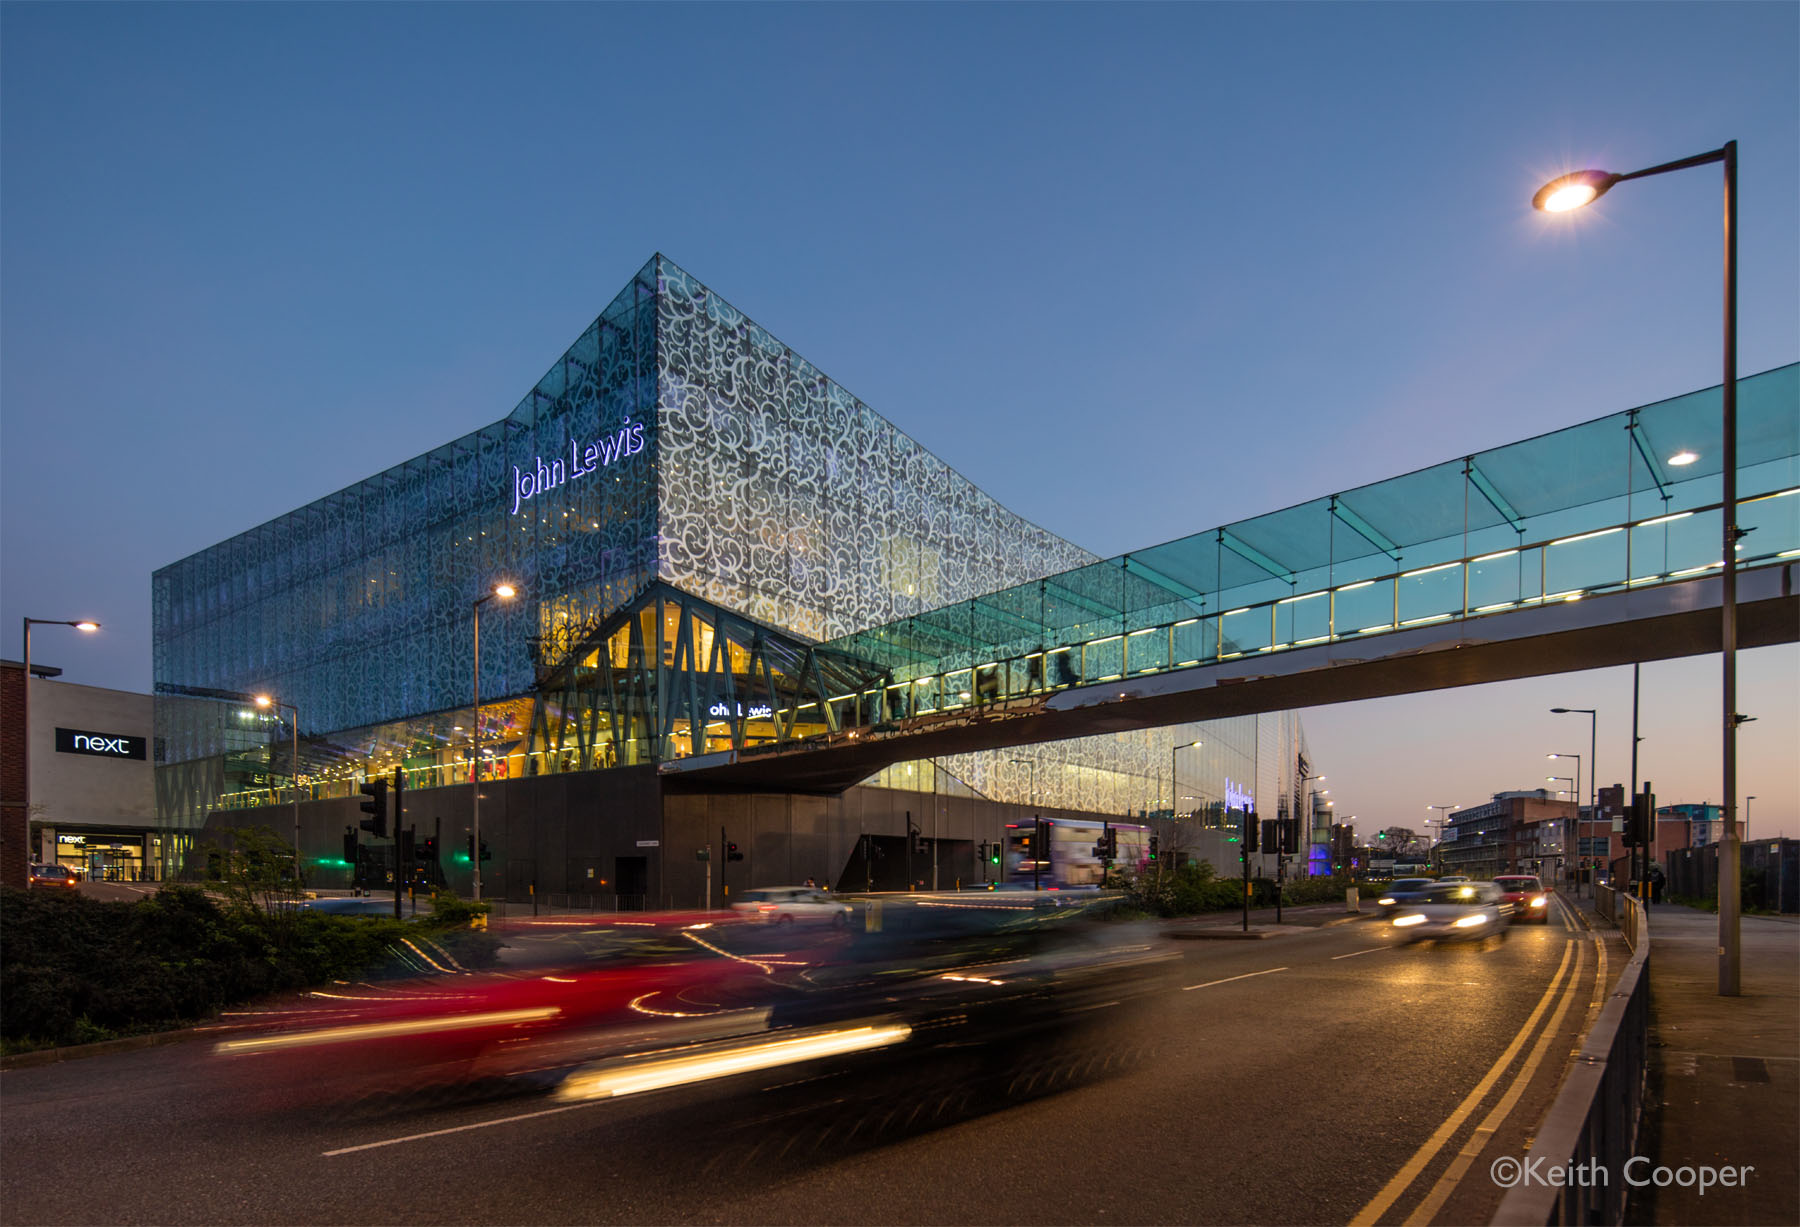
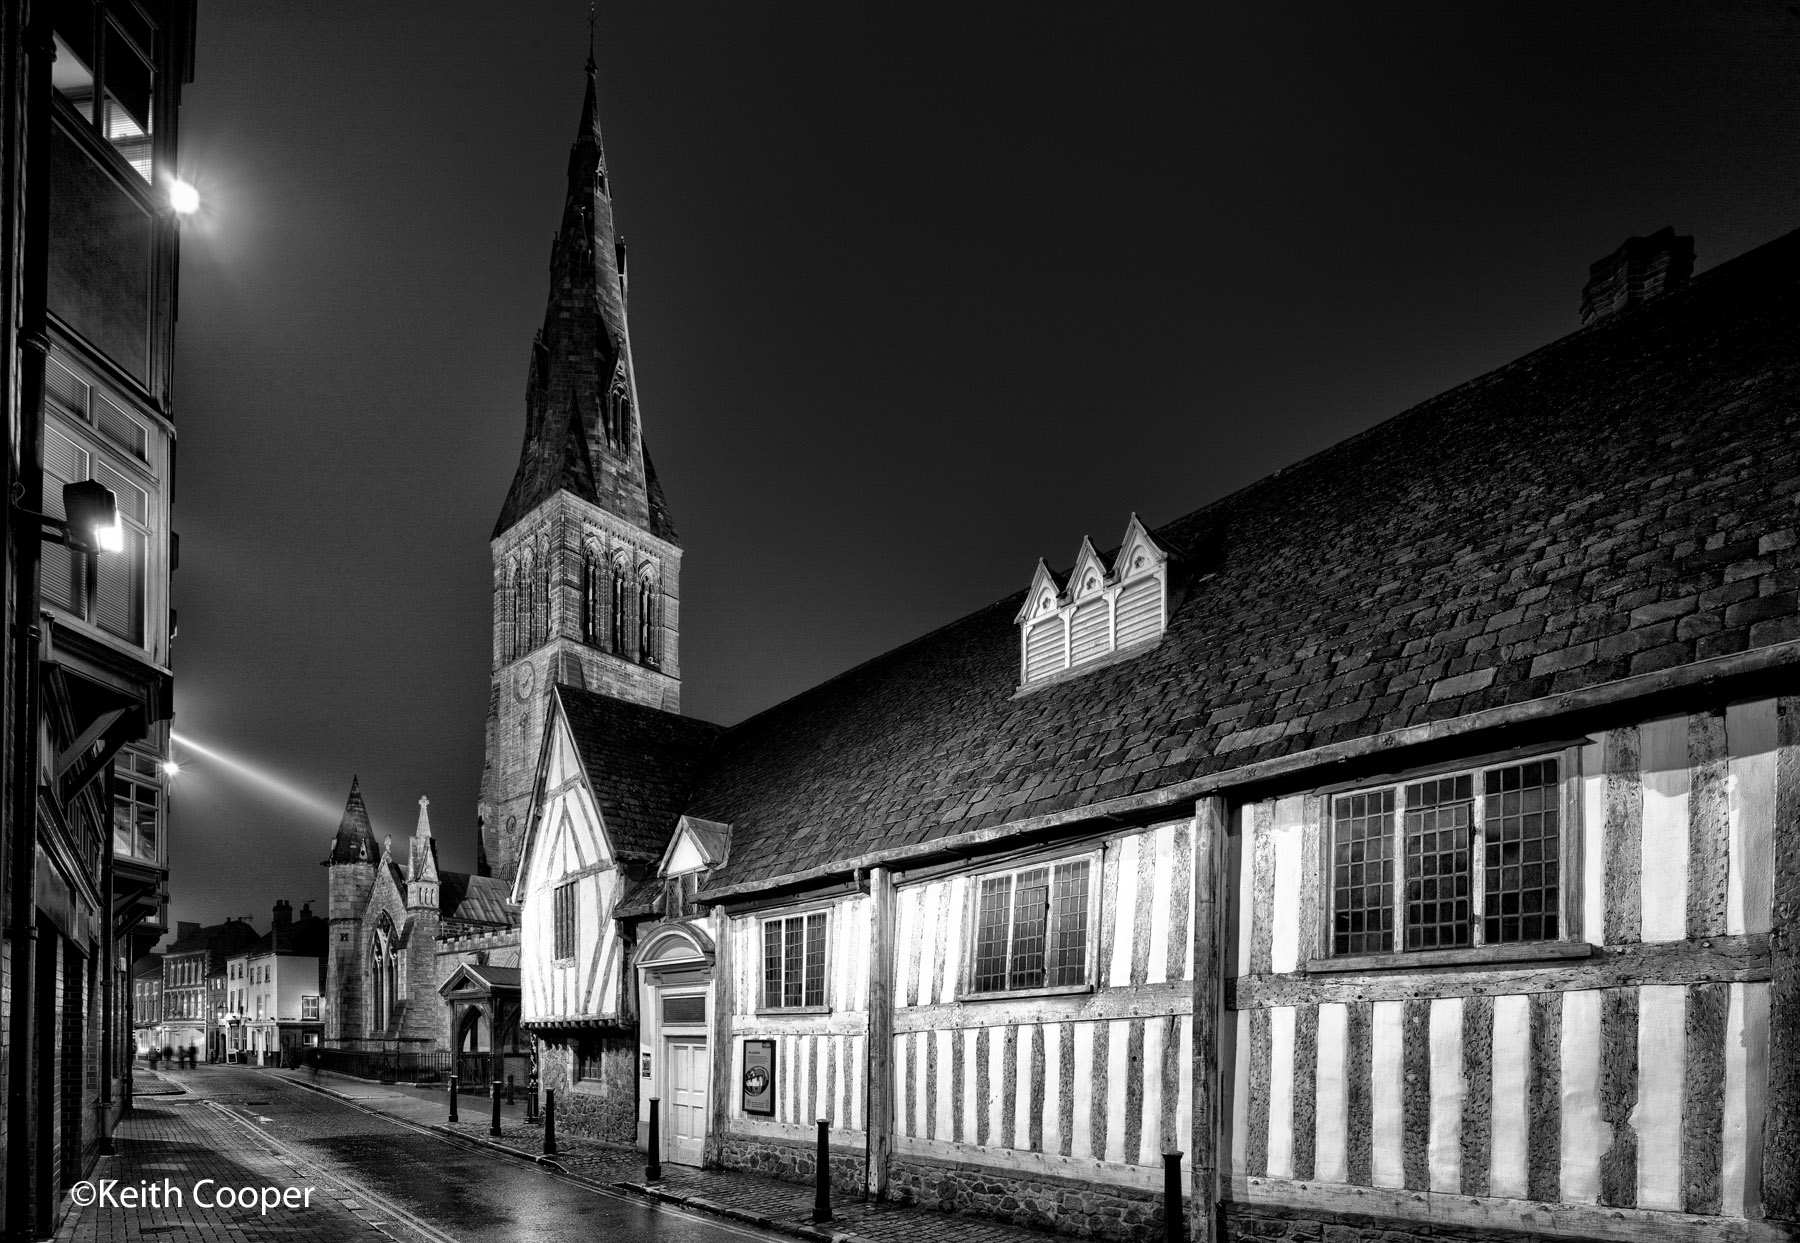
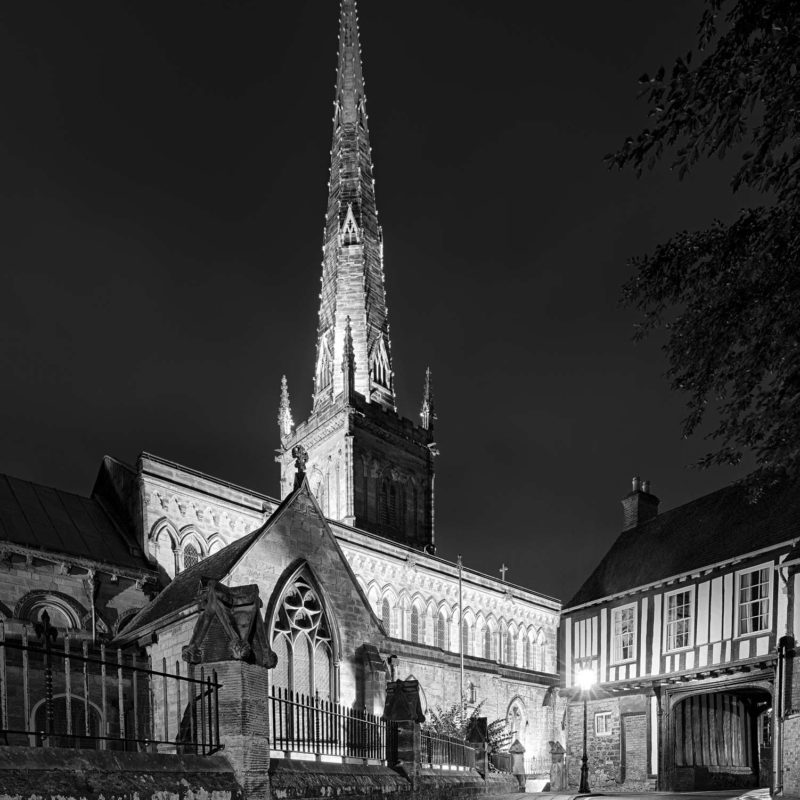
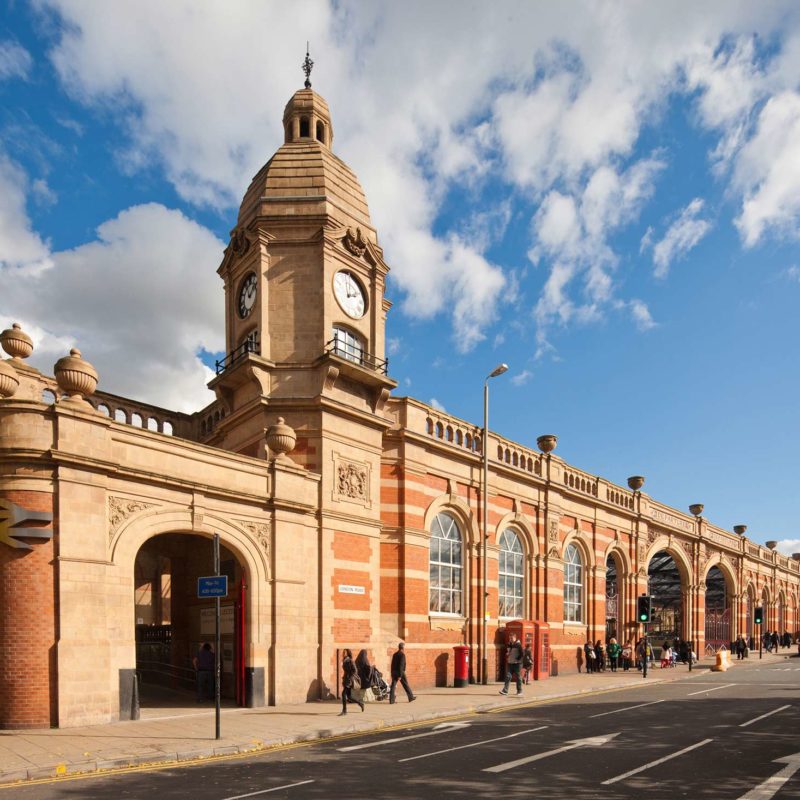
These five pictures of Leicester are all taken using the 17mm, and give a feel for how I like to use the lens.

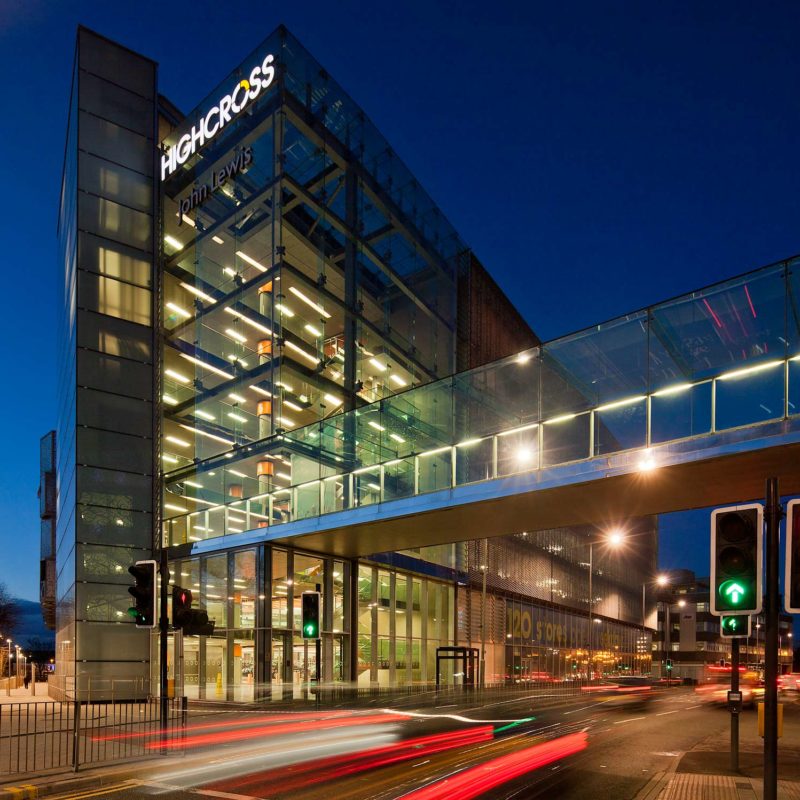
John Lewis, Leicester

Leicester Guildhall, with cathedral in background.

St Mary de Castro
The two B&W shots are multi exposure HDR, used to capture shadow detail with brightly lit buildings.
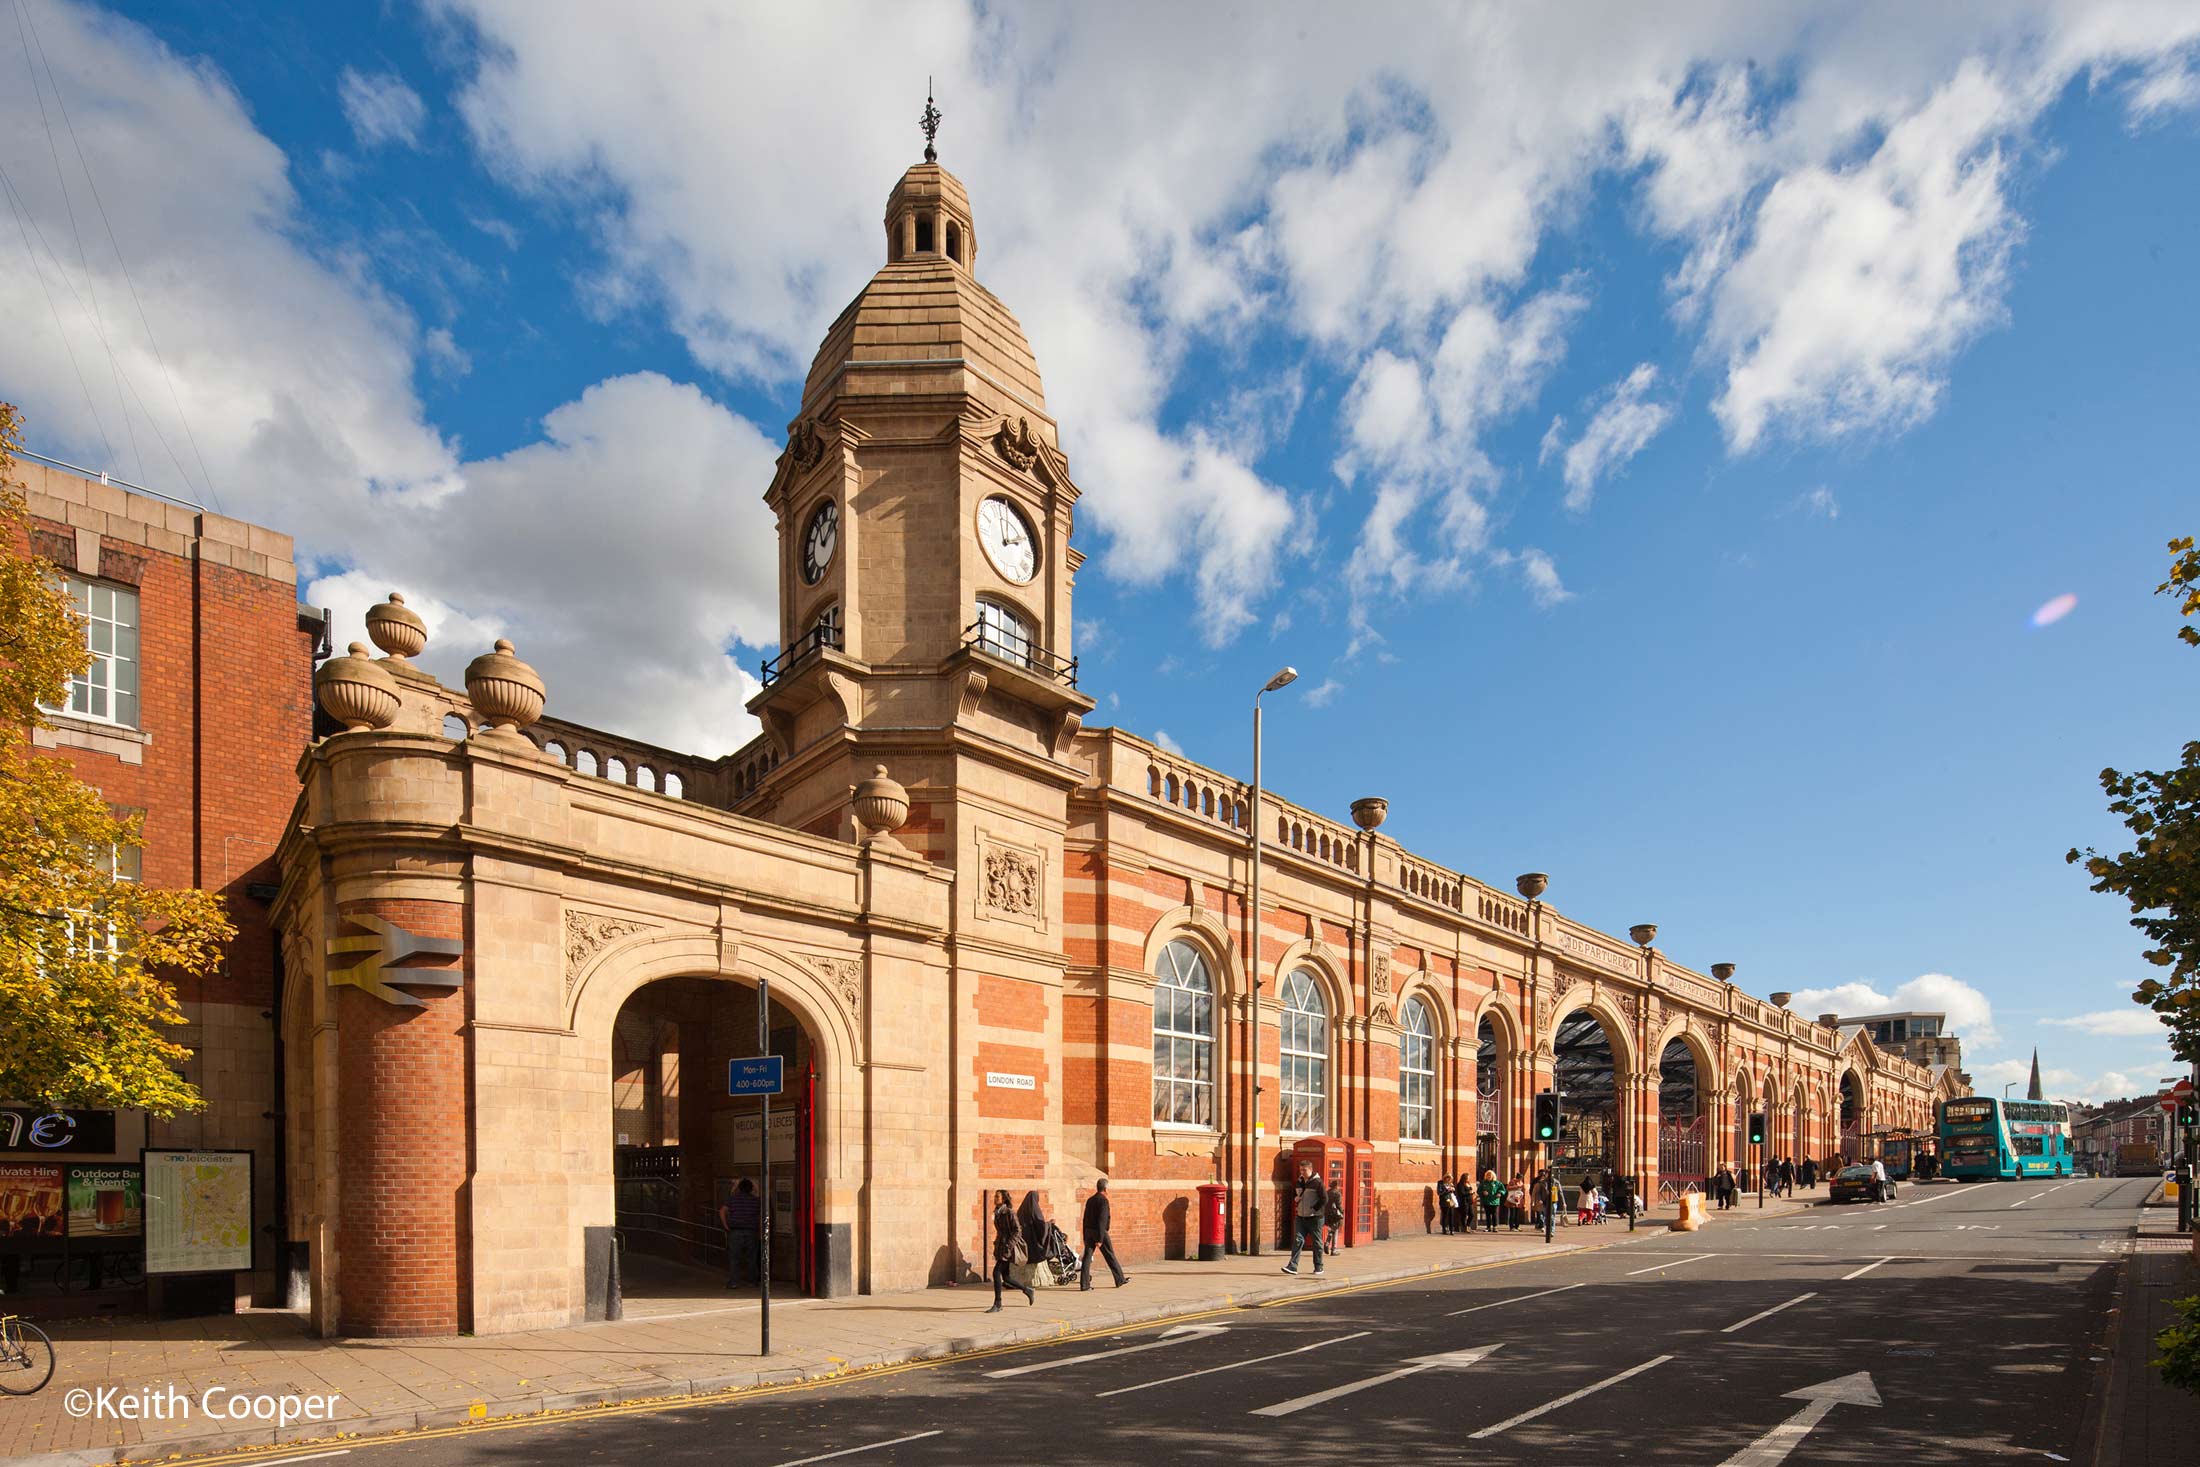
Leicester railway station

Leicester Clock Tower
Tilting the lens
In the years I’ve had this lens, the vast majority of my shots with it have used just shift.
The lens can be tilted fully up/down, and the plane of focus placed across a scene to give what’s known as ‘miniature world’ or ‘Tilt-shift effect’ looks.
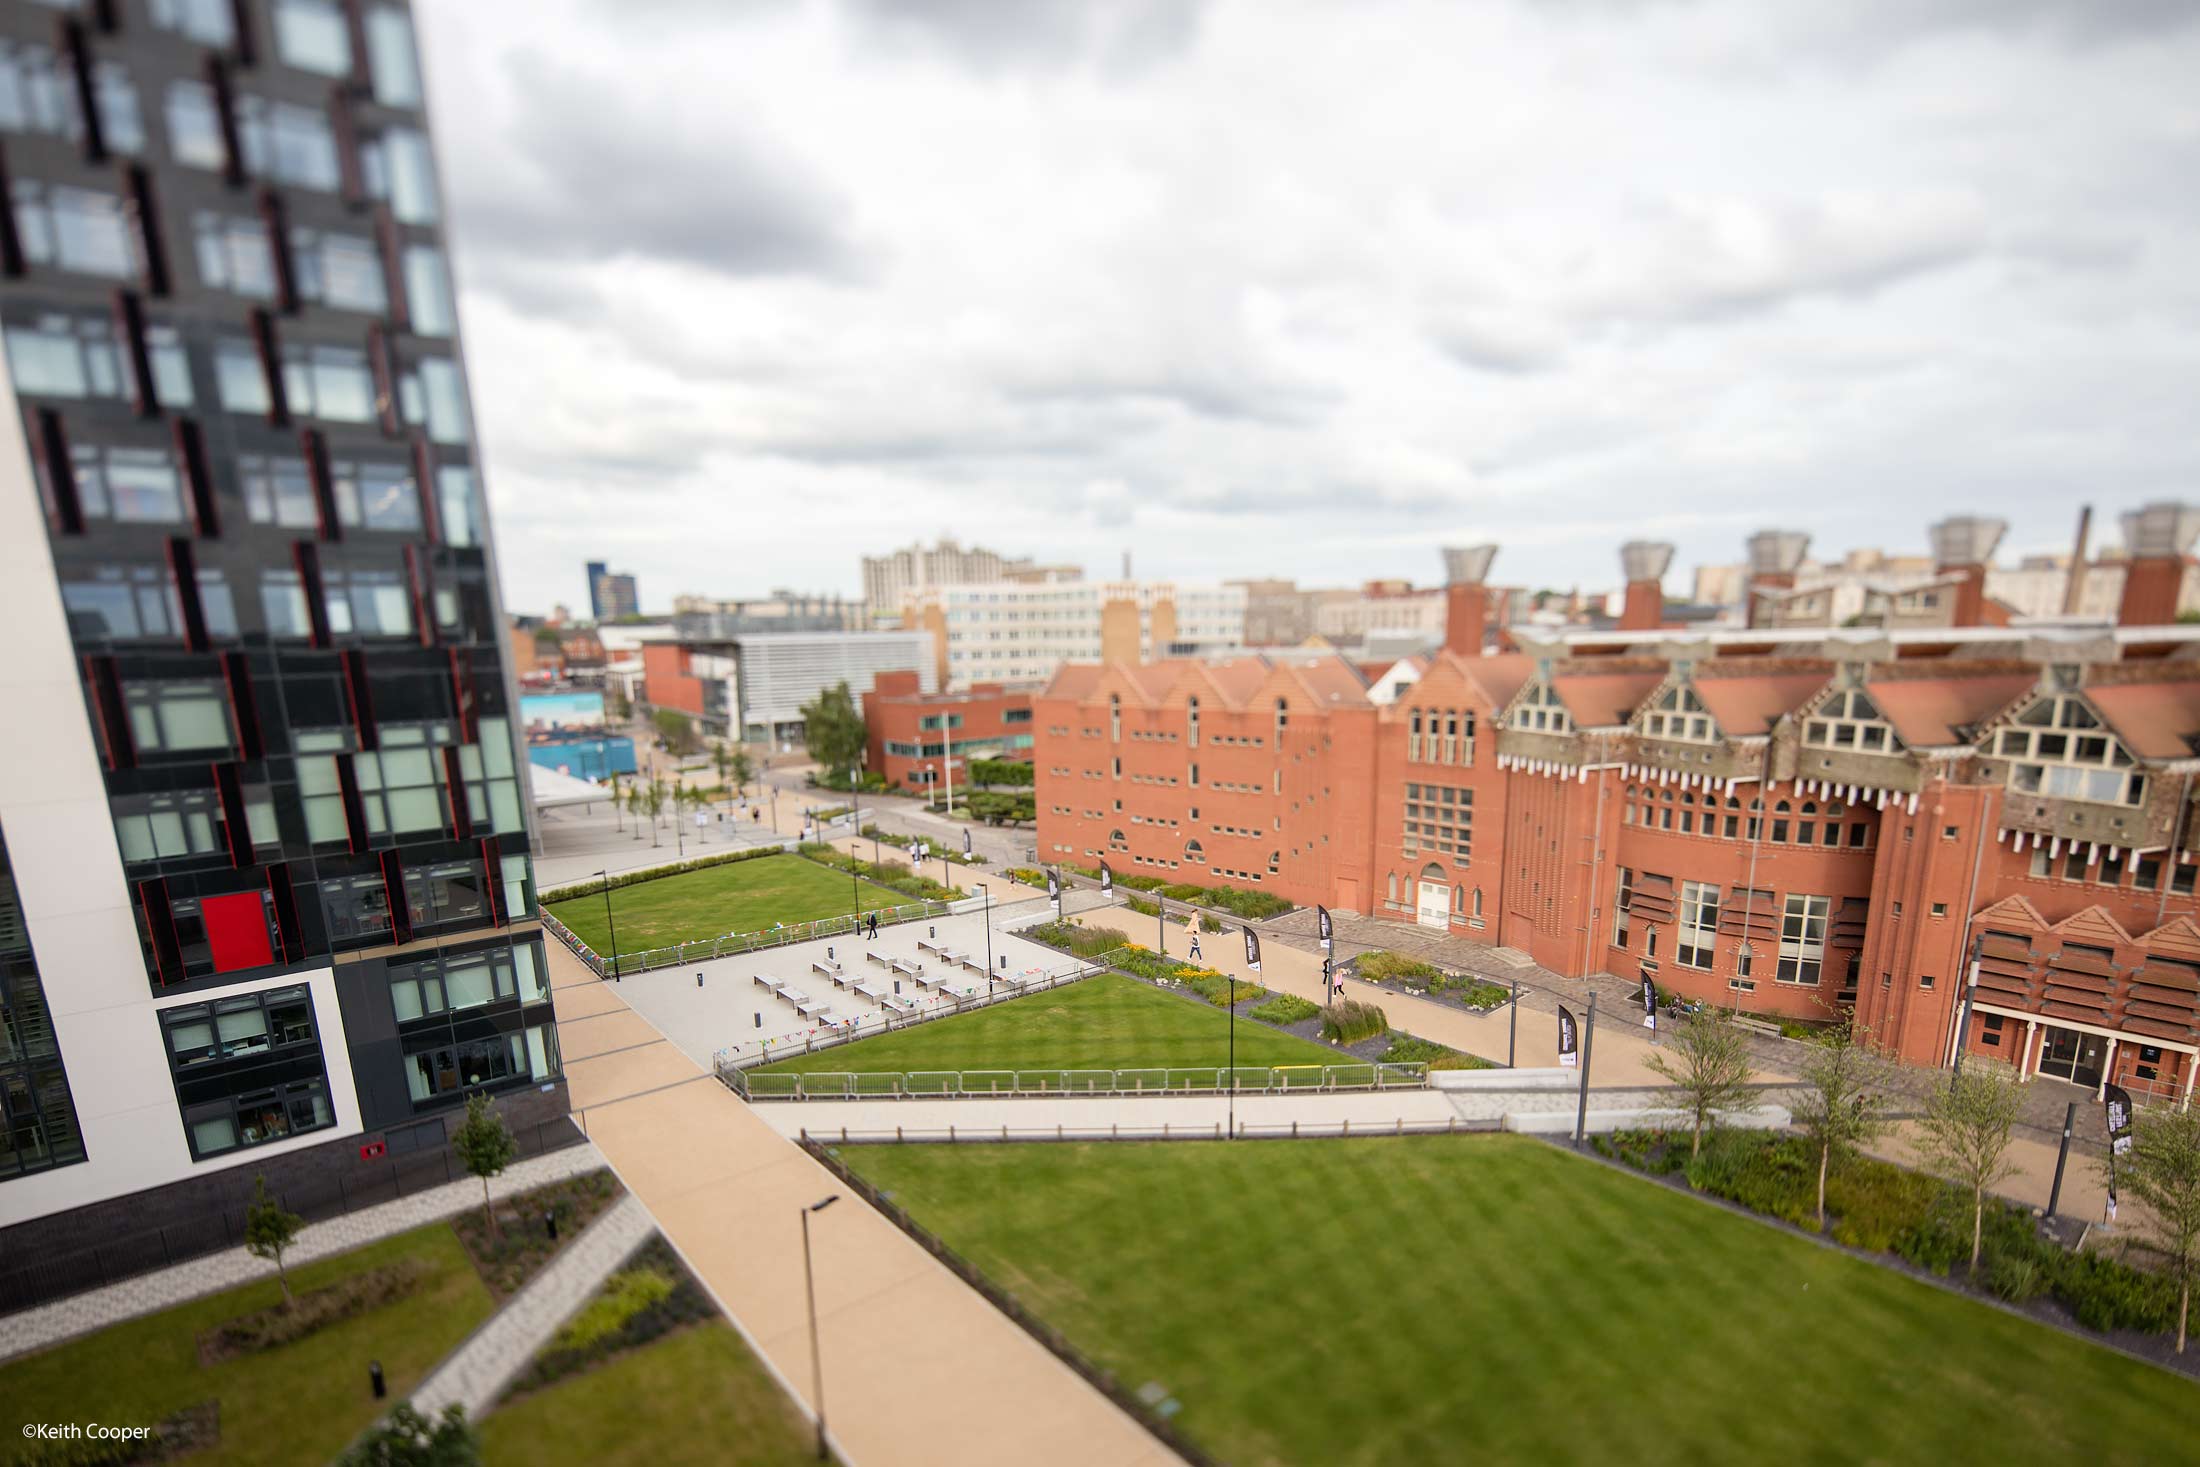
The effect is not quite as obvious as with longer focal lengths (see examples in my other TS-E reviews)
The shot below has a hazy sun in it and shows no flare that I could see.
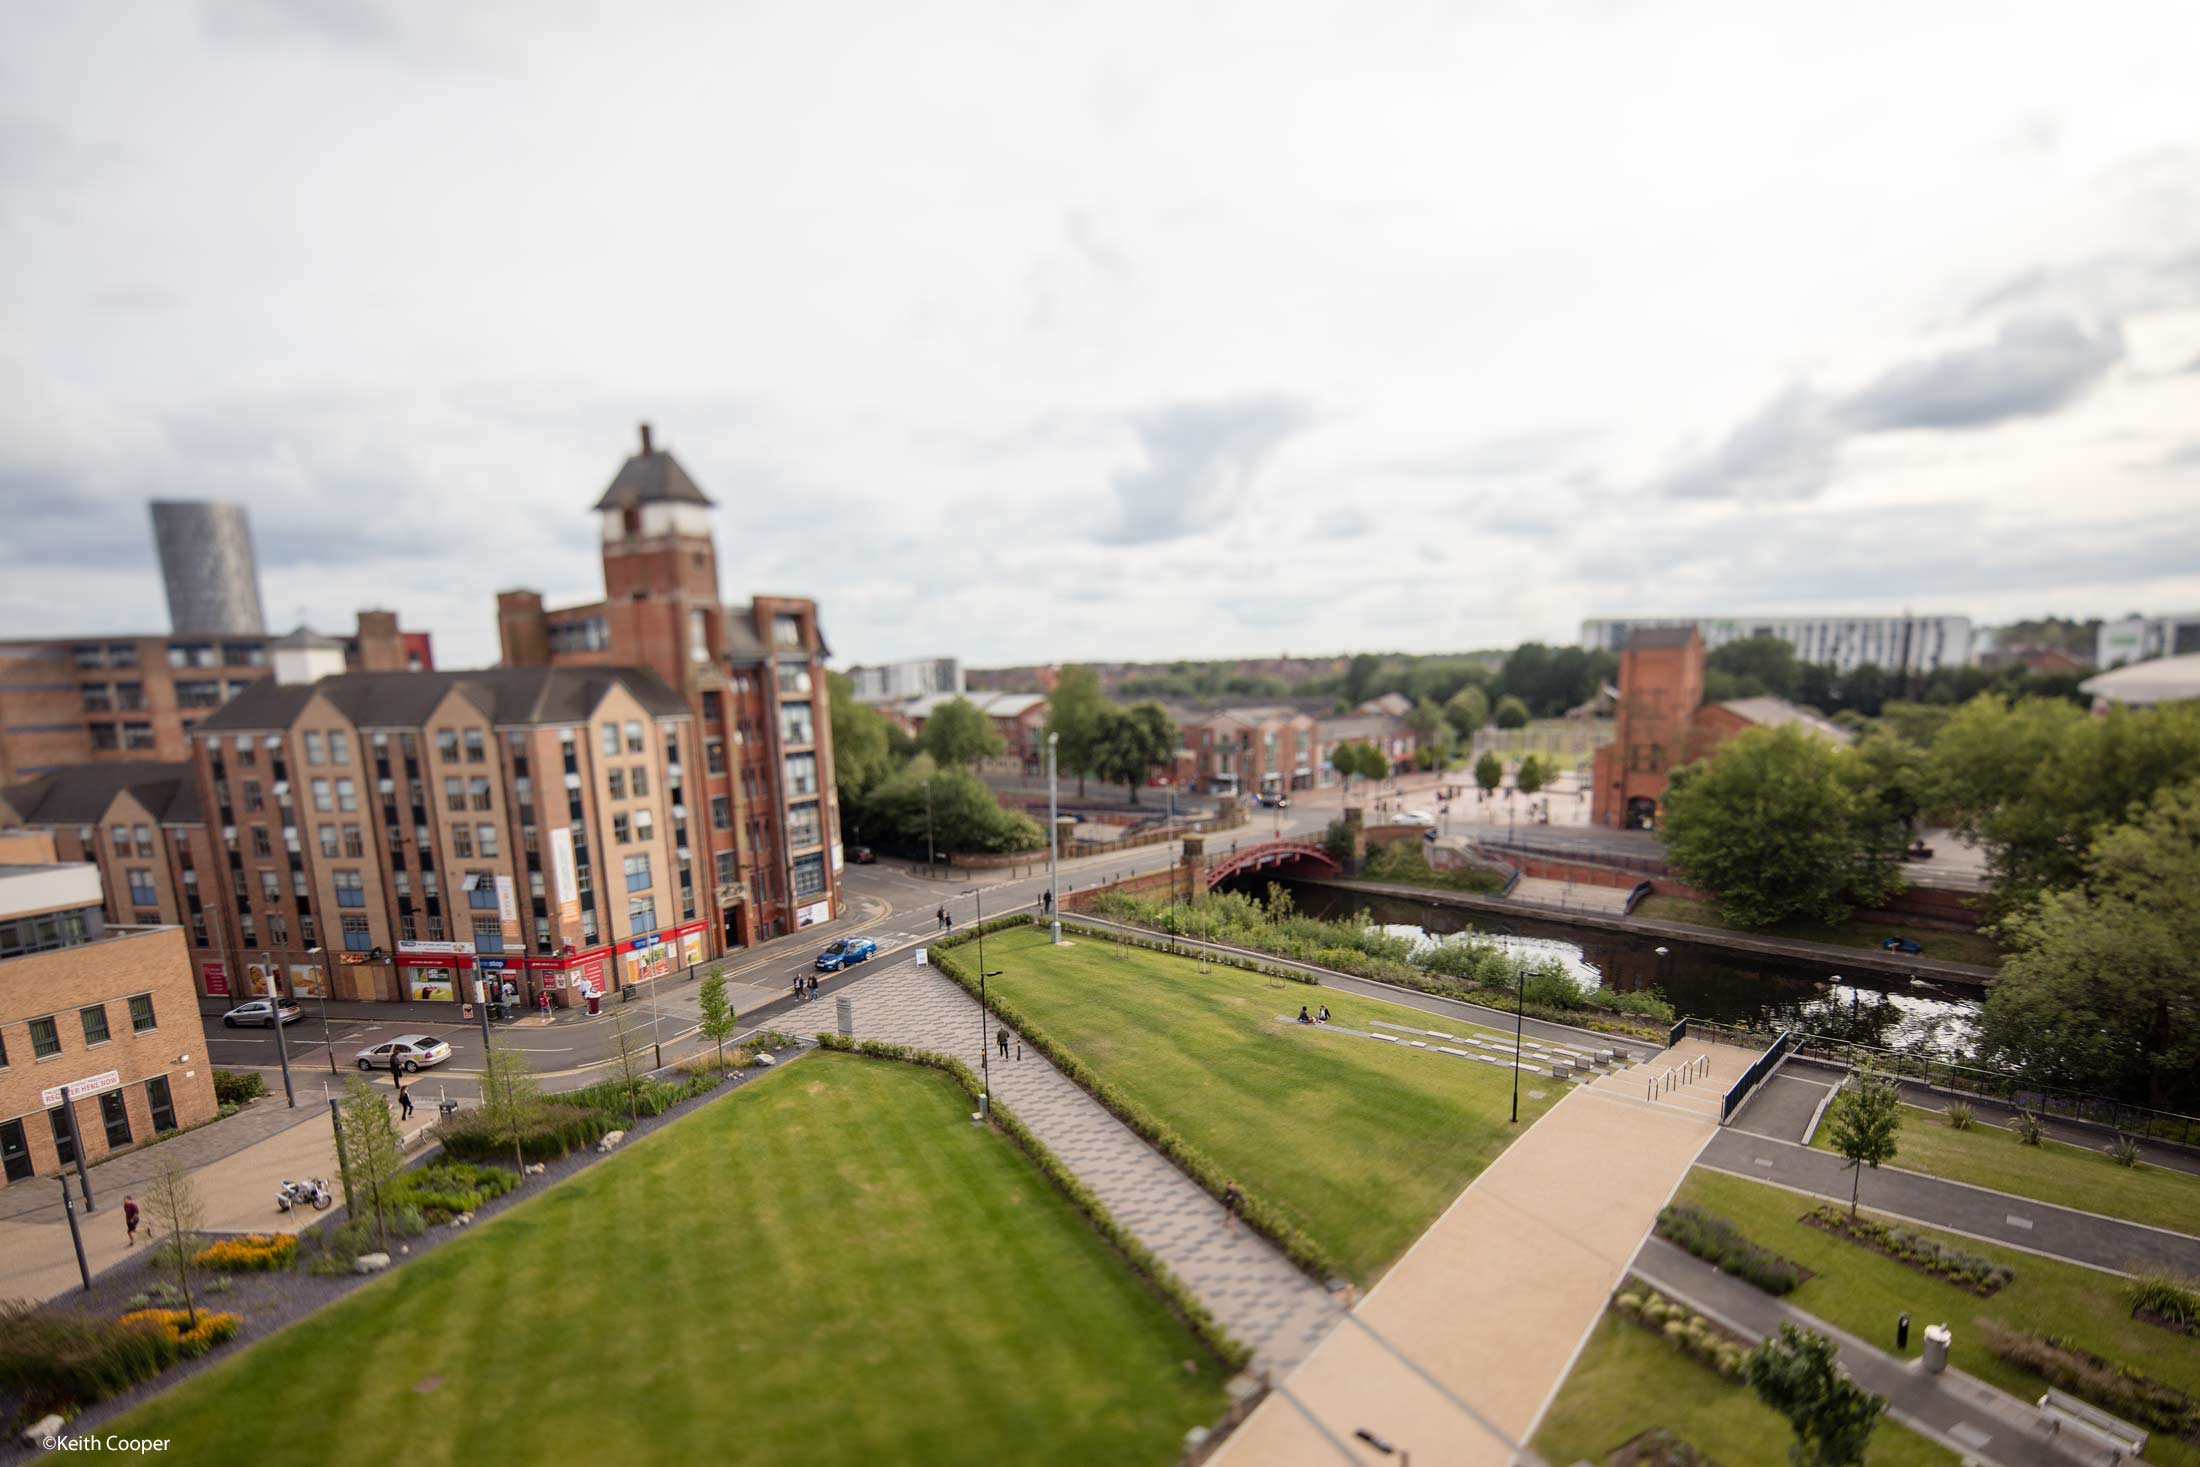
Just for good measure, I took an un-tilted shot also at f/4 from the same spot – partly because I never use the lens fully open for such shots.
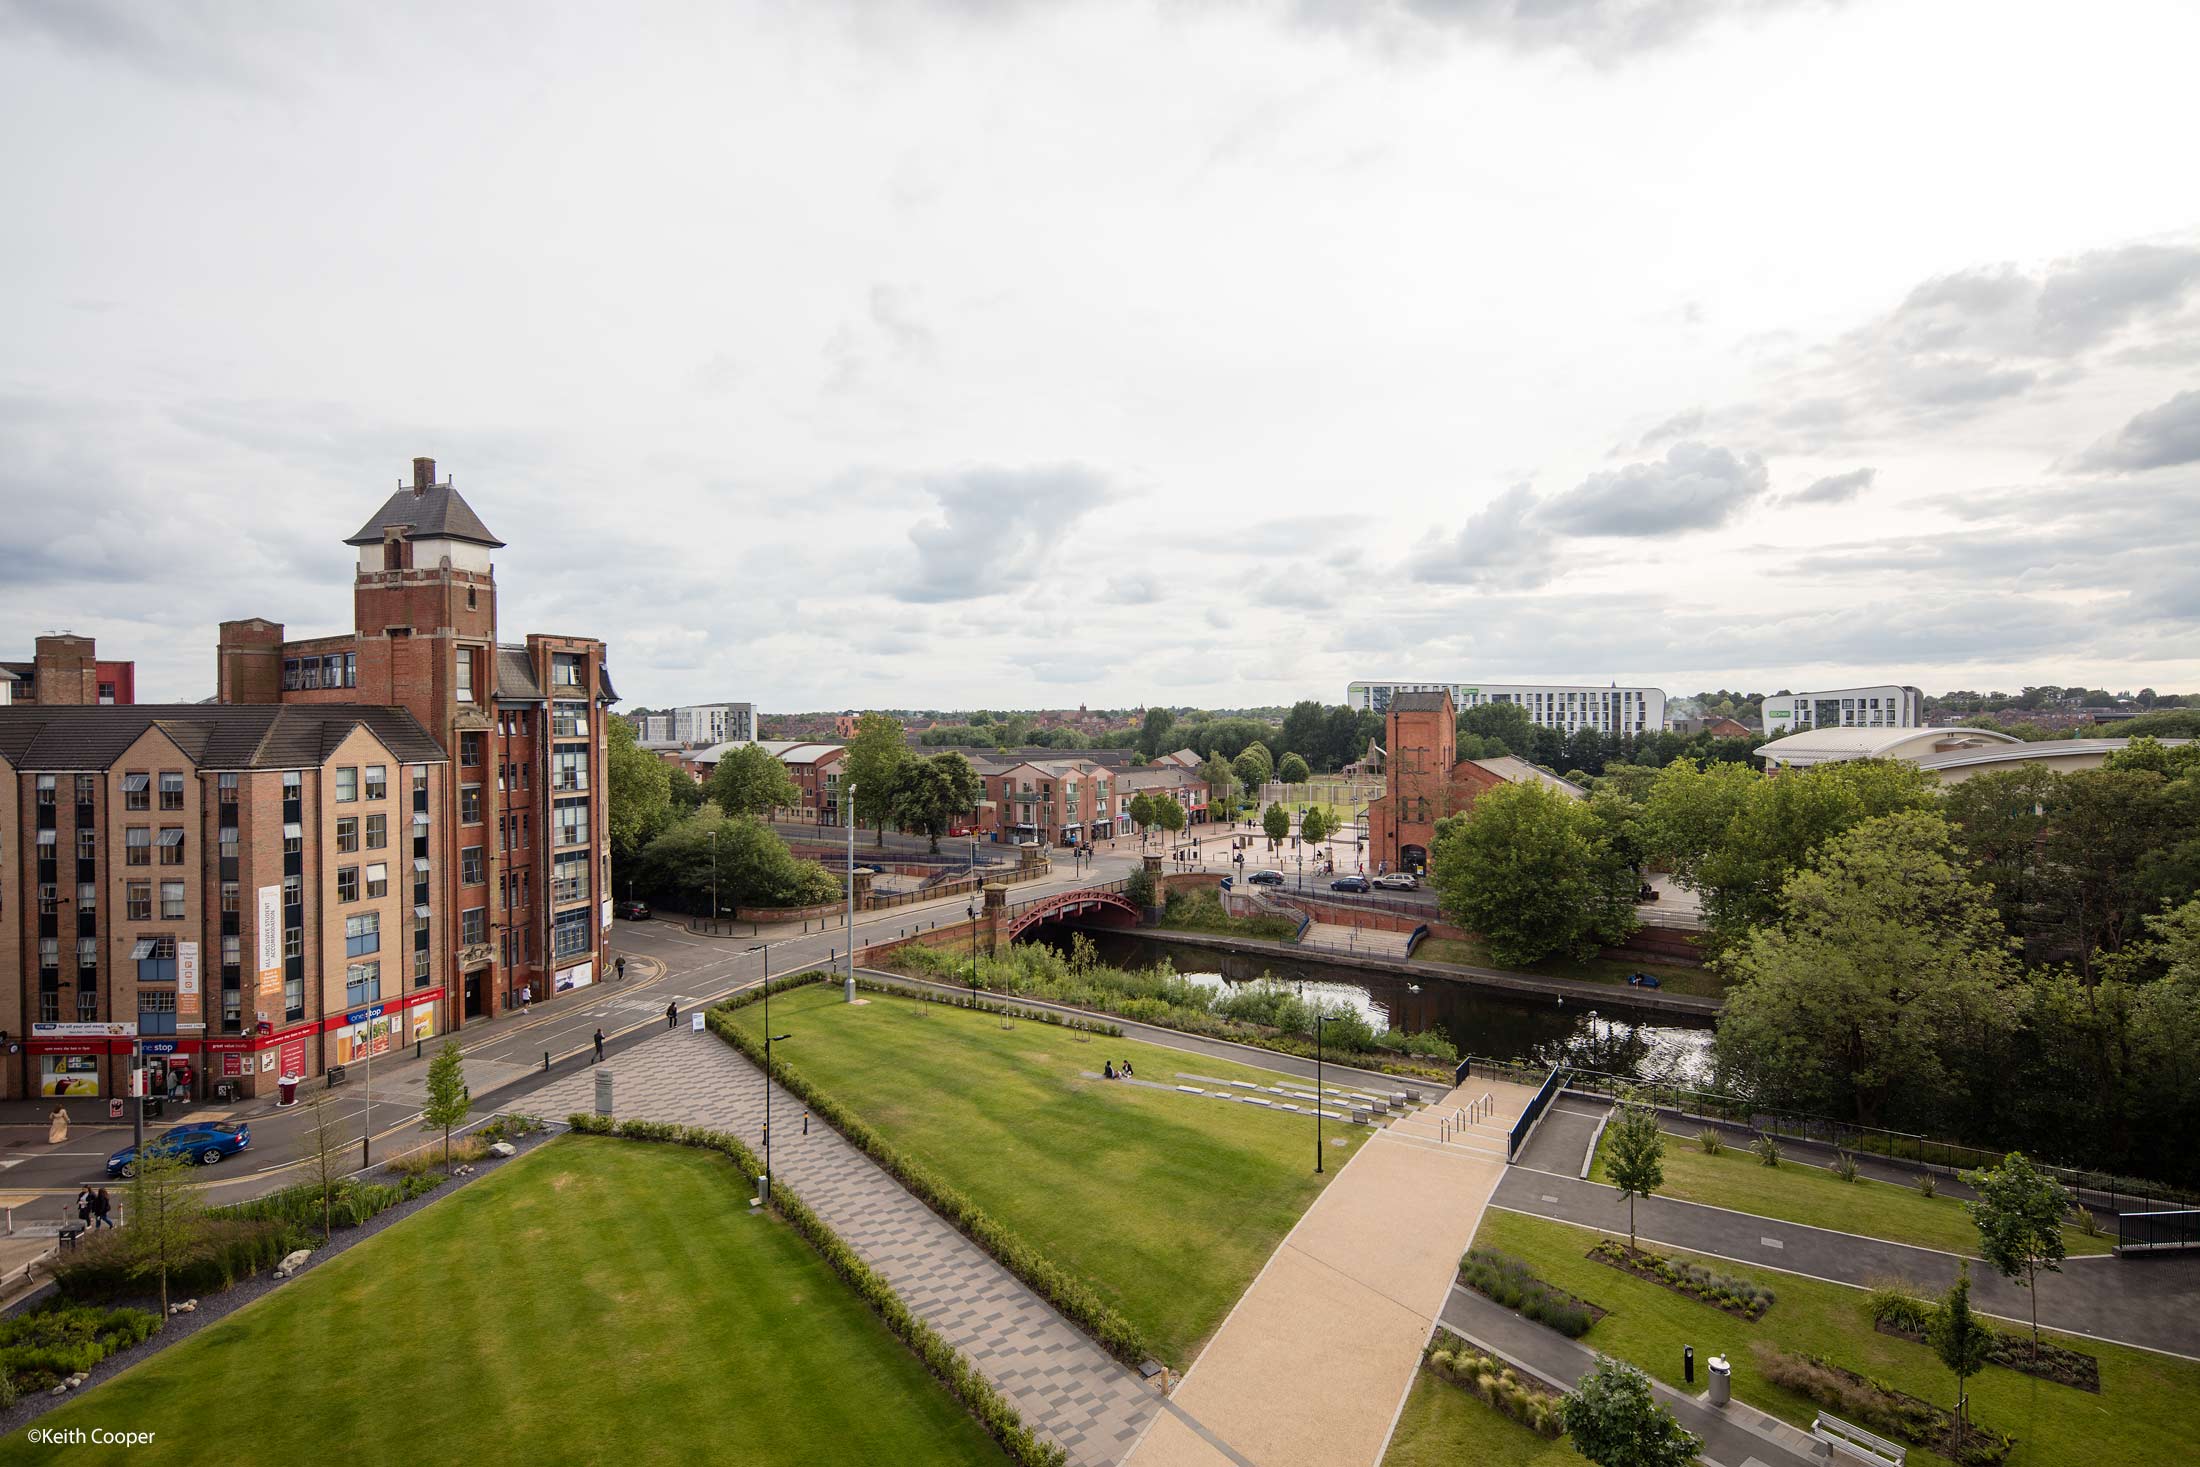
Again, no flare.
A 100% crop from the middle of the image (click to enlarge)
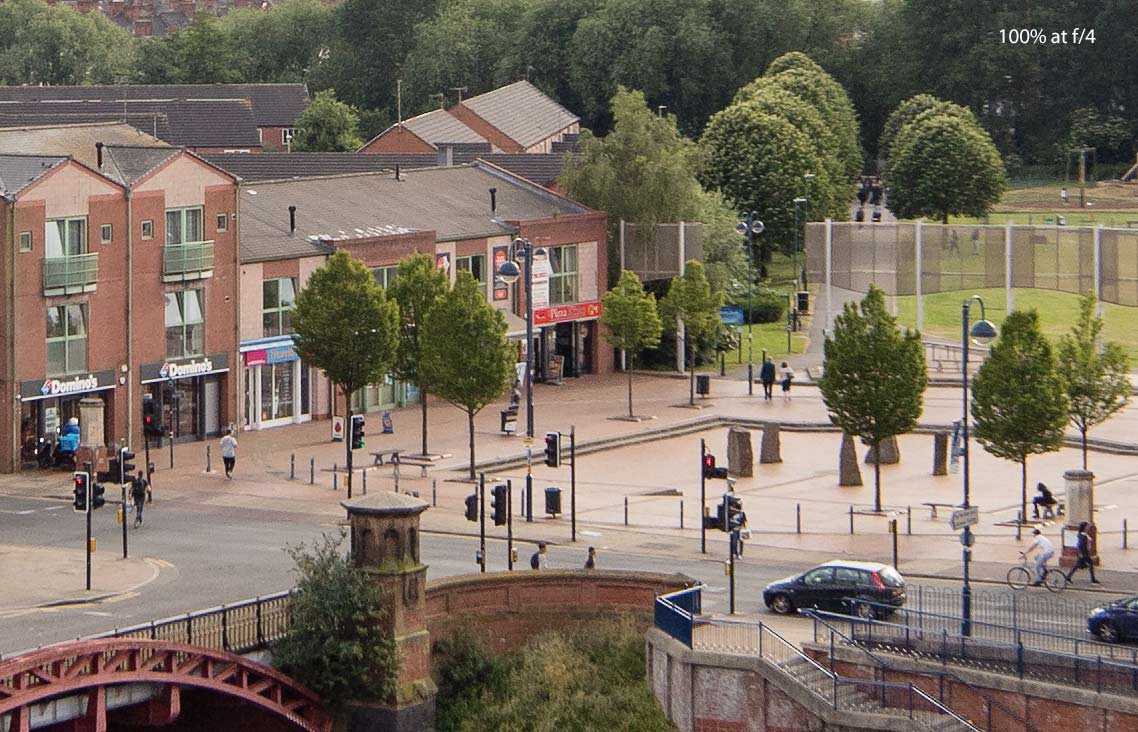
Personally, such uses of tilted TS-E lenses quickly pass my ‘OK, done that, now what?’ threshold, but tastes vary…
For myself a more useful feature is to be able to run the plane of focus along a floor/wall/ceiling.
This view of the seats outside of the VJP building has the plane of focus set to run along the top of the seats.

I’ve set the tilt by knowing the height of the lens above the plane of the seats. Then I’ve adjusted focus around the ∞ setting to line it up with the plane of the seat tops.
This one was shot hand held, hence the slight outwards lean of the buildings (the camera is pointing slightly down).
a 100% crop shows how the plane runs out from below the camera.
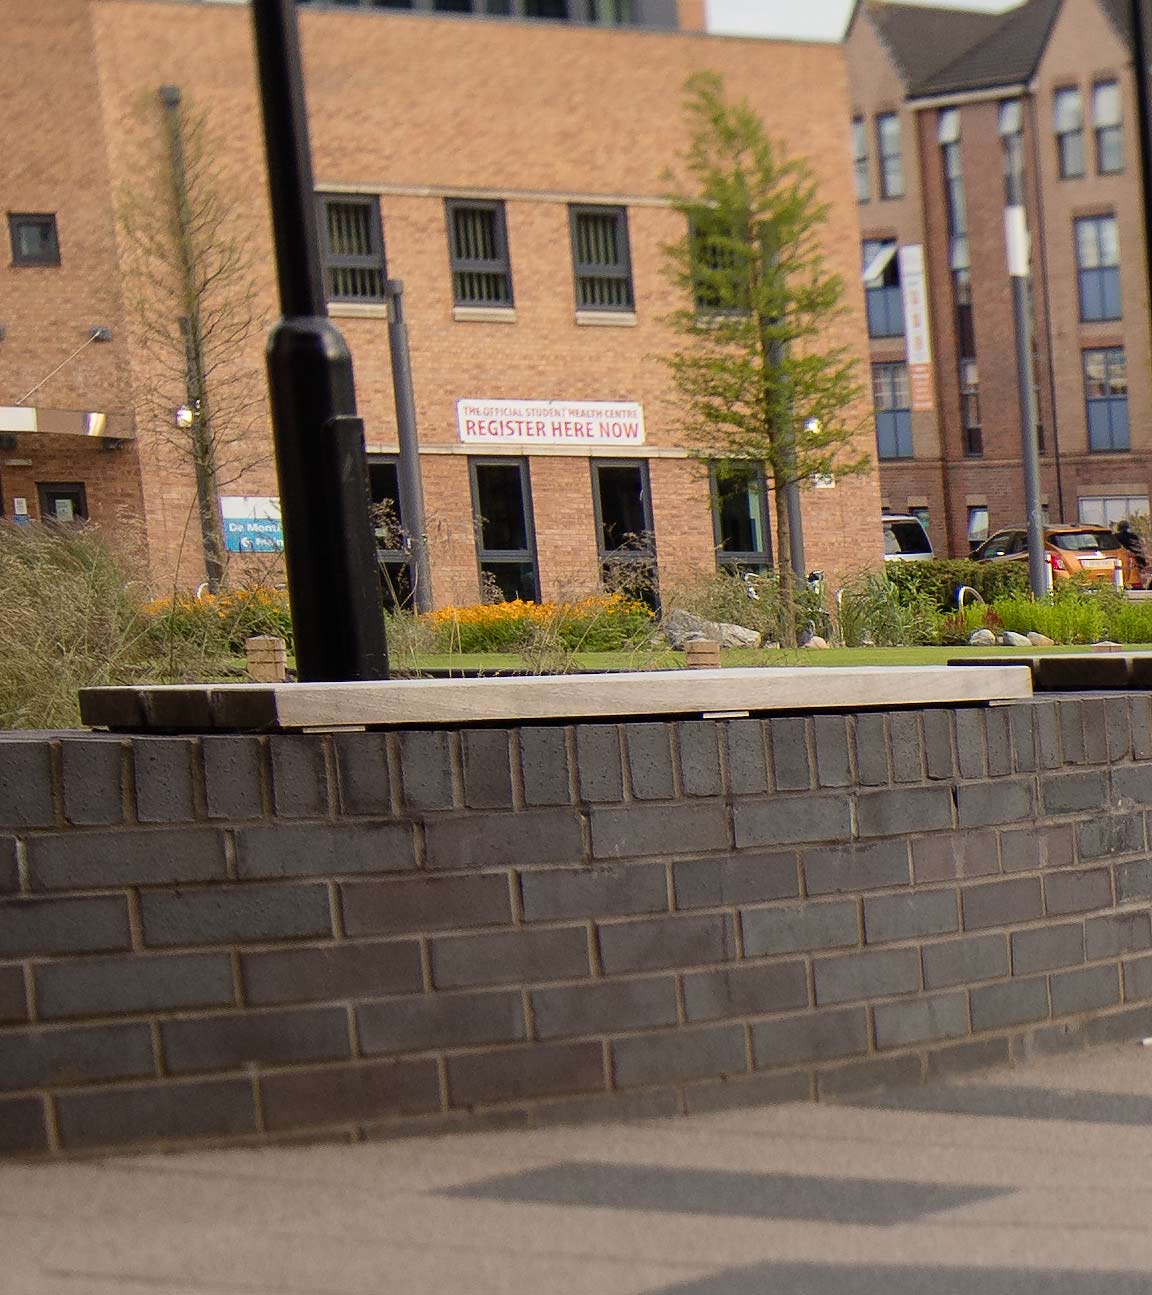
At f/4 the effect is very obvious, but if I’d gone to f/11 the appearance would just be a very big apparent DOF for the image.
If this effect is not clear, have a read of my article about Focus with tilt for lots more examples of how the position of the plane of focus is just dependent on tilt and focus.
Indoors
The lens is at heart a well corrected 17mm prime, and you can use it as a 17mm manual focus lens.
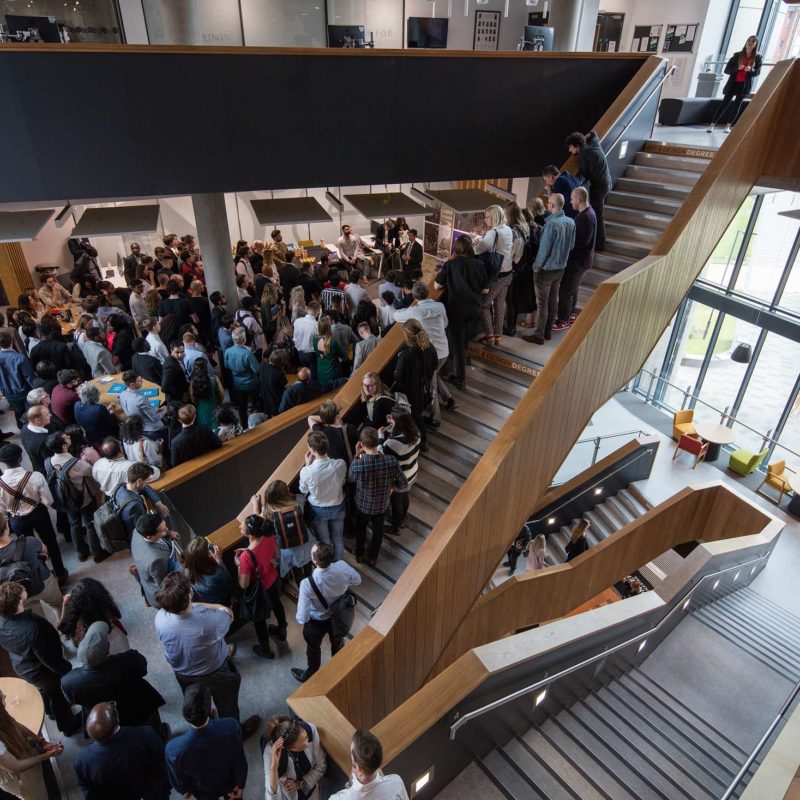
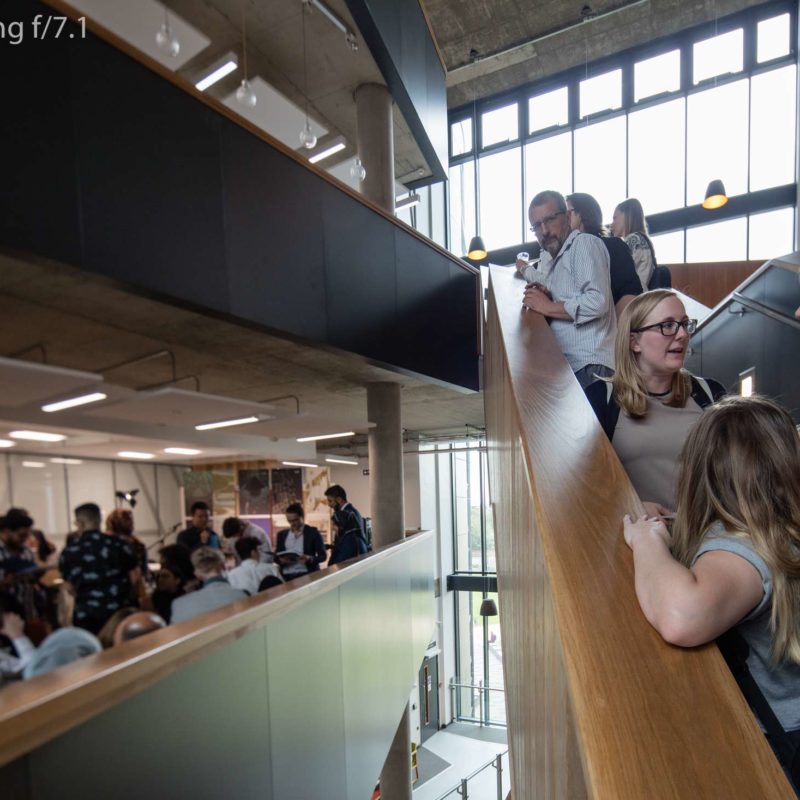
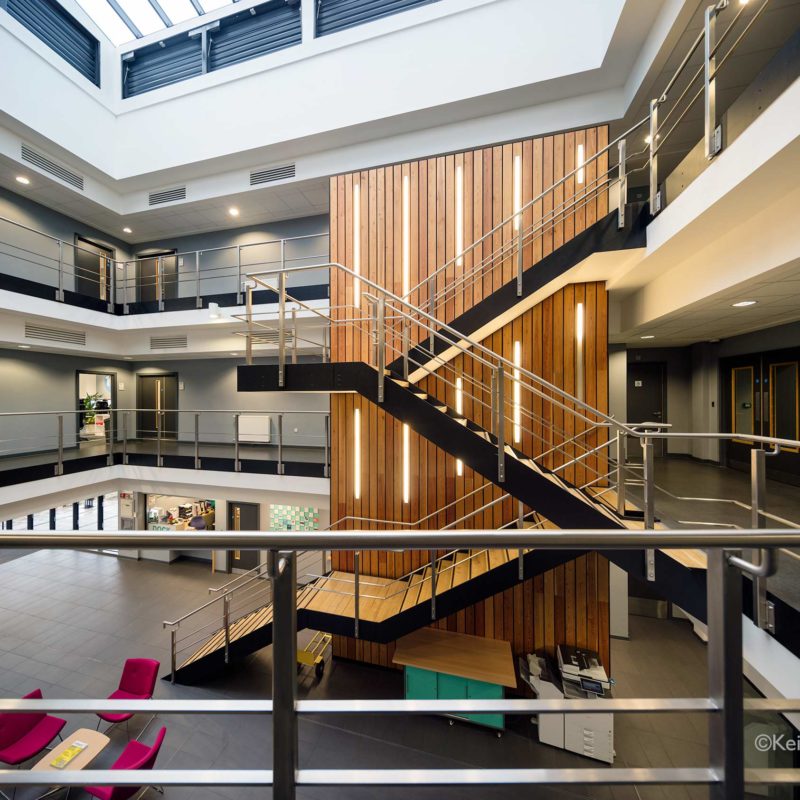
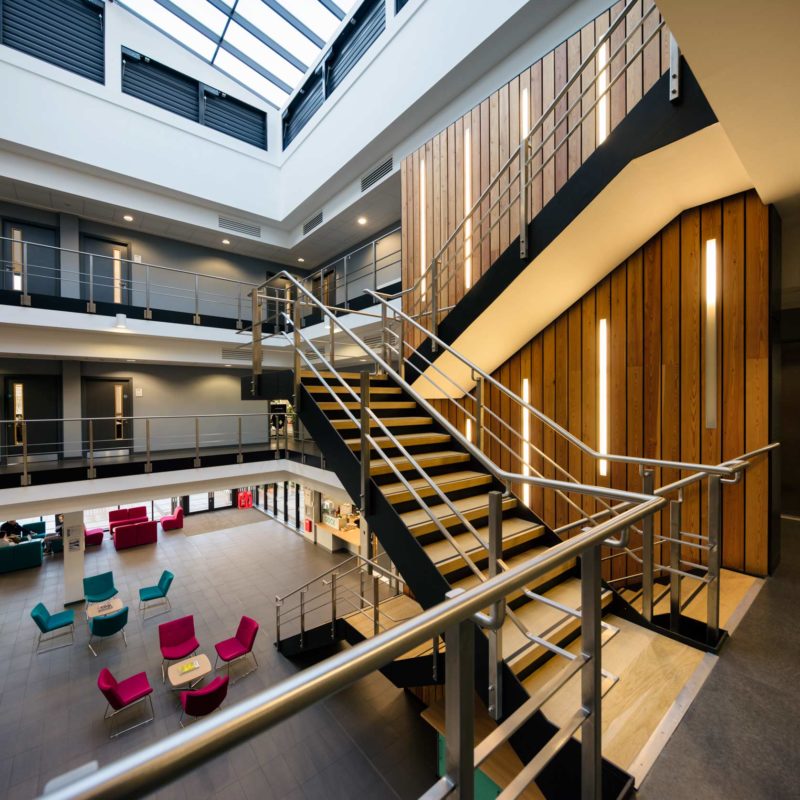
I happened to be at the De Montfort university VJP building for the Leicester School of Architecture prize giving and degree show preview (I’m a council member of the Leicestershire and Rutland Society of Architects and it was the the 145th annual general meeting beforehand). As such, it was a bit busier than when I usually go there to try out lenses…

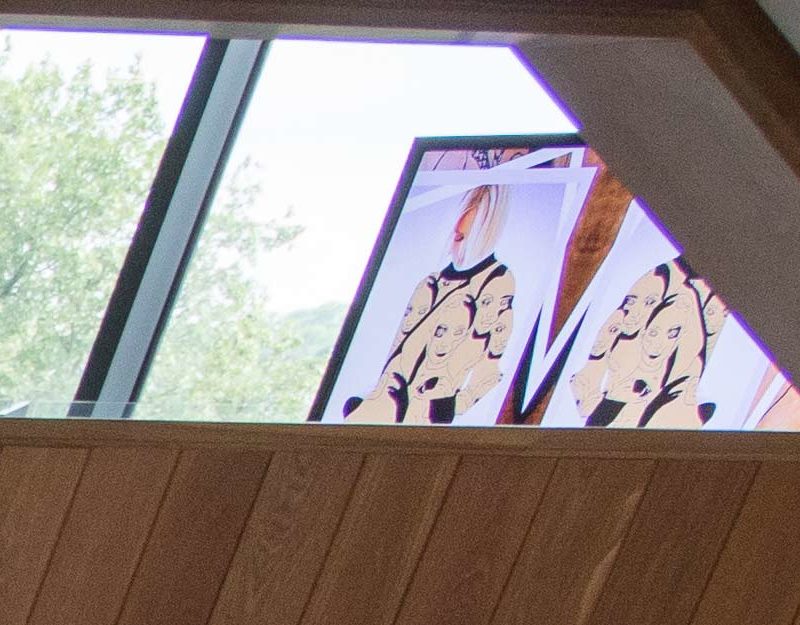
It’s worth looking at the top corner of the image in detail, since it shows the lens’s propensity for purple fringing against bright lighting.
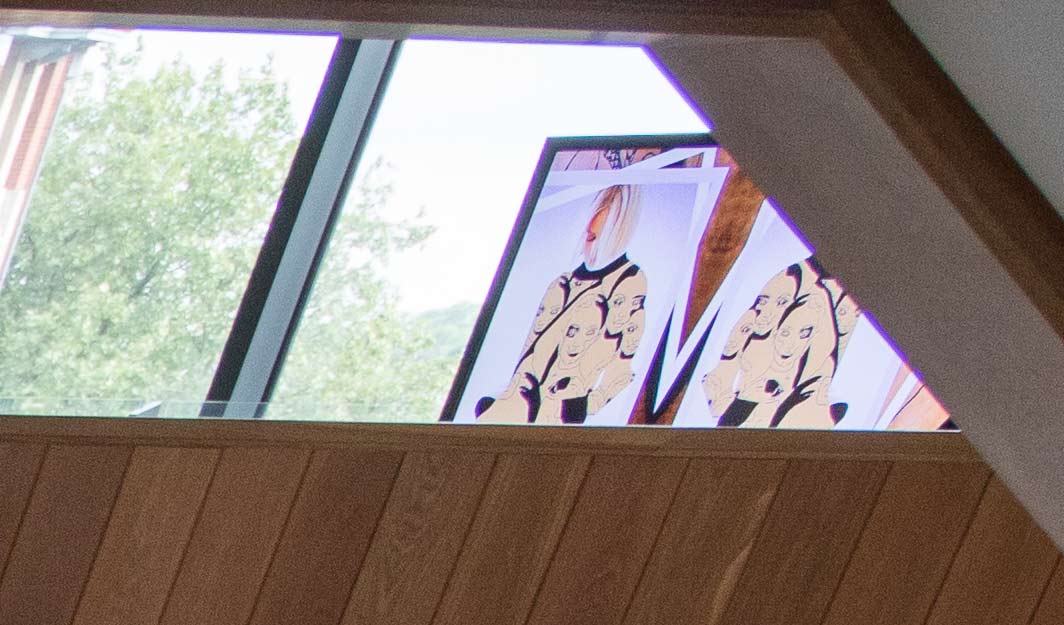
This is not simple chromatic aberration, but is easily reduced.
Opening the RAW file and setting a ‘Defringe’ adjustment gets rid of much of it.
Since the shot above wasn’t shifted or tilted, ticking the automatic ‘Remove Chromatic aberration’ box tidied it up a bit more, but the major improvement came from the defringing.
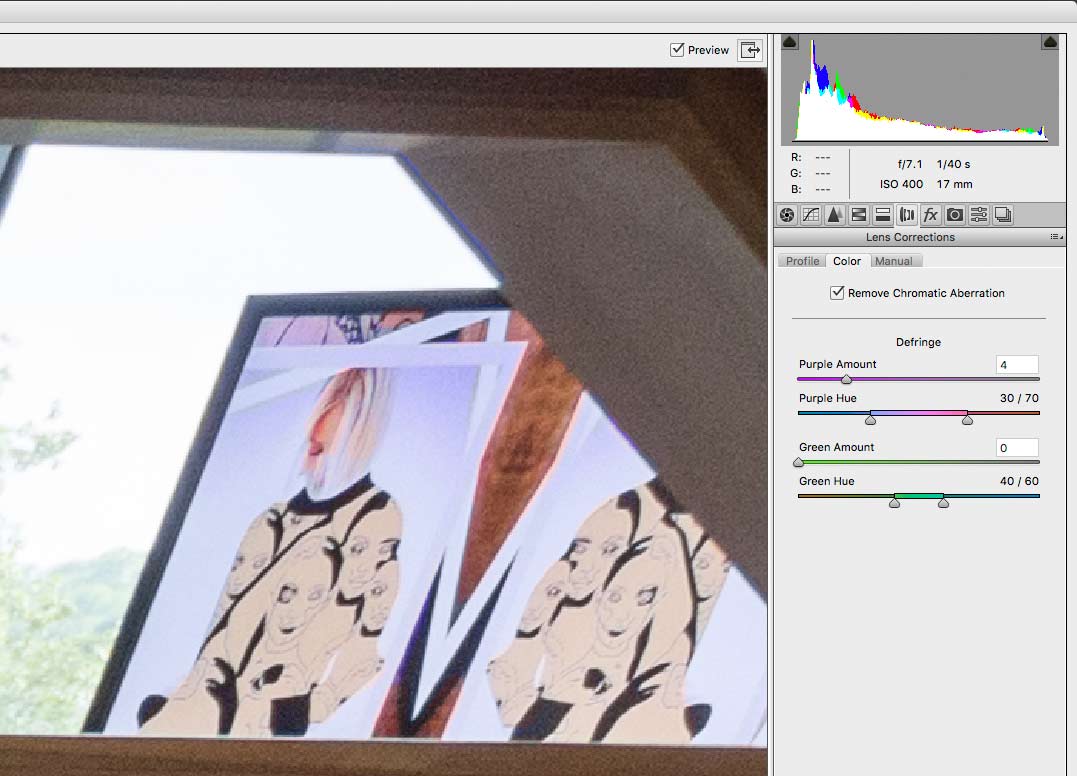
If you use the TS-E17mm for interiors you do need to take note of this with things like window frames – it’s probably not that noticeable on smaller images, but it’s nice to know it’s easily ‘fixed’.
The shot below of the chapter house steps at Wells cathedral was inspired by the famous ‘A Sea of steps’ photo by FH Evans in 1903. [MoMA – WP]
I wanted to see how a modern much wider lens would capture the scene.

Sideways shift
The common use of shift is to let you keep the camera level and shift the lens up/down to get the composition you want.
You can of course point the camera up/down and use shift to create even more convergence of verticals if you wish.
A less common use is shifting sideways, such as this view where I’m looking directly up the steps into the meeting room beyond.

I’ve used shift to give the view into the other room, rather than the office.
Another use is to use the shift to avoid your own reflection, in a window for example. This needs some care with a really wide lens, since the shifted perspective can easily look ‘not quite right’. If you look again at the image above you can see how I’ve kept the steps parallel with the frame and shifted the lens to the right.
If I’d needed some vertical shift as well, I’d have shifted the lens diagonally to the right and up, giving me a combination of horizontal and vertical shift.
Using tilt
If you use strong tilt at smaller aperture, the effect is normally much more subtle.
Here, I’ve swung the lens sideways to run the plane of focus along the stairs.
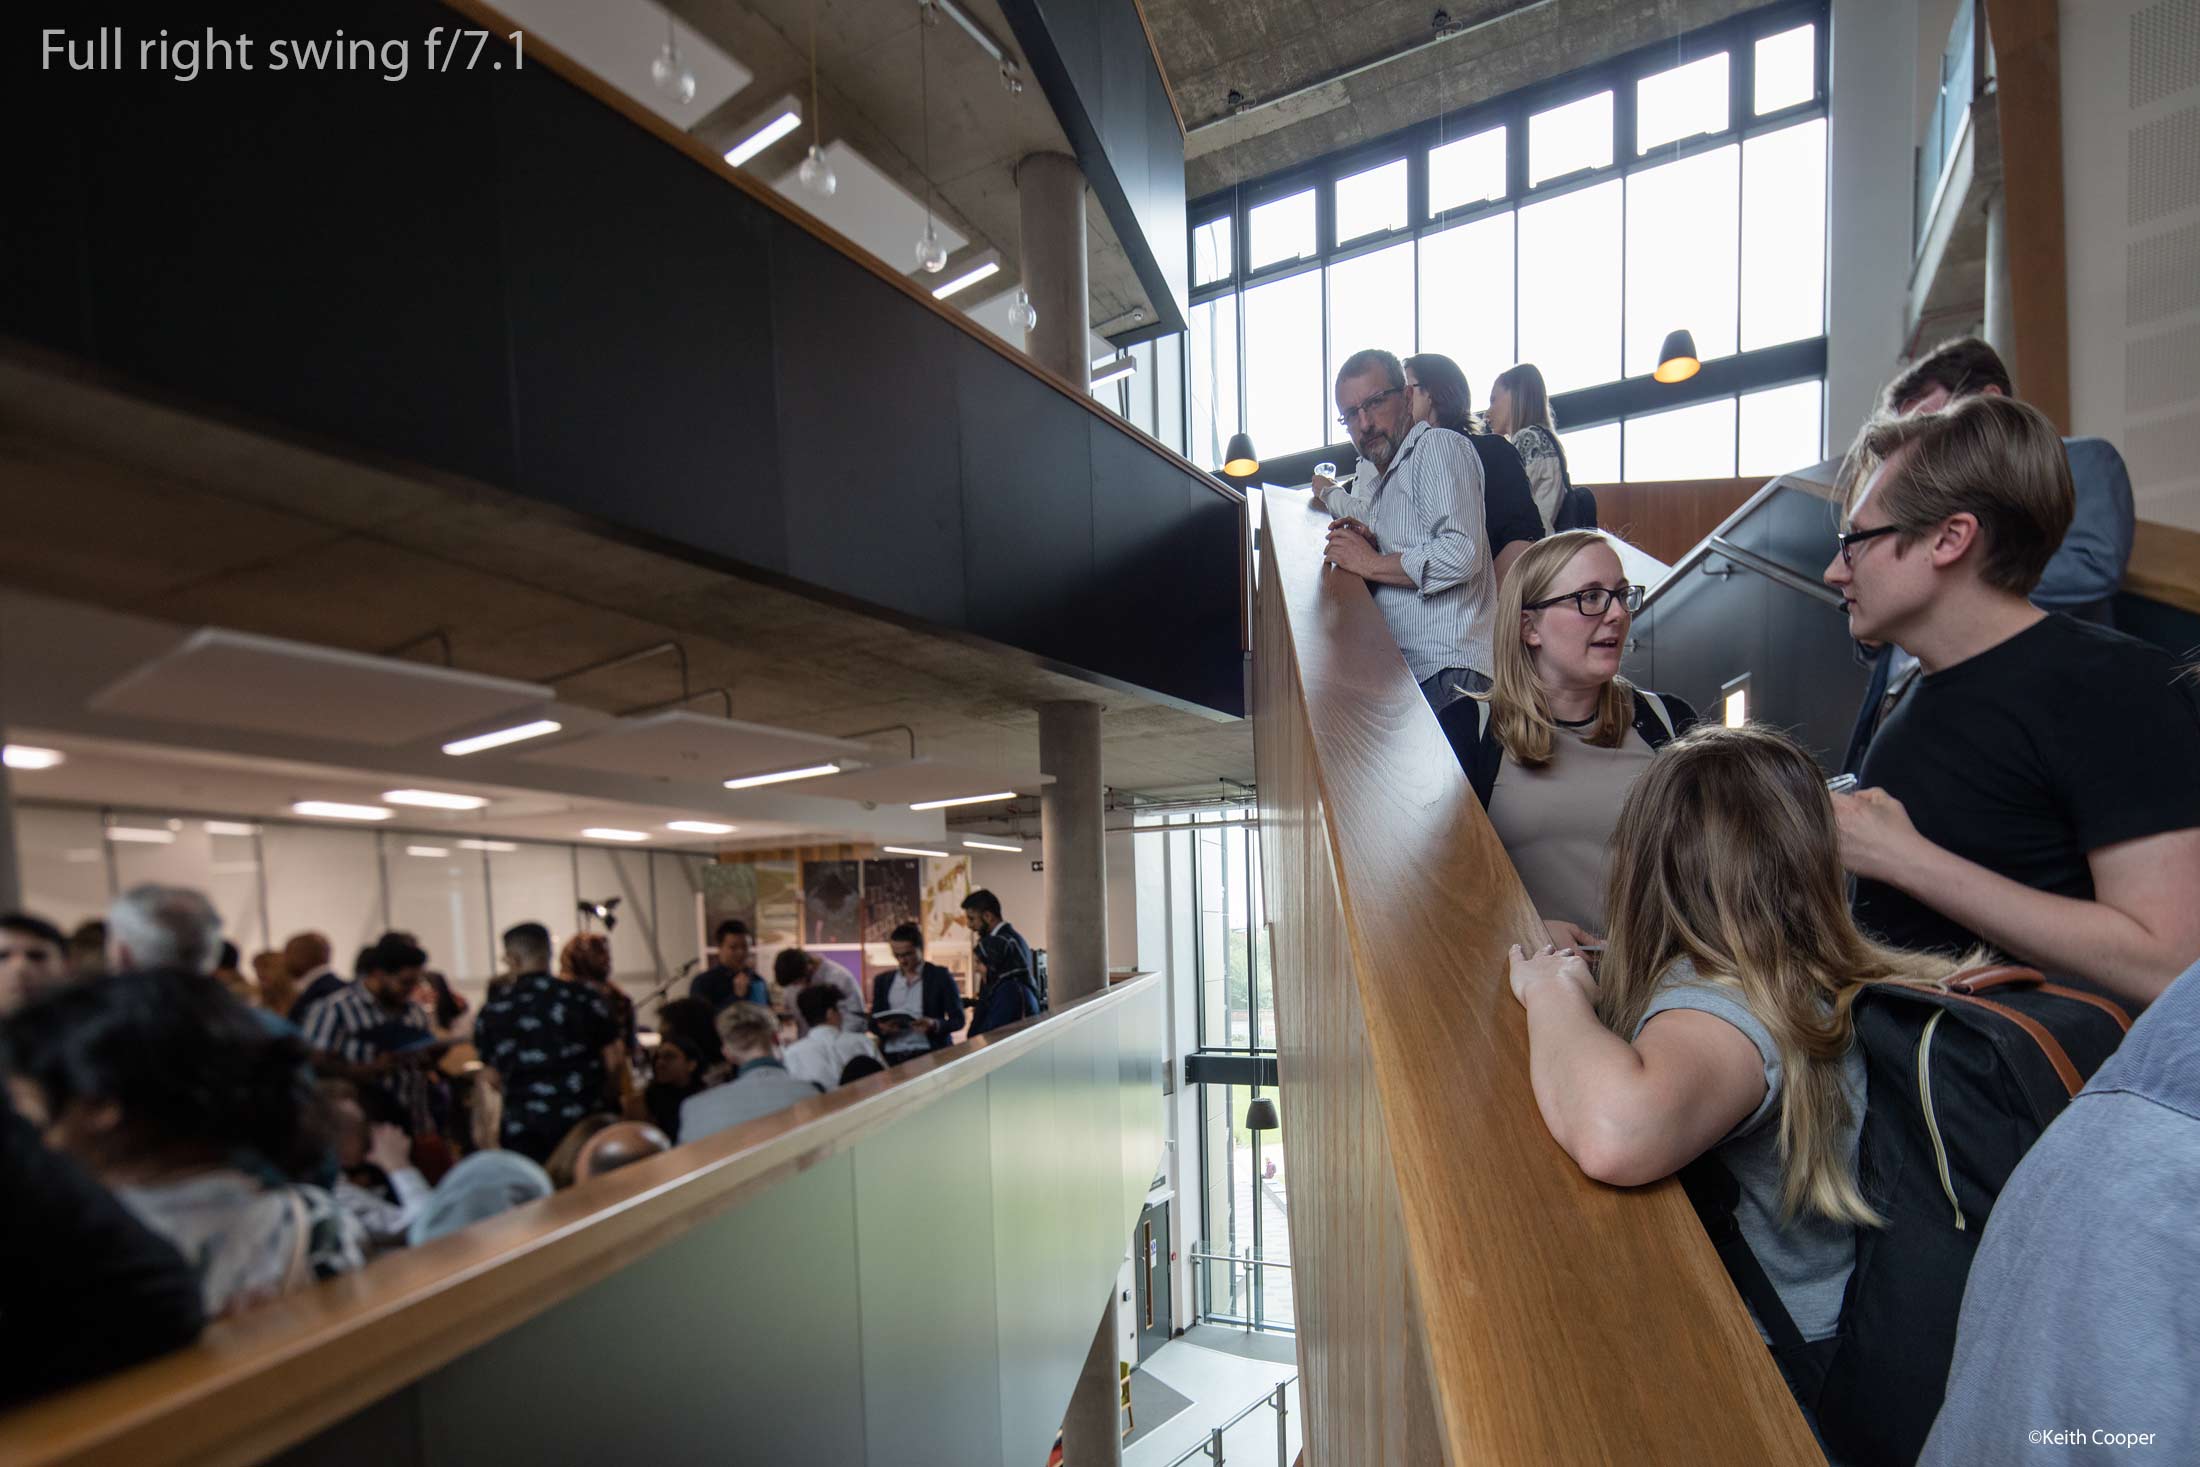
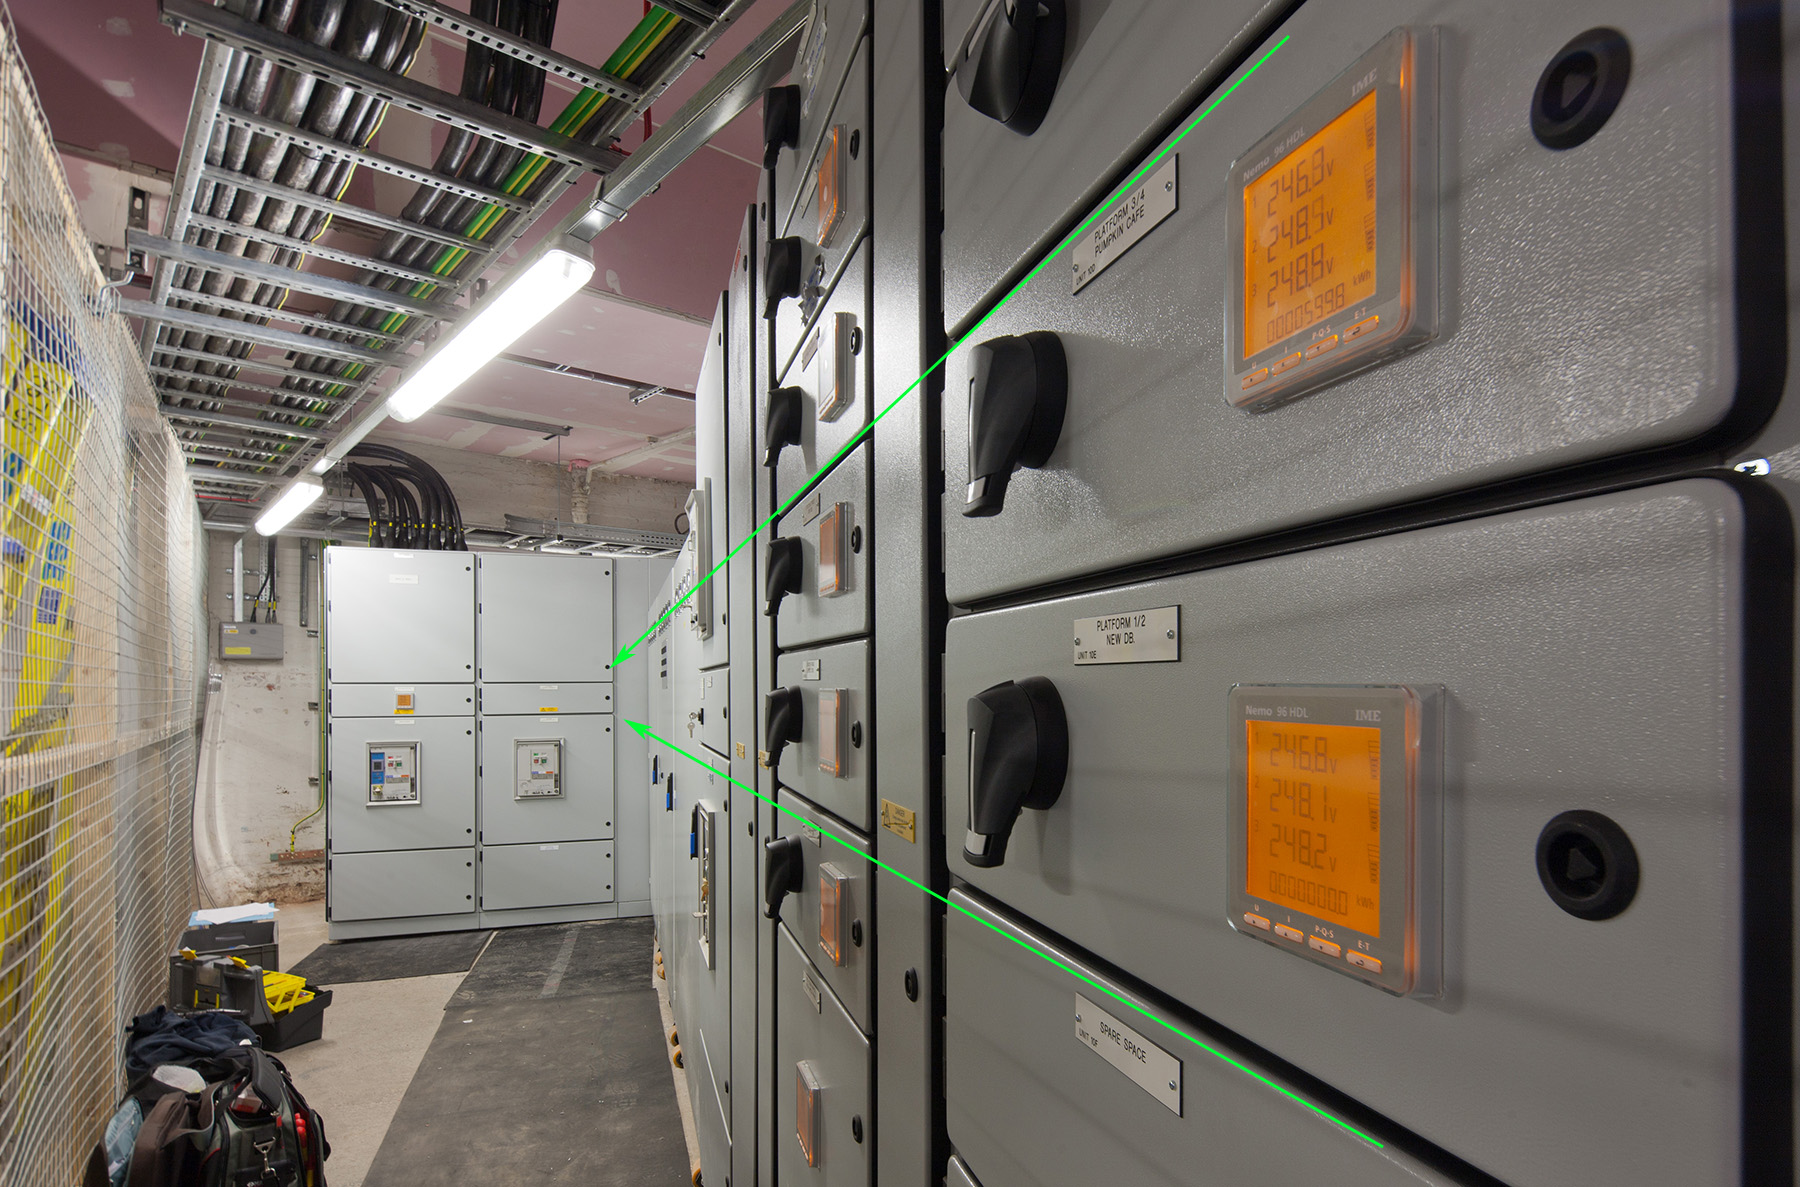
Another example, from a very cramped switch room under Leicester railway station.
I’ve marked where the plane of focus runs.
There’s another example of this in the ‘close up’ section below.
Stitching
Sometimes I want a wider view than what I get with a particular TS-E lens, sometimes I want a square shot, without cropping my 3:2 frame.
Fortunately, it’s very easy to set the camera up, take a photo, shift the lens and then take another, then stitch them together.
This gives a wider coverage, or just more megapixels – important when you’re making a metre square print.
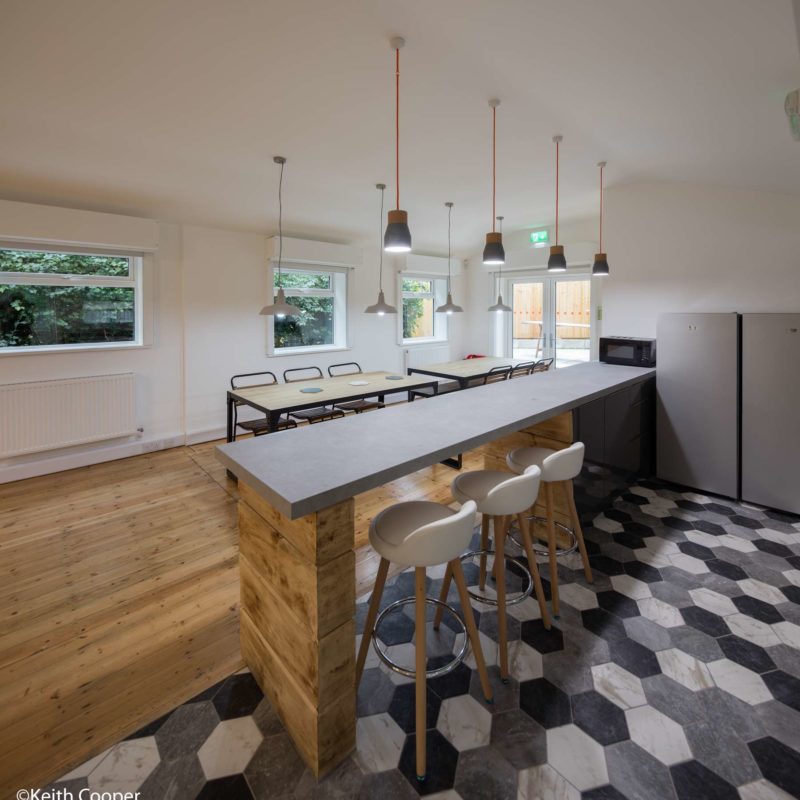
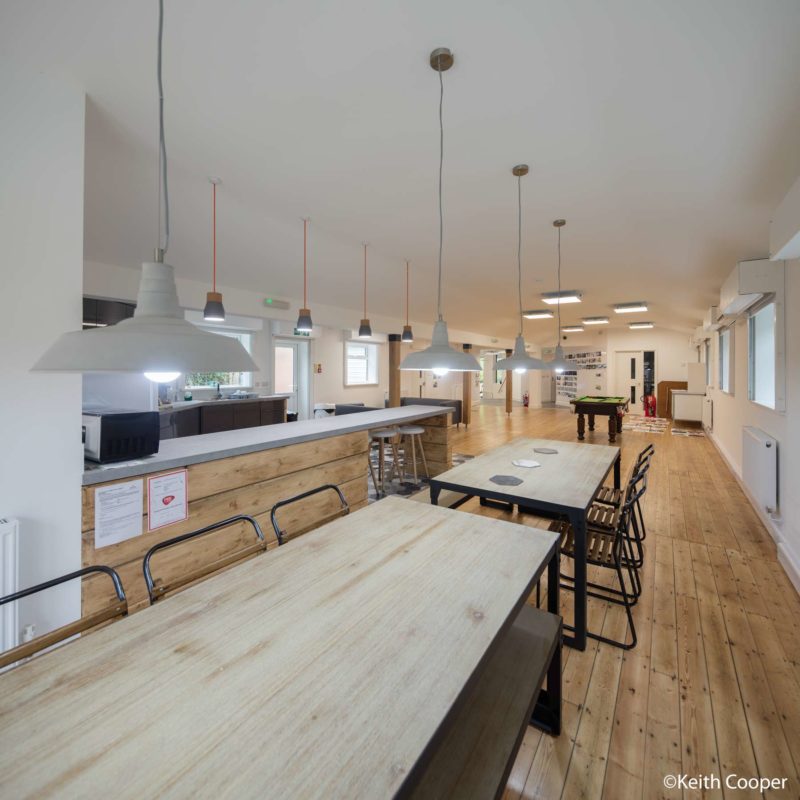
Here are two examples (up/down stitch) from the same office as the side shifted shot earlier. Here I’ve cropped square to make images around 80MP.
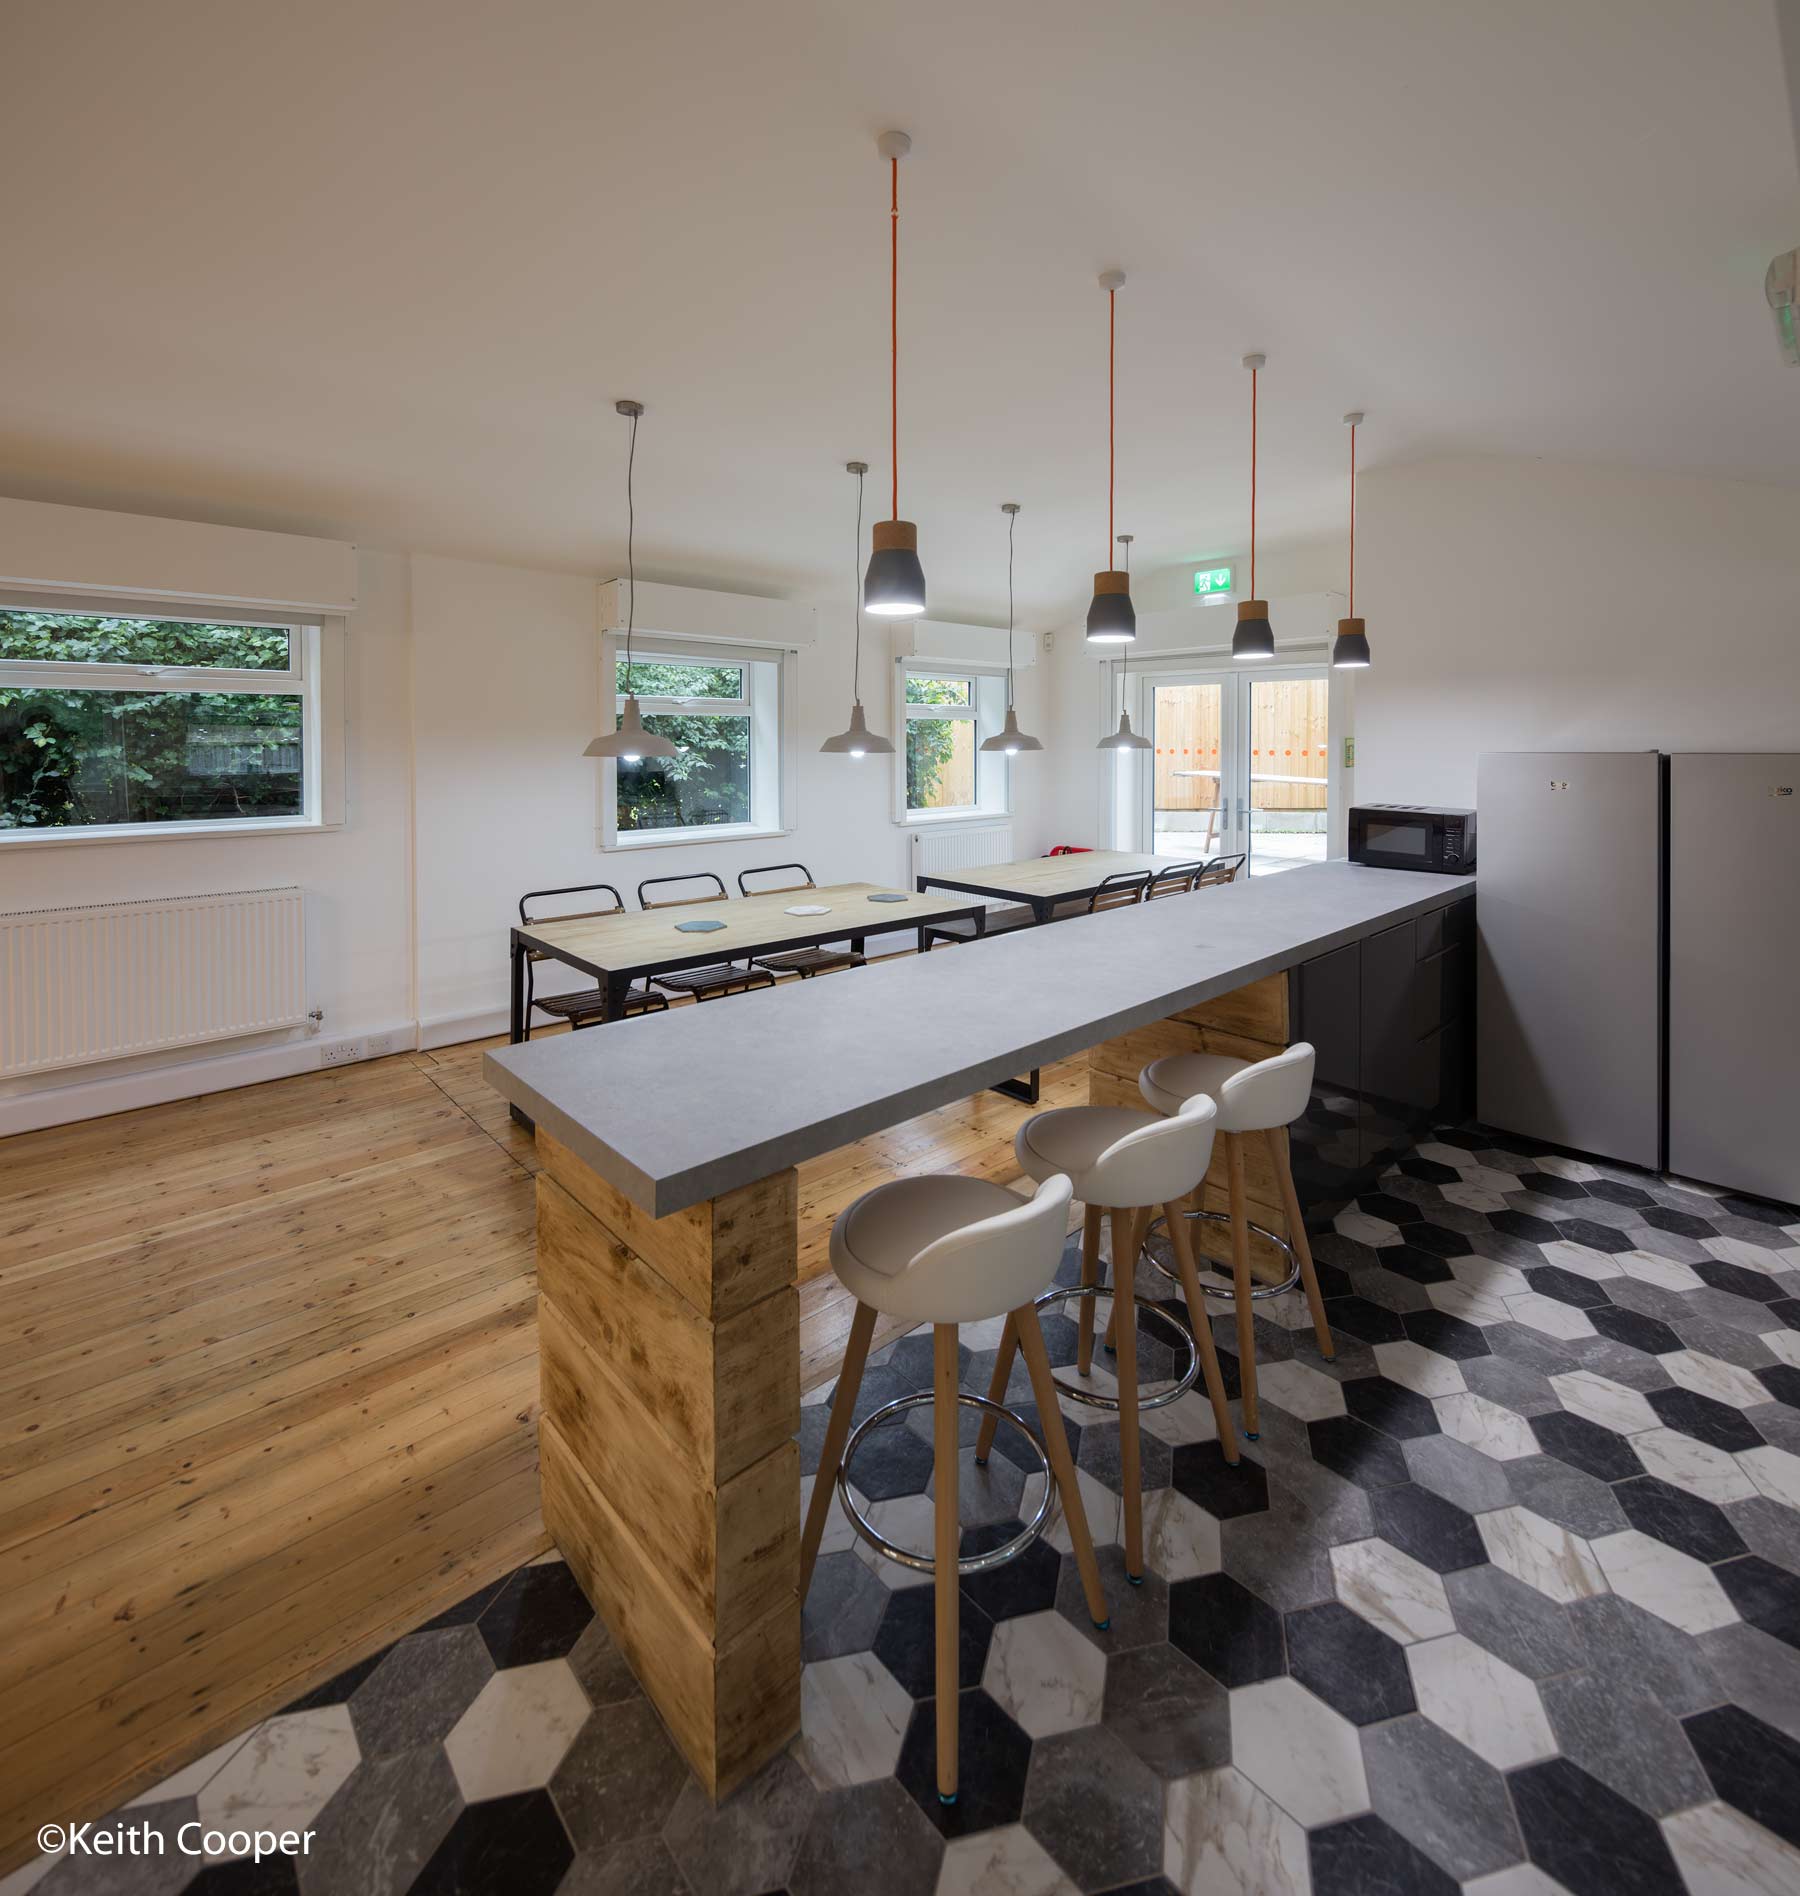
Of course, you don’t have to use all of the combined image.
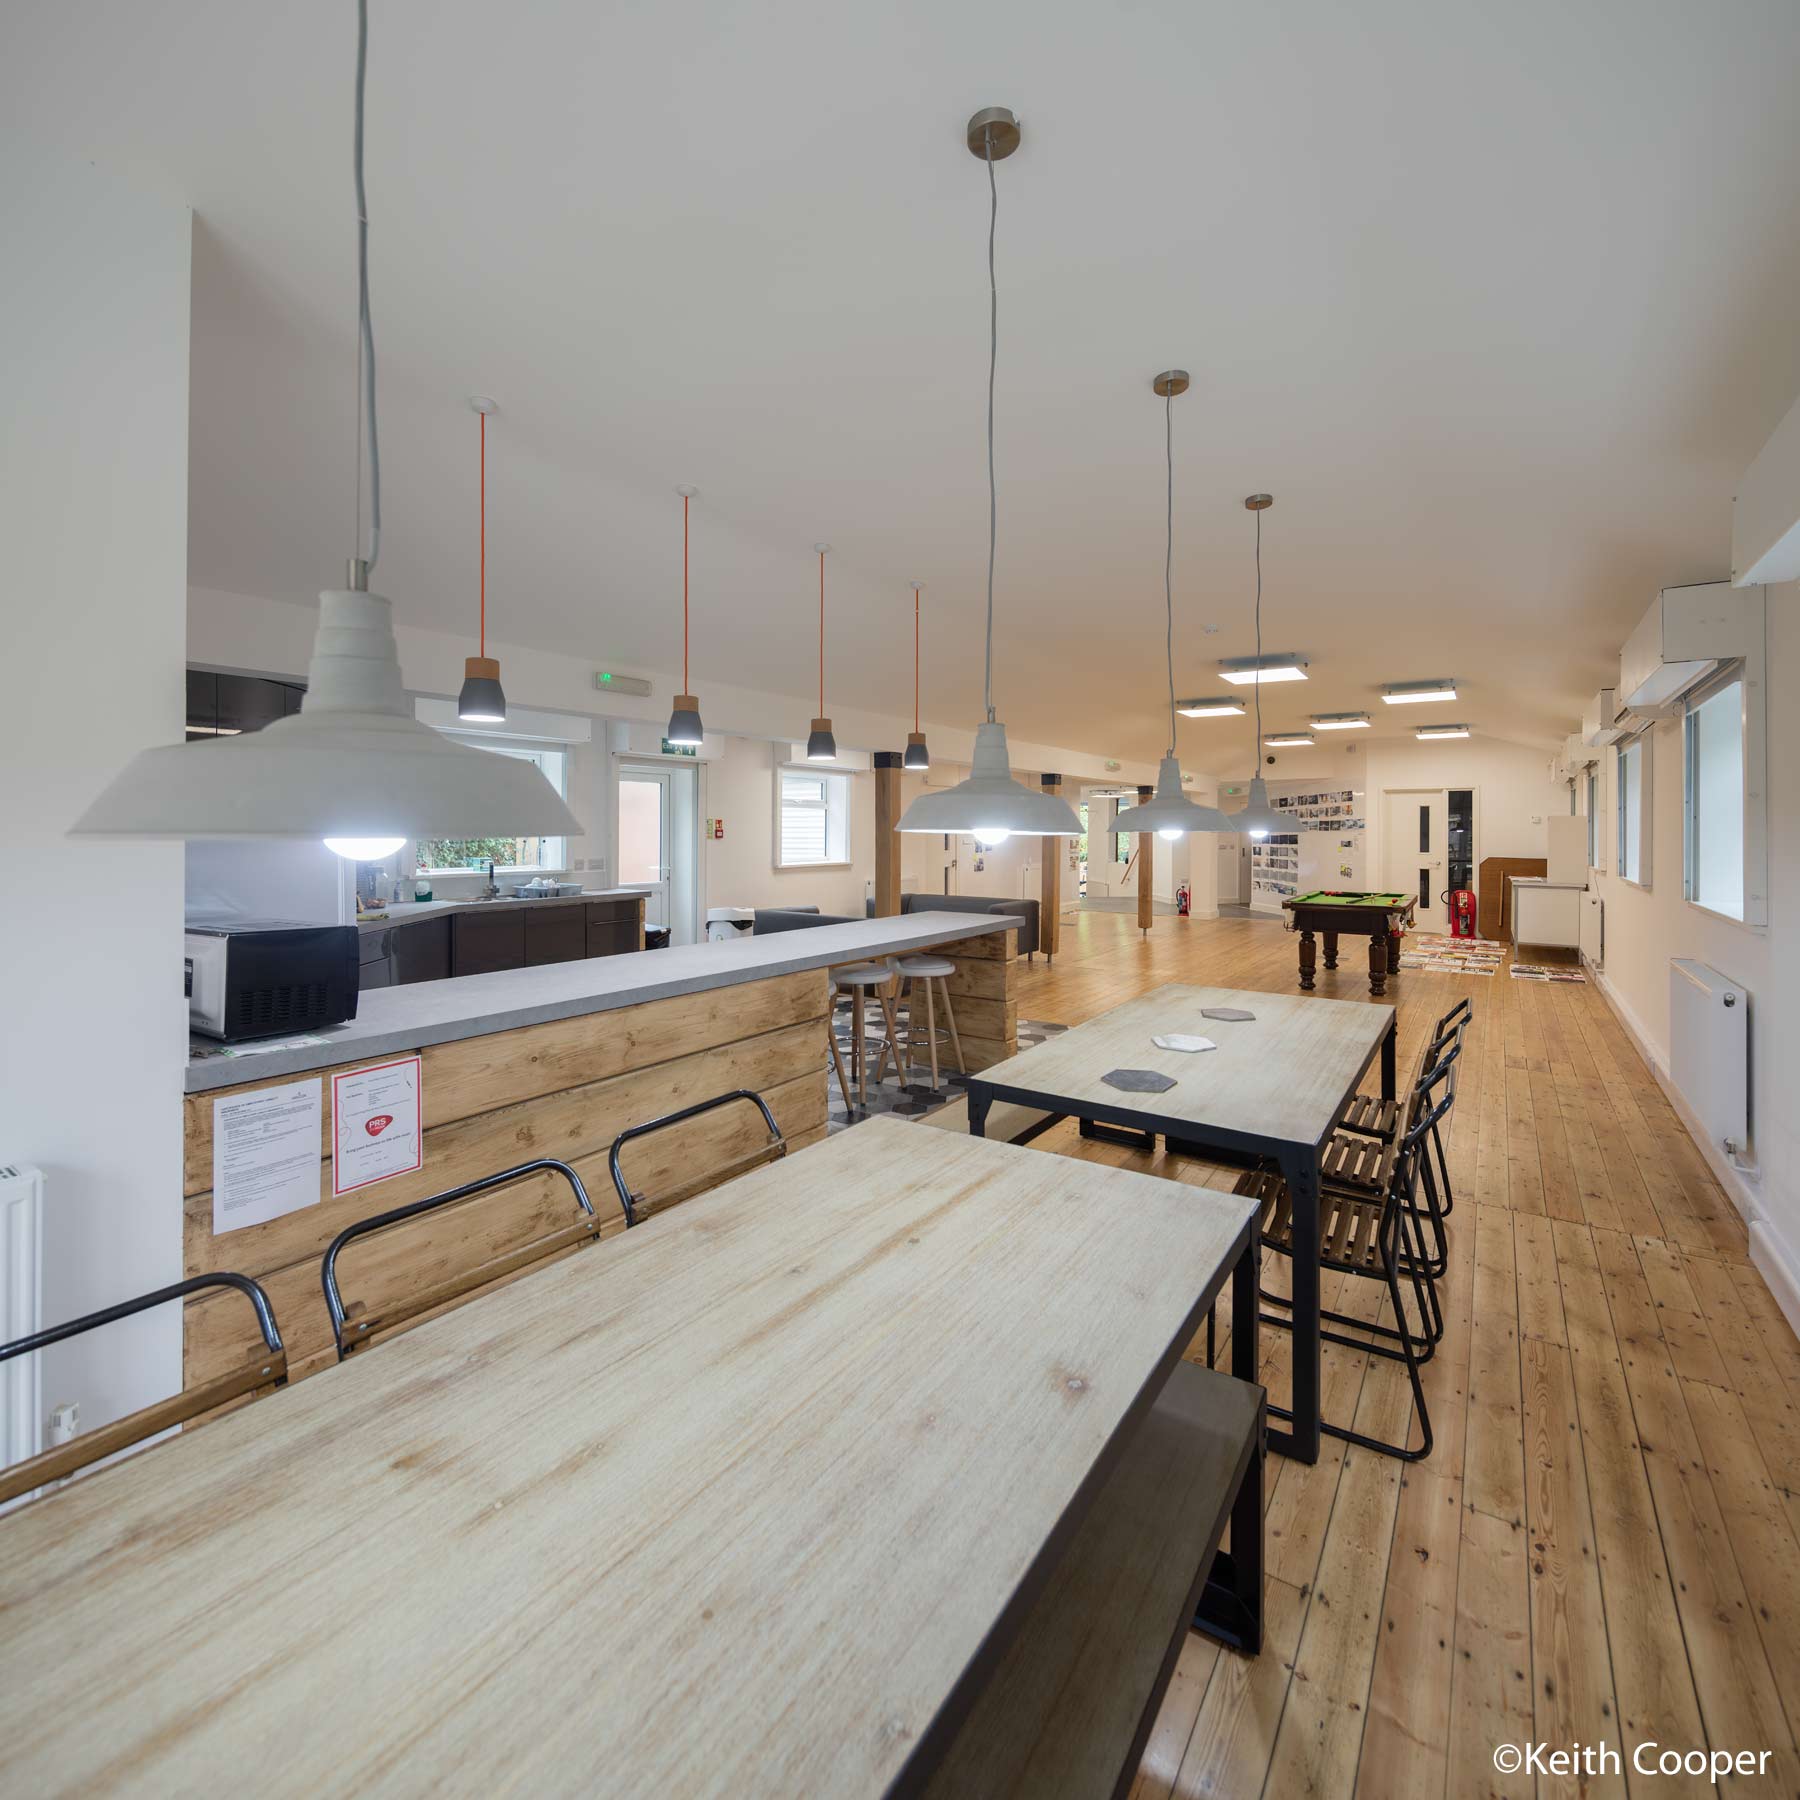
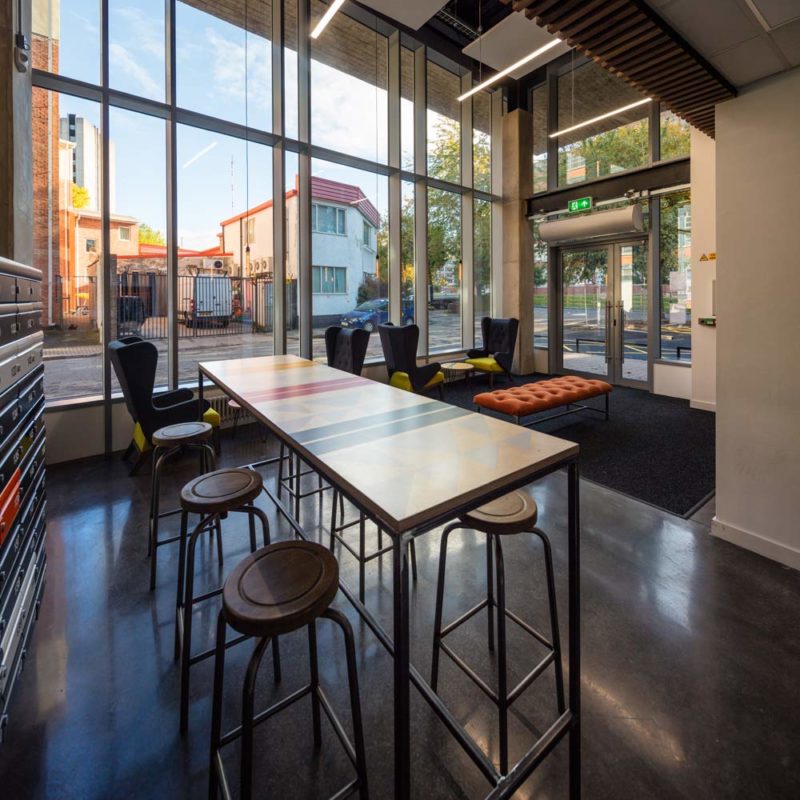
You have to be careful with the normal rectilinear distortion of very wide views with interiors. The table designer liked this shot, but personally I might have cropped it somewhat.
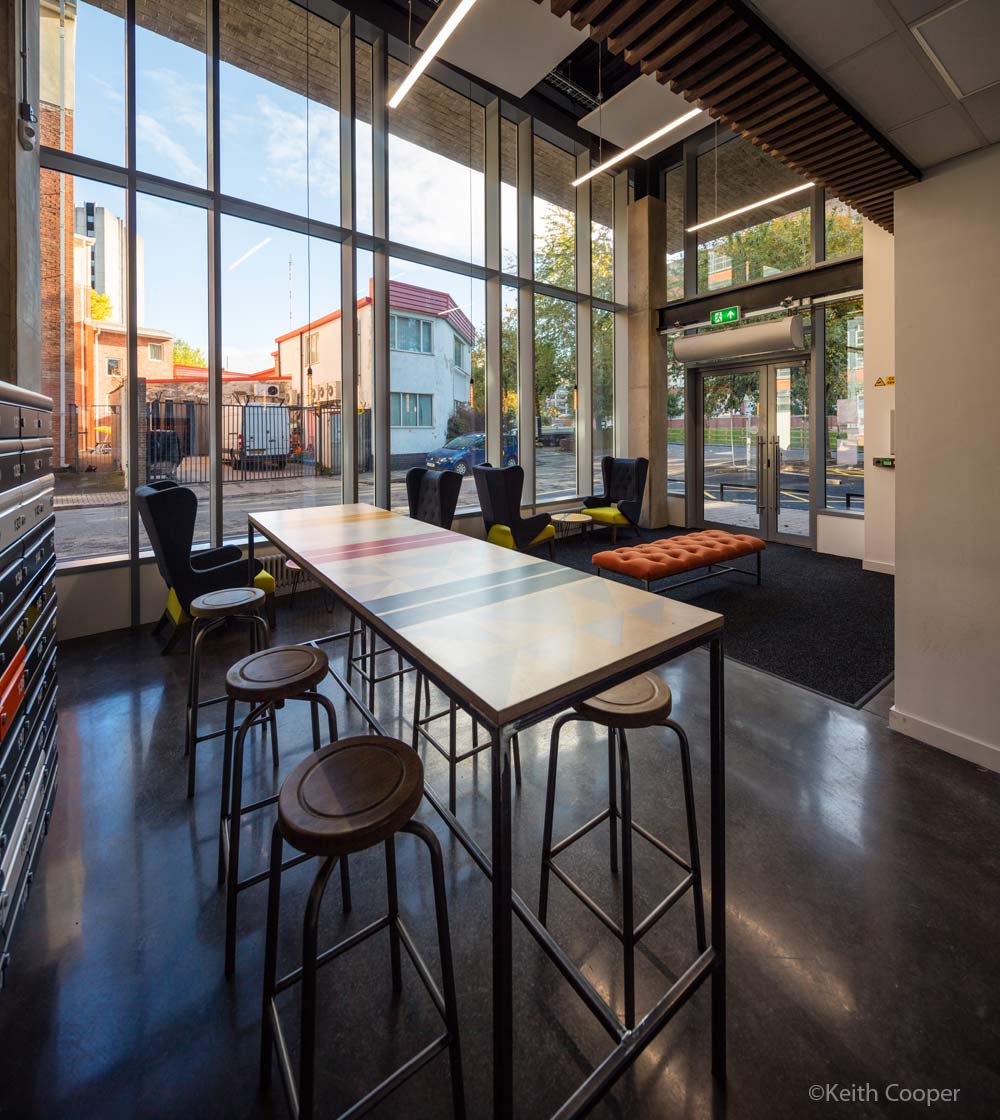
I always have to remember that you can crop out of images but you can’t easily add stuff in, so my default, after years of dealing with designers, is to shoot and stitch a bit wider than perhaps needed.
Parallax errors
One of the problems with stitching images is that moving the lens changes the viewpoint slightly. If you’re not careful this can cause parallax errors.
A recent fix for this is to use a lens mount such as the TSE Frame (review) which holds the lens and lets you move the camera for stitching. It’s attached to a Benro GD3WH geared head. The TSE Frame review has lots more examples, including 4 way stitches, which give a very wide view.

If you need to use tilt, then a device like the PPL TSE adapter lets you adjust it, although I do find the TSE Frame easier to use for shift-stitching.
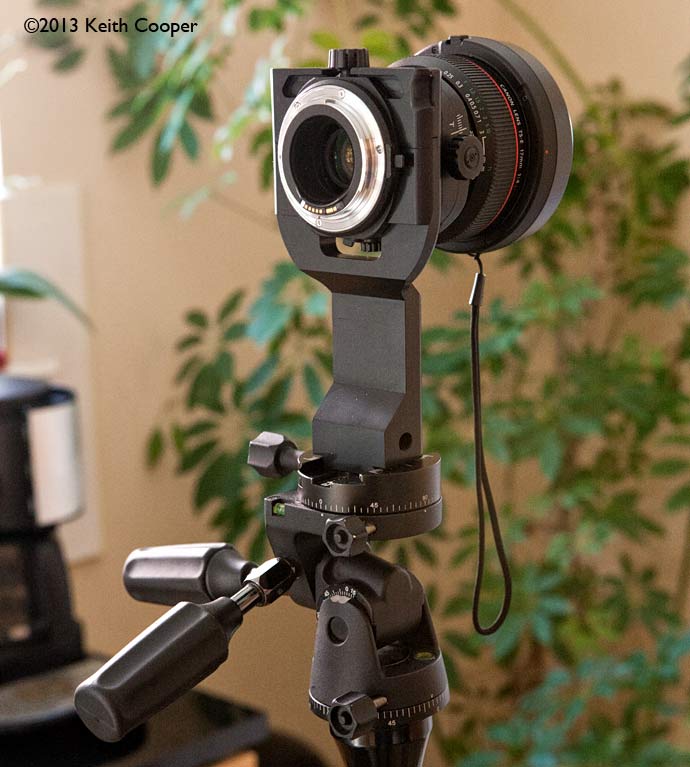
Here with the mount shifted left by 12mm.
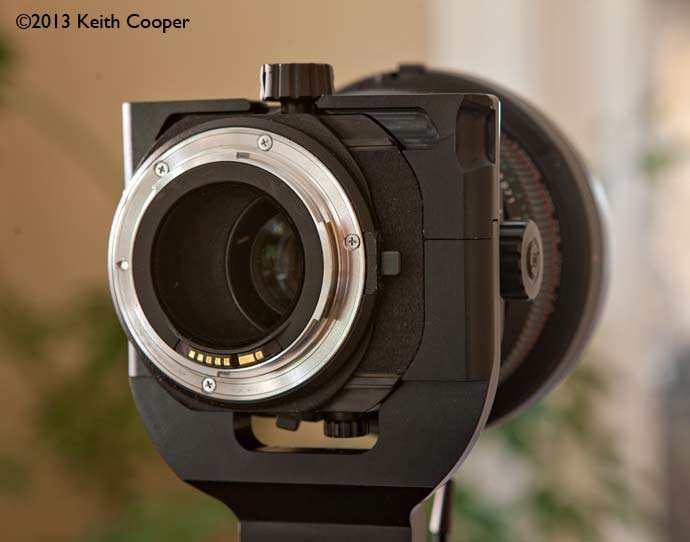
Levelling the camera is much more critical at wide angles, where errors are a lot more obvious.
The internal electronic levels in any camera I’ve tested are simply not accurate enough.
The steps at De Montfort university’s VJP building – another stitched image where you want to avoid lens movement parallax when stitching.
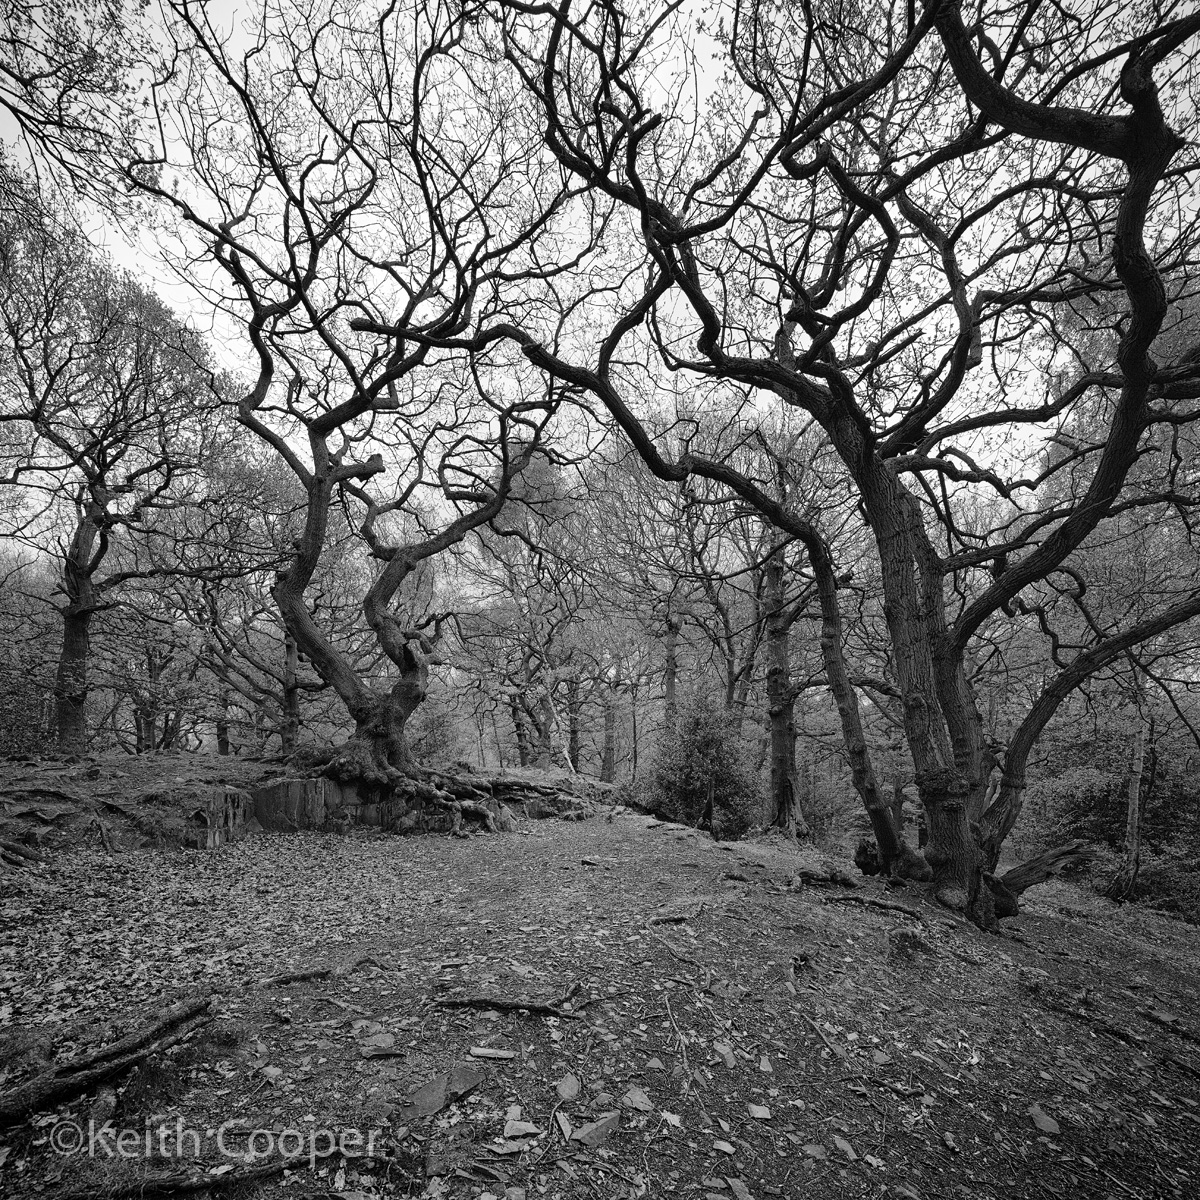
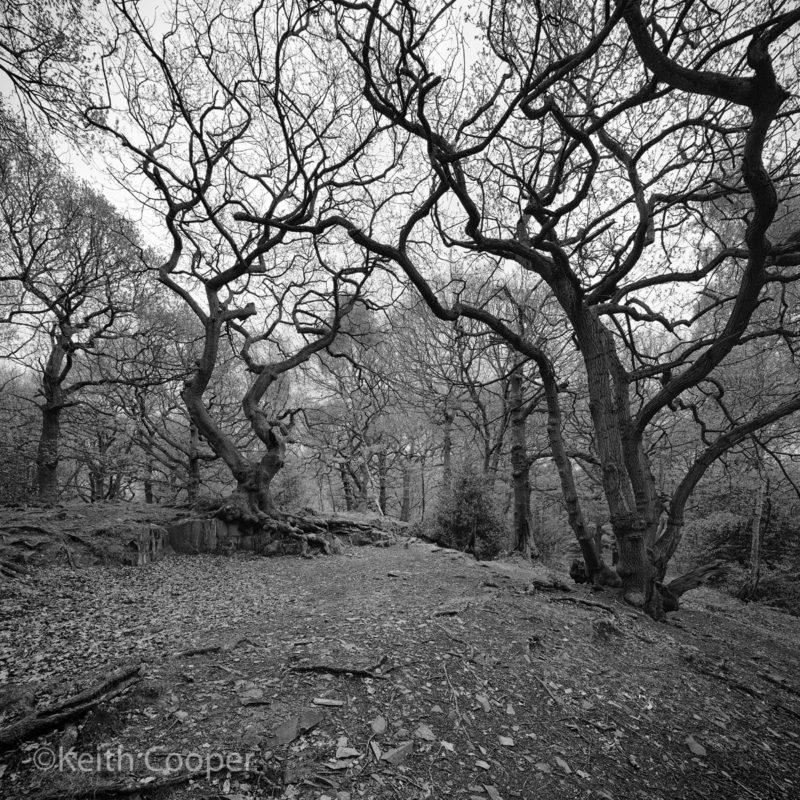
Going really wide in some woods in Leicestershire.
The view below is was from when I was testing the TSE Frame, showing that just because you can get a very wide view (4 images) it may not be the best view.

A view like the next one (up/down stitch), with its crossing near/far lines, would exhibit parallax issues if the lens had been shifted up/down rather than the camera body.
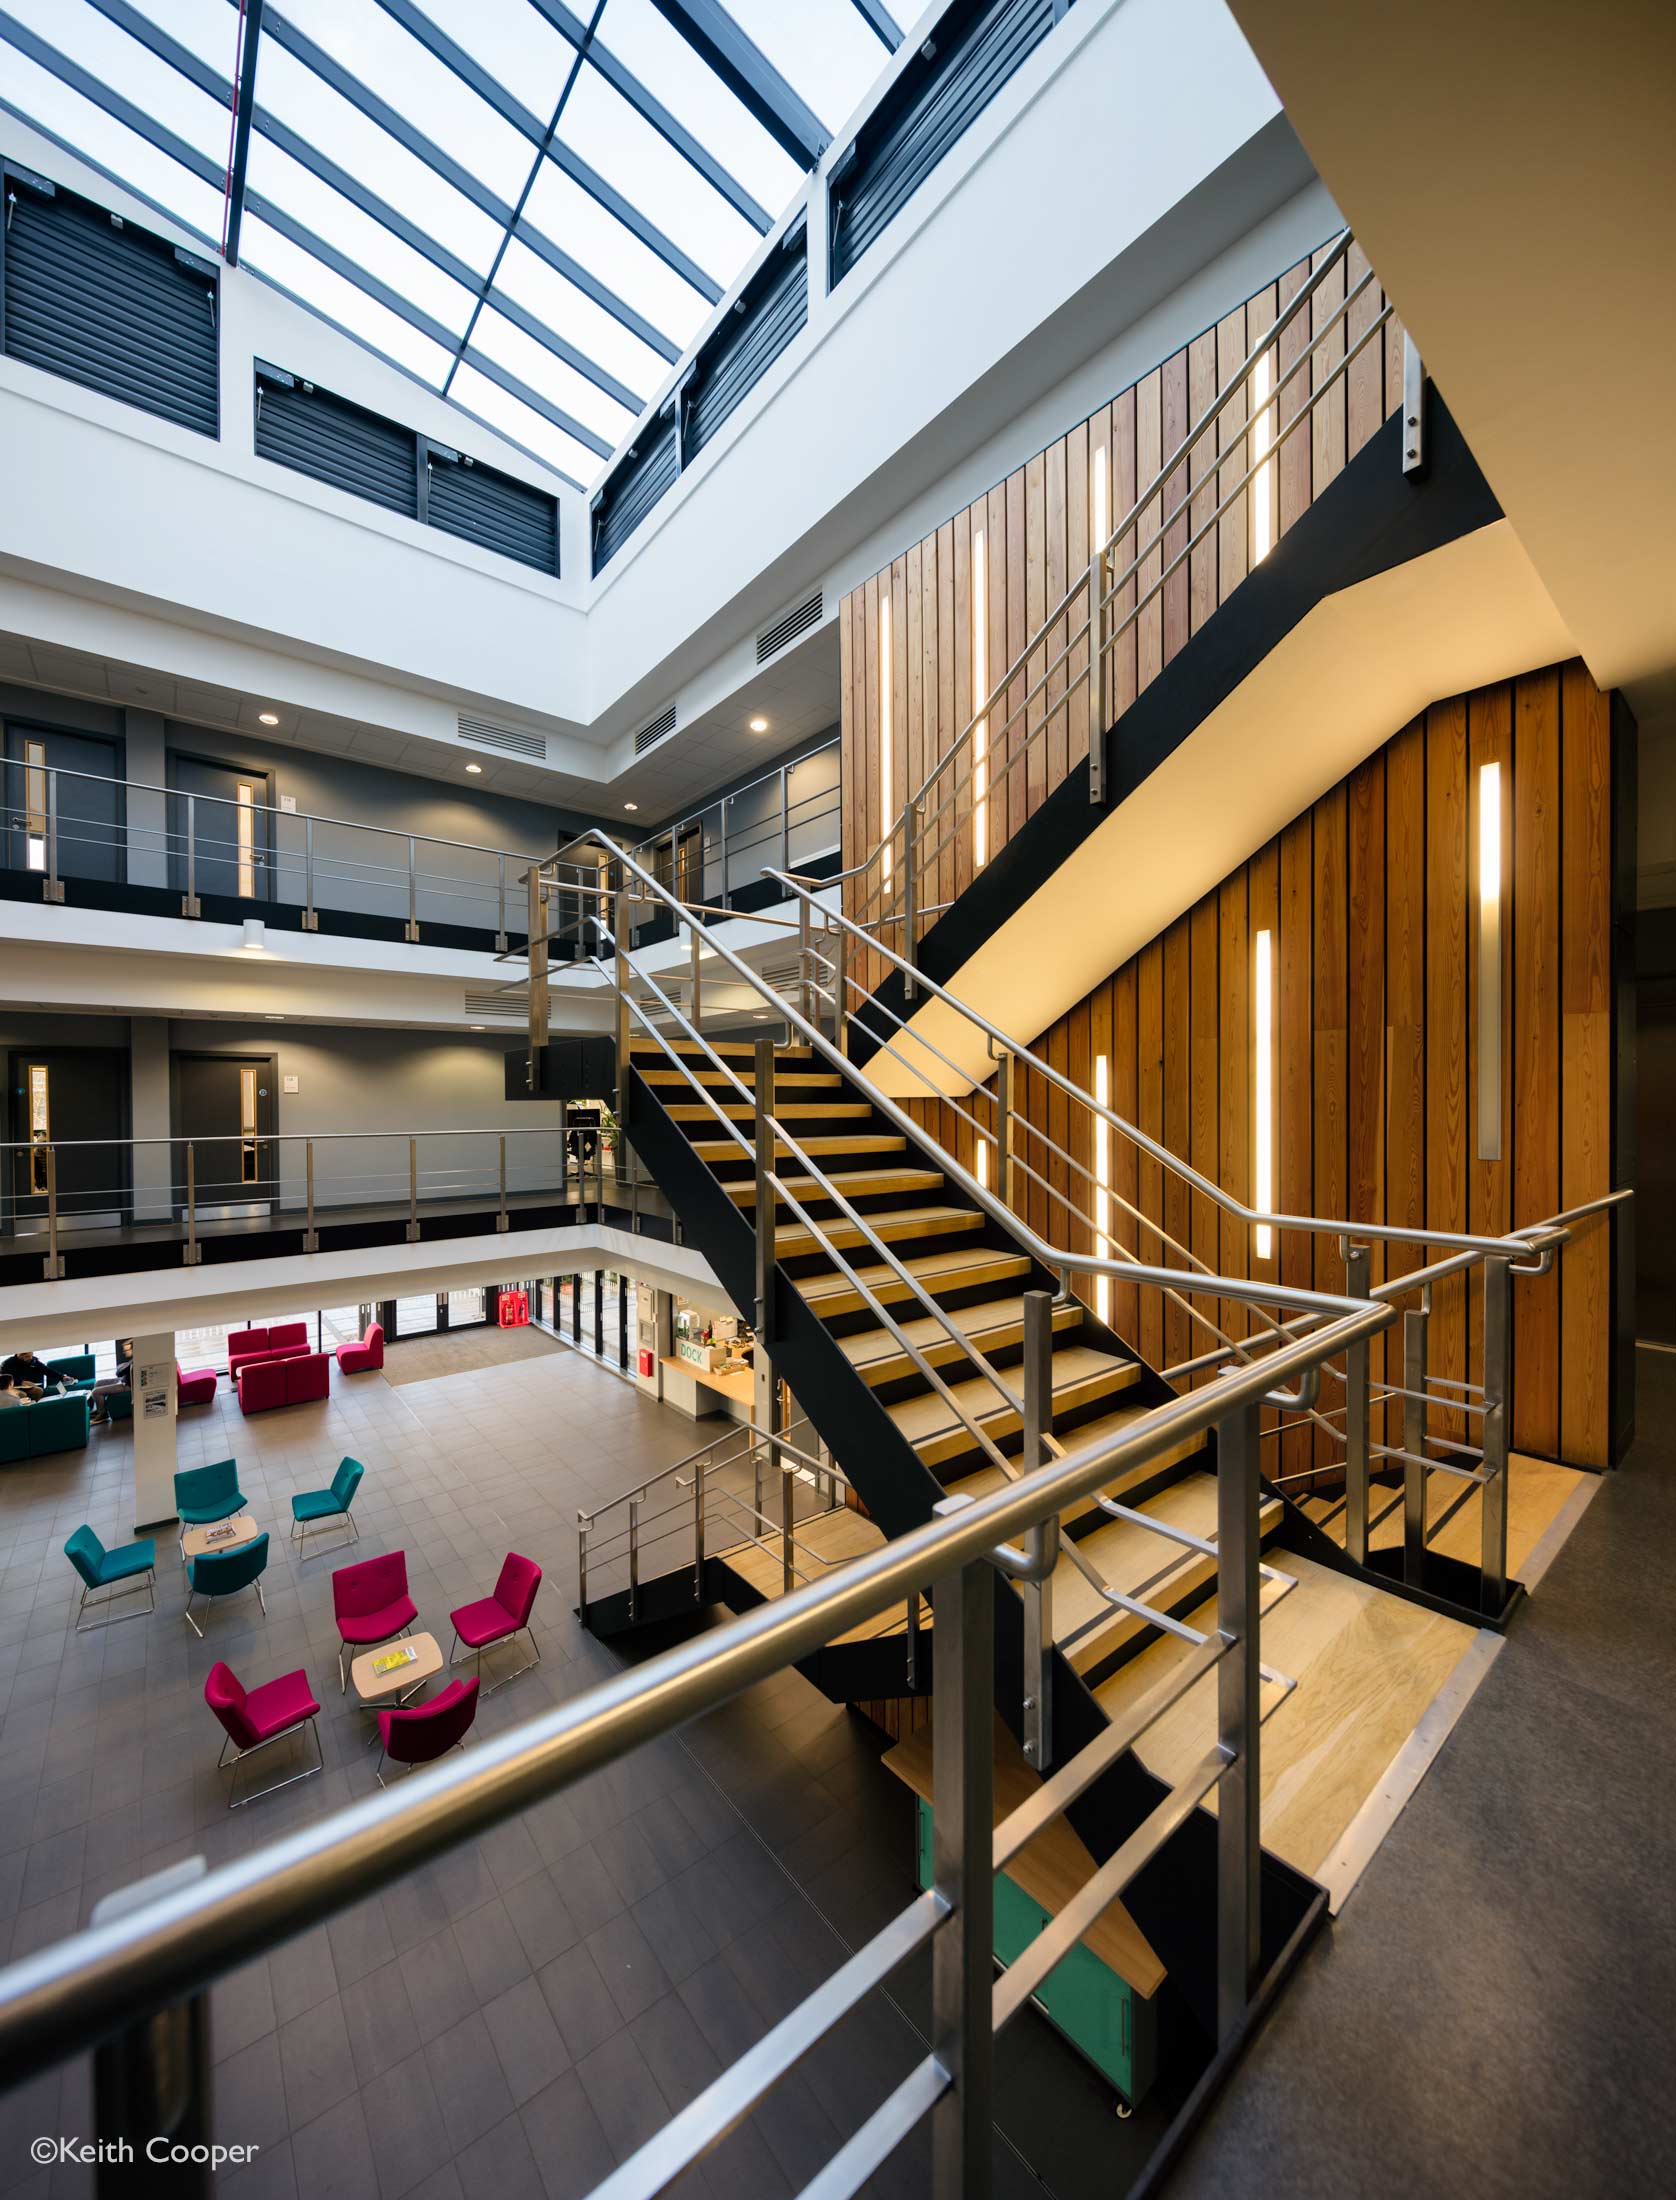
Whilst a wide view helps, it doesn’t take away the need to find interesting light.

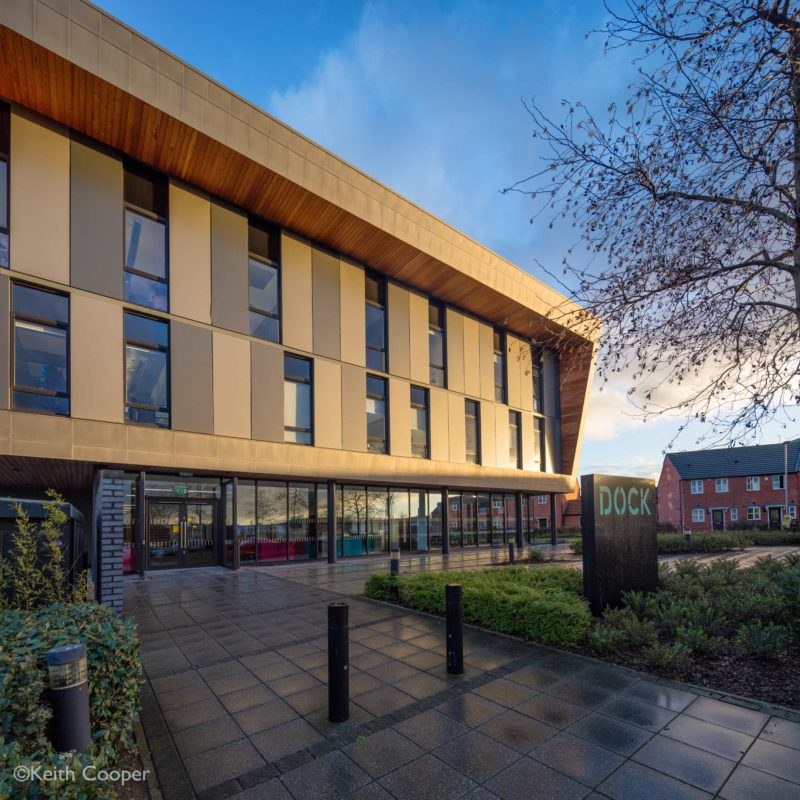
The Dock, Leicester
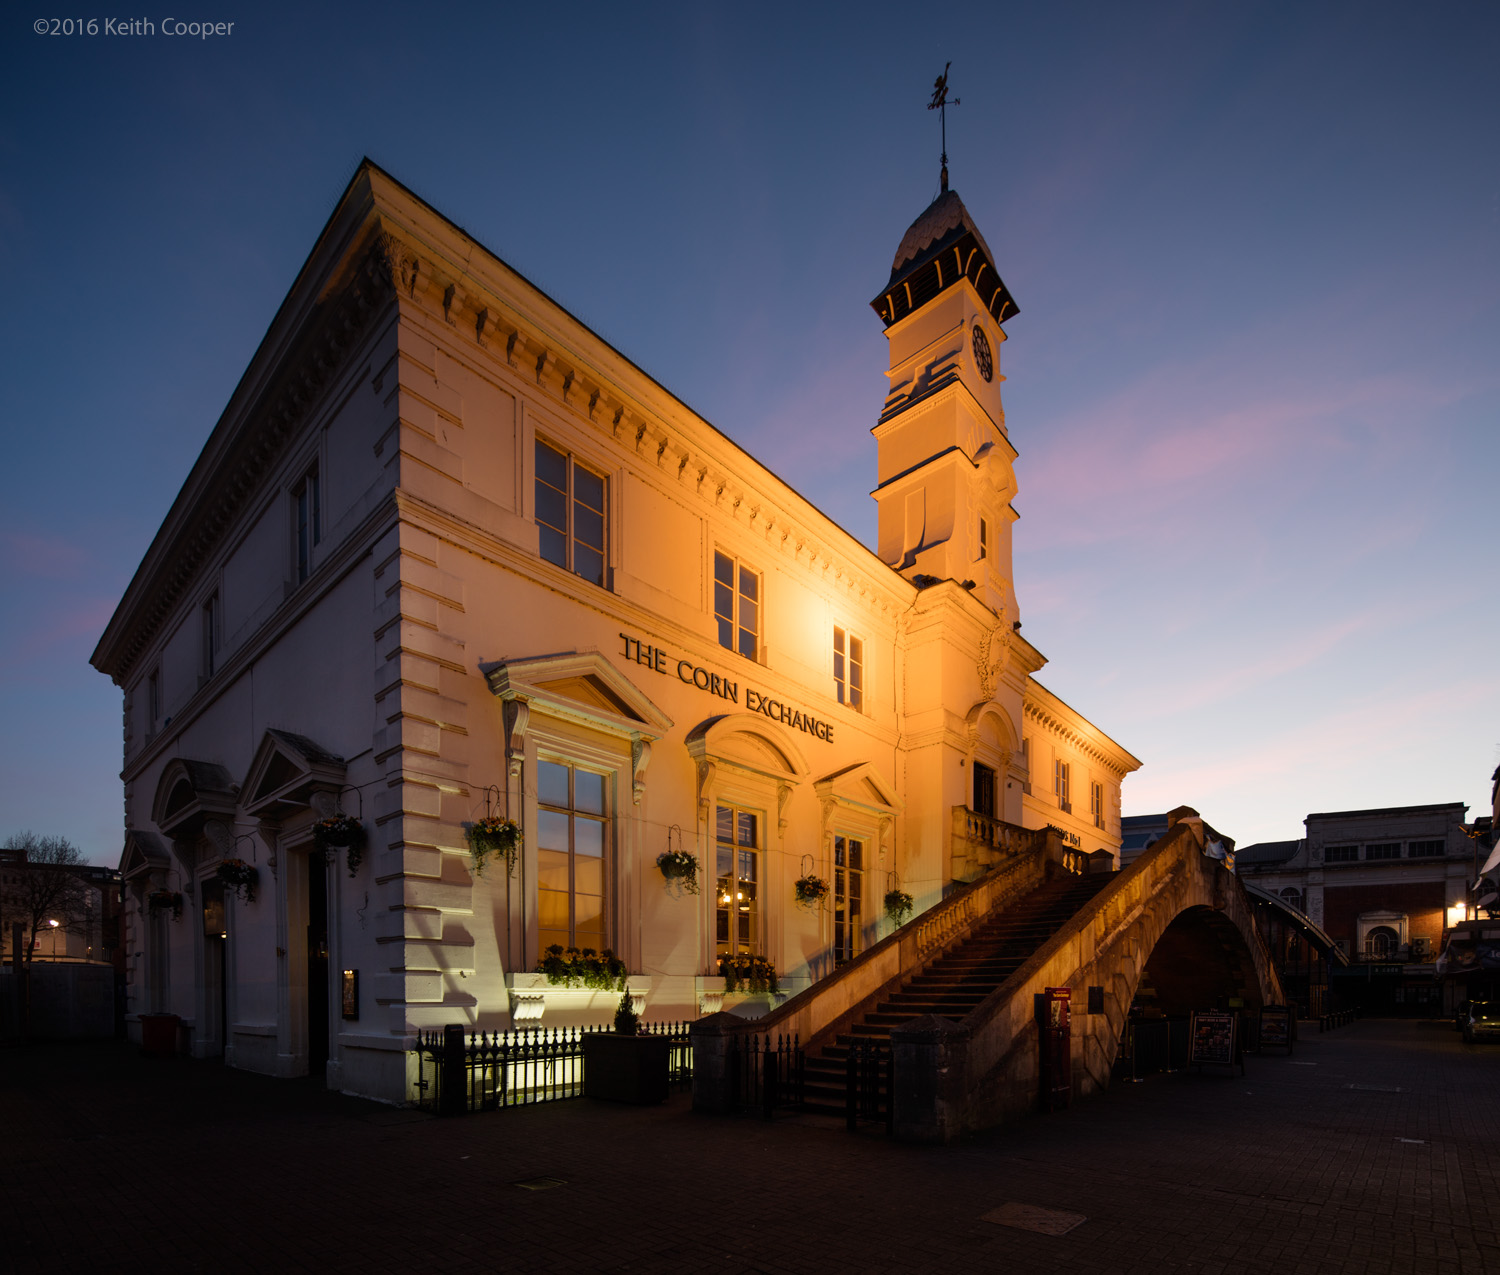
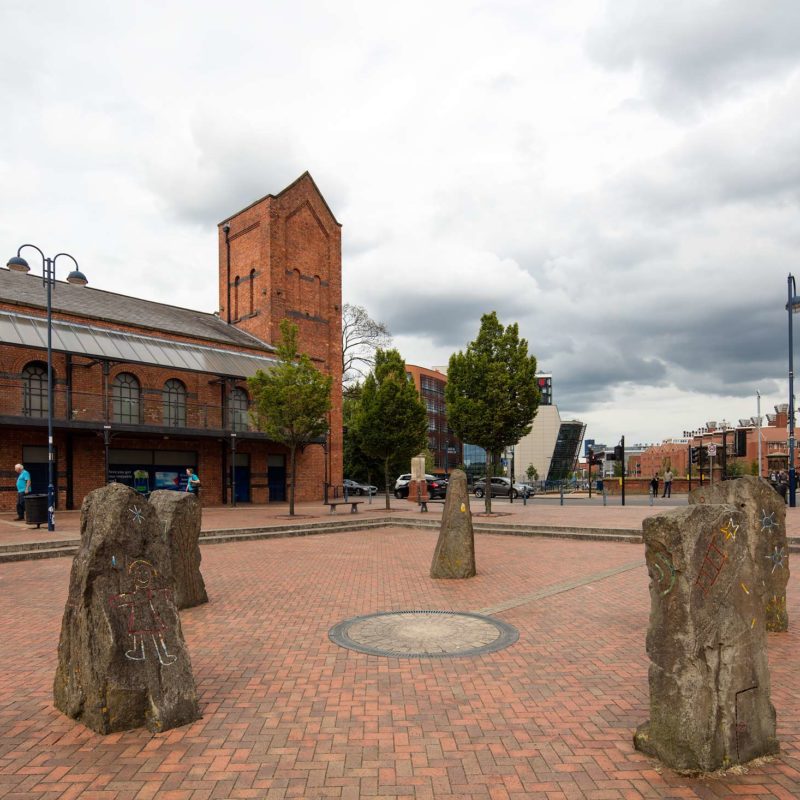
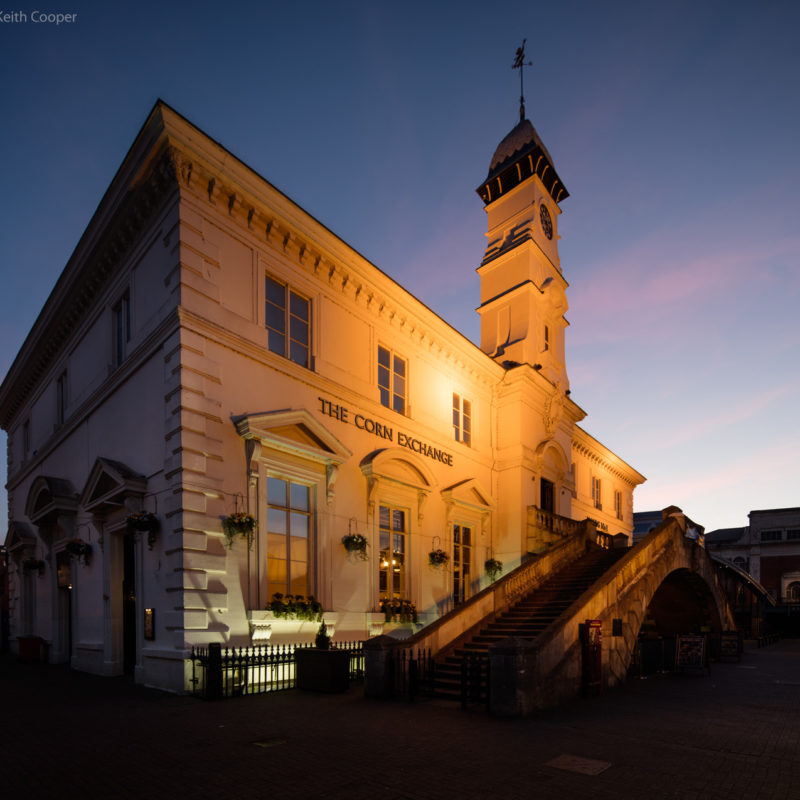
The Corn Exchange, Leicester marketplace.
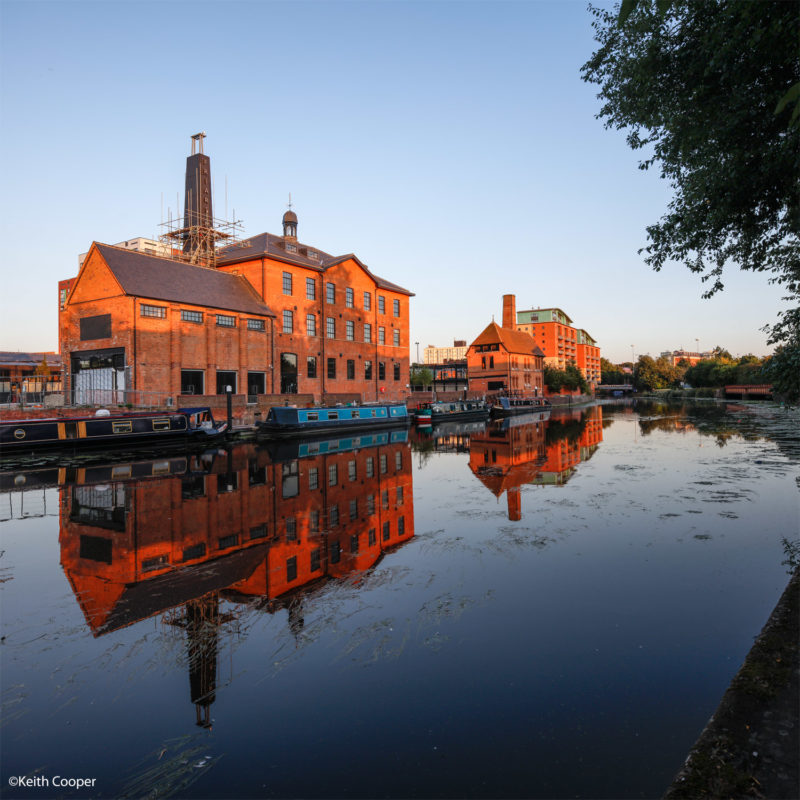
Making use of the wide angles can make for some interesting views, with its sharp angular look.

However, I have a lot of photos that didn’t work too…
The TS-E17 needs real practice to get the best from it, but it’s still my favourite lens.
Close up
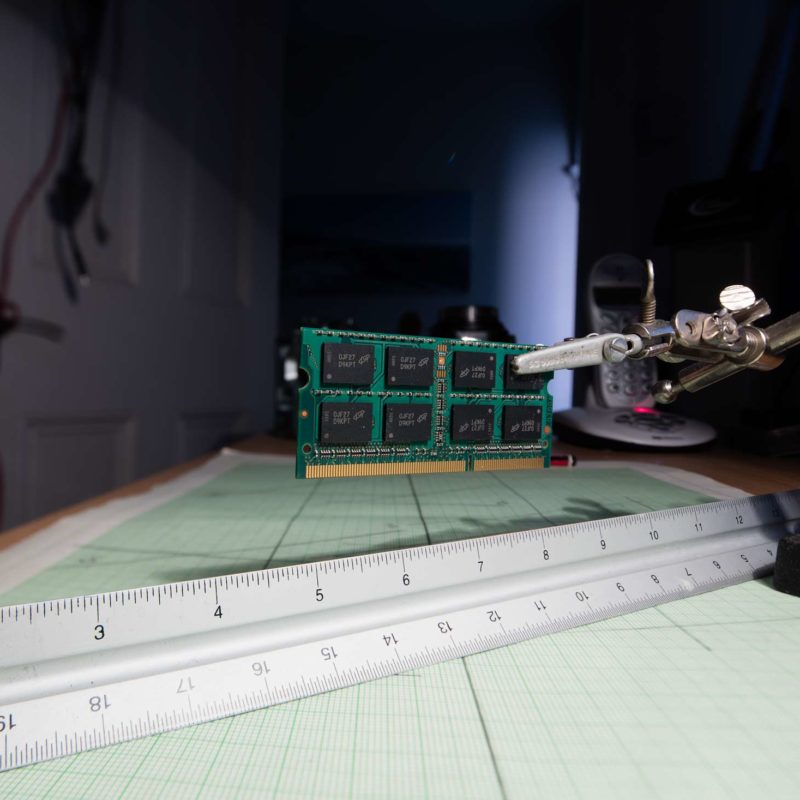
With a maximum magnification of 0.14x, this isn’t a lens you’d pick for macro work, but at 17mm focal length, you’re pretty close.
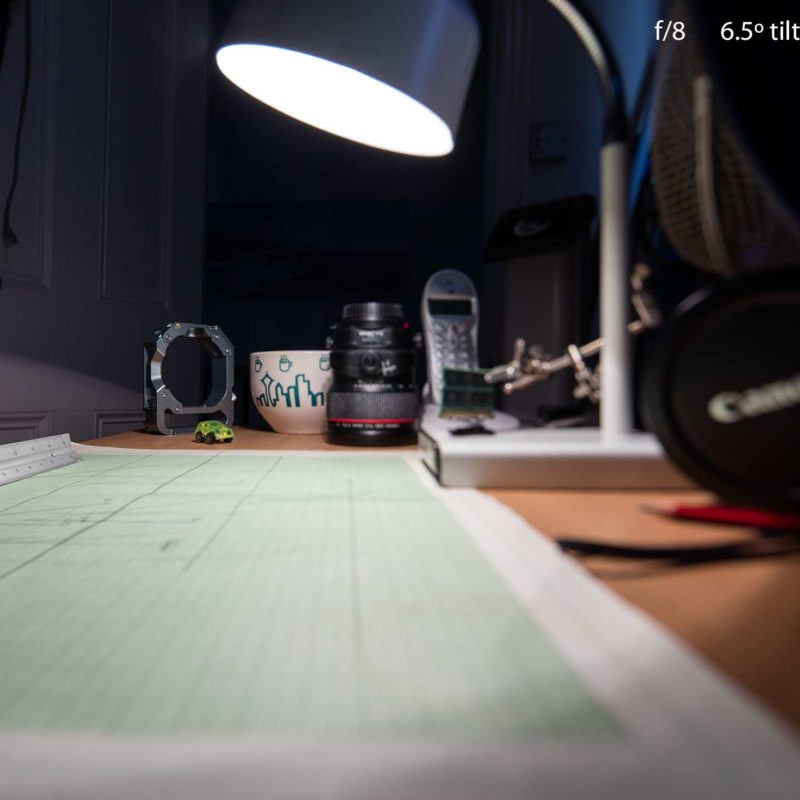
A few examples, showing that even 6.5º of tilt can be quite useful.
Untilted the lens gives acceptable results at f/4
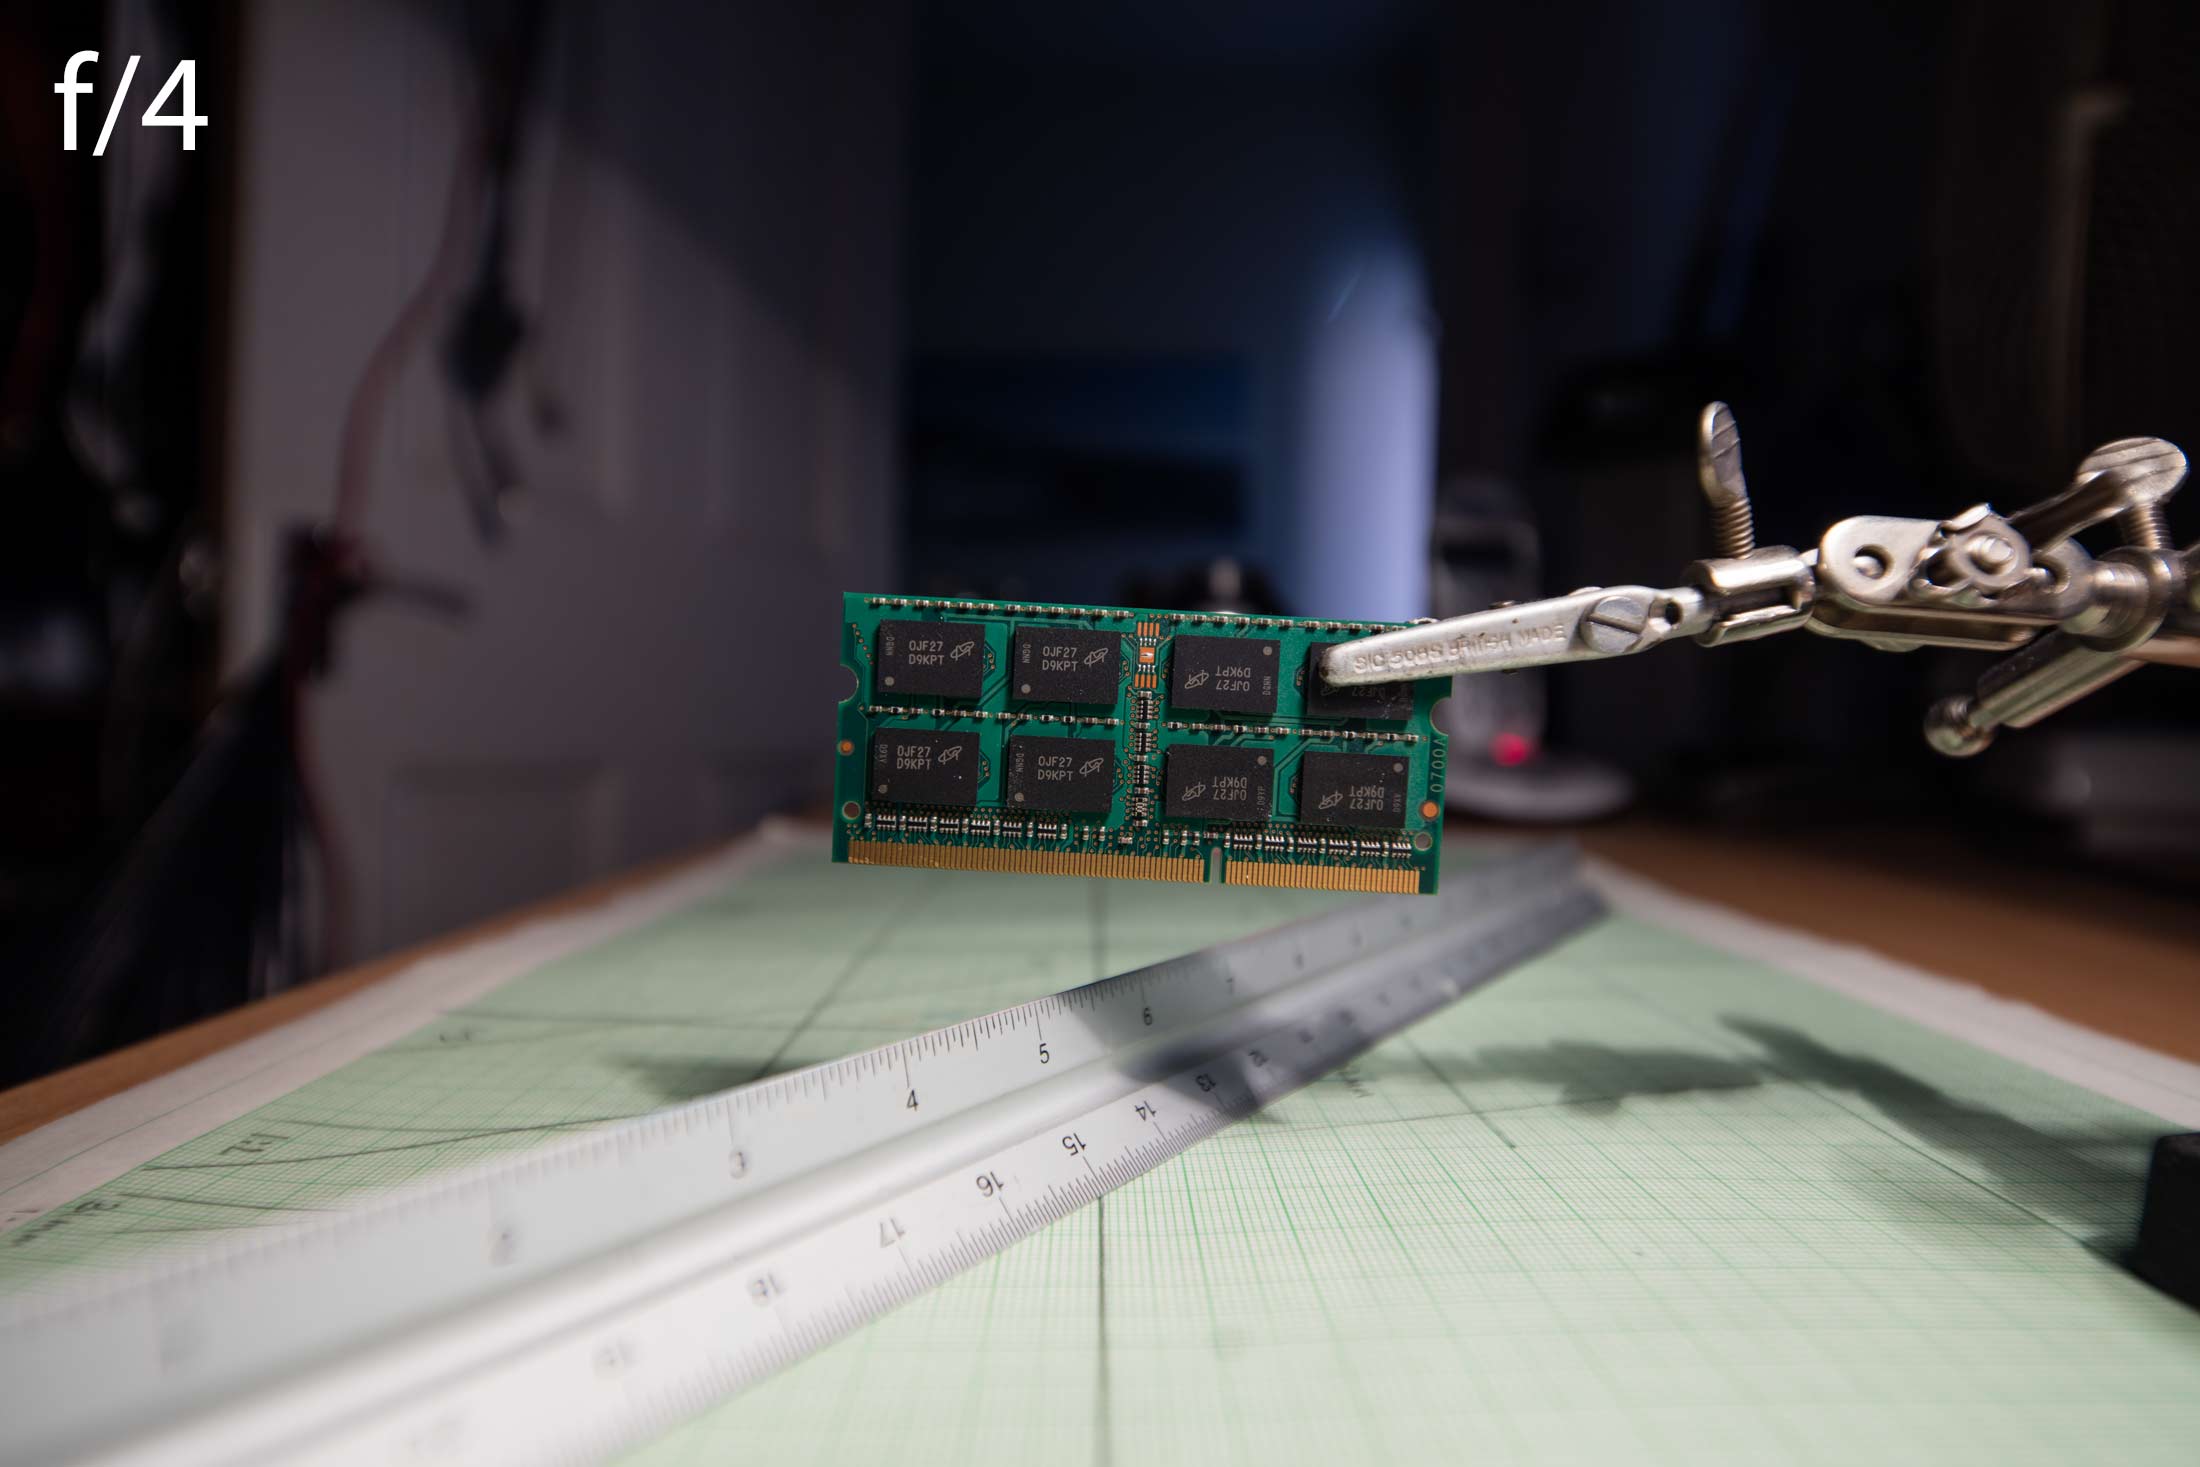
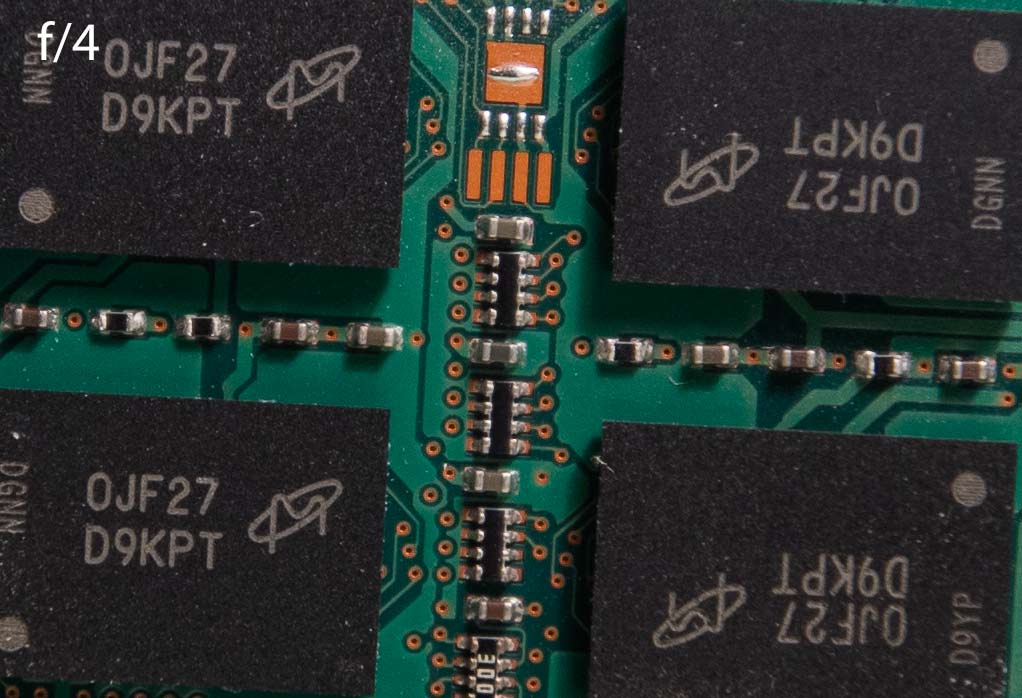
The centre of the field is quite good, but off-axis the quality declines and we see distinct vignetting.
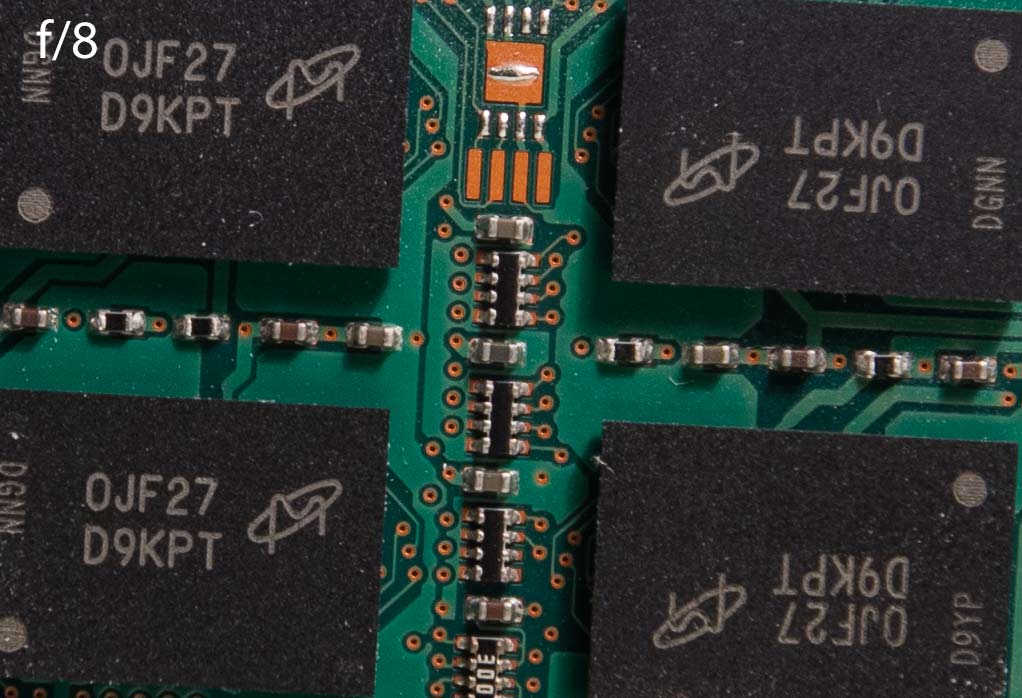
By f/8 the overall quality improves greatly, although you’d want to go to f/11 or f/16 if you were shifting the lens at all.
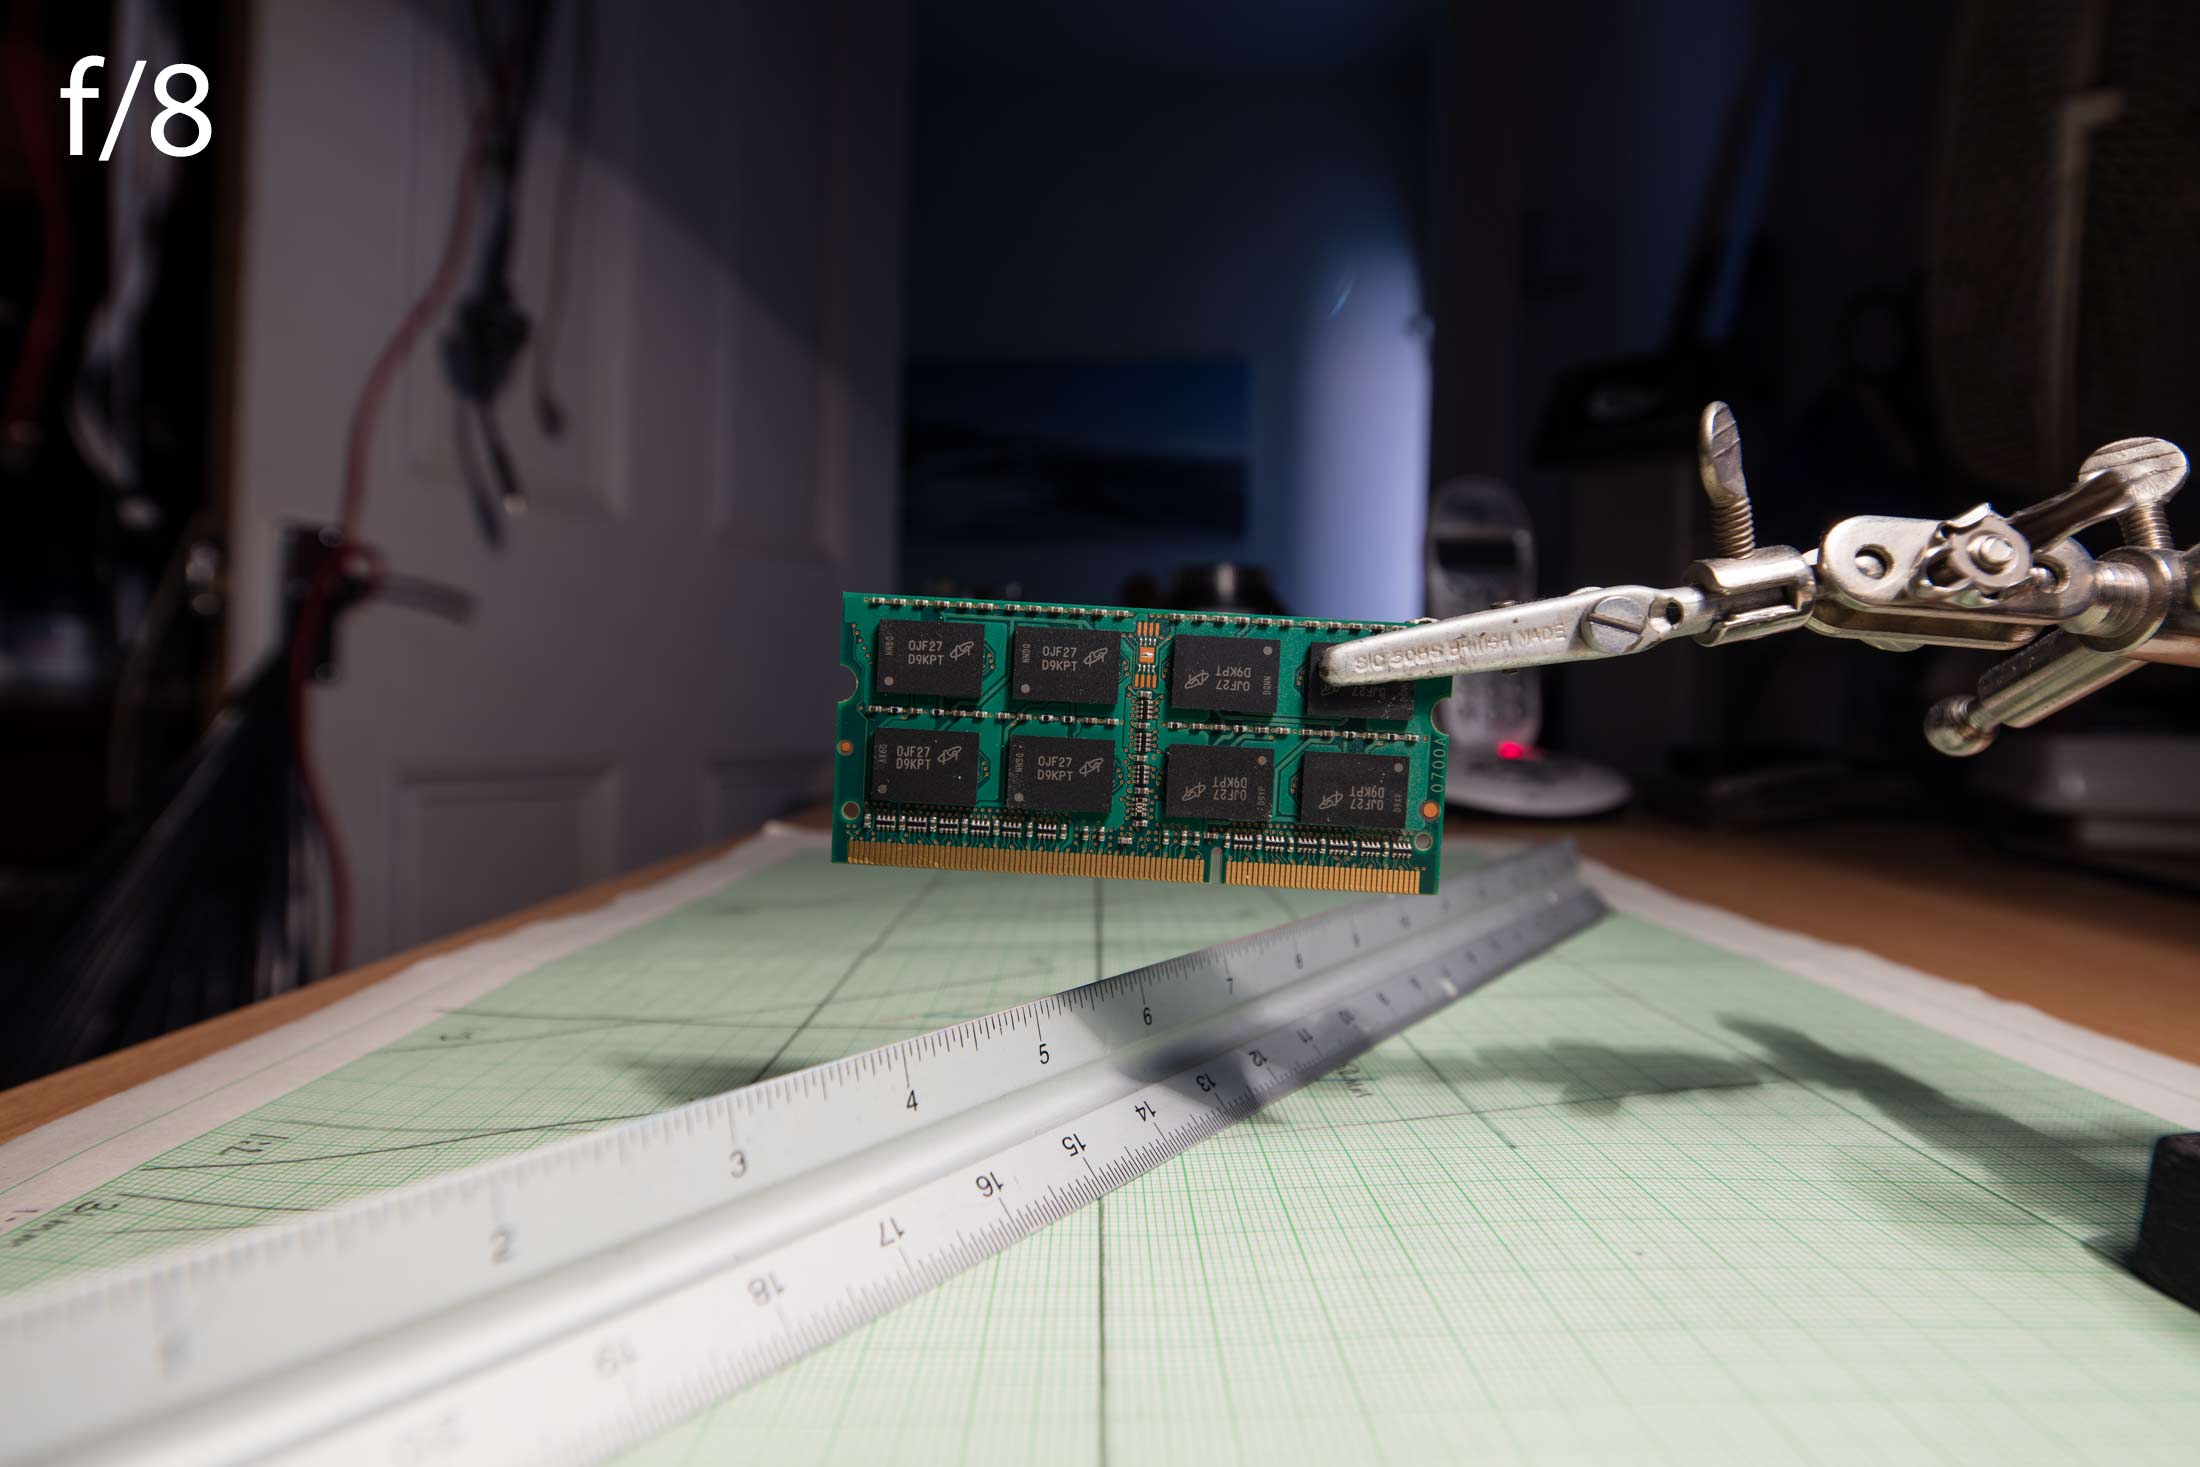
Depth of field becomes more usable by f/8 as well.
Here’s an overhead view of how tilt moves the focal plane.

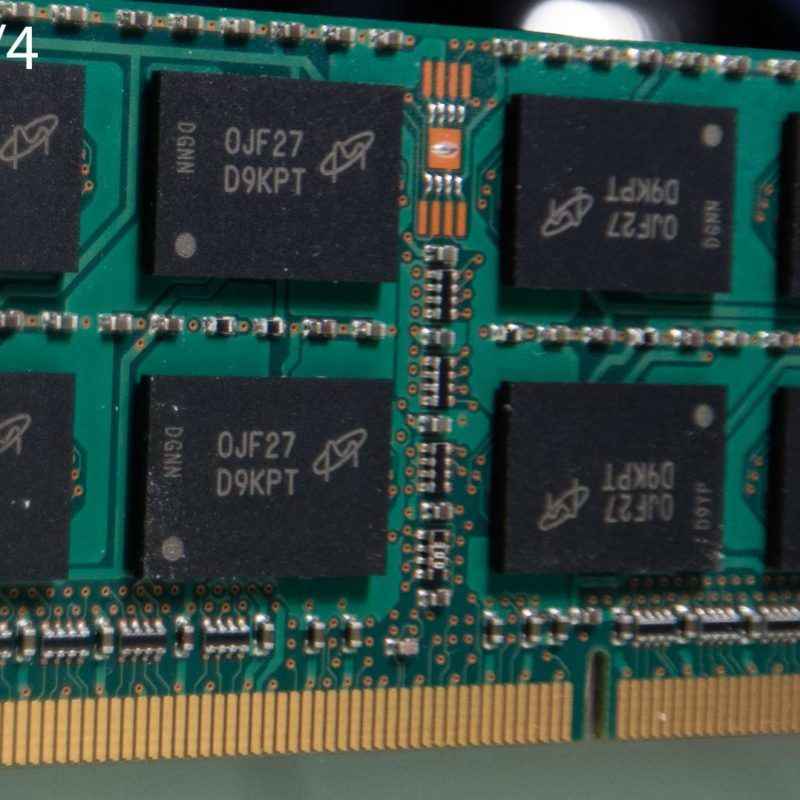
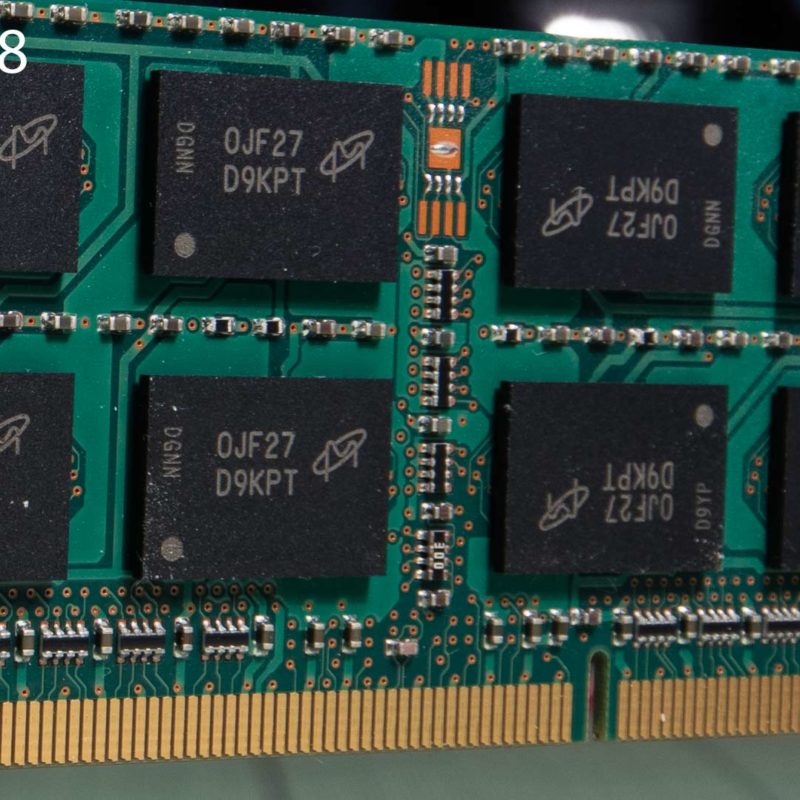
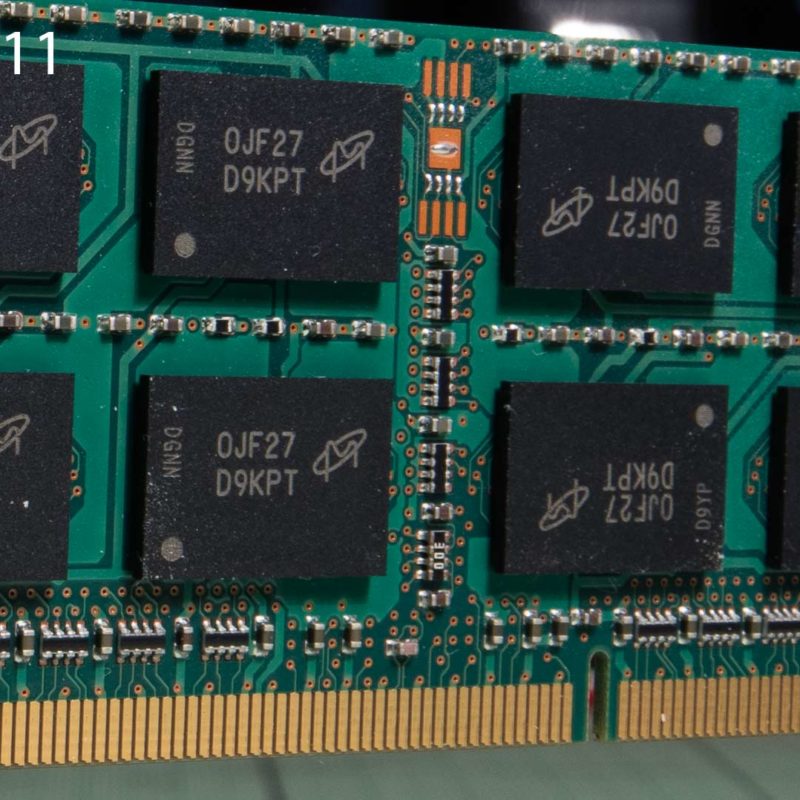
Tilting the lens much drops image quality wide open quite noticeably.
These shots at f/4, f/8 and f/11 show how you’re going to need to work at small apertures if sharpness matters.
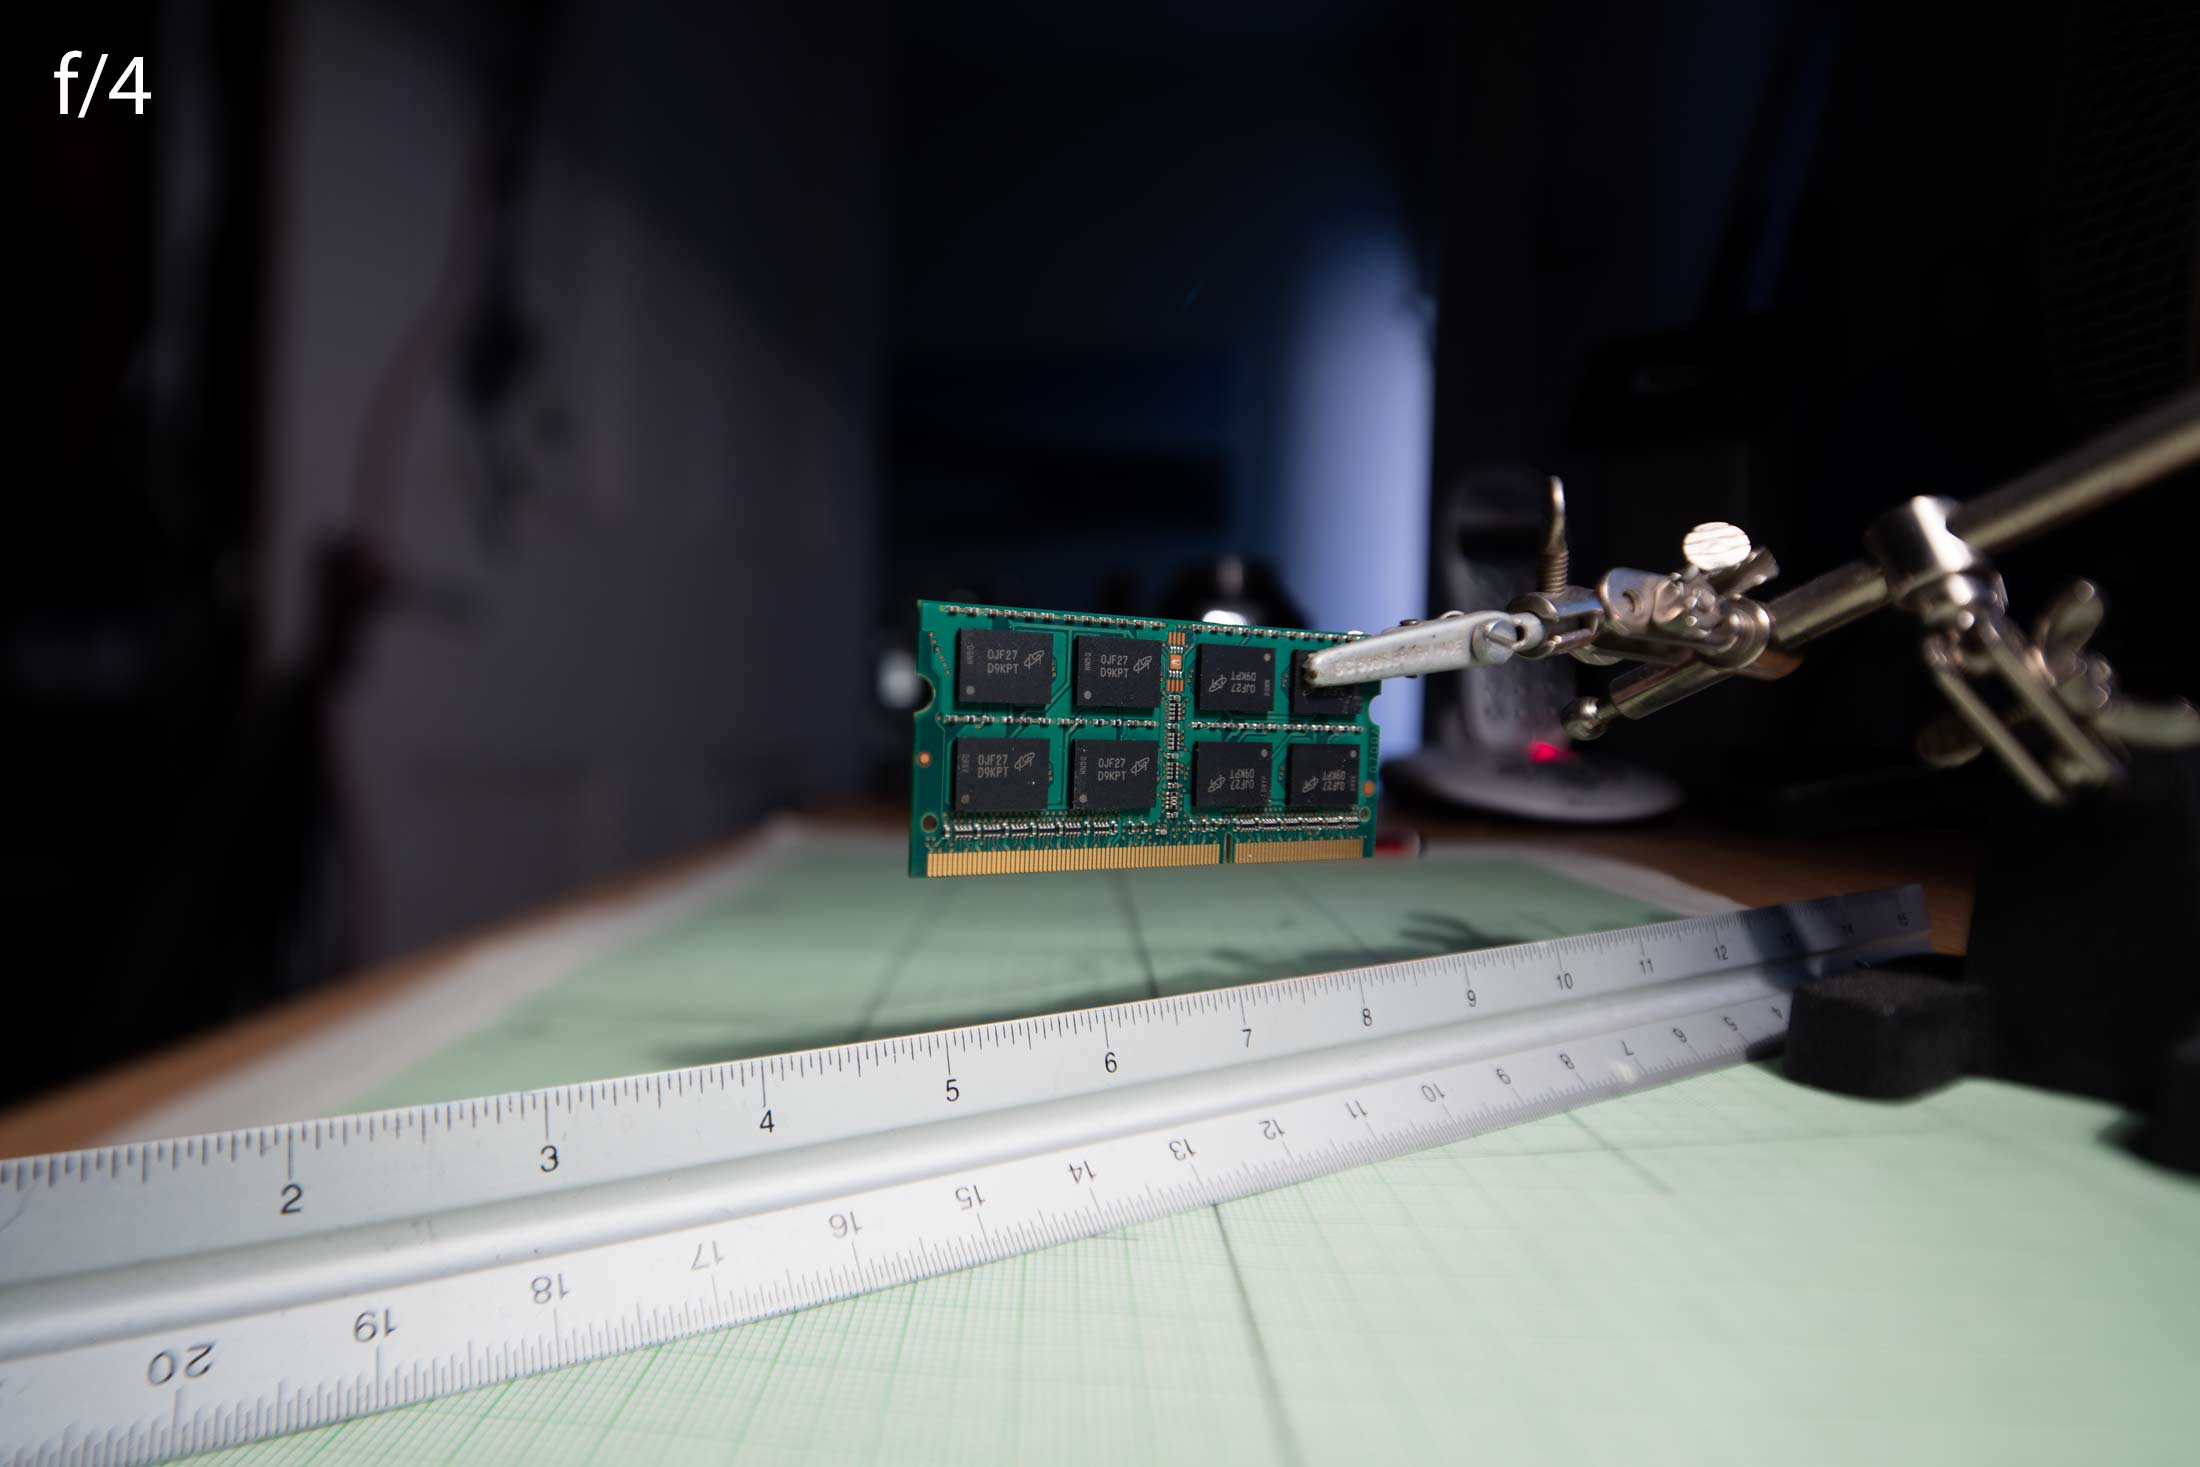
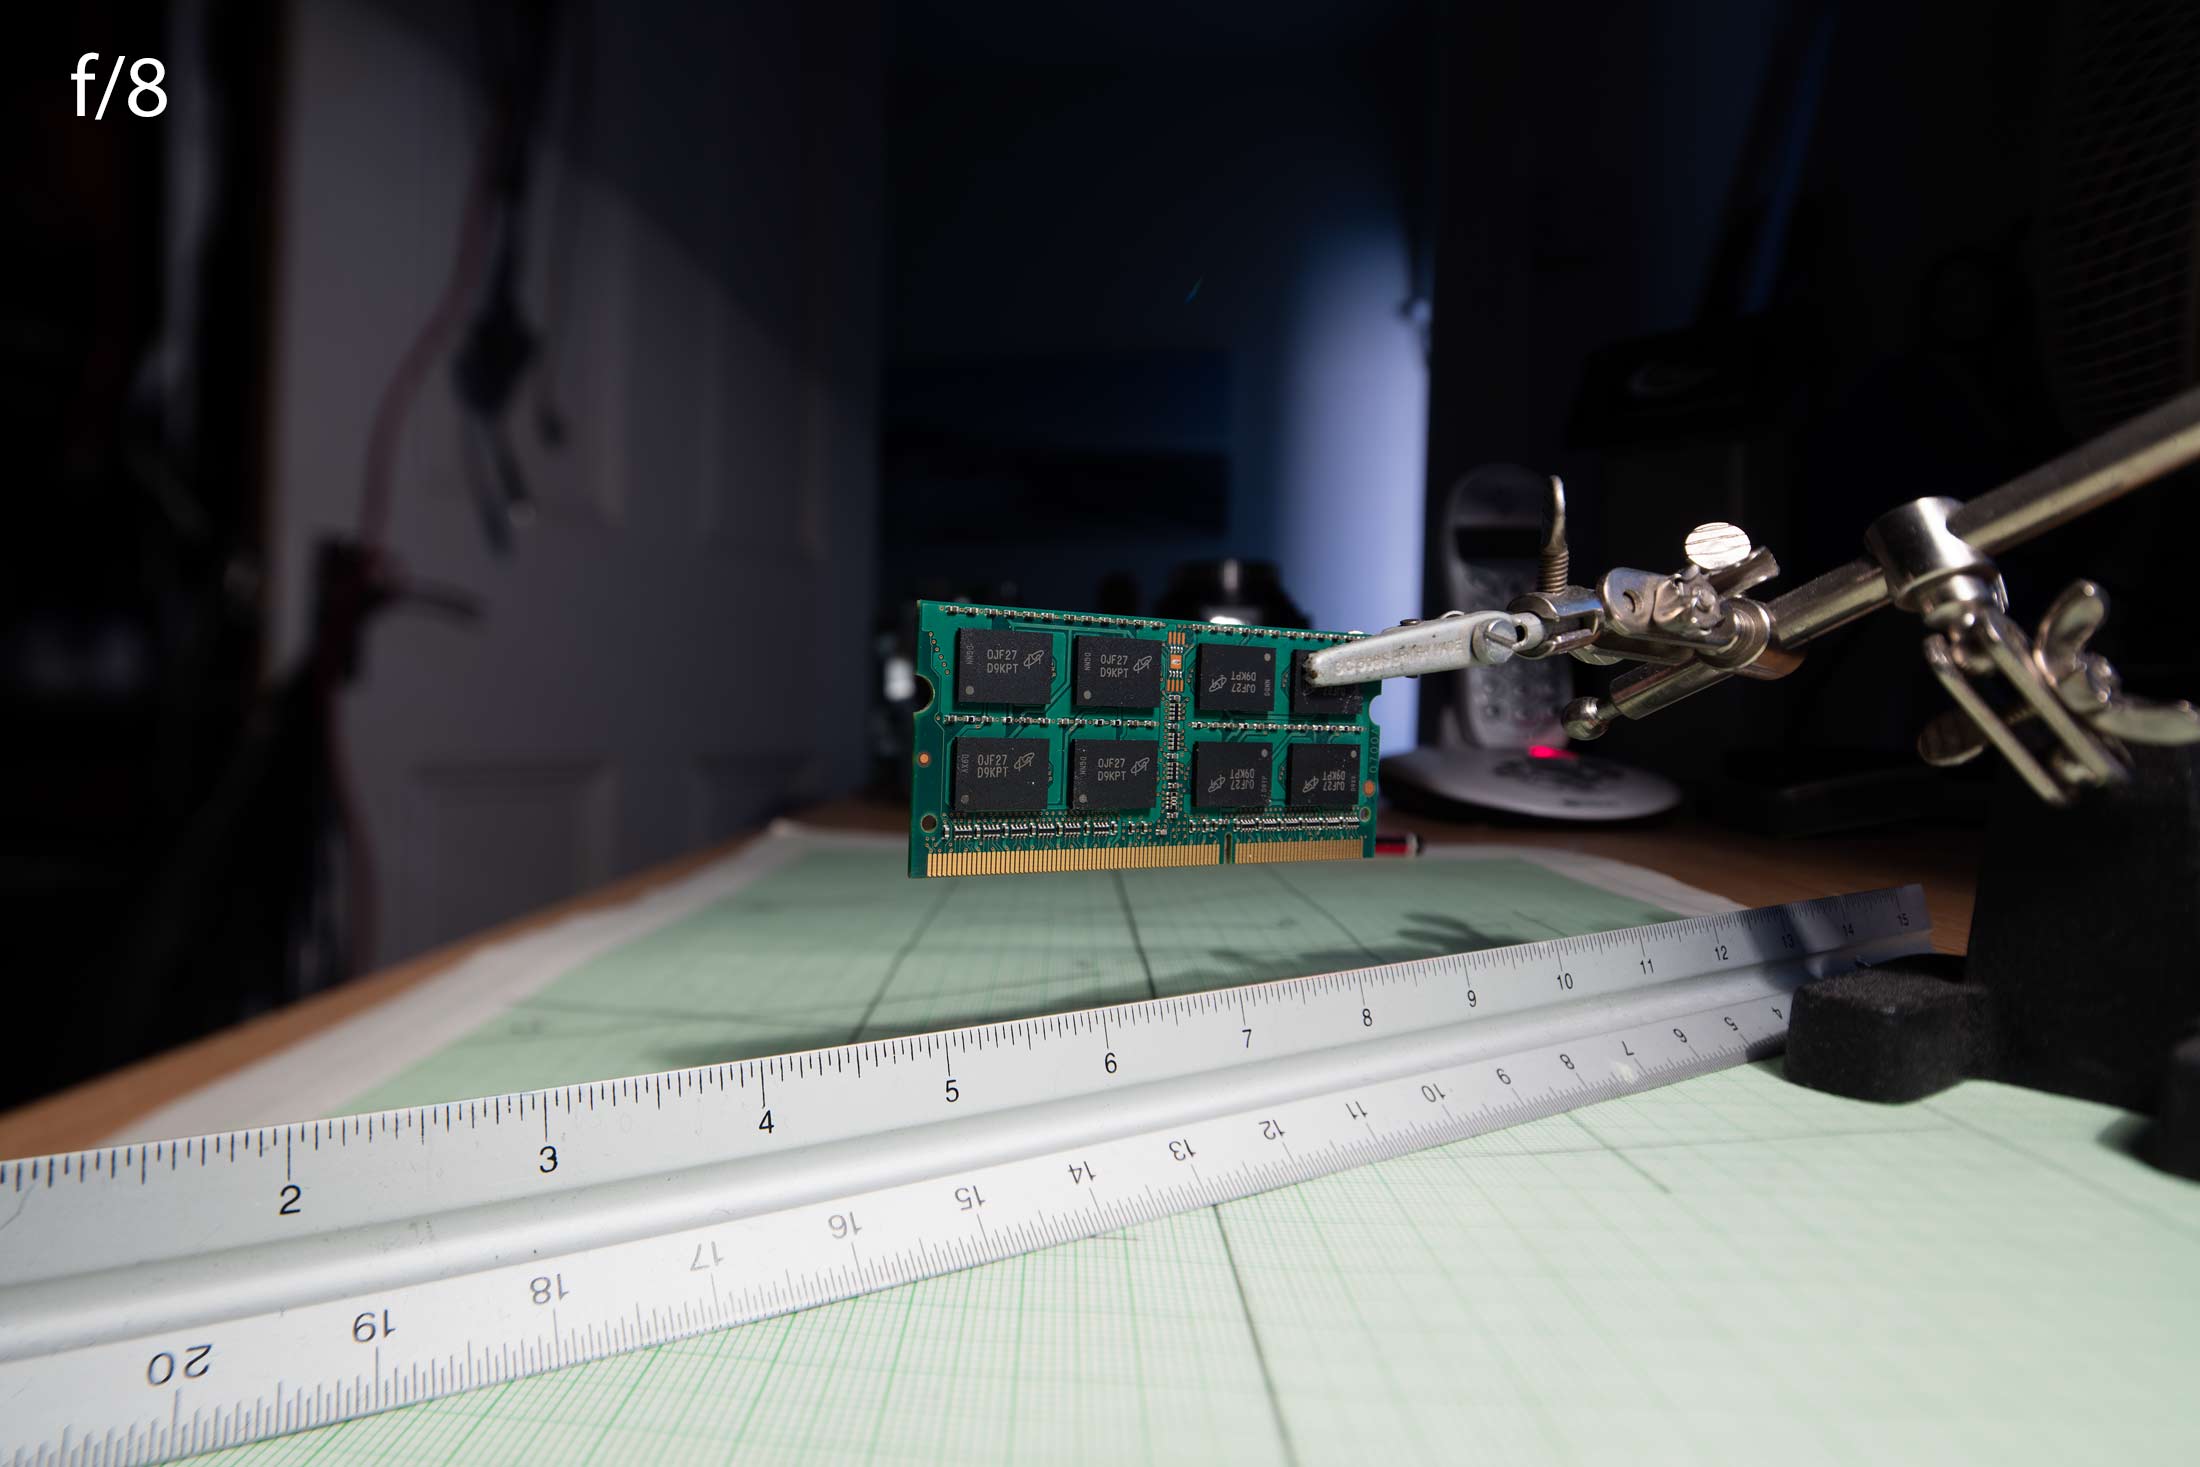

It’s probably clearer in these 100% crops.
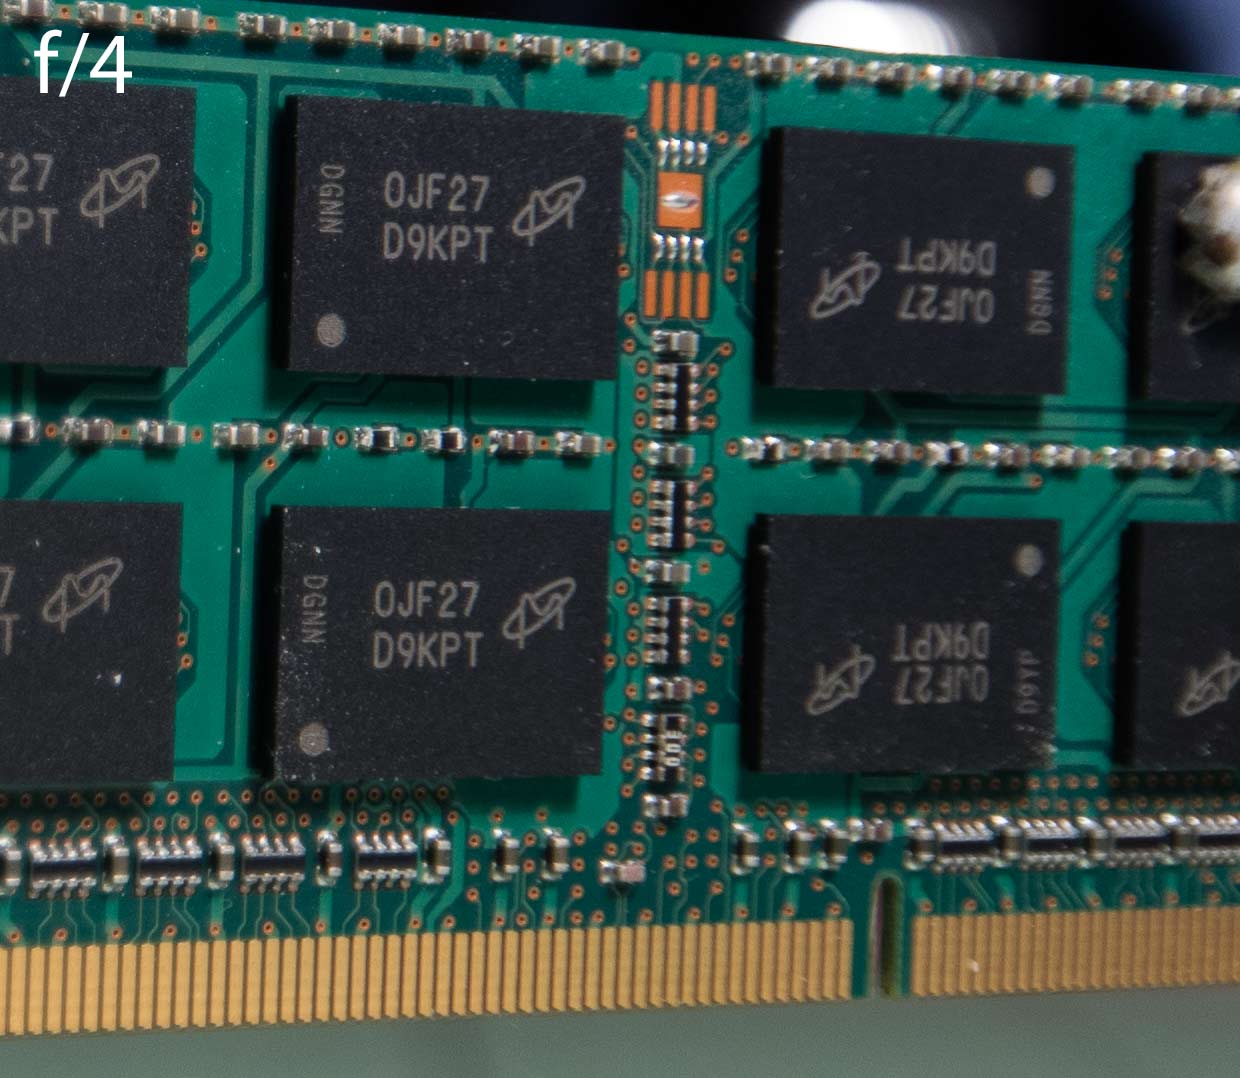
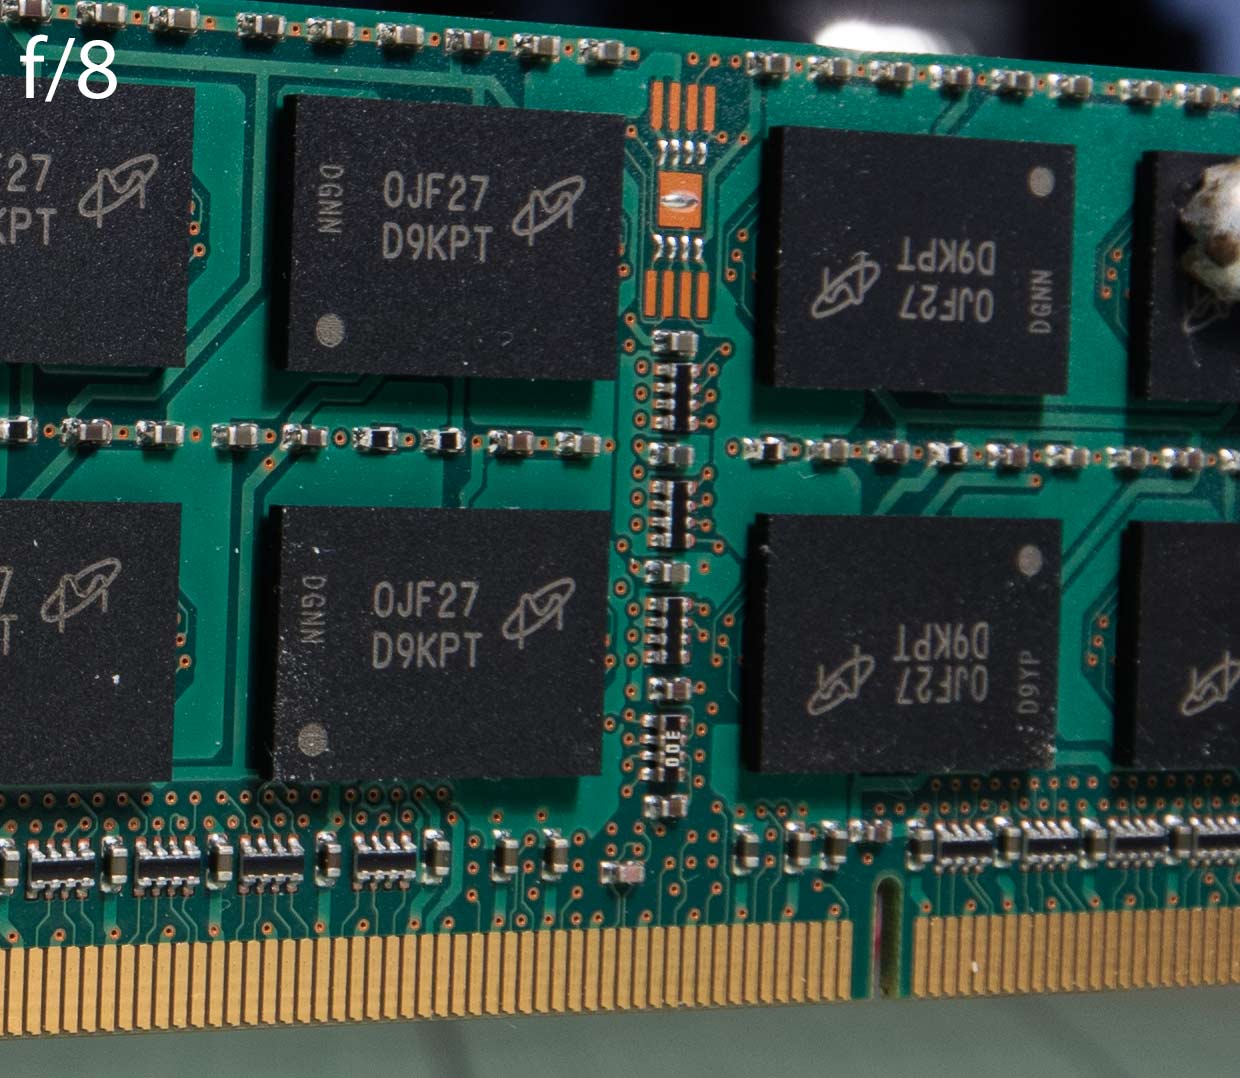

Note the change in the reflective highlight in the background and how at f/11 there are a few spikes around it – you do have to be careful with bright light sources with the 17mm.
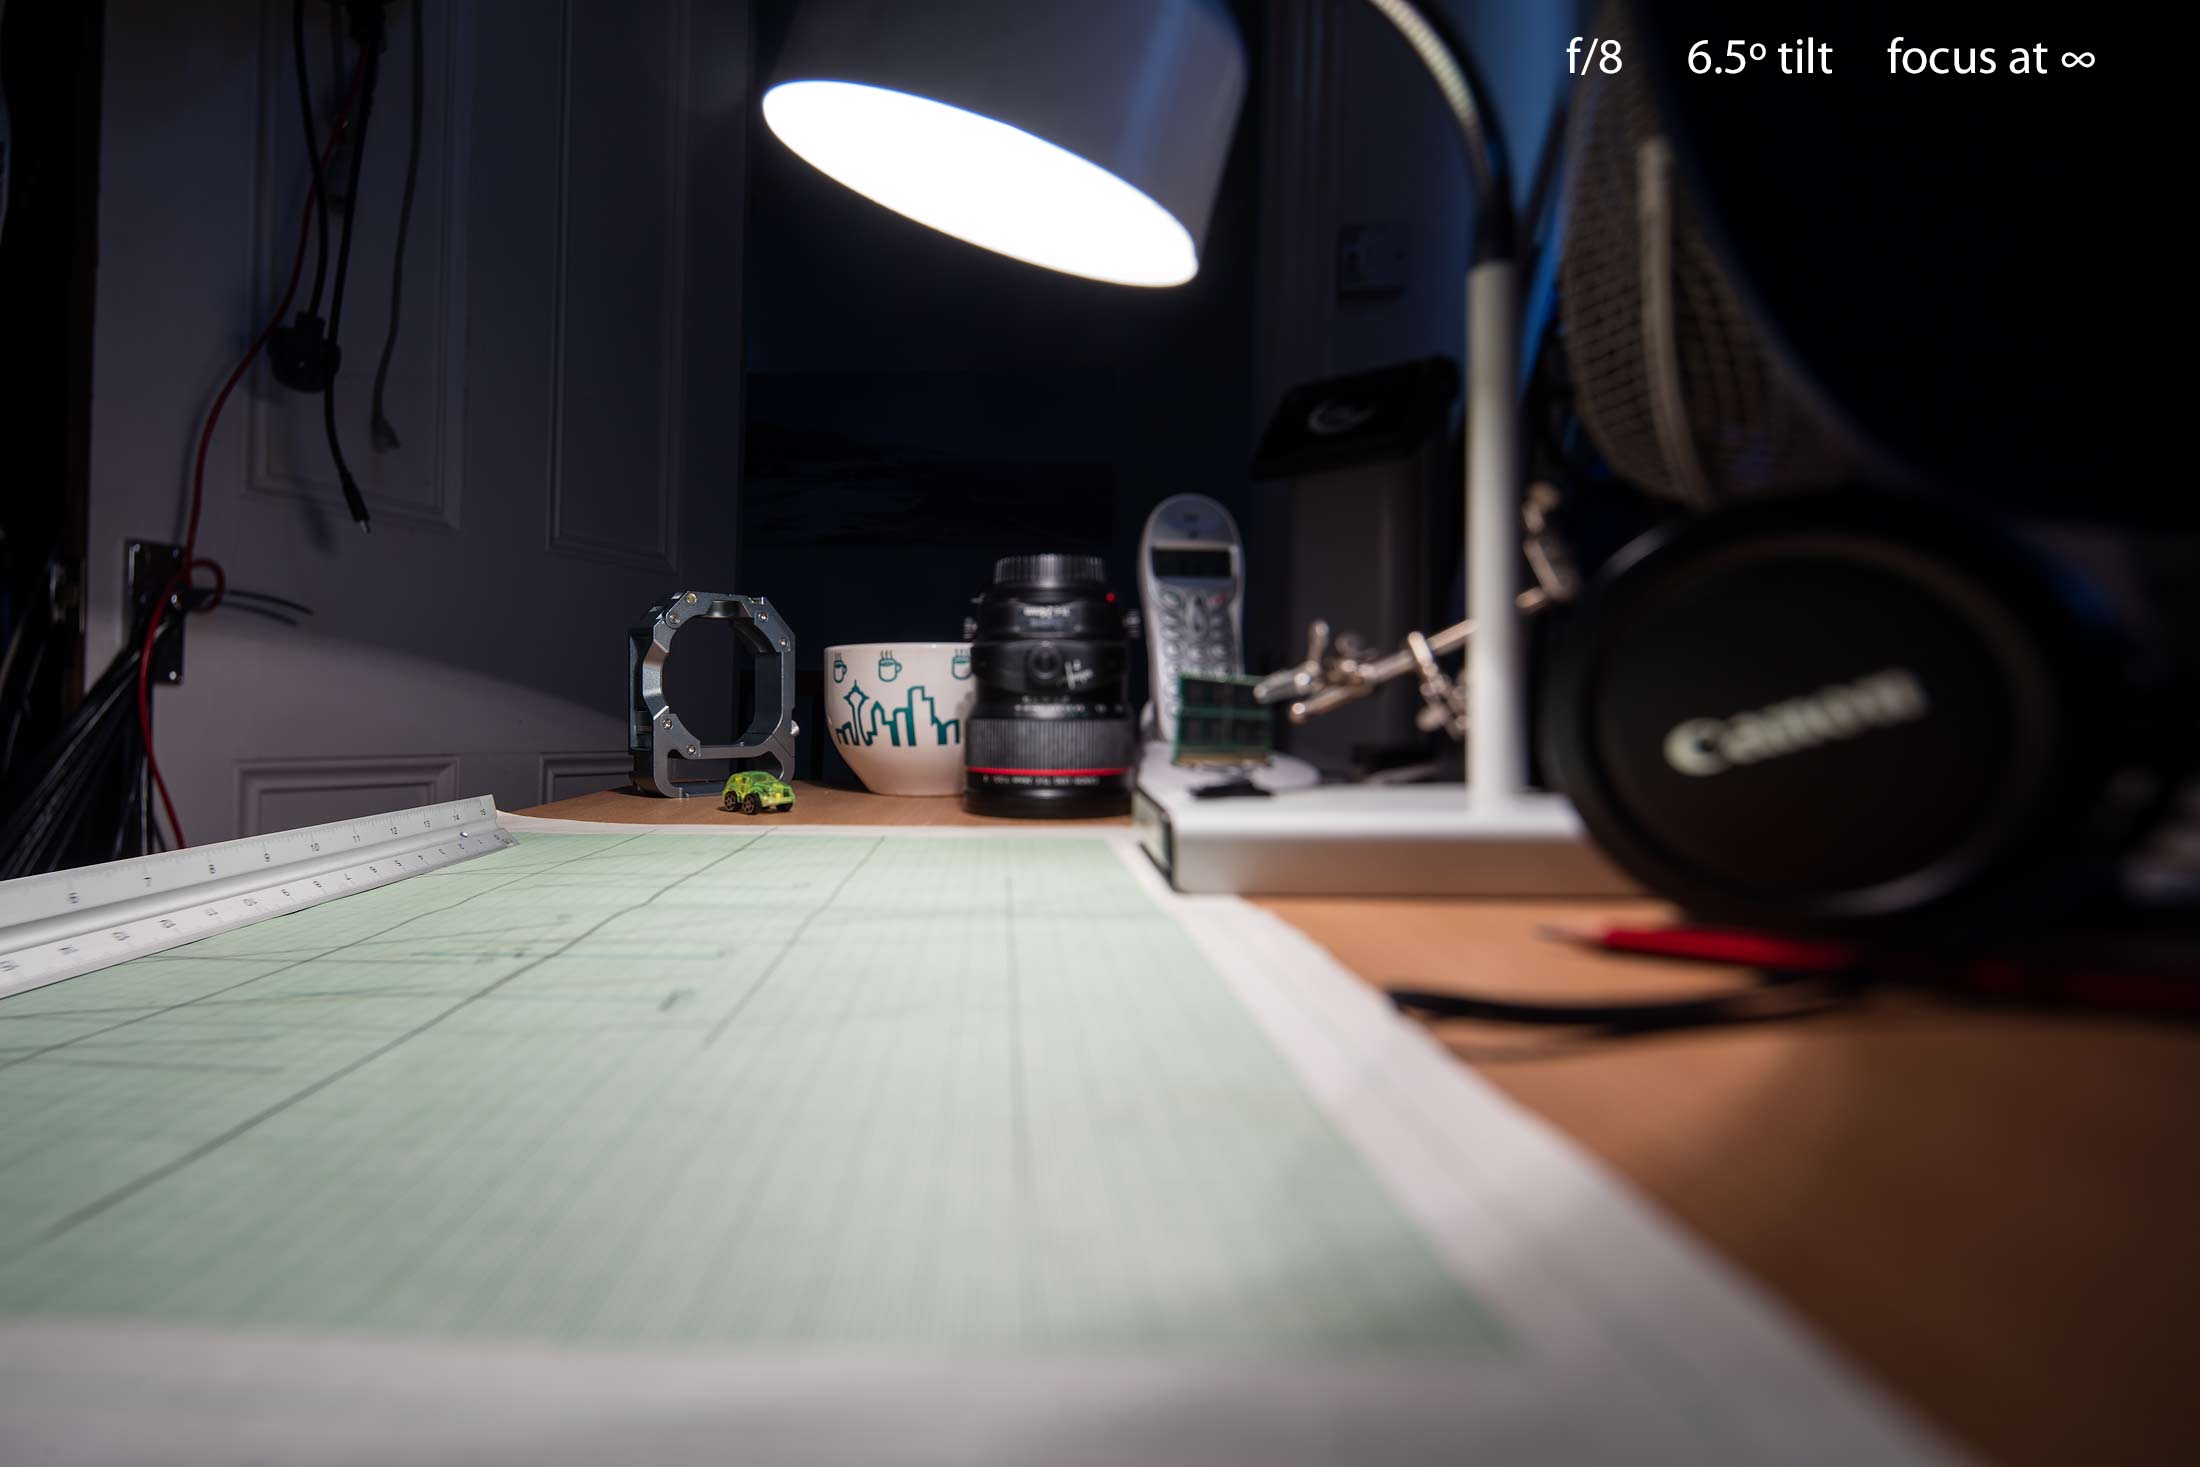
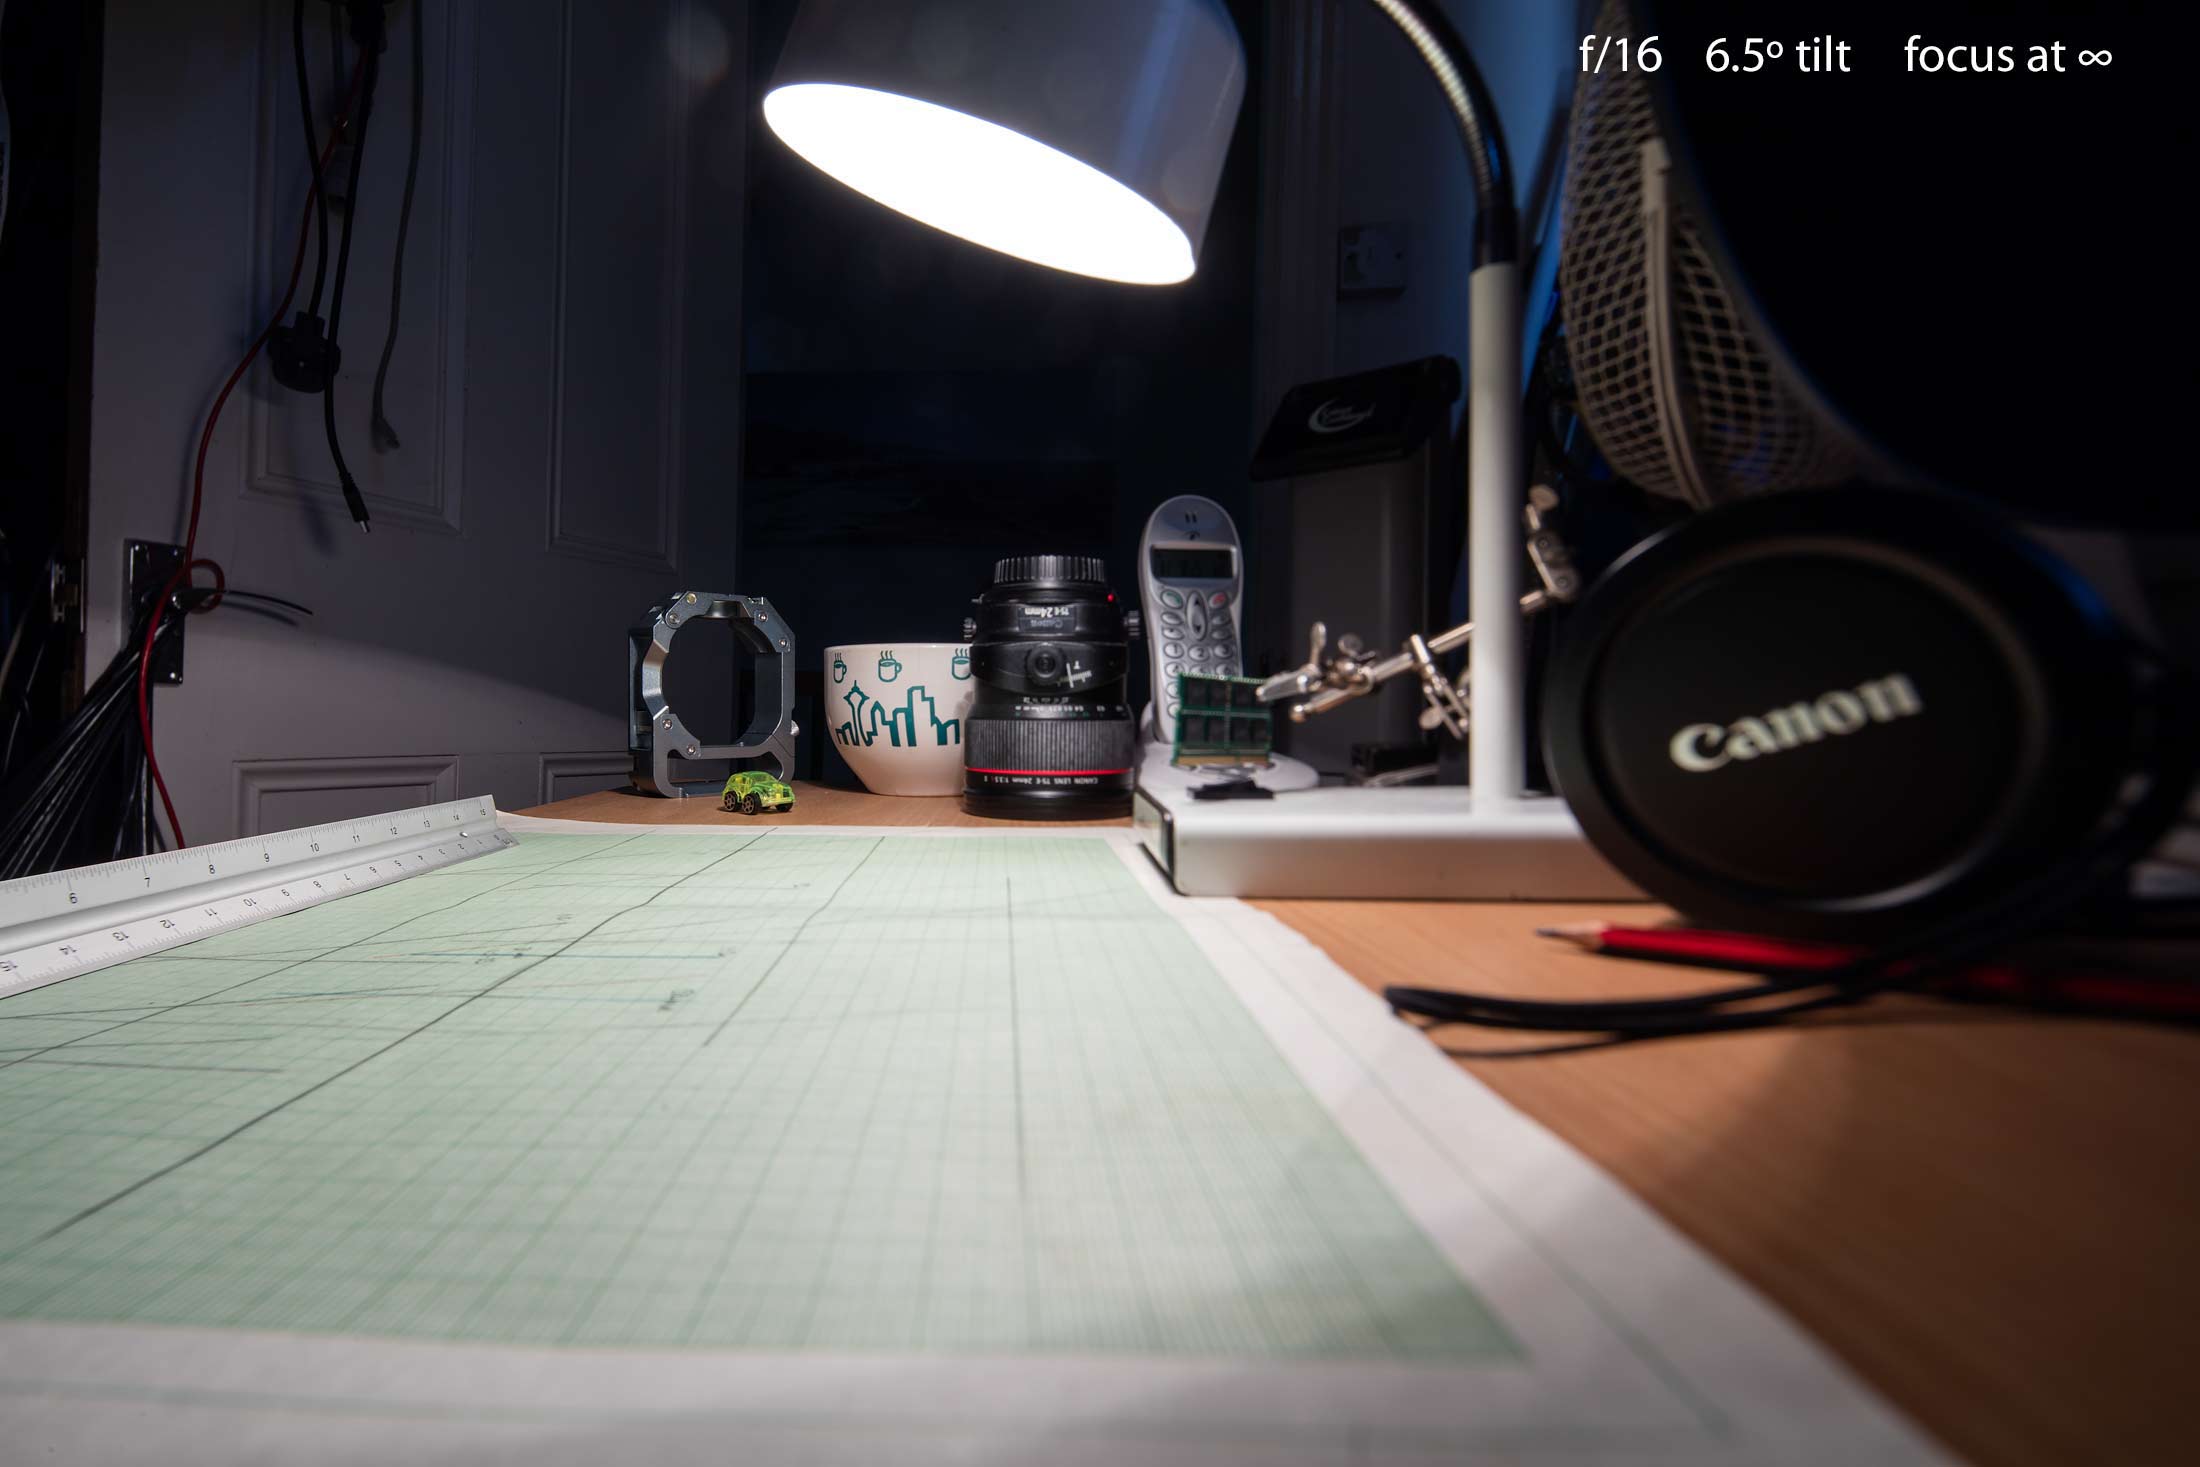
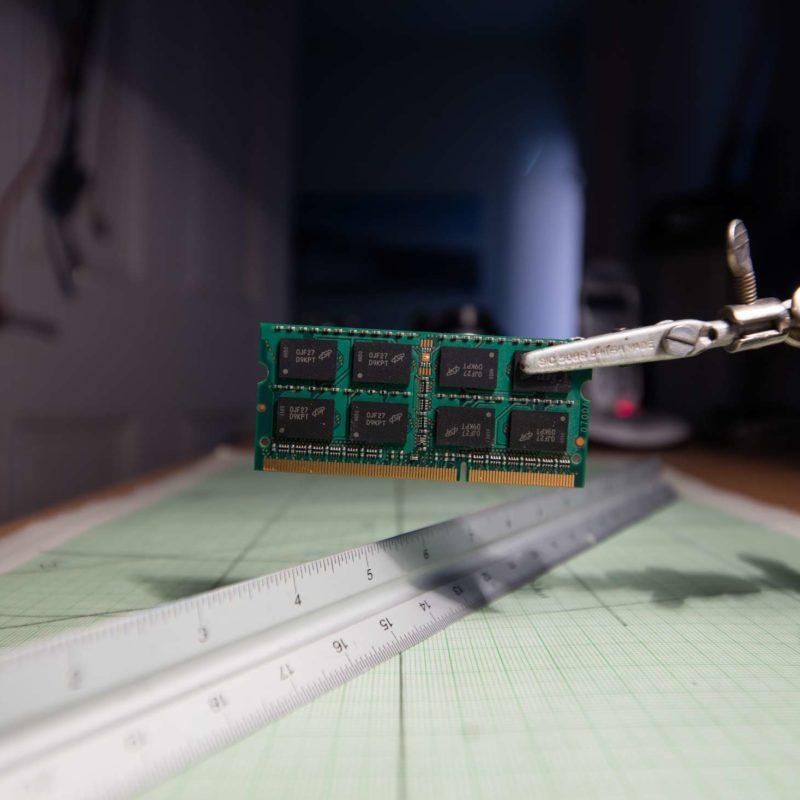
Focus at infinity
All those shots are focussed at the minimum for the lens. What happens when you set the lens at infinity?
Well, at 17mm, the focal plane is only 15cm or so away from the lens, and it runs straight, away from the camera (along the ruler).
Two shots at f/8 and f/16 give a feel for the effect (this is what I was making use of in the photo of the switchgear earlier).
The setup from above.

With strong tilt, don’t be afraid of going to the smaller apertures. The minimum of f/22 will show distinct softening from diffraction, but sometime you really do need the aperture (the new TS-E90 and TS-E135 go all the way to f/45)
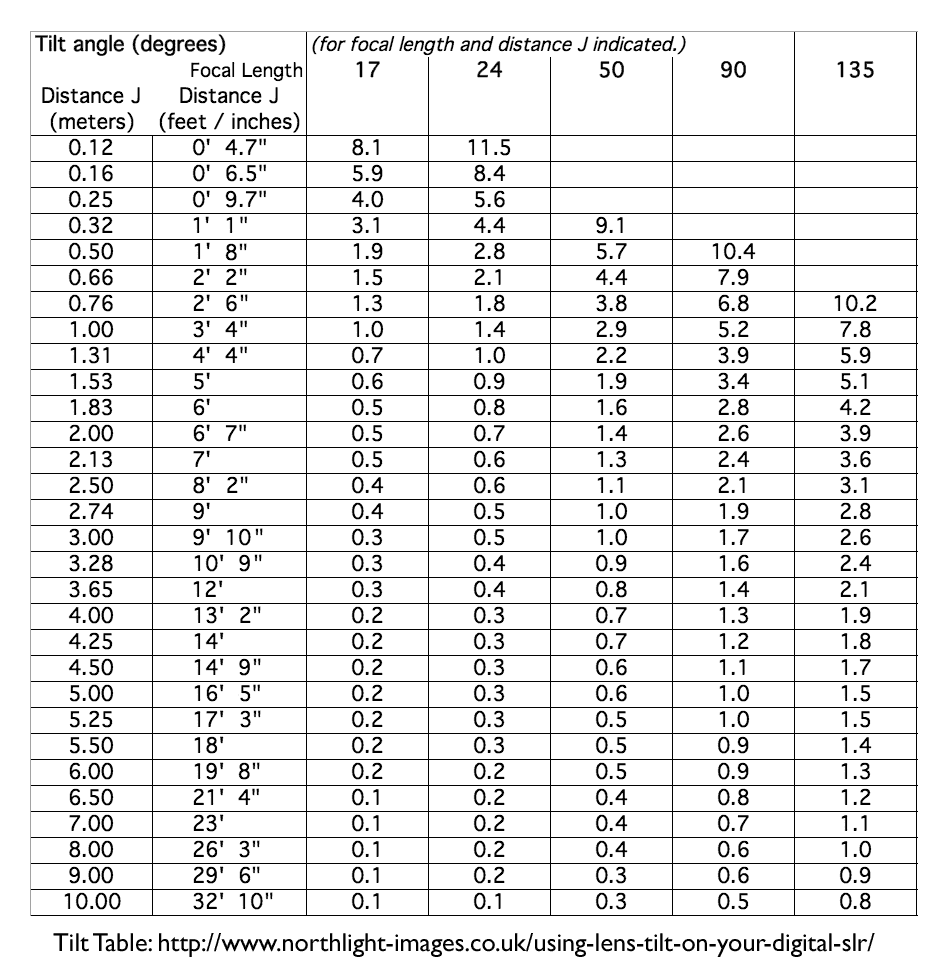
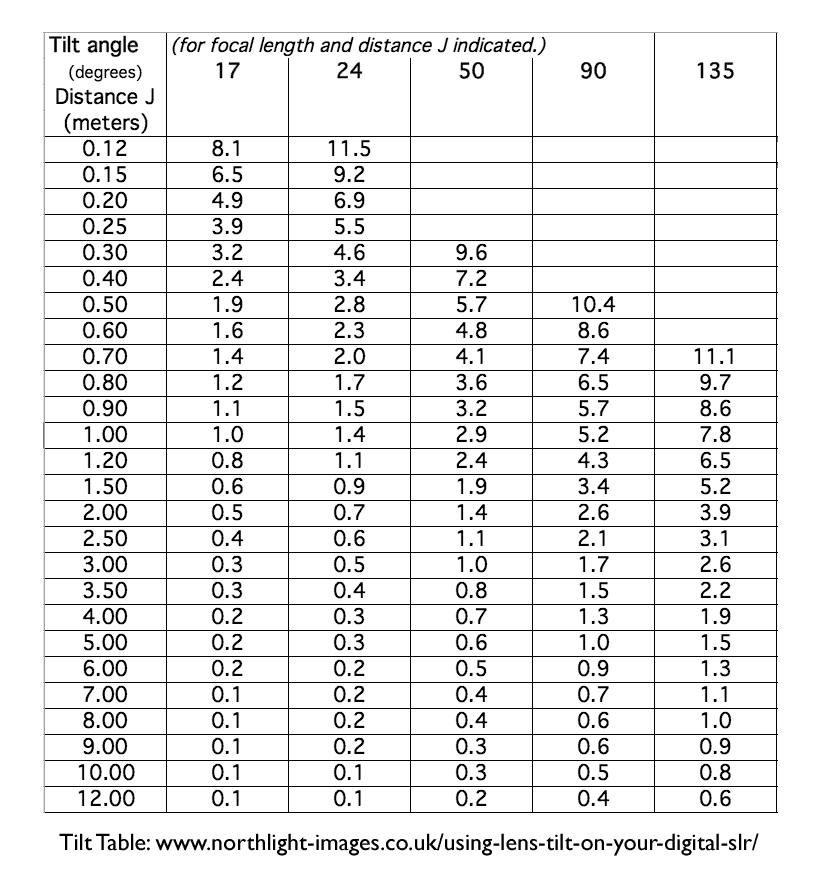
How did I know that the focal plane would be ~15cm (6″) from the camera? – it’s all in my tilt tables (see below).
Conclusions
As you might have guessed, one of my favourite lenses.
It works just fine with the 50MP sensor in my Canon 5Ds, with my optimum unshifted performance coming around f/7.1 You’ll need someone with far more kit and patience than me to get actual quantitative info. You could think of it as a 17mm prime lens made for a larger sensor camera.
I’ve not found a lot of use for the 17mm at f/4, and the drop off in performance in going from f/5.6 to f/4 is significant. It’s better wide open than the original (1991) TS-E lenses, but less so when you consider the three new (2017) TS-E lenses, which are quite superb wide open. It can be a bit soft in the far corners at extreme shift and then needs rather more stopping down to get the best results.
I was talking about the lenses to someone from Canon UK, who referred to the newest ones as “third generation TS-E”. Well, the 2nd generation 17mm is still a very nice bit of glass.
The bulbous front element really does need that lens cap, and you should always remember that glass lump is there – there are a few minor marks on mine after nearly 10 years use, and I’m told that the front element is an expensive repair.
The range of focus throw is on the small side for my liking of using a viewfinder for focus, but with the short focal length, not as irksome as it is on the three new (longer focal length) TS-E lenses.
At moderate apertures the lens produces distinct starburst spikes from bright lights – the 8 blade aperture showing its presence as 8/16 spikes – the 3 new TS-E lenses all move to 9 blades.
If you like filters, then you’ll need to look for third party solutions – big clunky ones at that. I’ve tried them, but never been a fan.
It’s one of those lenses that really needs a lot of experimenting to get the hang of using it to its limits. There were a few shots I took for this review that I only thought to try as a result of my other recent TS-E reviews. Taking time to explore any TS-E lens will benefit your photography, whether composition, understanding of focus or just manual working.
Still an expensive lens, but worth every penny for some of the photos I’ve been able to get with it.
Tilt Tables
From – Focusing the tilted lens – Where you can get the spreadsheet to customise your own
Gallery
Images from the article, and some other TS-E17 examples (some are stitched).




















Never miss a new article or review - Sign up for our occasional (ad-free) Newsletter
and please do subscribe to Keith's YouTube Channel

Other areas of our site that may be of interest...
All the latest articles/reviews and photo news items appear on Keith's Photo blog

Keith explains tilt and shift lenses
Keith has written a book that looks at the many ways that tilt/shift lenses can benefit your photography from a technical and creative point of view. If not in the UK check for import issues and maybe try an on-line bookshop. Keith has no connection with sales of the book.
ISBN 9781785007712
There is also a specific index page on the site with links to all Keith's articles, reviews and videos about using tilt and shift.
We've a whole section of the site devoted to Digital Black and White photography and printing. It covers all of Keith's specialist articles and reviews. Other sections include Colour management and Keith's camera hacks - there are over 1200 articles/reviews here...
We're an Amazon.com affiliate, so receive payment if you buy via Amazon US
Keith | Dec 9, 2024 at 12:33 pm
I’ve only ever tried the Fotodiox one… it worked ;-)
Craig Richmond | Dec 8, 2024 at 10:26 pm
Thank you for this great article!
I’m interested in getting either the 17mm, or 24mm TS-E, and adapting it to my Sony a7R III, and maybe later, on a Fuji 100S II. Can you tell me which adapters can control the aperture on these Canon lenses, that don’t have an aperture ring? And the one with which you’ve had the best luck?
Thank you so much!
Craig Richmond (Baltimore, MD, USA)
David Giancatarina | Aug 2, 2019 at 12:00 pm
Hi, thank’s for all your reviews about tse lenses !
I was a Canon shooter, then a Nikon Shooter, nowadays i’m using a sony A7R3.
For sony shooters, there’s a good alternative to the 17 TS-E… The Laowa 12D with the magic shift adapter. While colors are better with the ts-e… corners sharpness seems much better with the laowa… but it works only on sony bodies !